Potato Print Art DIY.

Art DIY5.jpg
Art DIY8.jpg
Art DIY4.jpg
Art DIY10.jpg
Art DIY7.jpg

Art DIY12.jpg
Art DIY13.jpg
Art DIY14.jpg

I found this Rebecca Atwood DIY on Emily Henderson's site over a year ago. I think Rebecca's work is phenomenal and was blown away with how Emily styled it just so magnificently. The more I thought about it, the more enamored I became with the way that you could tailor this kind of art to however you like - it's really so simple! Potato printing has been around a long time, and there are infinite ways that you can express yourself using potatoes as your stamp!

Supplies Needed:
- a canvas (I grabbed a massive one on sale at Michael's!)
- 3 kinds of paint (or more!) I used Annie Sloan Chalk Paint in Pure White and Old Ochre, along with a simple black acrylic paint simply for mixing and adding depth
* I used the chalk paint because I wanted the crackled texture/effect when the paint dried, but if you are look for more of a smooth texture, definitely stick to an acrylic ;)
- 1 potato (I used a sweet potato!), to be used as the stamp, cut into half-moon shapes (I made about 6-7 stamps)
- a few paper plates for mixing the paint

Method:
It's really a matter of touch with a piece like this. I used the 3 paint colors and mixed them in 6-7 different ways, then I assigned a different potato "half moon" stamp to each of the paints I mixed up. I am kind of a touch artist, so I don't do a lot of measuring when it comes to something like this, I just feel out the dimensions (this drives my husband crazy but its MY ART). So I eyed the width and length of the canvas and knew that I wanted to keep a thick white border around the paint, and started pressing the stamps (dipped in the paint) a few inches in. I just began pressing the stamps into the canvas, mixing up with paint and shapes with every few presses. I didn't dip each stamp into the paint every single time, because I wanted the effect of some being more bold and some being lighter for contrast.

I continued this process, standing up a lot to make sure my lines were straight (I actually like the bit of wiggle!), and making sure I was mixing up the shape of the half moons consistently.

I also decided to add a pure white "border" on the bottom of the piece, gently working my way up until fading it out at about half way. It's extremely subtle and hard to see in the photos, but I love the effect and it made it feel like "mine" this way.

The Result.
This piece was extremely therapeutic for me to make. It was something that was in my heart for a long time, so actually doing it was kind of emotional. Don't laugh, but I actually cried through some of the process. I love how art (and using your hands to create it) can be so helpful in processing what is happening in your life. I personally have had a lot of up and down emotional experiences this summer, and this painting really helped me with some of my coping. And I didn't expect that! So this piece is extra special to me.

I planned for the piece to look more black and white, but the black ended up adding a blueish effect to the white paint. The ochre shade added a sandy tone, and along with the slight movement in the piece, the end work reminds me of the ocean. I love it! And this ended up looking more like the example then I expected! But I absolutely love the result and I am super proud with the uniqueness of this. I've been inspired to do it again, perhaps on a smaller canvas with a yellow/orange vertical style. And maybe using a different medium for the stamp!


Art DIY9.jpg
Art DIY11.jpg

I'd love to hear your thoughts on this DIY! Is this something you would be up for trying? What kind of DIYs are you interested in learning more about? Let me know in the comments below!

Summer Garden Update.

garden1 copy.jpg

We did this thing.

And we might have gone a little crazy.

We had to remove a few trees in our yard. We had a birch tree dying in our front yard, and some red tips rotting behind our mailbox. So when we had the arborist out and got a quote to remove them, we started doing this terrible thing where we dreamed about what would look reeeeeeeally good in place of those trees. Which led to dreaming about what shrubs should go around the new trees and which mulch would look best and perhaps adding a few stones here and there to pull everything together... and somehow we had concocted a full front and back yard landscape plan. All from sitting on our front porch and drinking beer and getting mosquito bites.

Stevie and I are extremely different. We plan differently, we execute our days differently, and we often have these ridiculous arguments over whose way is "more right". But this thing about landscape and outdoor beauty, for some reason, combines our forces in a really agreeable way.

So we just pulled the trigger and went for it.

I often hear people talk about how they fixed up their house before they moved, and by the time they finished the projects, they had fixed up their home so well that they didn't want to move anymore. We don't really want to move anytime soon, but we both really love grass and trees and flowers (and birds and bird feeders and bird watching...), so we decided to invest in some long-term perennials this summer that we can enjoy for many years to come. I can't say that we will live here forever (I truly don't know what the future will bring), but I am loving our outdoor space more and more with each season, and I feel really excited about spending this summer outdoors. Now that I'm not knocked up and trying to avoid potentially zika-infested mosquitos :)

What we did:
We added a pink dogwood tree, a white dogwood tree, a Japanese maple tree and a smattering of blueberry bushes and encore azaleas and knockout roses. We threw in some hydrangeas for good measure and camelias because why not and lorapetalum because we NEEDED them and some geraniums because yeah. Stevie rebuilt part of our fence that was falling over and added a stone walkway because he's my hero. We topped everything off with dark mulch and lined the entire yard with flagstones and oh yeah, we threw in a couple of pallets of pansies because he just had to have them. And like I said, it was so much fun agreeing that I couldn't say no to such things.

So here we are. Spending our mornings drinking coffee in our rockers on the front porch, gazing out on our grassy knoll and our evenings grilling burgers on the back porch, gazing at the wonder of our little Eden and it makes me happier than last year's squirrel-infested tomato garden ever could (they ate ALL my tomatoes, those little rascals). We are enjoying the updates of our home without an impending move ahead of us. And we are well on our way to creating my dreamy English cottage garden (which is the master plan). Little by little, it's happening :)

What are some of your favorite perennials? I know it's not very millennial of me to share about landscape-such things here, because it seems like most people my age aren't into landscape, but I just looooove it. If you're a crazy plant lady, tell me what you're dreaming of planting in your yard!

How to Upcycle Furniture + My (old) New Bedroom Dresser!

I'm excited to share this up-cycled DIY project today!

I mentioned a here few weeks ago that we were given a ton of old furniture from a family friend. We were so overwhelmed and grateful to be given so much, especially in the midst of buying and moving into our first home. However, for as nice all the furniture is, a lot of the pieces are pretty dated in terms of color, style and hardware. I decided to try my hand at upcycling the pieces and giving them some fresh life - and fresh paint :) I started in the bedroom.

I was given two coordinating bedroom dressers that are Johnsonville brand and from what I understand from the previous owner, are about 25 years old. The top of one of the dressers was scratched up pretty good, but other than that, these pieces were in excellent condition. They just needed a bit of beautifying, which I'll admit, is something that I love doing. Here are the steps I took for this home renovation/DIY/upcycling project!

To give you an idea of what I was working with. The "before".

To give you an idea of what I was working with. The "before".

1. Choosing the Color.
The first thing I decided on was a color story for my bedroom. I know that sounds so lame, but think about it! You really want to love the bedroom, because you spent 1/3 of your life sleeping in there. I have always loved white bedding and blue accents, and as much as I try to convince myself to branch out and try some new colors, I always come back to these shades for my bedroom. Blues and whites and all the colors in between are just so soothing, so I caved and once again went in that direction. This Anthropologie dresser served as my inspiration for the furniture. I chose the Behr shade "Pencil Point" (based on seeing it at my sister-in-law's house, thanks for letting me copy you, Lauren!) and I had it mixed into Valspar's Chalky Finish Paint at Home Depot.

2. Assembling the Tools.
I used this Purdy 1.5-inch brush and this Purdy 2-inch brush to paint with, several different weights of sandpaper (similar here) to distress the furniture and the Valspar Chalky Finish Sealing Wax to finish the piece with a satin finish. I also painted the furniture on a disposable drop cloth (similar here) and used several old t-shirts cut up to wipe the furniture down in between paint coats.

3. Executing the Strategy.
With this furniture, I was going for a gently distressed look. I didn't want the paint to look too chippy, and I wanted the finish to say "I've been worn in with love, not a chisel" (if a piece of furniture can talk). So I gently sanded the furniture's surface, then wiped everything down with a damp cloth. Next I painted the furniture with two coats, the first coat being ever so slightly sloppy (but thick coverage) and the second coat being more careful to keep the strokes all the in the direction of the wood grain. I let each paint coat dry overnight. Then I went back over the furniture with a heavy-weight sandpaper, and I proceeded to beat up the furniture I had just so lovingly painted pretty. I focused especially on the edges and corners, really wearing it down into the original stained wood. I also spent a lot of time sanding down the hardware and letting a bit of the gold gleam come through. After the piece was distressed to my liking, I wiped the furniture down with the damp cloth again and let it dry. Then I finished the piece with a coat of the Valspar Chalky Finish Sealing Wax. The wax goes on more like a lotion, and I got the best results by applying it in small sections and then wiping it off with an old t-shirt. It basically seals the furniture without any sheen whatsoever, so the pieces maintain an aged appearance.

4. Assessing the Cost.
The furniture cost me nothing. Which is glorious. Here's a breakdown of the other costs:

Paint: $29.99
Sealing Wax: $16.99
Paint Brushes: $8.83 + $10.11
Sandpaper: $2.97
Drop Cloth: $6.69
TOTAL: $75.58

5. Admiring the Results!
I am so happy with the outcome of this project. The furniture looks exactly as I hoped, but somehow even better in person. It adds just the right anchoring element to our bedroom and yet still remains calm and soothing.

I forgot how much I love making old furniture new again! I think I'm embarking upon a new hobby, you know, to go along with my bird watching and whatnot. My garage is full of projects-in-waiting!

Have you ever upcycled furniture? Got any great how-to tips to share?

P.S. In case you missed it, my other recent new-house projects have been planting my first vegetable garden and attempting to stay positive in the midst of moving and live in the moment.
Β 

Pregnancy Book Must Haves

Pregnancy Book Must Haves

Pregnancy Book Must Haves by oykristen // 1. The Birth Partner by Patty Simkin // 2. Ina May's Guide to Childbirth by Ina May Gaskin // 3. Active Birth by Janet Balaskas // 4. Birthing from Within by Pam England & Rob Horowitz // 5. Supernatural Childbirth by Jackie Mize // 6. Hypnobirthing: The Mongan Method by Marie Mongan // 7. The Baby Name Wizard by Laura Wattenberg // 8. Babywise by Gary Ezzo & Robert Bucknam // 9. Raising Baby Green by Alan Greene // 10. The Happiest Baby on the Block by Harvey Karp // 11. Bringing Up Bebe by Pamela Druckerman // 12. The Honest Life by Jessica Alba //

Pregnancy Book Must Haves.

I might have over-read in preparation for labor/delivery. But I was so curious to know everything I possibly could about all the different methods, techniques, schools of thought, and others' experiences in having babies. What can I say. My nightstand was littered with these reads for months, and I am still reading a few of these now. The pregnancy is over, the baby is here, and oh my, there is much more to be learned!

These are some of the standout books I read while I grew a baby in my belly. Most were compelling, some were monotonous, a few were funny, a few were too serious, but all of them helped me prepare for my intro to labor, delivery and motherhood. I should note that most of these books have a natural approach, meaning they were based around the conviction and case for an un-medicated birth experience. I've included notes for a few of them, now that I've actually HAD my baby and can speak to what was helpful in properly preparing me for the unknown. If you are expecting, I hope this reading guide will help you as you prep for your little one!

1. The Birth Partner by Patty Simkin

This wonderful read was recommended to Stevie by our doula, Liz. She is so rad. I didn't read this book, because it was for him, but he actually read it. And sometimes read it out loud to me. Which says a lot.

2. Ina May's Guide to Childbirth by Ina May Gaskin

This lady. Is the original hippie midwife. This guide to childbirth tells story after story of pain-free, fearless natural childbirth experiences from real women. It kinda gets you all jazzed up, if you're interested in pursuing a more natural route for labor and delivery. I'll admit, some of it is a bit too crunchy-granola for me, but I still appreciate the heart of this woman. She's pretty fierce.

*Note: This book ended up being my favorite pregnancy read and I would recommend this to anyone seeking an un-medicated birth. It was encouraging, yet realistic, and offered so much helpful information about how to have a natural childbirth.

3.  Active Birth by Janet Balaskas

Hahhaha this is a classic, natural childbirth book, naked pictures and all. My big sis lent me this one. This book focuses on a few different breathing techniques that are useful during labor, and provides a full pregnancy stretching guide, as well. It's a bit 80's, but another great supplemental guide and case for natural labor/delivery.

4. Birthing from Within by Pam England & Rob Horowitz

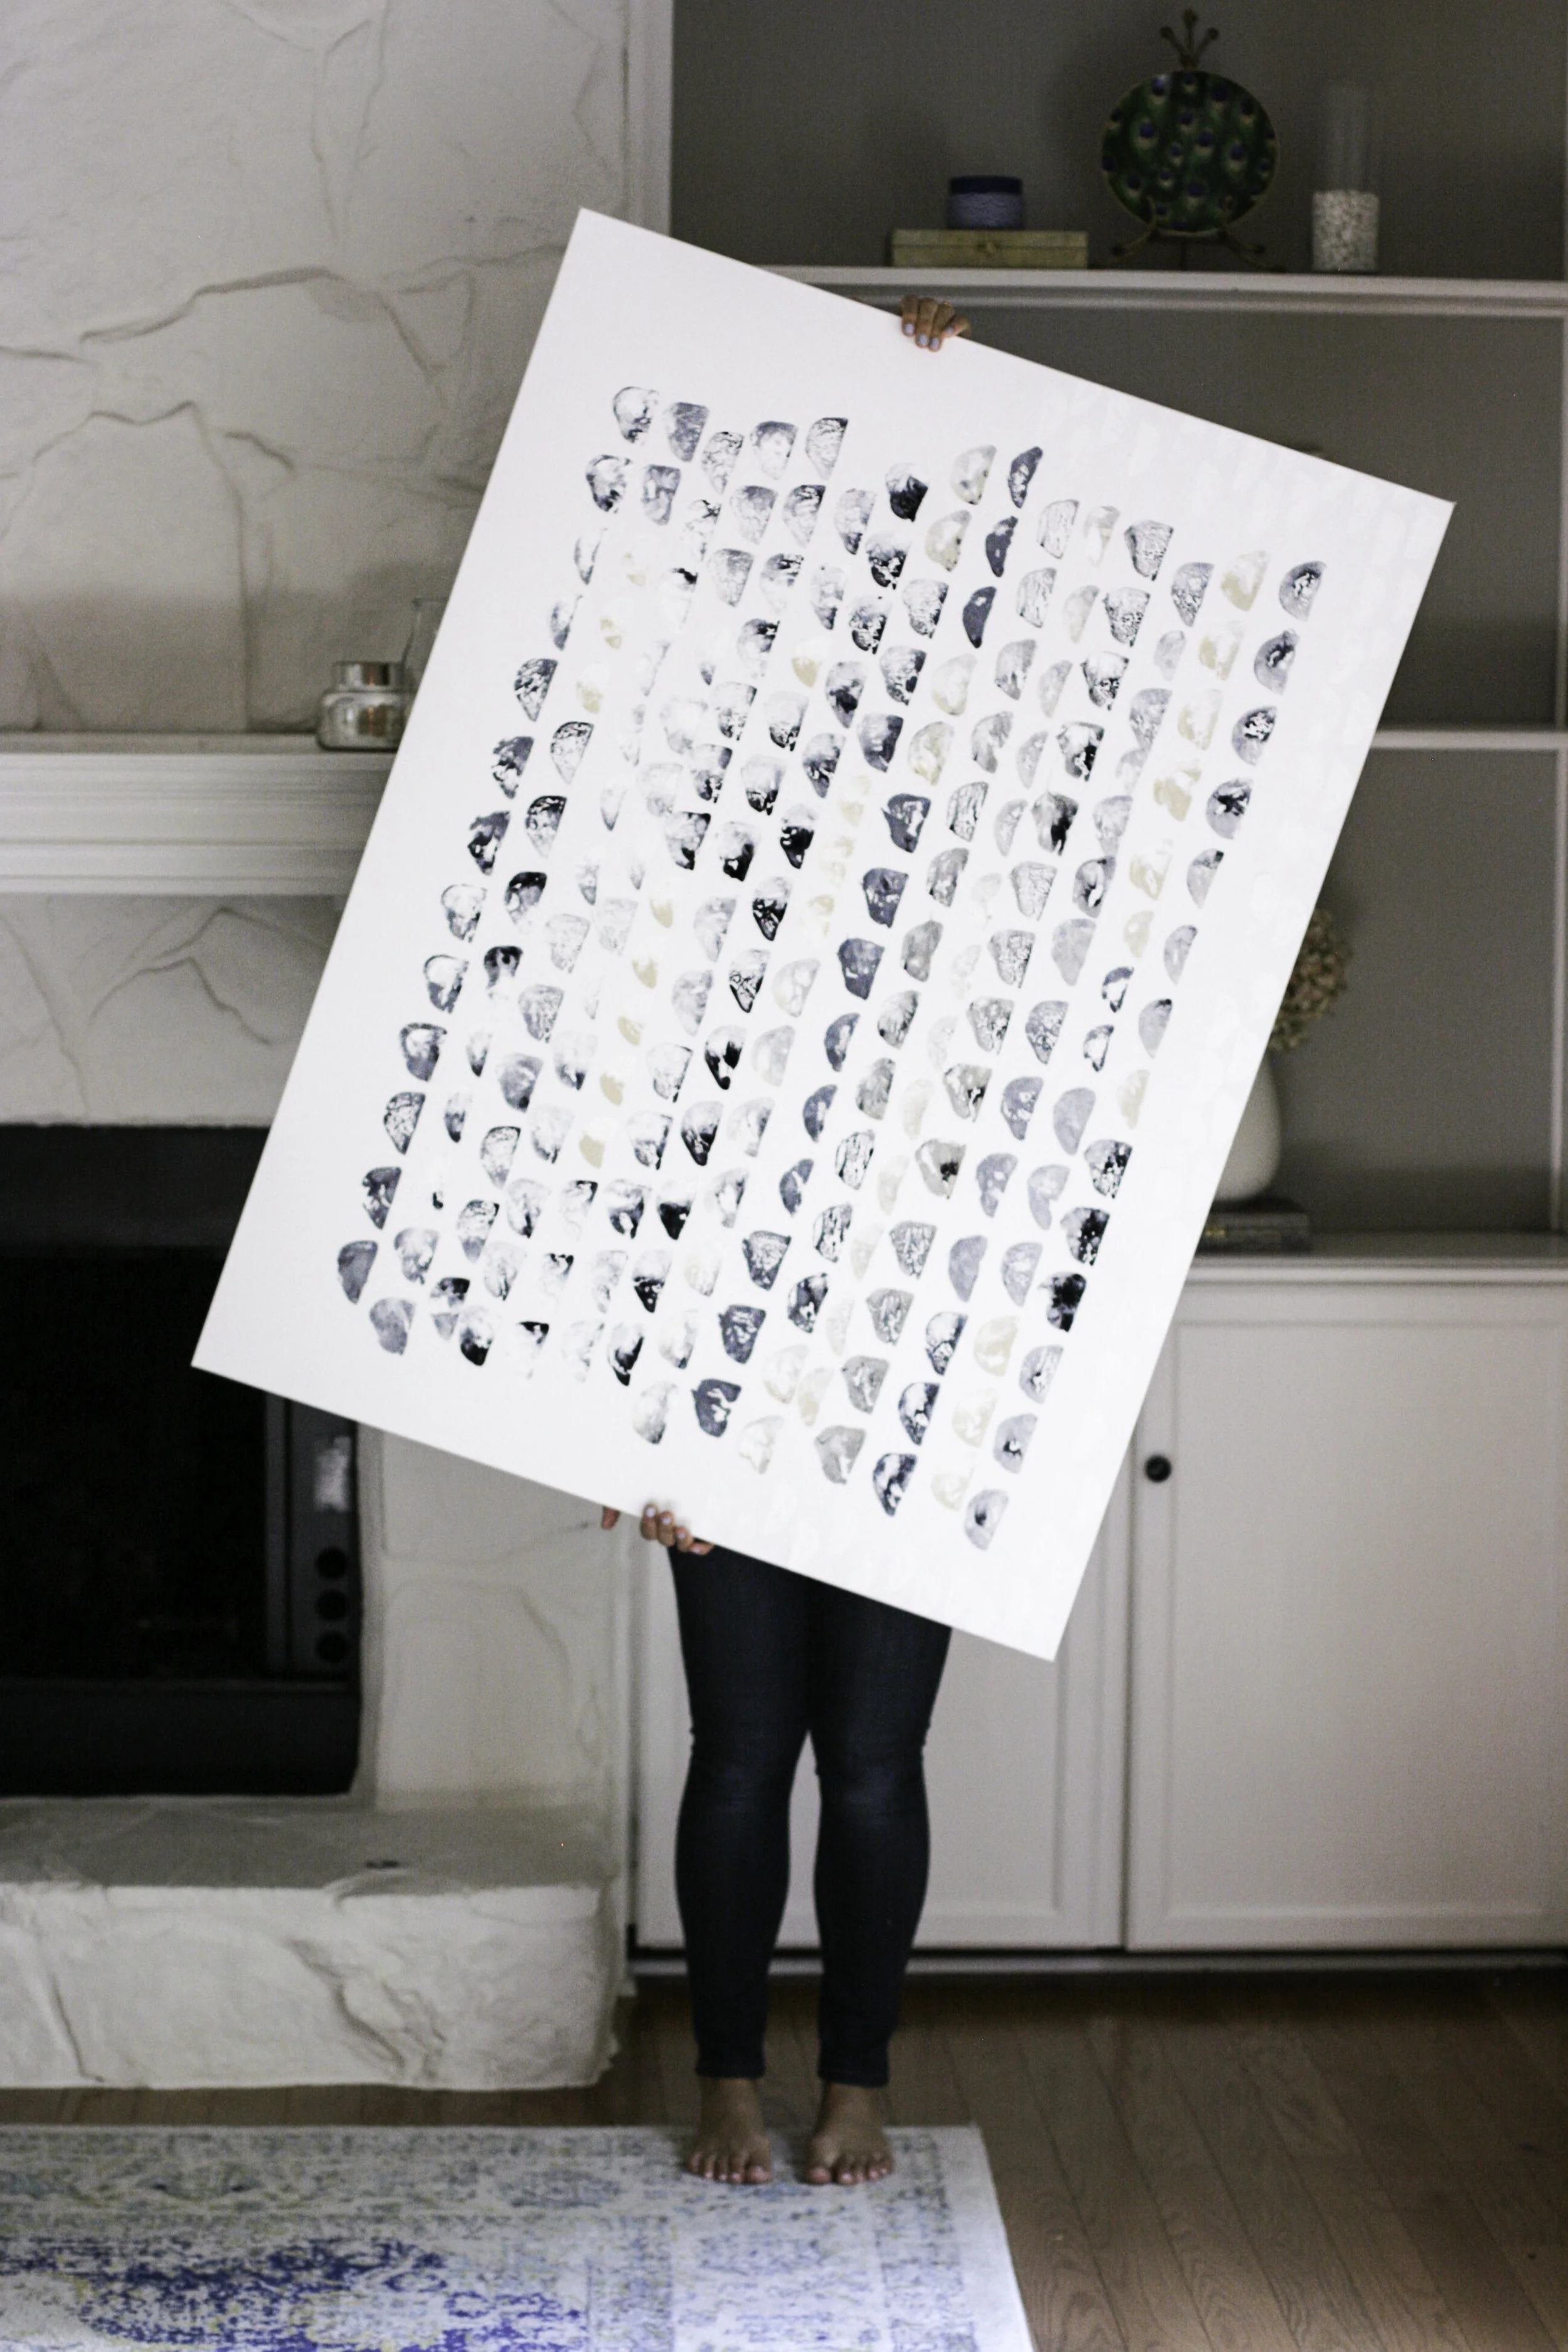
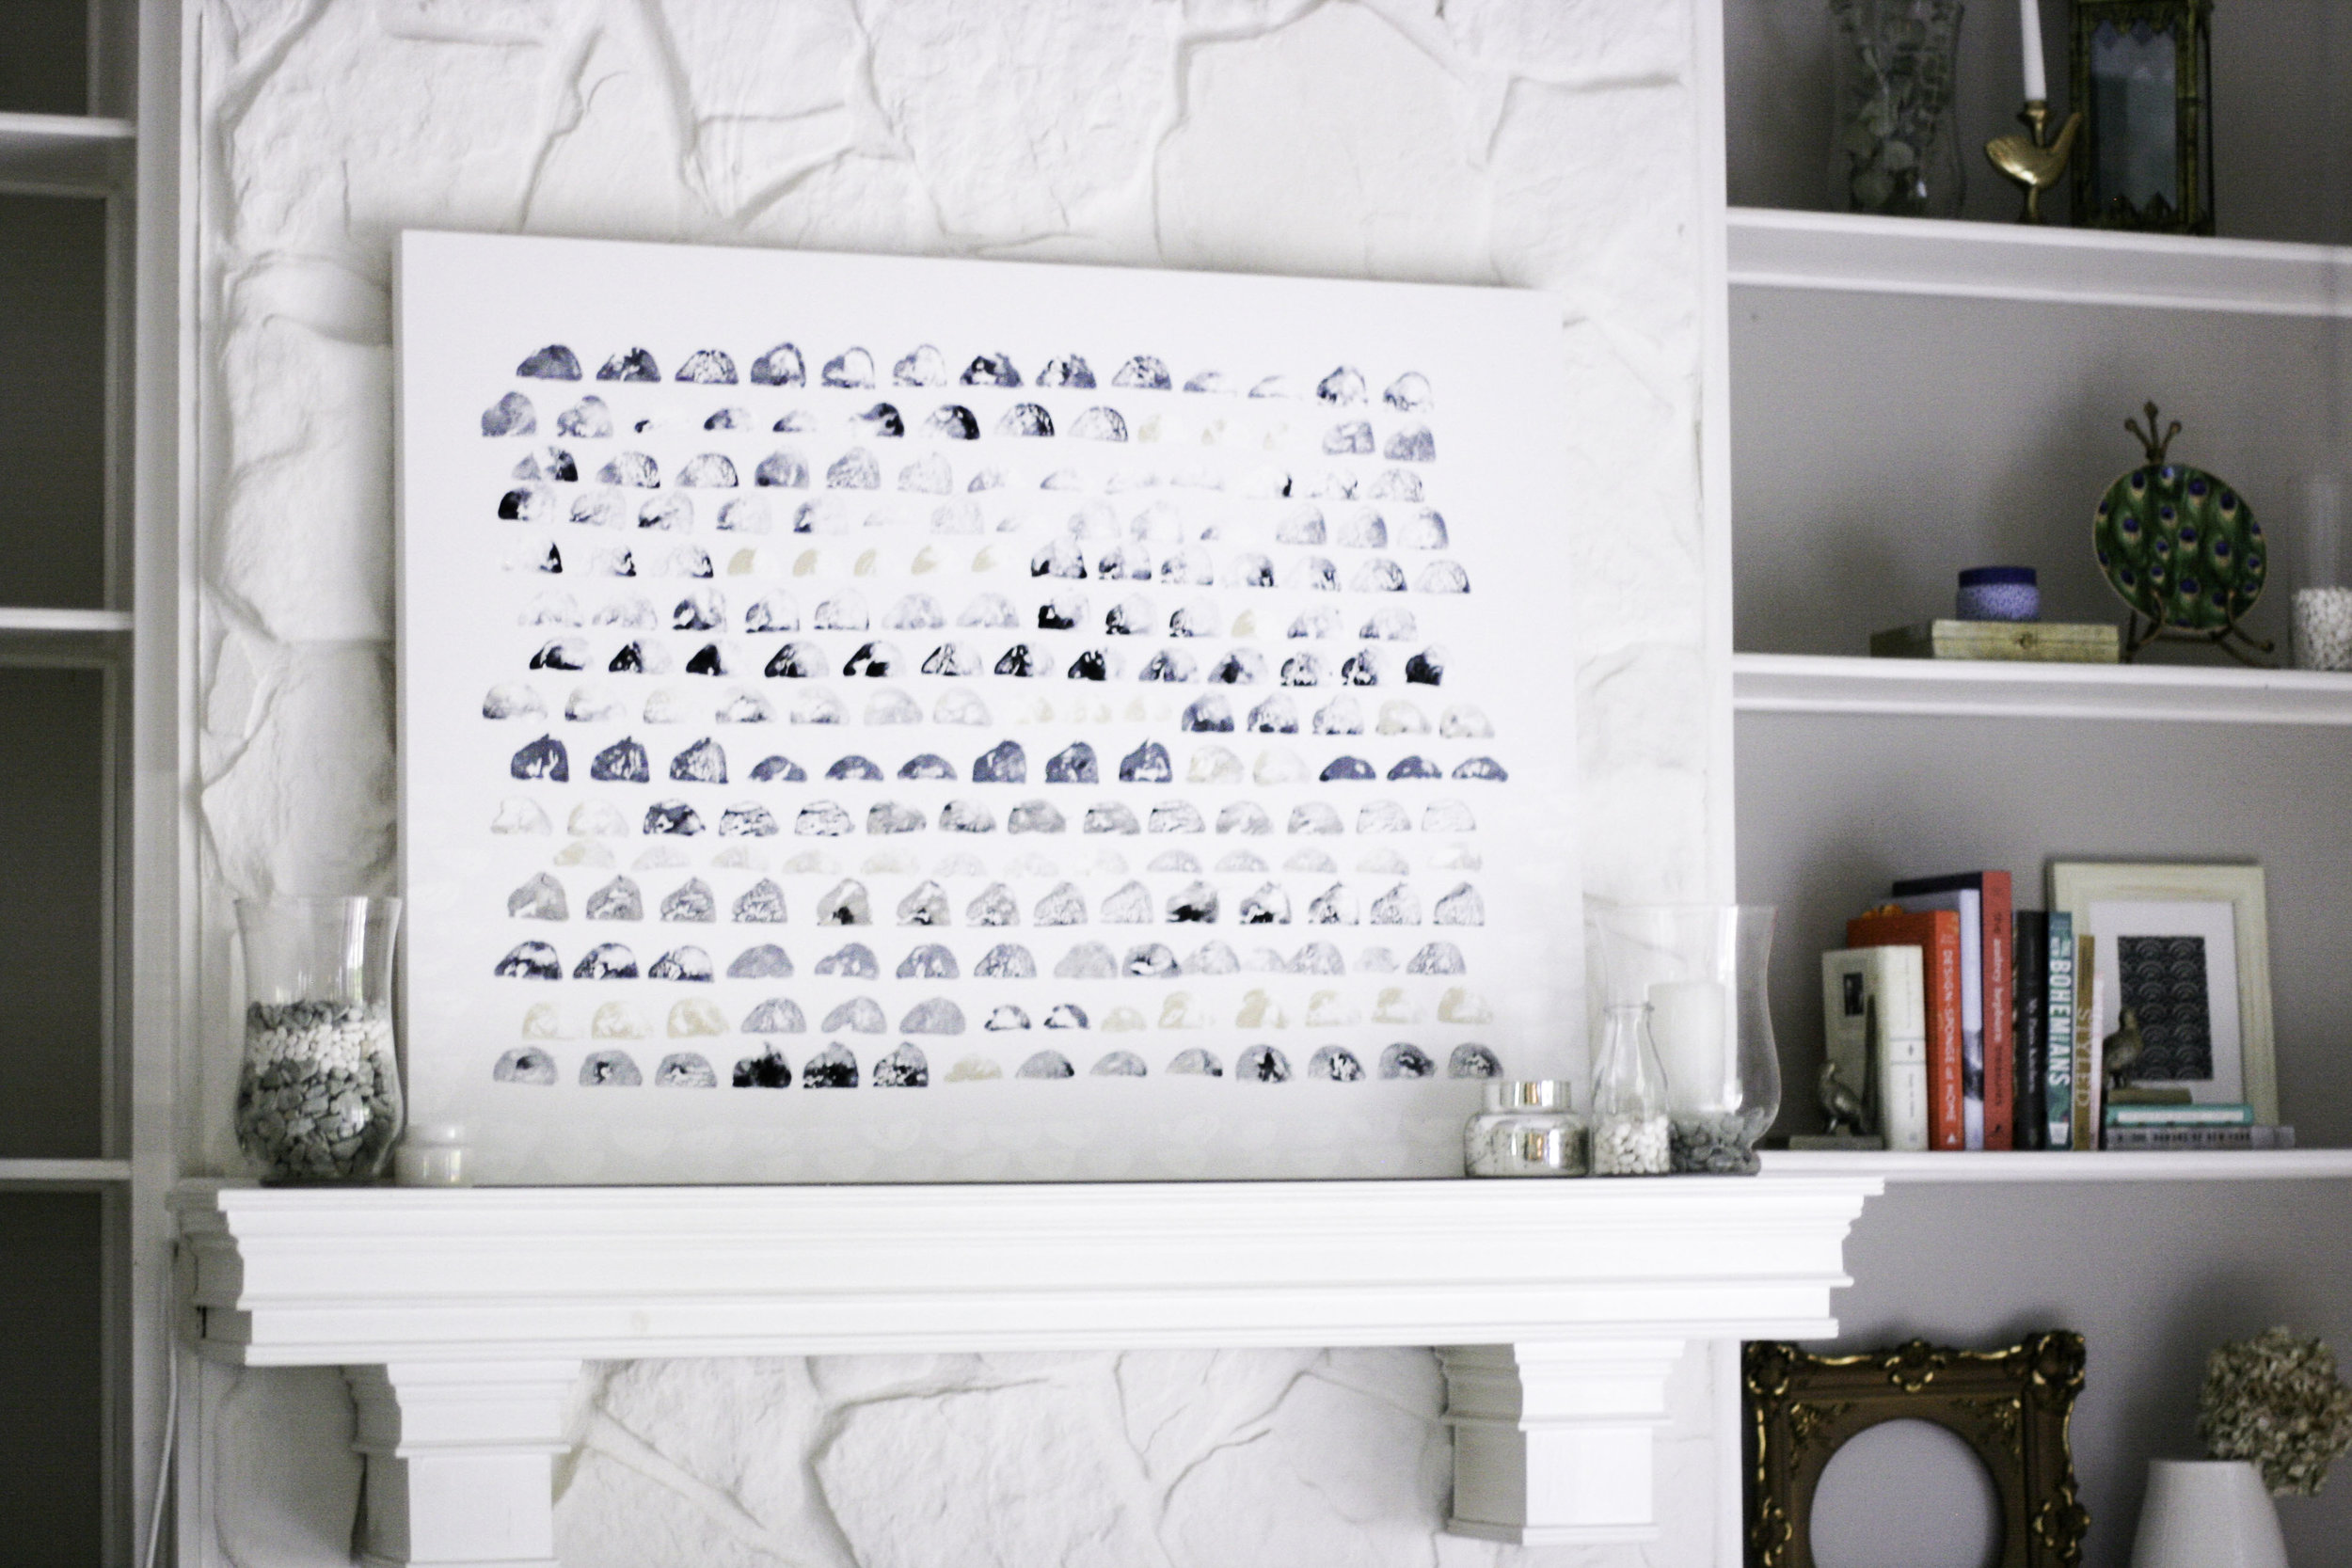
This is by FAR the crunchiest of all childbirth books. But I loved it! Yes, there might be a few too many encouraging assignments to create "birth art" with your partner (you know, coloring pictures together of your birth-related hopes and dreams.) But there are also a ton of emotional/mental healing exercises for women who have had previous traumatic pregnancy or birth experiences. I really got a lot out of it, even though this is my first baby. If you're interested in going natural but you have some fear about pursuing it due to your past experiences, this is an excellent, positive, helpful read.

*Note: There is a lot of interactive emphasis encouraged in this book. If you are a hands-on learner, this is a great choice for you. Be prepared to engage in art exercises, journaling and out-loud processing with your birth partner.

5. Supernatural Childbirth by Jackie Mize

This woman has had a bunch of kids. She hasn't had pain in any of her childbirths. She outlines the reasons she believes that every woman can have the experiences she's had - she provides her stories, biblical scripture to back up why she believes what she believes, and some prayers at the end of the book that you can utilize during pregnancy/labor/delivery. Again, it might seem far-fetched, but this woman has LIVED these experiences. Can't argue with someone's experience.

*Note: This book could set unrealistic expectations, as I came to learn.  

6. Hypnobirthing: The Mongan Method by Marie Mongan

Oh hypnobirthing. This is the method that I used to prepare for my labor/delivery process. Basically, Hypnobirthing teaches women how to expel all pre-conceived fears they might have about giving birth. It particularly focuses on retraining the way you think about childbirth (hence, the "hypno"), utilizing specific breathing techniques and empowering a "birth partner" as your support person in the labor/delivery room. The "hypno" part seems to freak a lot of people out, but it shouldn't. It's very focused on training oneself to deeply relax.

Note: We also took a hypnobirthing course, which really helped us activate the tools outlined in the book. I also feel compelled to mention that I didn't really find myself using these tools once I was actually in labor, but I believe all the prep work we did with this method made a big difference in my experience, so I definitely recommend it.

7. The Baby Name Wizard by Laura Wattenberg

This is an awesome, up-to-date baby name book. It doesn't just give names and their meanings, it also gives rank of popularity, where the name has been trending in pop culture, and similar/related names. We already had Everett's name picked out, but there were some great contenders listed that we considered.

8. Babywise by Gary Ezzo & Robert Bucknam

I started it. I haven't finished it. But apparently this book is like, a really big deal.

9. Raising Baby Green by Alan Greene

This isn't a pregnancy book, but a lifestyle guide on how to raise, well, a green baby. This book is THOROUGH. It covers everything you need to know about raising a baby in a toxic-free, organic environment. Cleaning products, types of paint to use in your home decor, cribs and gliders and lunch boxes and baby food blenders and recipes and clothing... I could go on and on. It's all in this book.

*Note: This book can be kind of annoying. But it is a super thorough guide so I had to include it.

10. The Happiest Baby on the Block by Harvey Karp

LOOOOOOOVE. This book is so great. Got a crying, colic-y child? Have no fear. This book is here. And it's not just a guide on how to shut your child up. Excuse me, I meant, quiet the precious gift from God. But it also references tons of research on why this method works. And for someone like my husband, who trusts the words/advice/research of a Doctor above all, he really appreciated Dr. Karp's reasoning behind his method.

*Note: This method WORKS. At least with our baby.

11. Bringing Up Bebe by Pamela Druckerman

This is just a funsie. This New York Times author moved to France and had a baby, then realized that French children are infinitely more polite and better behaved than American children. So she sought to discover why. It's a fun and interesting read. And a nice break from some of the more serious child-rearing books out there.

12. The Honest Life by Jessica Alba 

Seriously, Jessica Alba has GOT to stop stealing all of my money. Her company, The Honest Co., is a line item in our budget these days. We are such suckers. BUT. It all started with this read. This book outlines her journey in pursuing eco-friendly, healthy, non-toxic choices for her personal life and her family. Yes, she's an actress with a business (insert critical emoji of your choice.) But her story is one that I connected with - don't we all want the best for our children? This book is a great guide on how to make healthy, clean, organic choices for your family - included are kid-approved recipes, seasonal food guides, eco-friendly cleaning tips & recommendations, organic hair/makeup/skincare routines - and it's all easy, NOT super time-consuming and affordable.

Any books that you would recommend to someone who is expecting a baby? Include in the comments section below!

January Delights

January List...

January List... by oykristen // 1. Champion Women's Fit and Flare Tank // 2. Lacroix Pamplemousse Water // 3. Hale Groves Red Grapefruit // 4. Giada's Feel Good Food Cookbook  // 5. Neoprene Flashbulb Handweights  // 6. Vitamix Series 3 Professional Blender // 7. 2014 Paper Source Watercolor Art Calendar // 8. Korres Lip Butter in Quince // 9. Origins Plantscription Youth-Renewing Night Cream // 10. Paper Source Gratitude Journal //

A Jolly January.

It's a new year. Obviously, you know this. I have taken a little bit of time to reflect and think about what I want this year to be about. My bff Trish made a really point about resolutions. She said, "Year resolutions are too much pressure. I like to think about one goal for each quarter." So she makes mini goals for the Spring, Summer, Fall, etc. So smart! And certainly more manageable. That girl... she's a gem. 

So I've been focusing on wellness goals for the Spring (I know it's not quite spring yet, but humor me... I've gotta have some motivation to get through the winter up here!) When I say wellness, I do NOT mean just eating right, dieting or workout goals. I mean overall wellness; spirit AND body. What does that mean?

Spirit.

Making sure I take a few minutes every morning to pray, be thankful for another day of life and health, to read some scriptures or journal a little bit. It's annoying to wake up 15 minutes earlier than my eyes want to open, but I've found that it centers me for the entire day. And sometimes that 15 minutes turns into 45. It's rather peaceful. And it makes me more aware of others and their needs (hello, I write a BLOG, I don't need any extra incentive to be introspective. But I could certainly be less selfish.) This little journal (10. Paper Source Gratitude Journal) and calendar (7. 2014 Paper Source Watercolor Art Calendar) are a few great tools to get that reflective ball rolling!

Body.

Lets get real. My holiday was all-consuming. Literally. I vegged my heart out and worked out, um... very little. So I'd like to get back into the swing of balancing cardio and weights, along with some extra stretching. I never stretch anymore! Its ridiculous, because I know how good stretching is for the bod. When I watch TV, I'm taking half an episode to sprawl out on the floor and just stretch. There is just really no excuse. (Especially since I've been glued to House Hunters International and Property Brothers lately.) Oh HGTV. You slay me. I bought this fun workout top (1. Champion Women's Fit and Flare Tank) and have been using these nifty little weights (5. Neoprene Flashbulb Handweights) to slowly regain my strength and stamina. In an effort to imagine that I'm living in the tropics, I've been snacking on grapefruit everything lately, and treating myself to this sparkling water (2. Lacroix Pamplemousse Water) like it's going out of style. Yum. My dear friend and health guru got me this fabulous book (4. Giada's Feel Good Food Cookbook) for Christmas, and I've been trying out a few of the recipes. Who doesn't love Giada? She's such a babe. And a wonder in the kitchen. ANNND (drumroll please) I got this dreamy blender (6. Vitamix Series 3 Professional Blender) for Christmas and I am FREAKING OUT about all the wonderful eats that will come from such a powerful machine. Stay tuned for lots of yummy recipes to come.

Side note: It's winter. It's a real bear on the skin. I'm currently involved in a dysfunctional love/hate relationship with Origins (love the products, hate the prices), and since I am the whipped party, I shell out the cash for the promise of a brighter tomorrow (in this case, 9. Origins Plantscription Youth-Renewing Night Cream.) And to be honest, these products make my skin so soft and less, um caveman-like? I tend to turn sallow-yellow in the winter (thanks, Dad, for that Italian heritage. And thanks, Mom, for throwing in that Native American heritage, too.), so while my lovely sisters got the rosy-pink undertones in their skin, I unfortunately inherited the olive face which means than sans-tan, I am sporting a tricked-out yellow-fever kind of palette. Talk about being between a rock and a hard place. Thankfully, a pretty pink-ish lip gloss (8. Korres Lip Butter in Quince) certainly helps the dismal situation. Am I being too chatty? I'm feeling deliciously girly today.

I hope your January continues in a jolly fashion. Don't let the cold get you down! Blast your heat and wear bright colors - the sunshine is in your future!