

How to Upcycle Furniture + My (old) New Bedroom Dresser!
/
I'm excited to share this up-cycled DIY project today!
I mentioned a here few weeks ago that we were given a ton of old furniture from a family friend. We were so overwhelmed and grateful to be given so much, especially in the midst of buying and moving into our first home. However, for as nice all the furniture is, a lot of the pieces are pretty dated in terms of color, style and hardware. I decided to try my hand at upcycling the pieces and giving them some fresh life - and fresh paint :) I started in the bedroom.
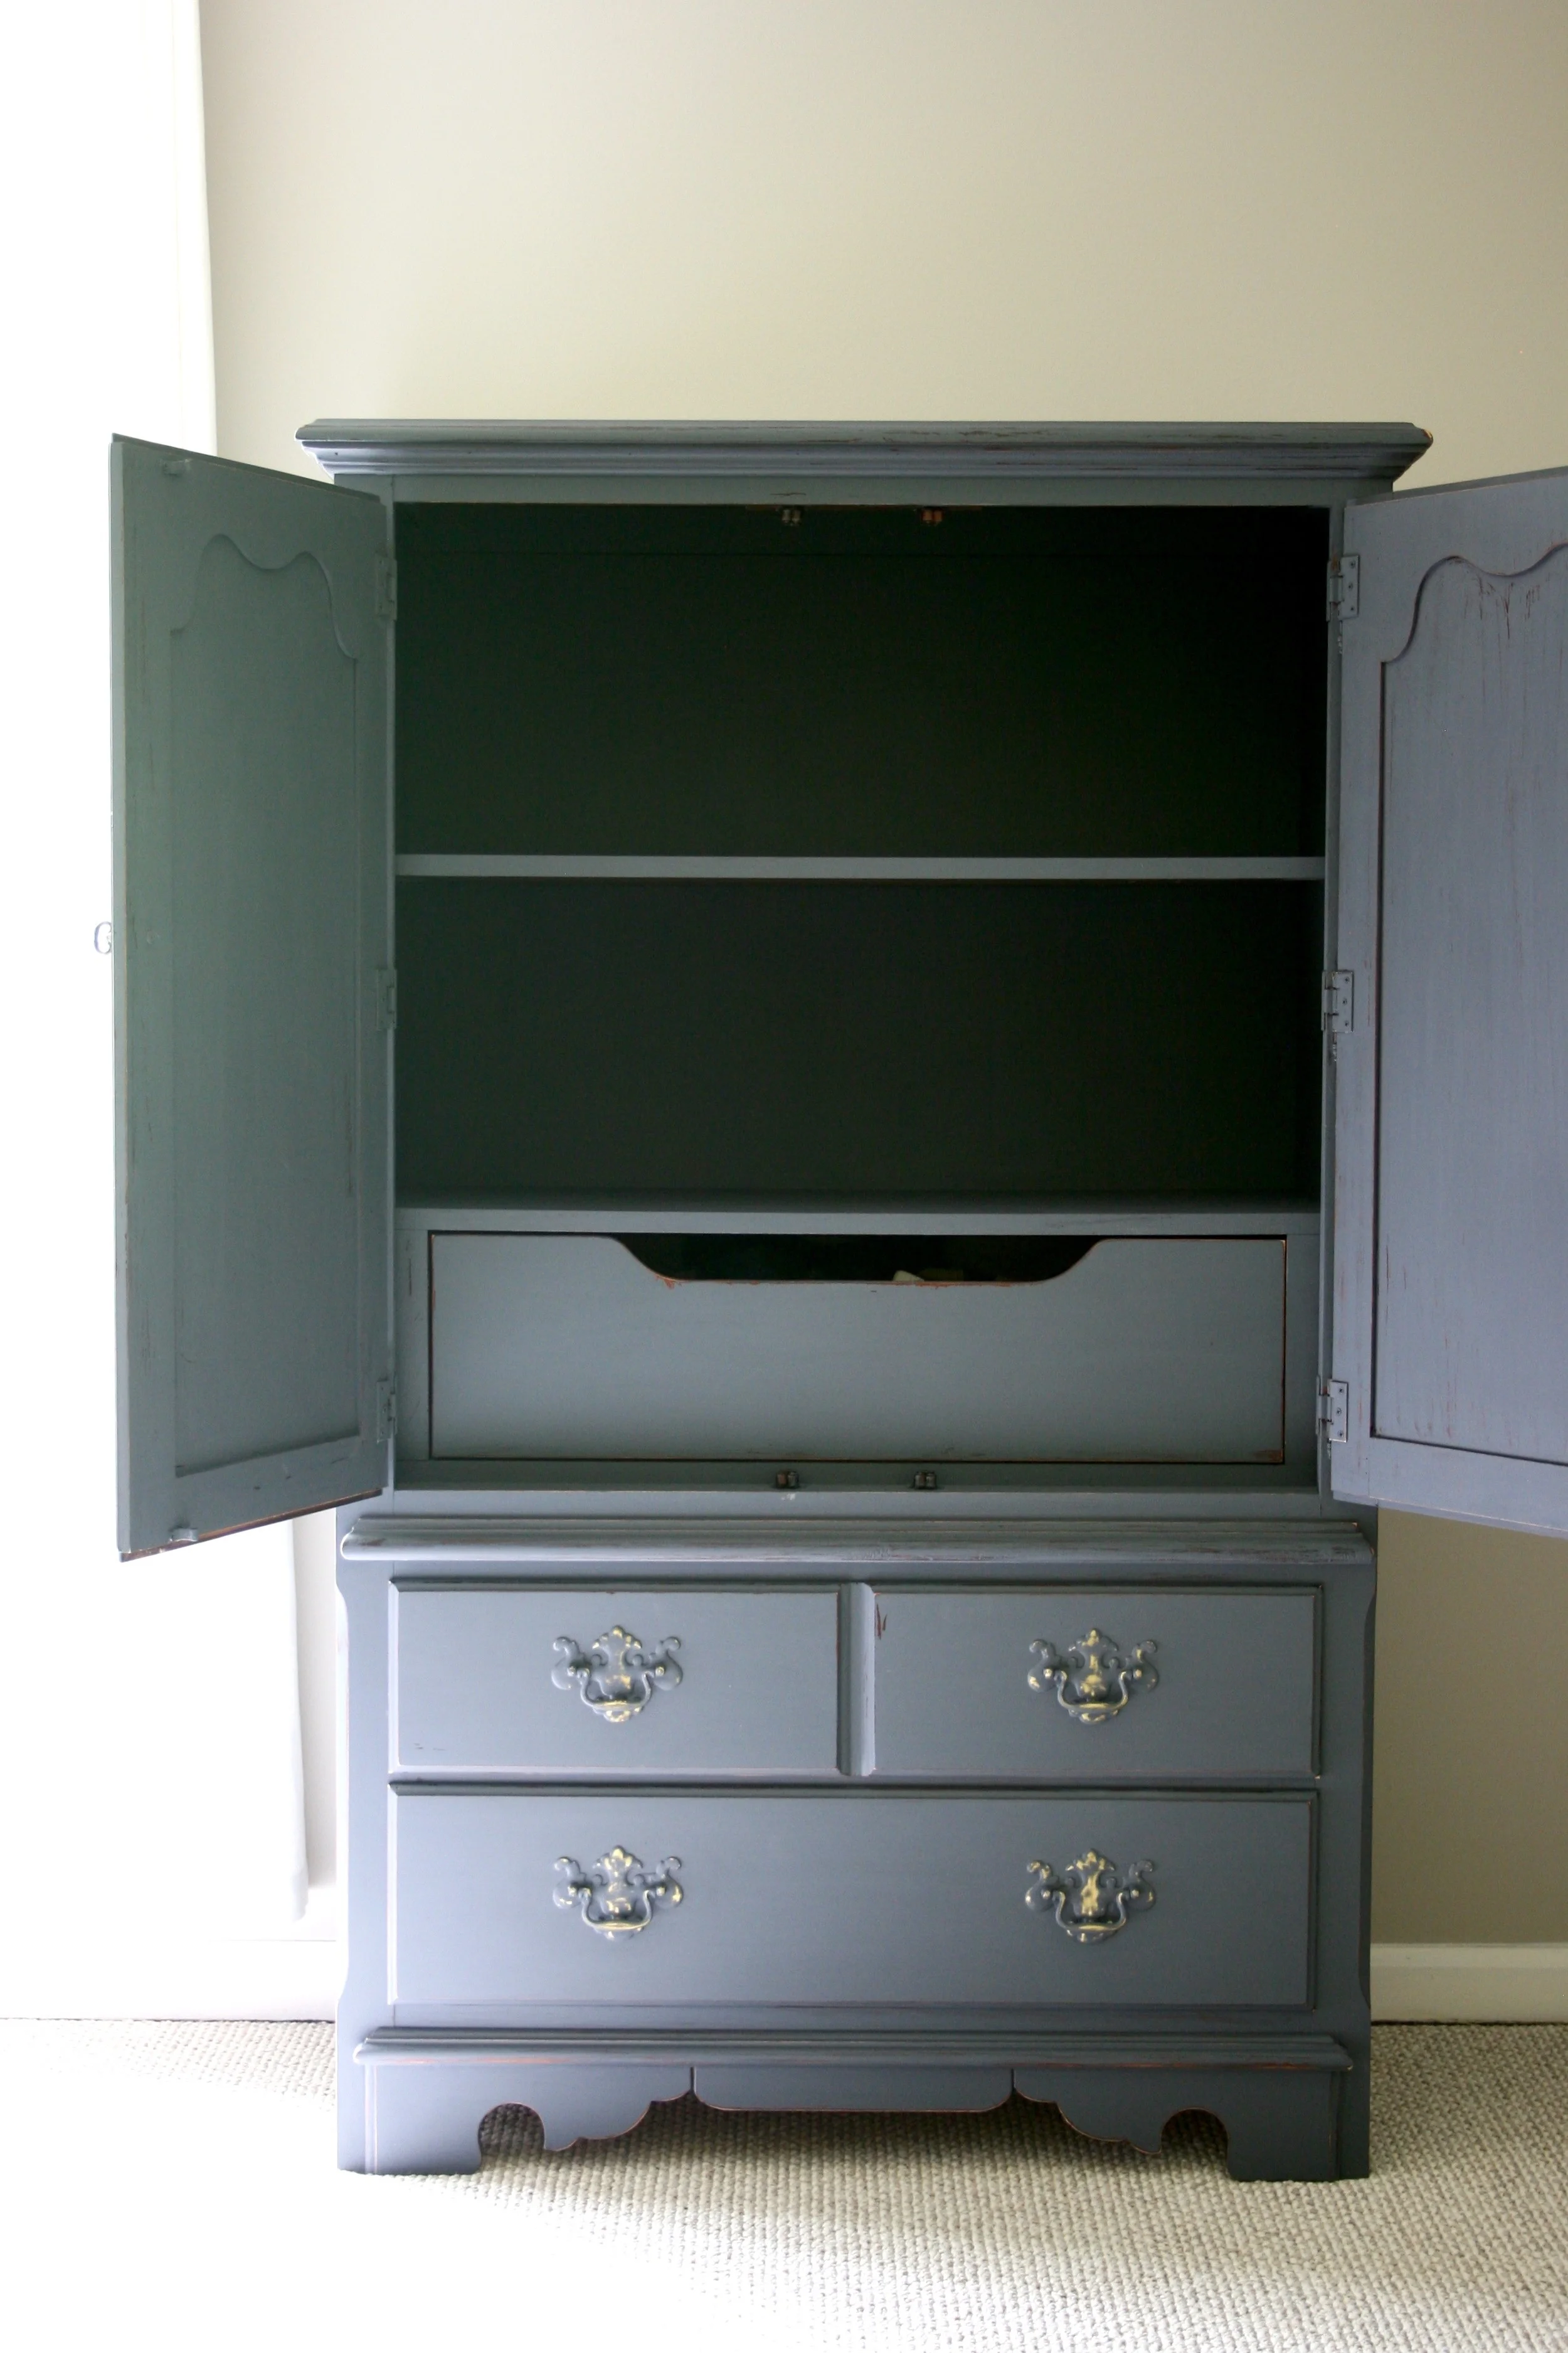
I was given two coordinating bedroom dressers that are Johnsonville brand and from what I understand from the previous owner, are about 25 years old. The top of one of the dressers was scratched up pretty good, but other than that, these pieces were in excellent condition. They just needed a bit of beautifying, which I'll admit, is something that I love doing. Here are the steps I took for this home renovation/DIY/upcycling project!

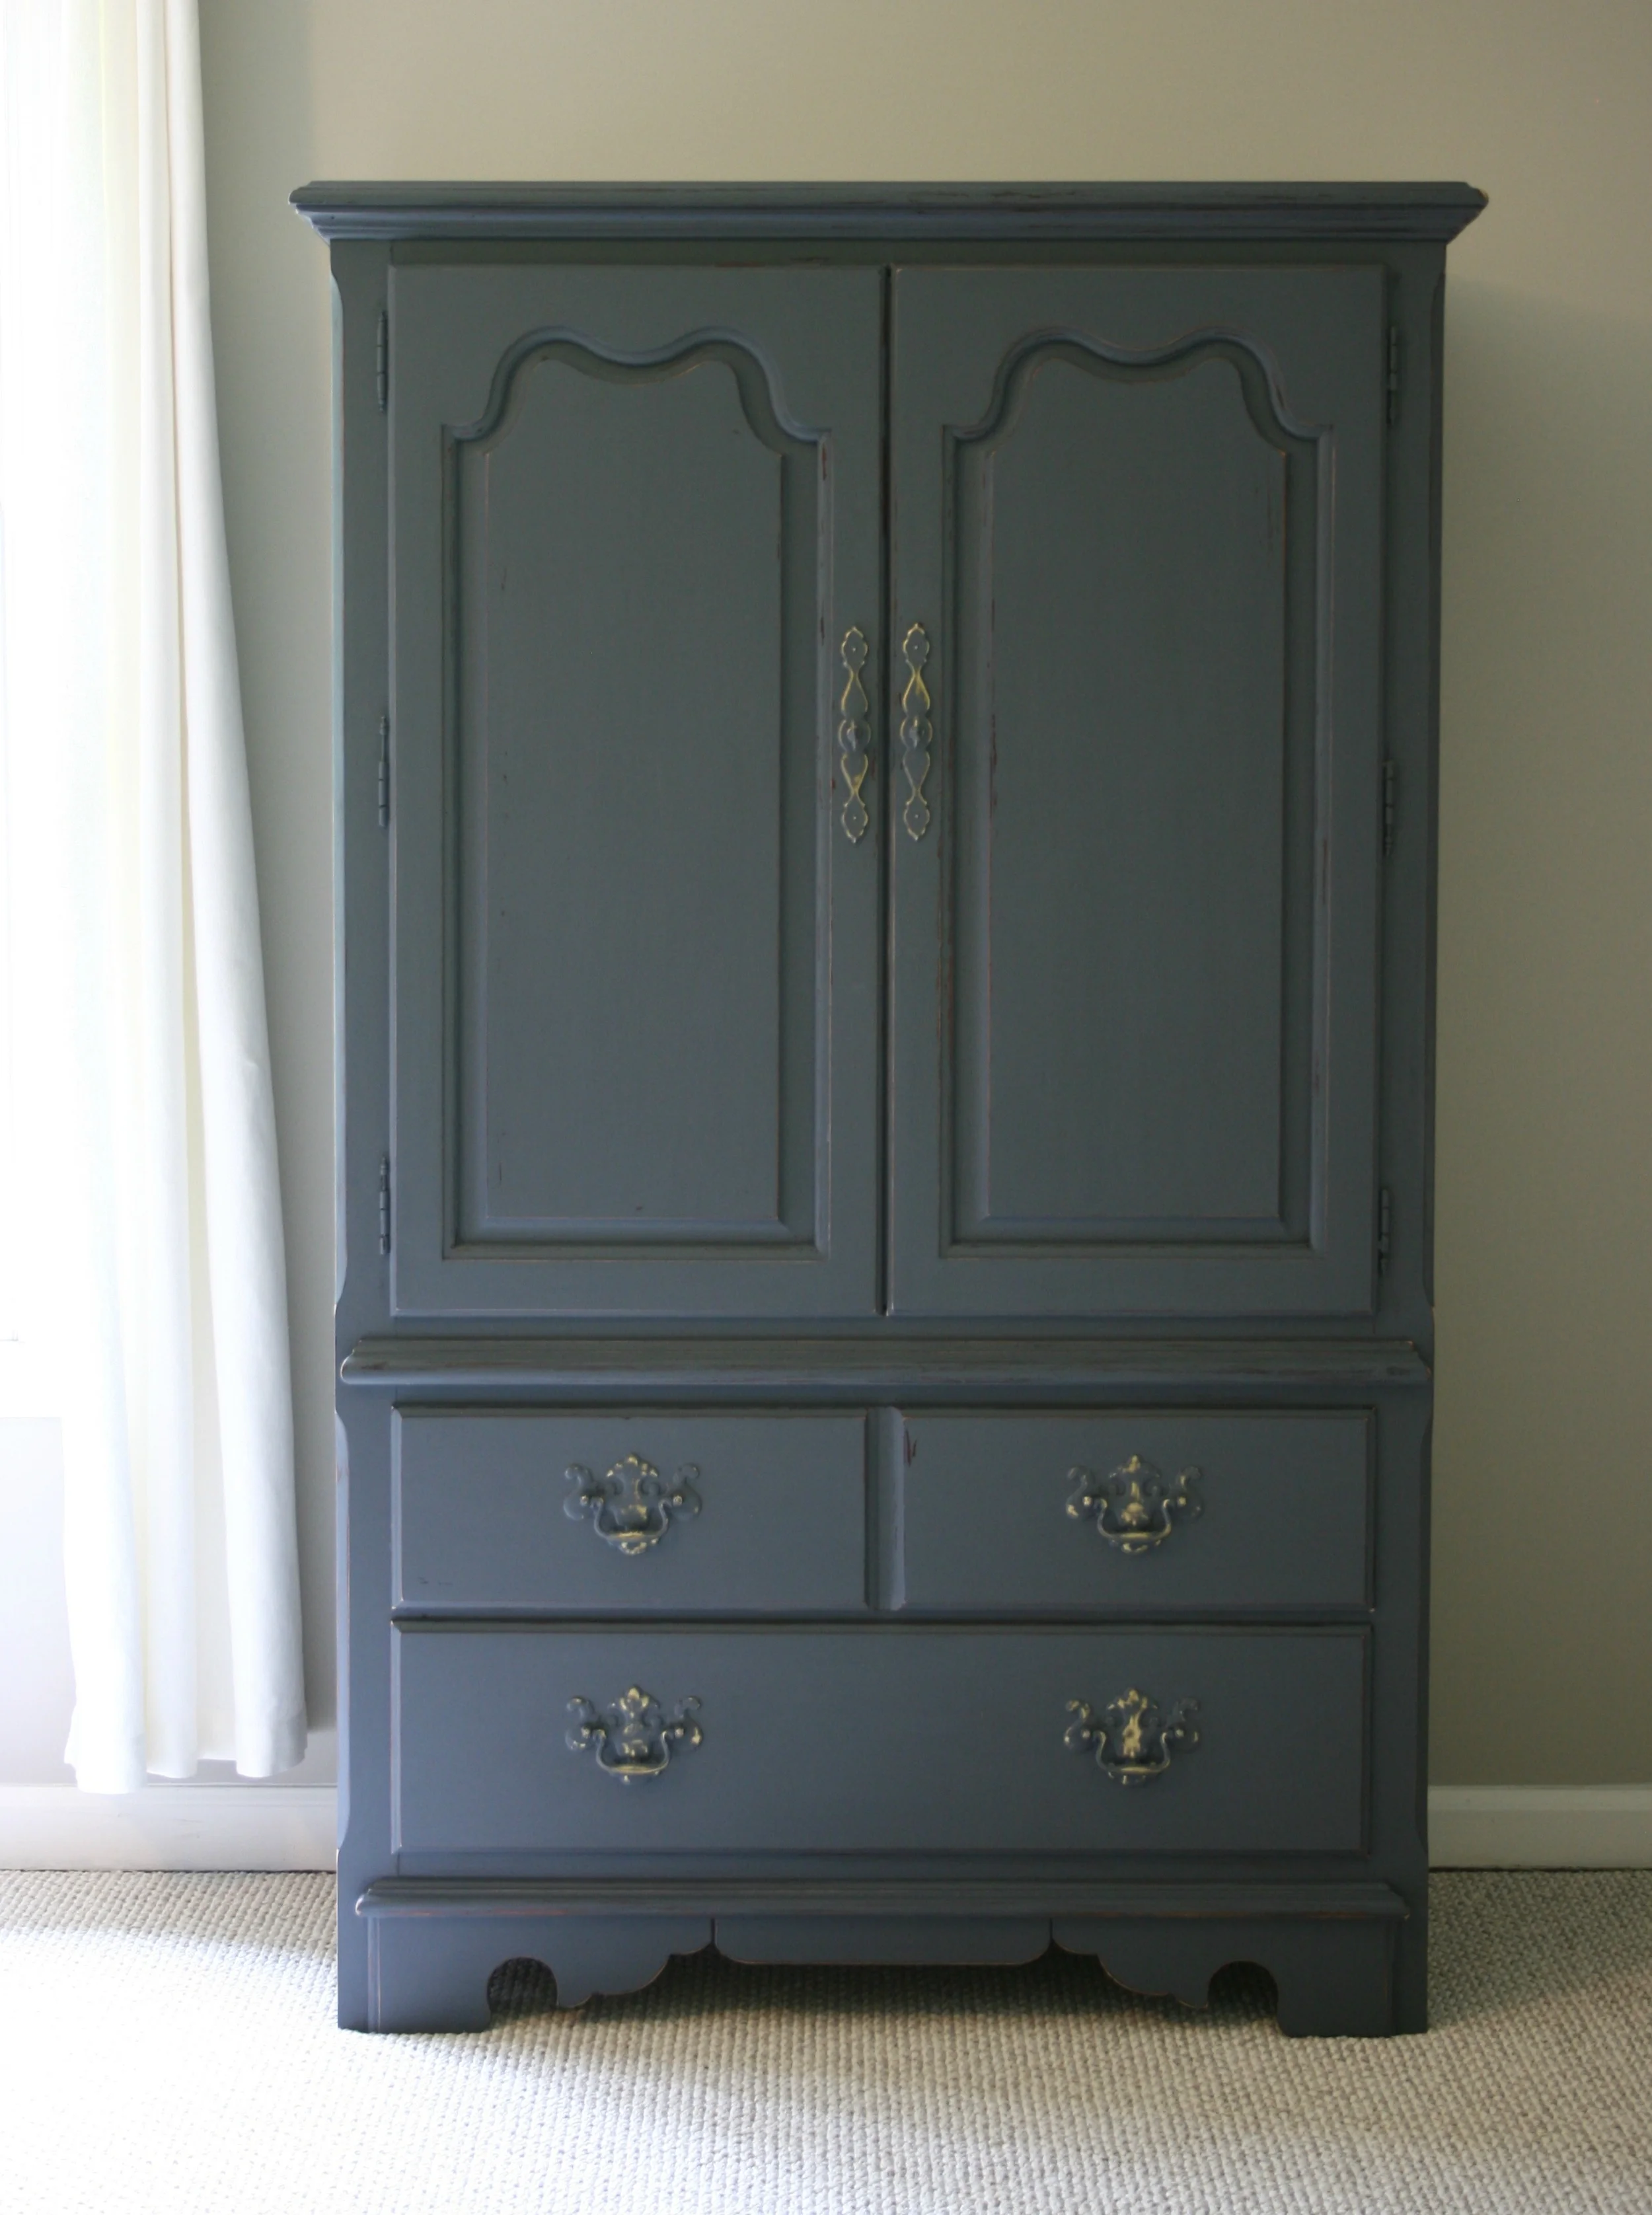
To give you an idea of what I was working with. The "before".
1. Choosing the Color.
The first thing I decided on was a color story for my bedroom. I know that sounds so lame, but think about it! You really want to love the bedroom, because you spent 1/3 of your life sleeping in there. I have always loved white bedding and blue accents, and as much as I try to convince myself to branch out and try some new colors, I always come back to these shades for my bedroom. Blues and whites and all the colors in between are just so soothing, so I caved and once again went in that direction. This Anthropologie dresser served as my inspiration for the furniture. I chose the Behr shade "Pencil Point" (based on seeing it at my sister-in-law's house, thanks for letting me copy you, Lauren!) and I had it mixed into Valspar's Chalky Finish Paint at Home Depot.
2. Assembling the Tools.
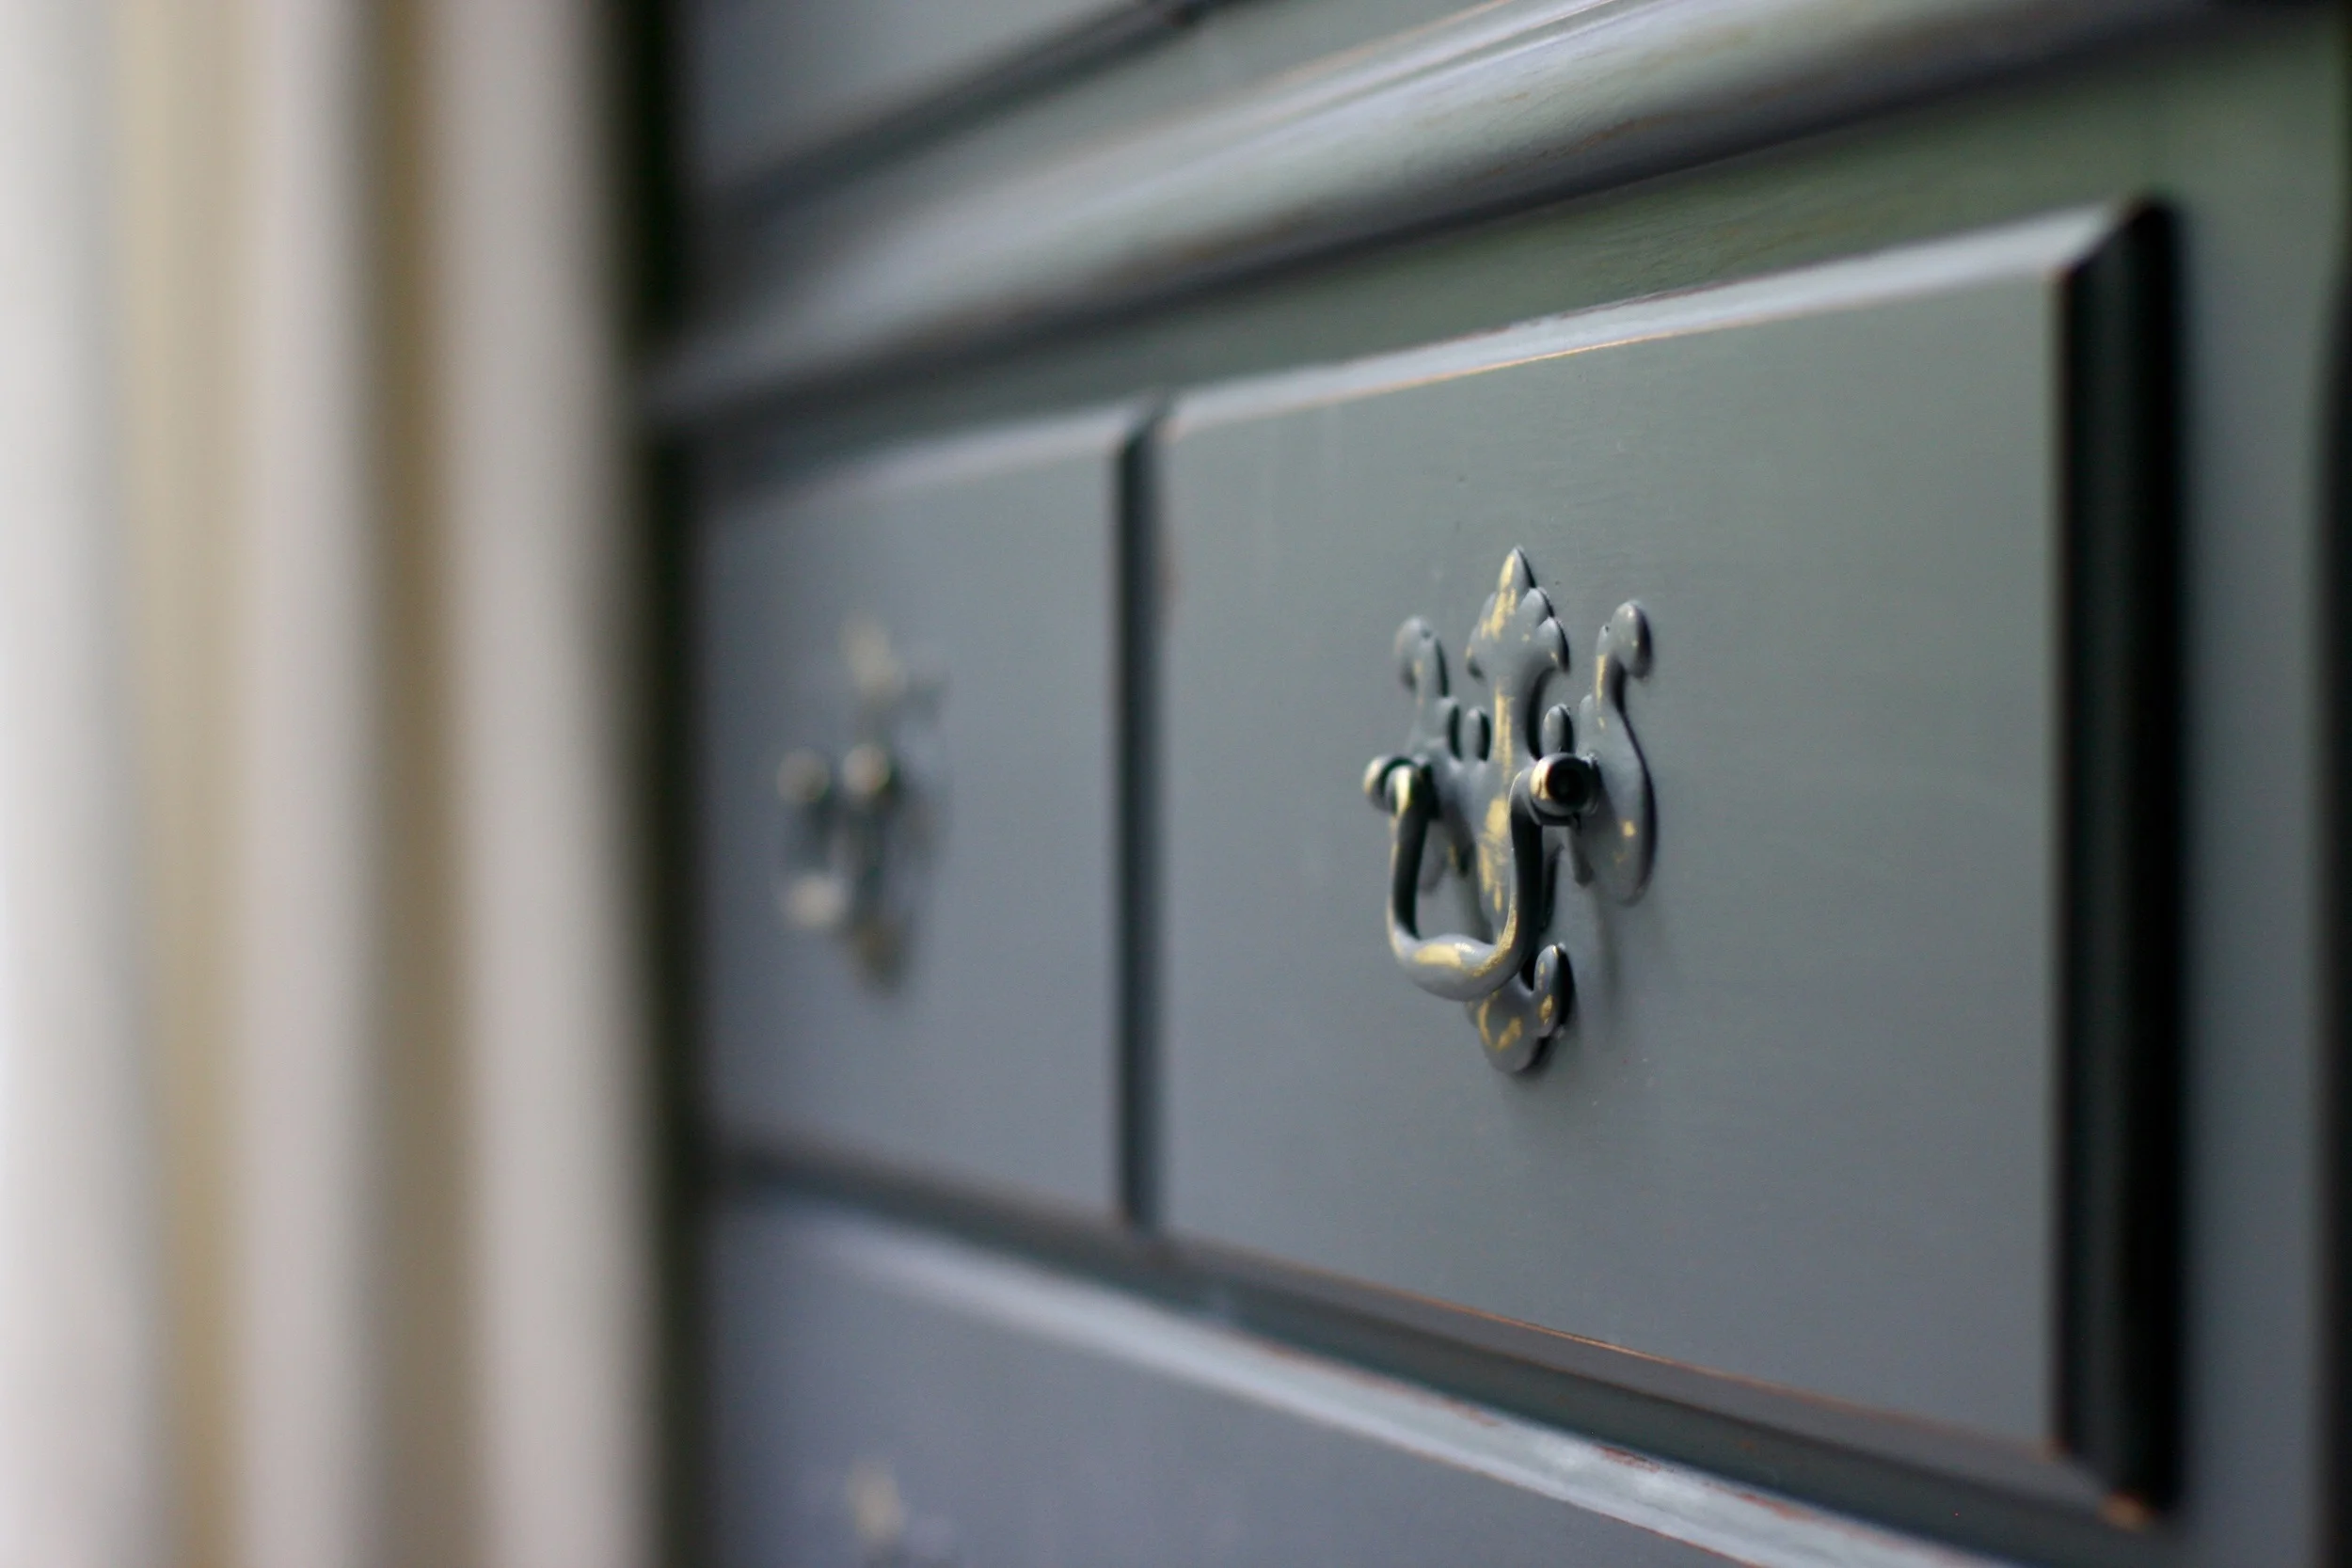
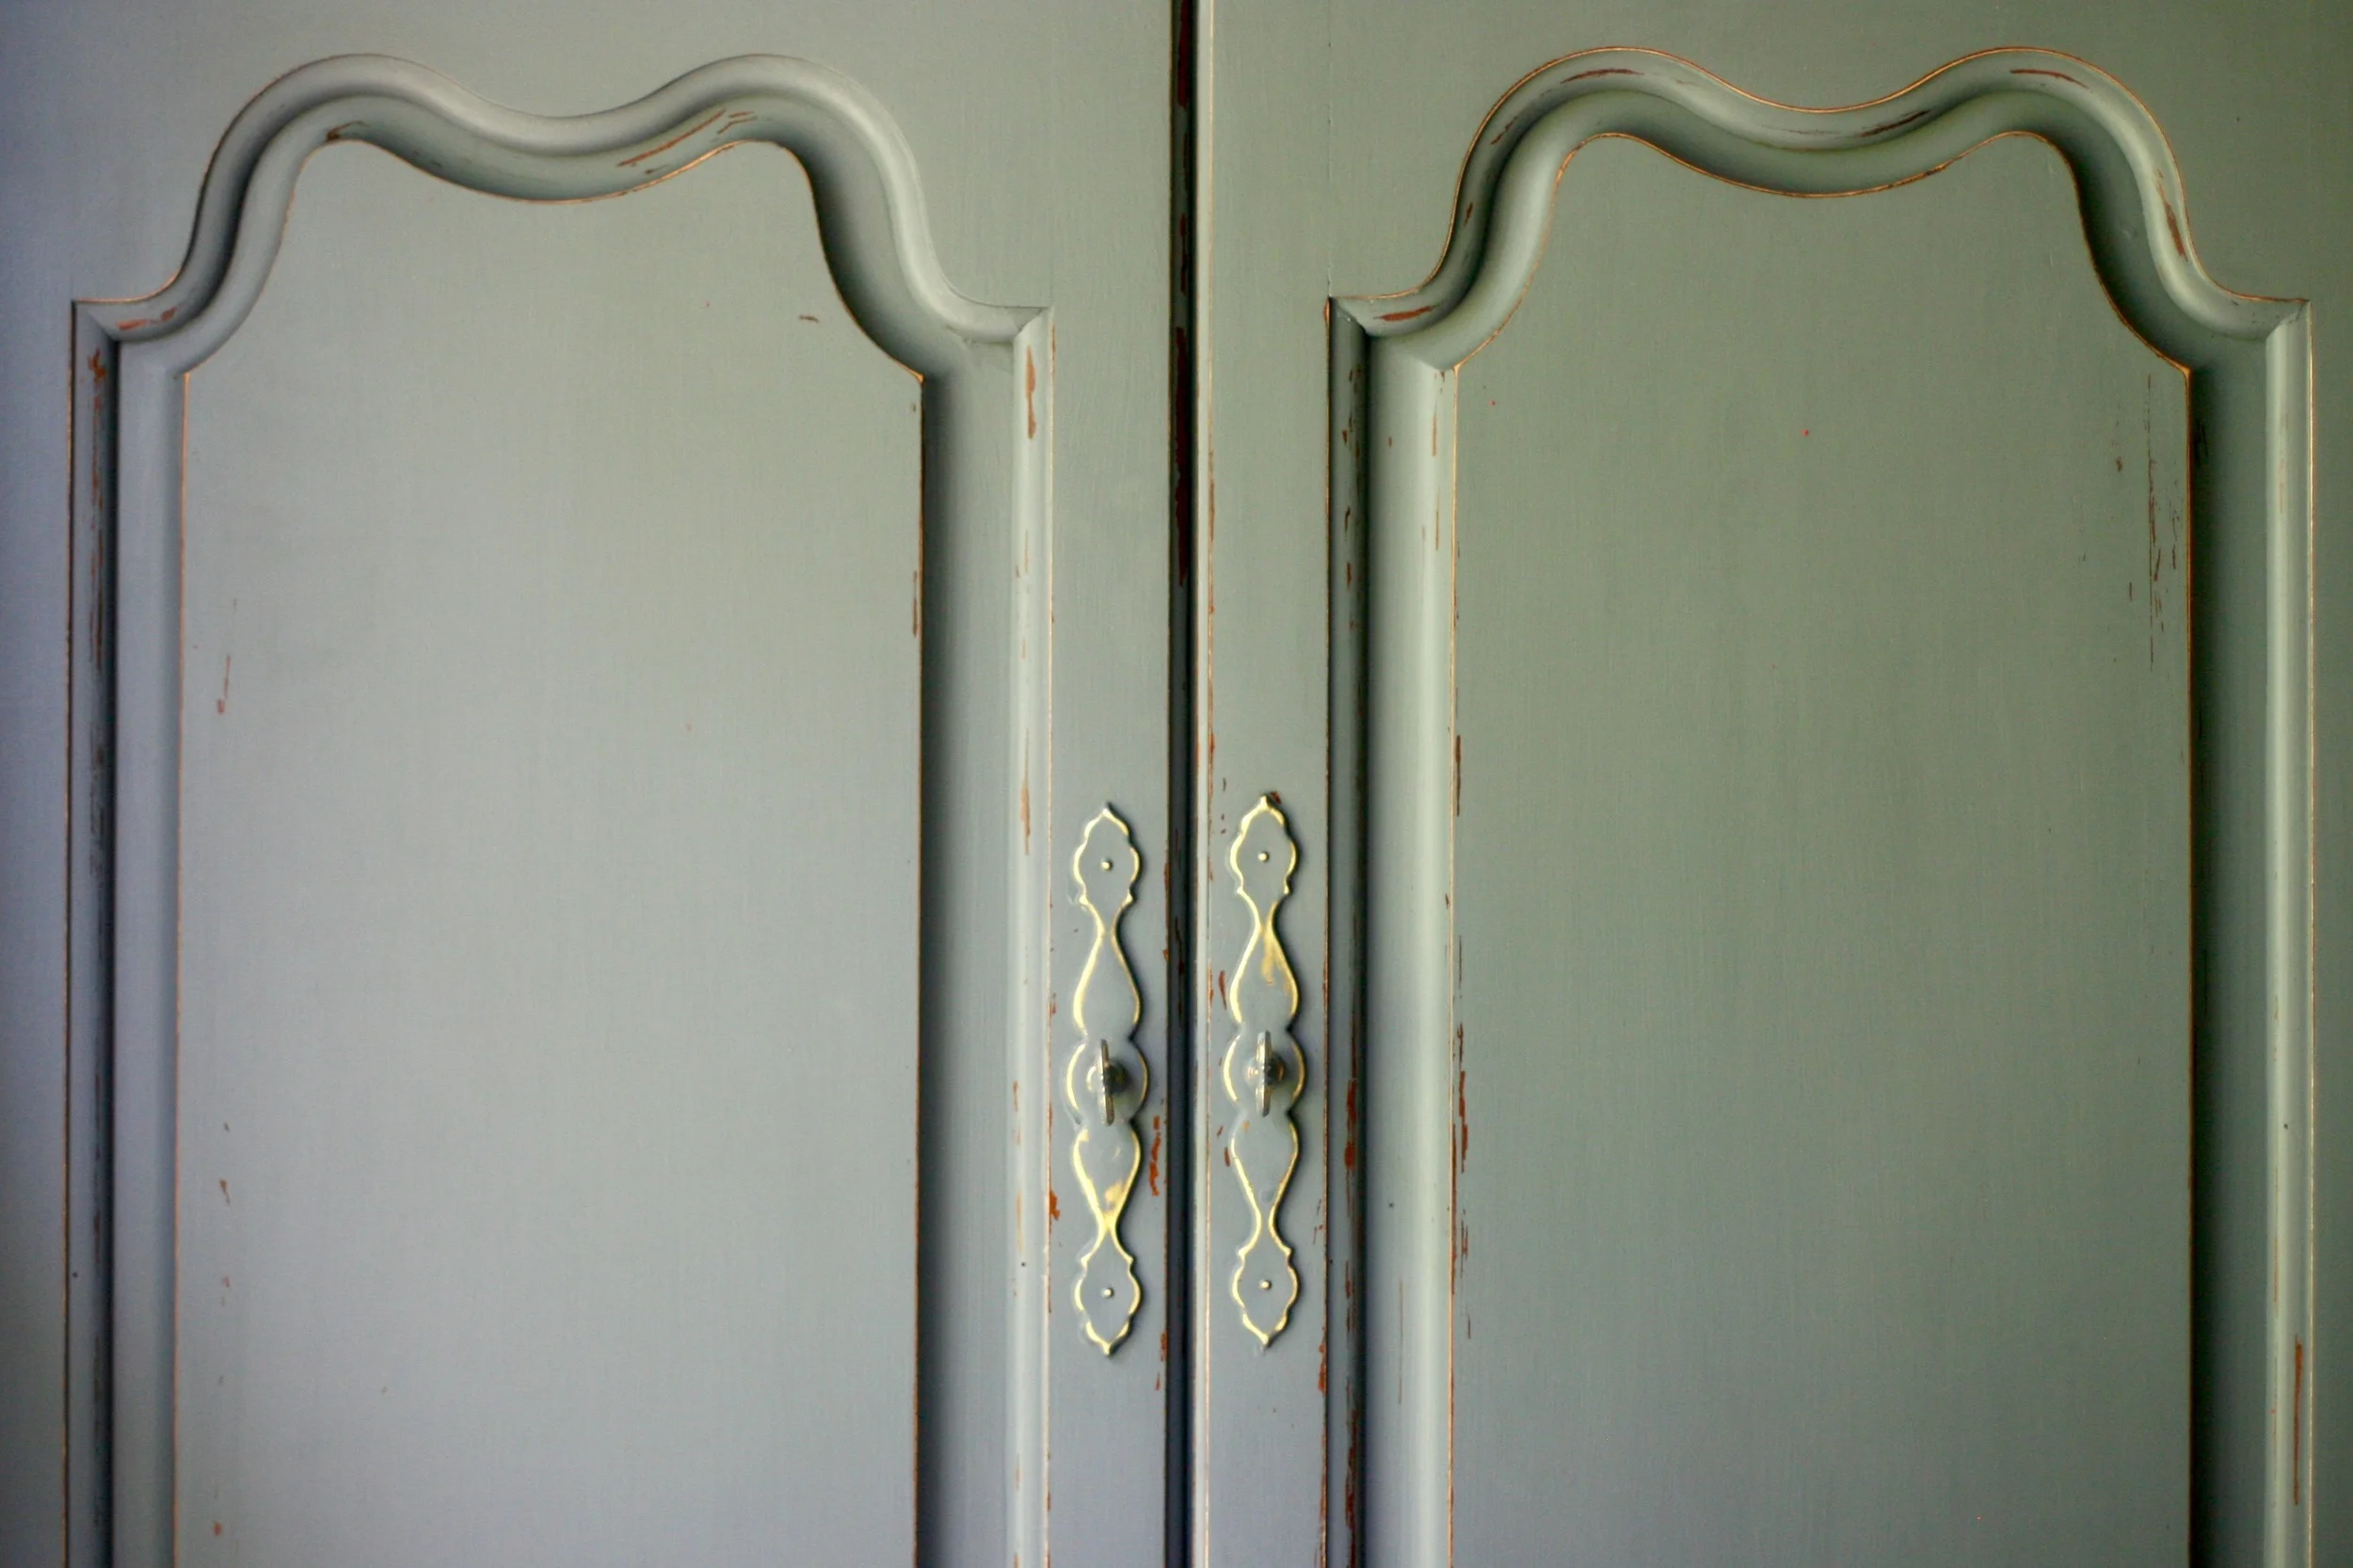
I used this Purdy 1.5-inch brush and this Purdy 2-inch brush to paint with, several different weights of sandpaper (similar here) to distress the furniture and the Valspar Chalky Finish Sealing Wax to finish the piece with a satin finish. I also painted the furniture on a disposable drop cloth (similar here) and used several old t-shirts cut up to wipe the furniture down in between paint coats.
3. Executing the Strategy.
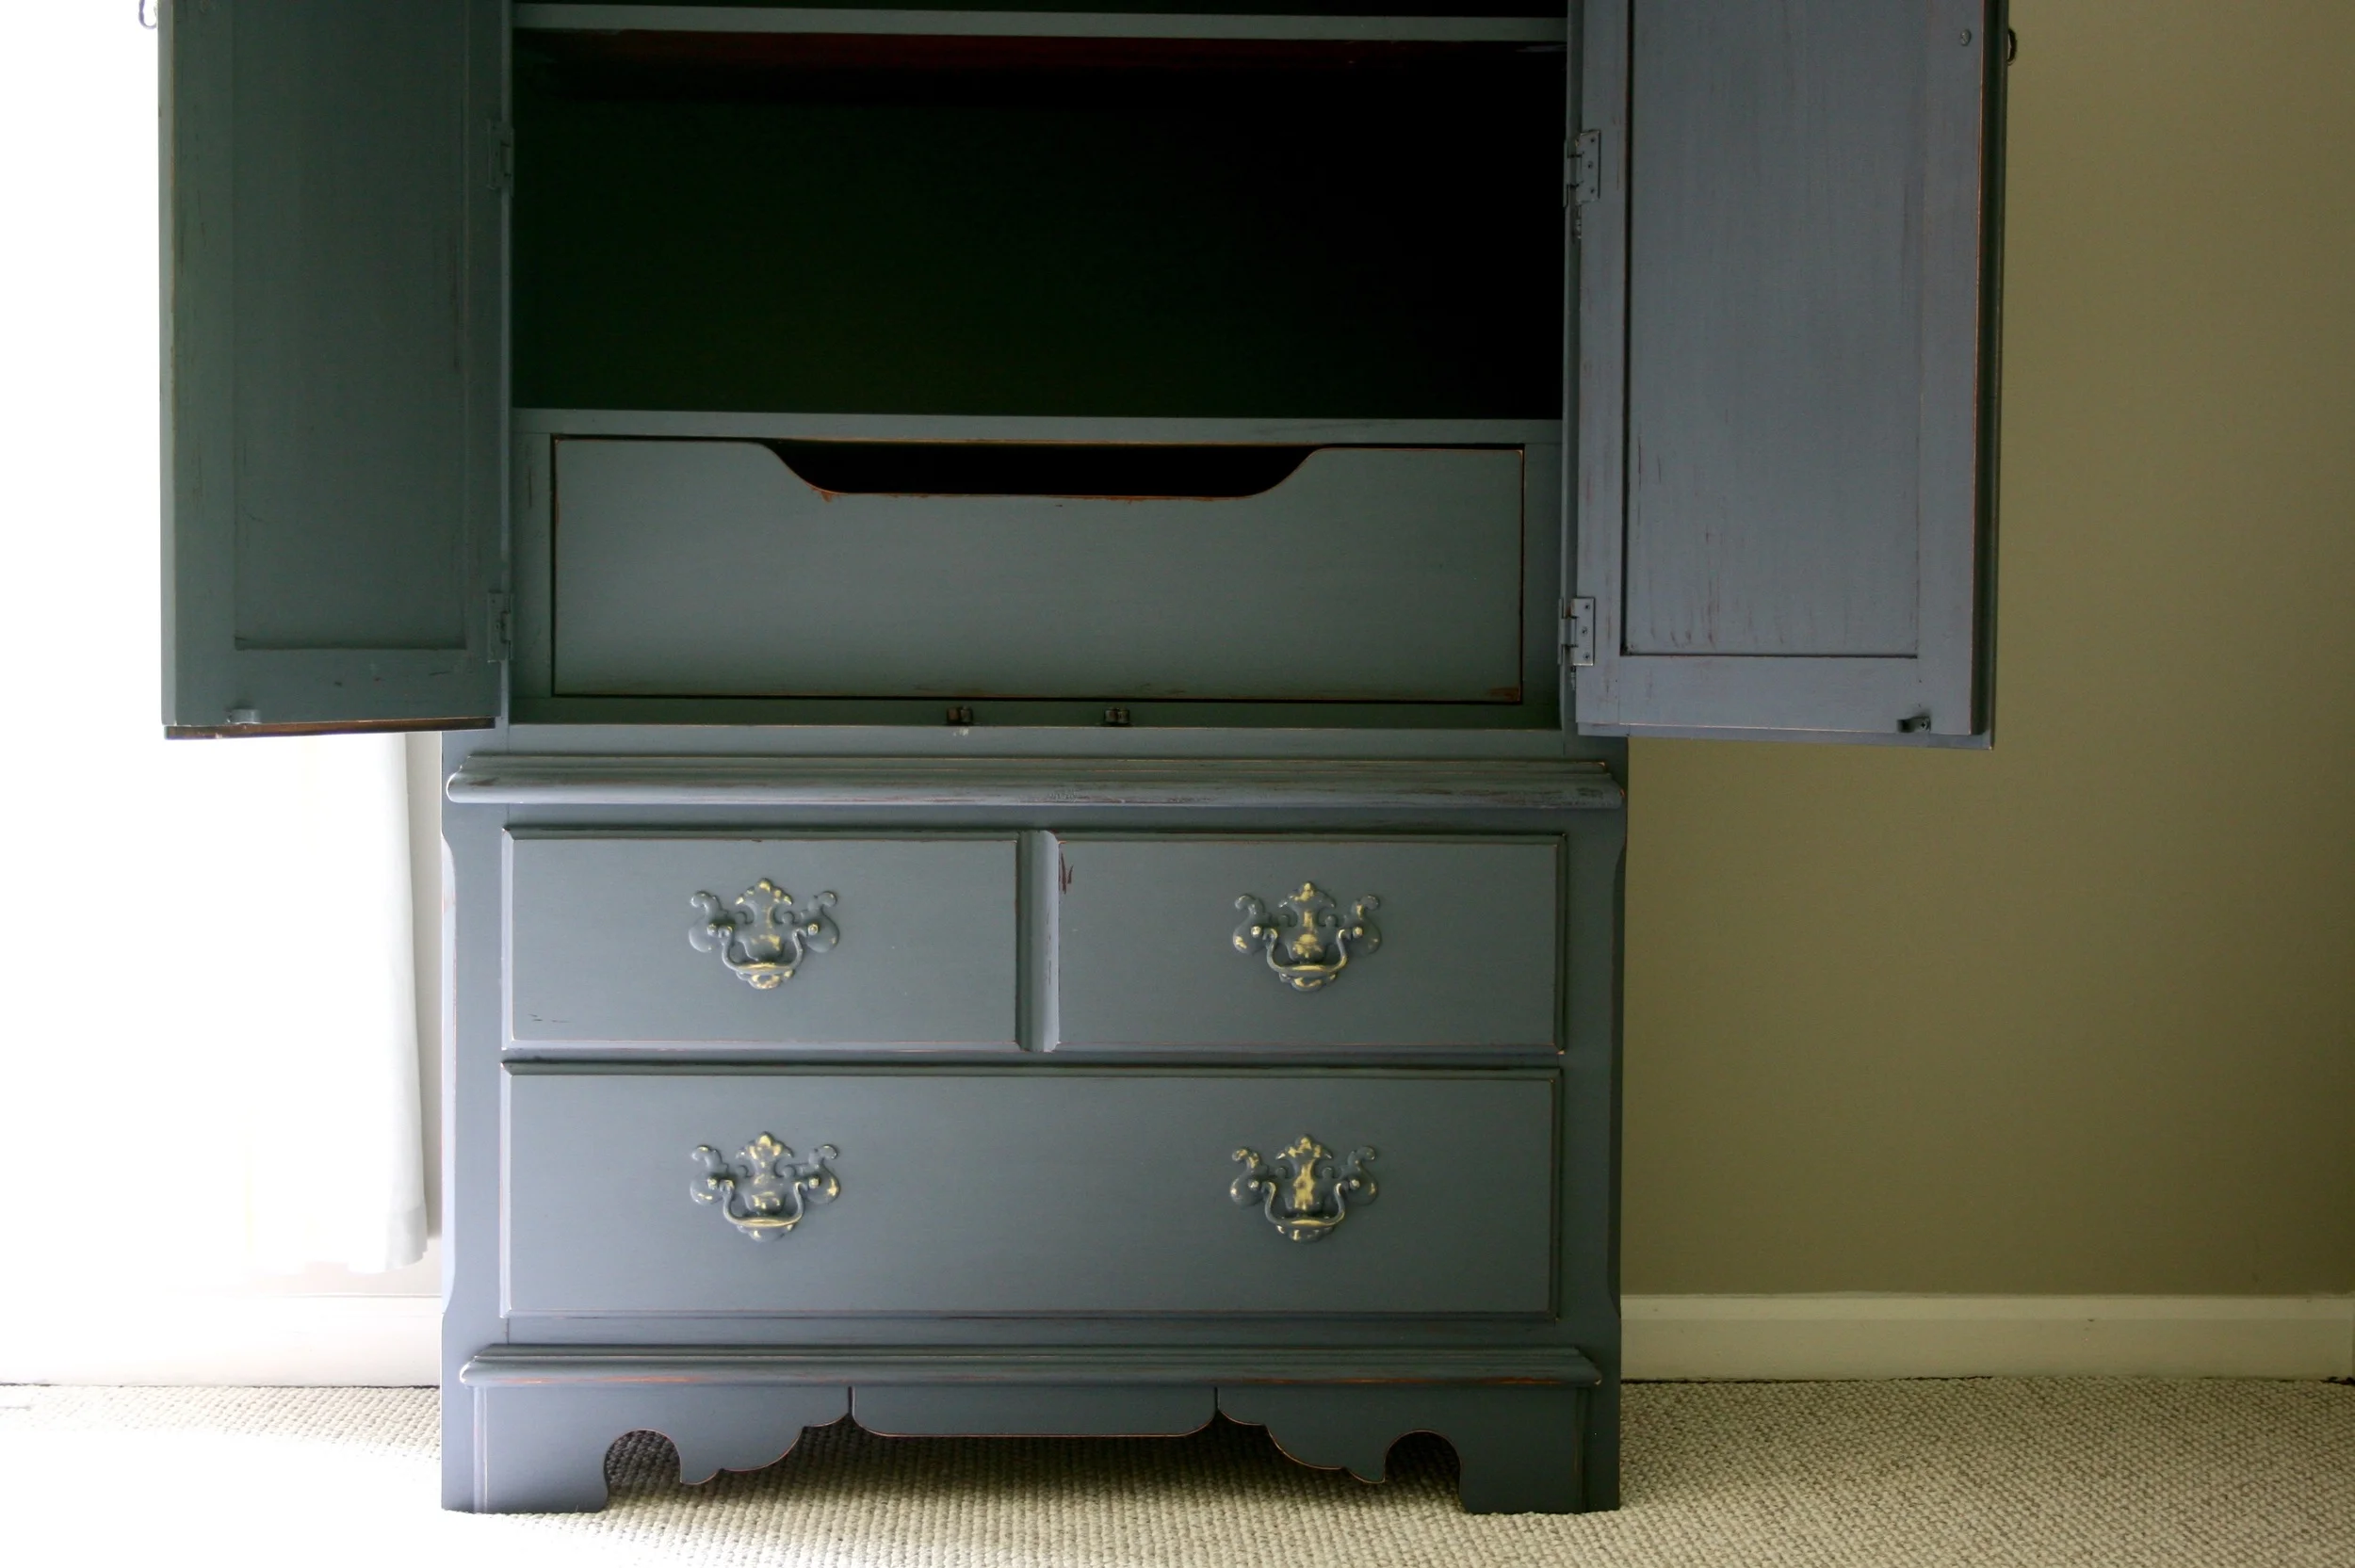
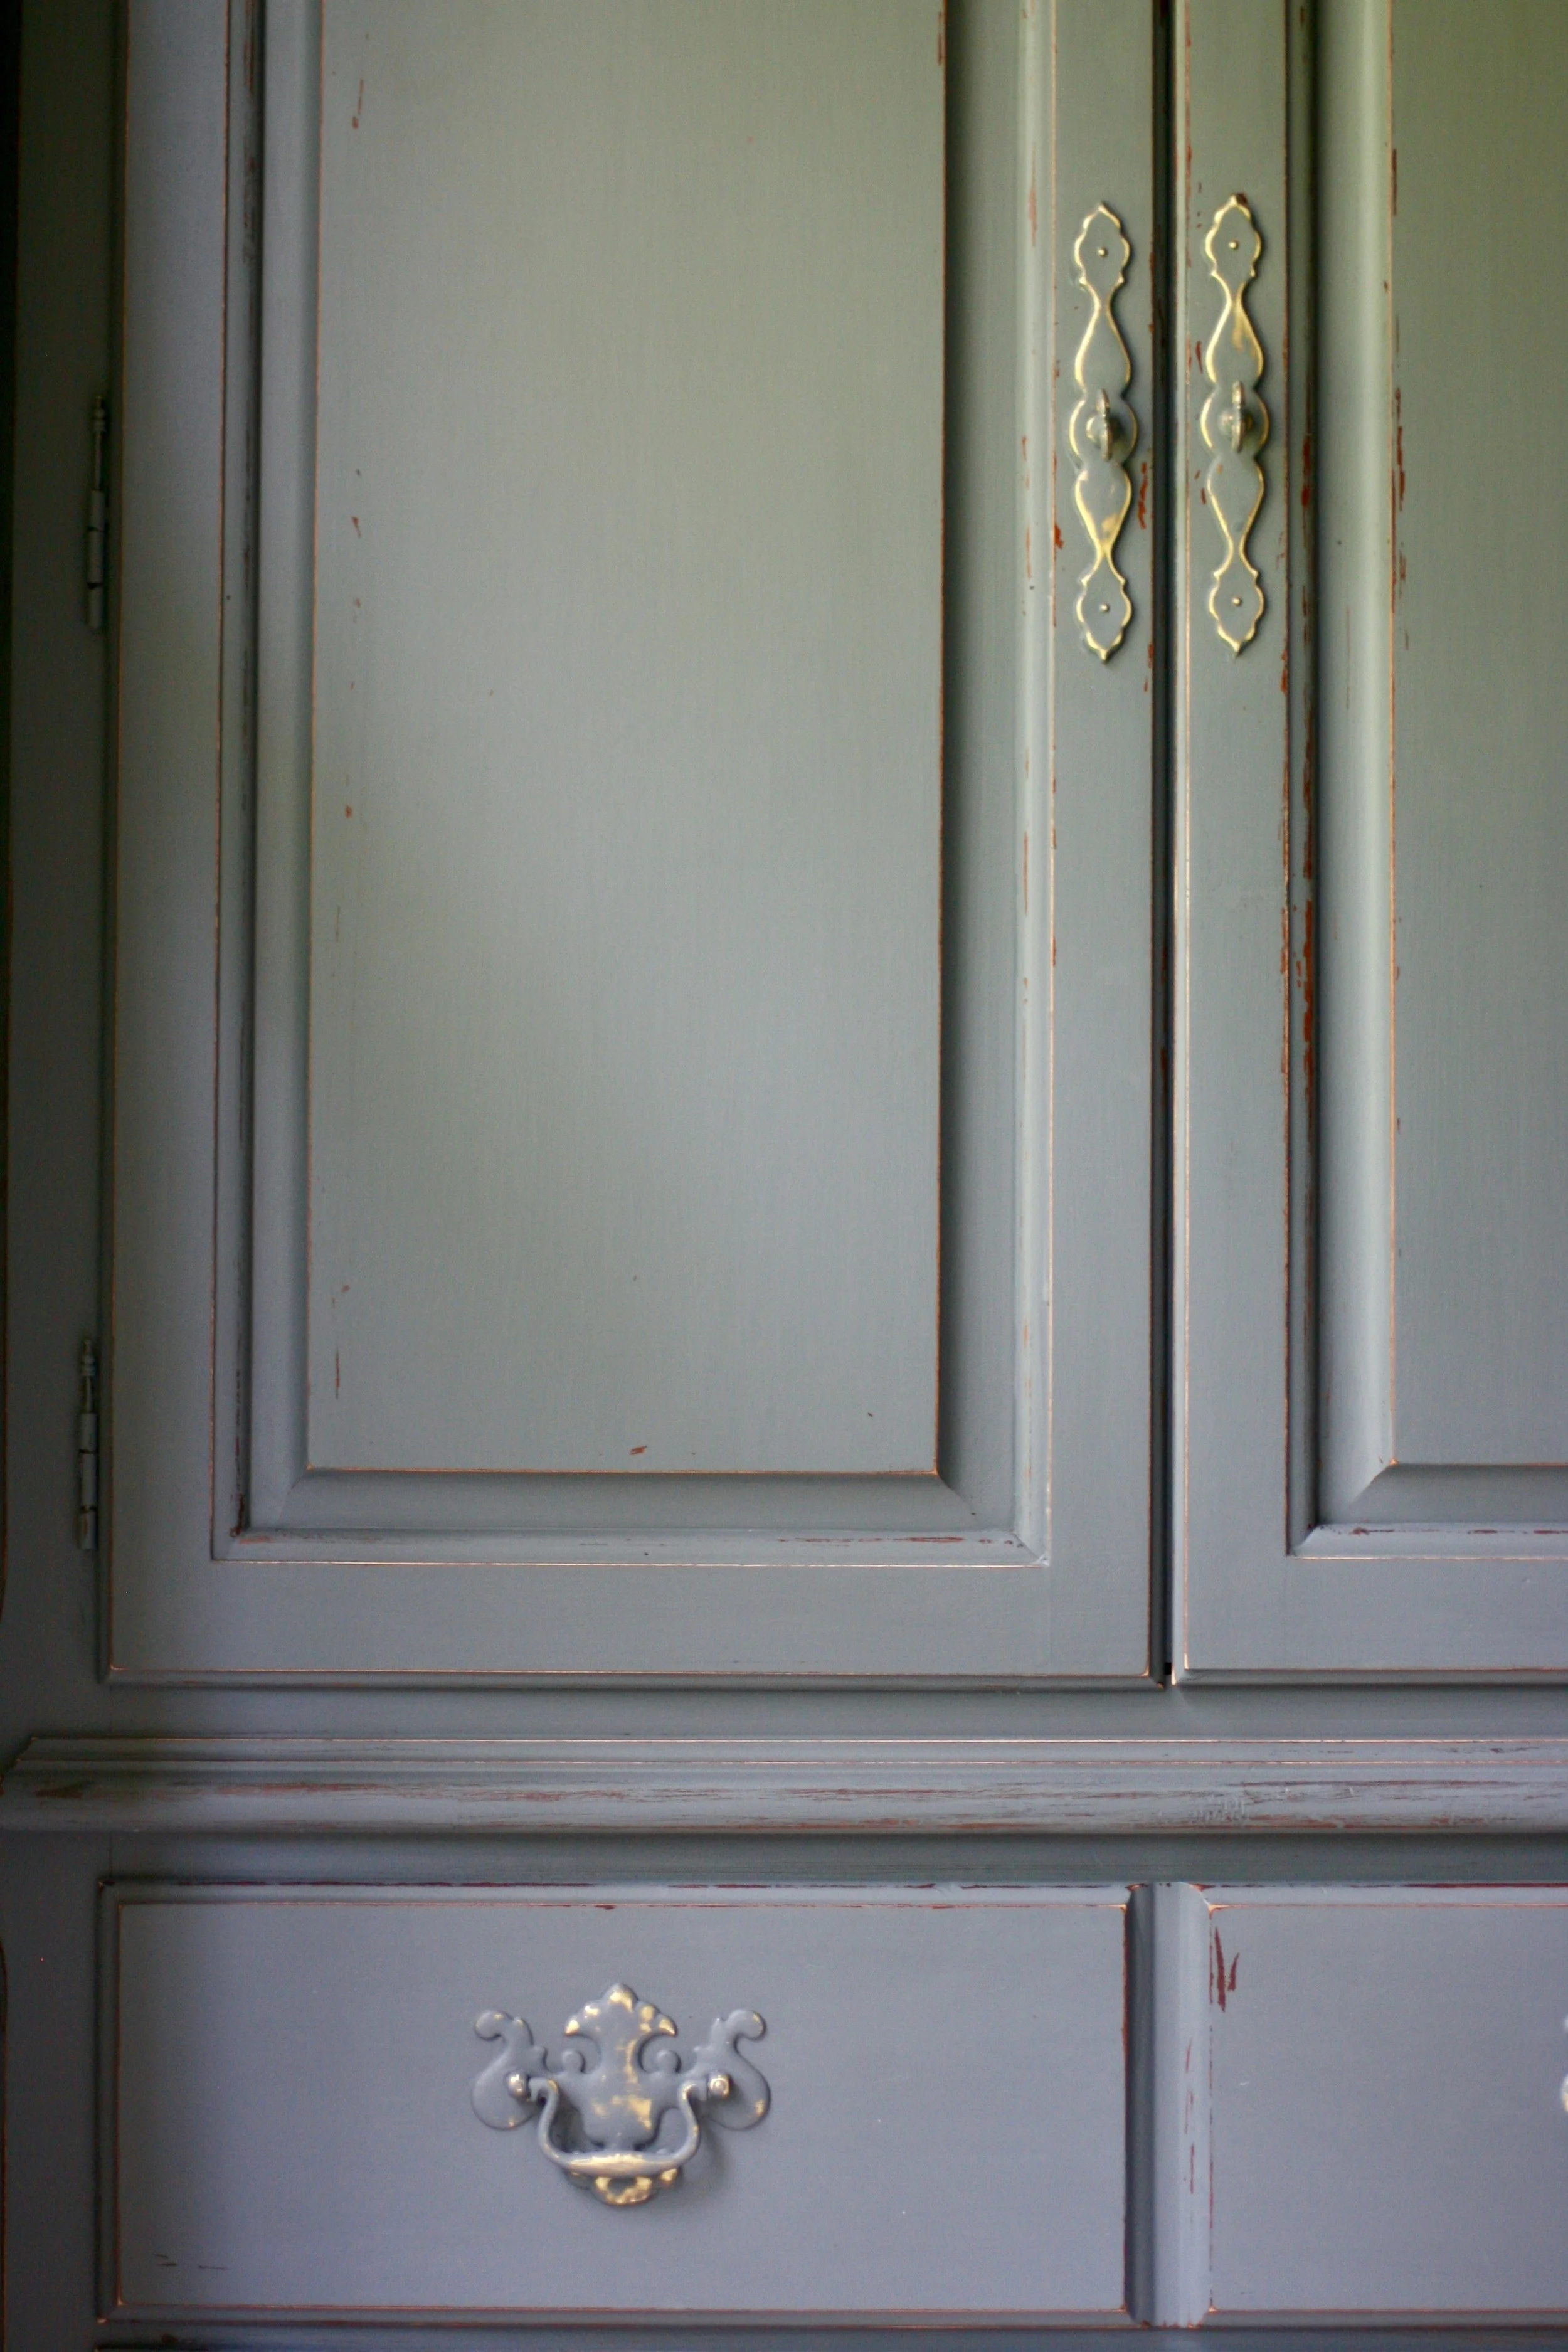
With this furniture, I was going for a gently distressed look. I didn't want the paint to look too chippy, and I wanted the finish to say "I've been worn in with love, not a chisel" (if a piece of furniture can talk). So I gently sanded the furniture's surface, then wiped everything down with a damp cloth. Next I painted the furniture with two coats, the first coat being ever so slightly sloppy (but thick coverage) and the second coat being more careful to keep the strokes all the in the direction of the wood grain. I let each paint coat dry overnight. Then I went back over the furniture with a heavy-weight sandpaper, and I proceeded to beat up the furniture I had just so lovingly painted pretty. I focused especially on the edges and corners, really wearing it down into the original stained wood. I also spent a lot of time sanding down the hardware and letting a bit of the gold gleam come through. After the piece was distressed to my liking, I wiped the furniture down with the damp cloth again and let it dry. Then I finished the piece with a coat of the Valspar Chalky Finish Sealing Wax. The wax goes on more like a lotion, and I got the best results by applying it in small sections and then wiping it off with an old t-shirt. It basically seals the furniture without any sheen whatsoever, so the pieces maintain an aged appearance.
4. Assessing the Cost.
The furniture cost me nothing. Which is glorious. Here's a breakdown of the other costs:
Paint: $29.99
Sealing Wax: $16.99
Paint Brushes: $8.83 + $10.11
Sandpaper: $2.97
Drop Cloth: $6.69
TOTAL: $75.58
5. Admiring the Results!
I am so happy with the outcome of this project. The furniture looks exactly as I hoped, but somehow even better in person. It adds just the right anchoring element to our bedroom and yet still remains calm and soothing.

I forgot how much I love making old furniture new again! I think I'm embarking upon a new hobby, you know, to go along with my bird watching and whatnot. My garage is full of projects-in-waiting!
Have you ever upcycled furniture? Got any great how-to tips to share?
P.S. In case you missed it, my other recent new-house projects have been planting my first vegetable garden and attempting to stay positive in the midst of moving and live in the moment.


