An Unplugged Thanksgiving.

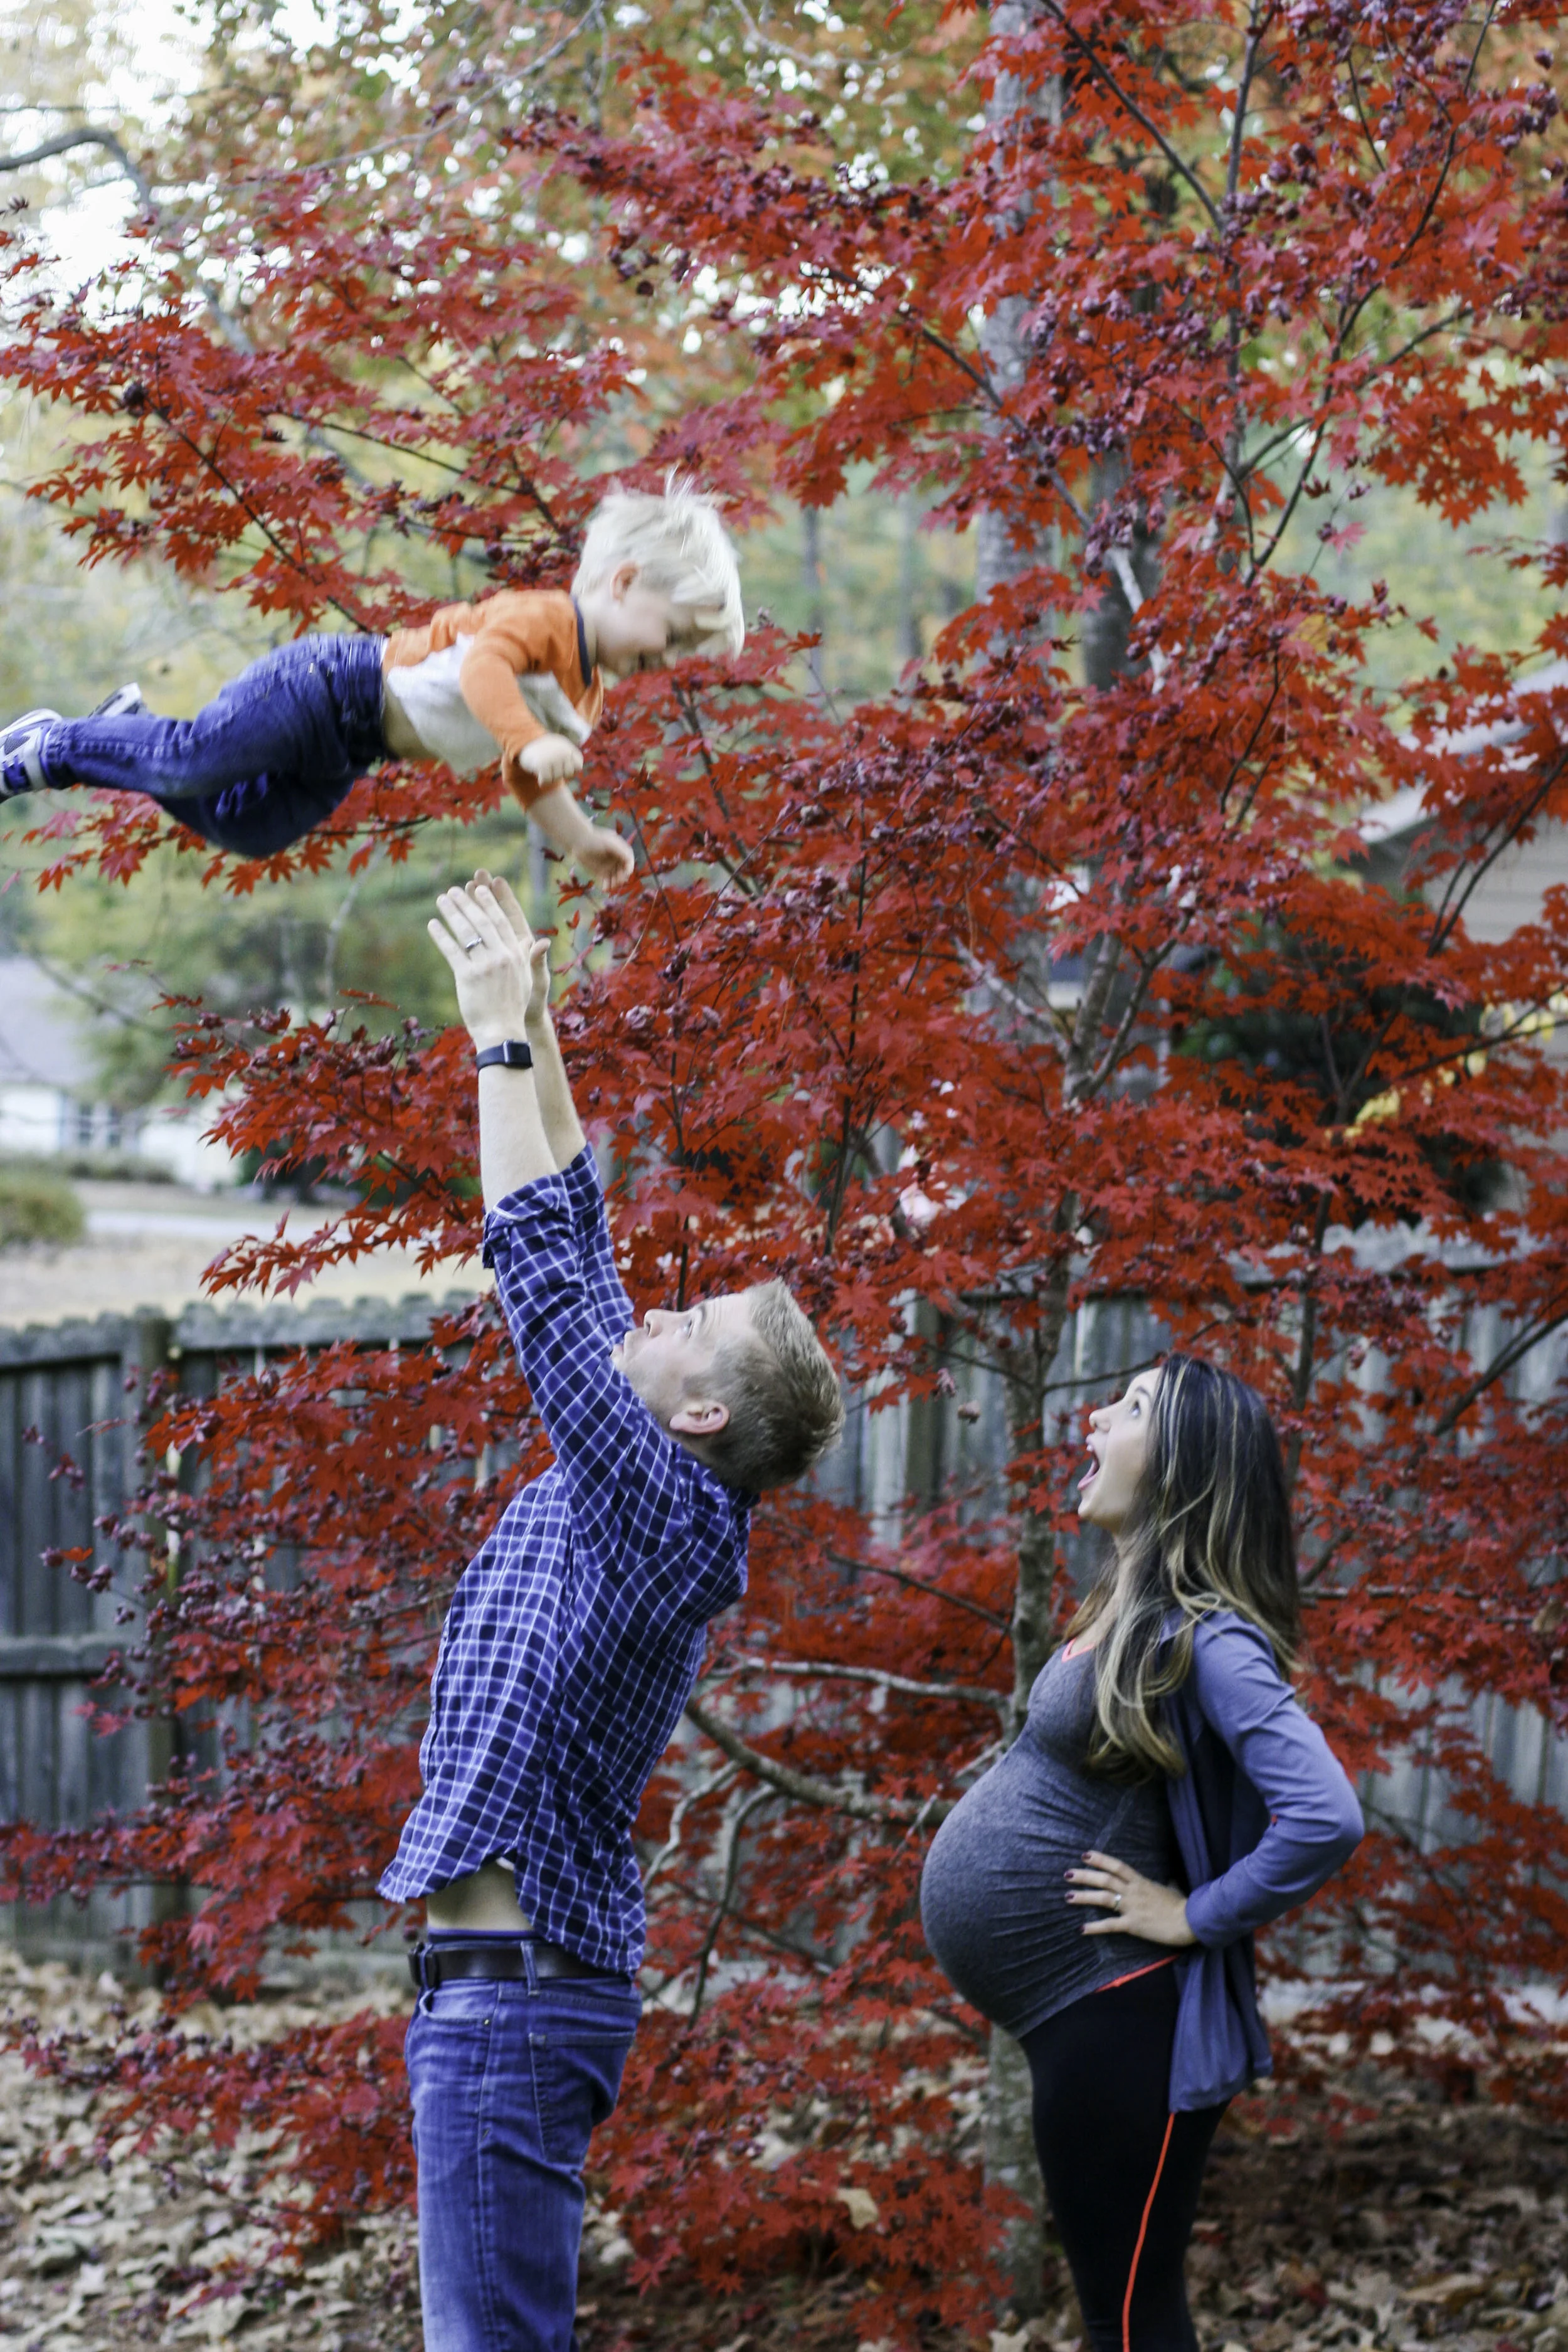
This Thanksgiving holiday came and went in a reflective, quiet kind of way. No hoopla, no drama, no pressure to Black Friday shop or even put on real clothes. Yes, I wore workout gear to Thanksgiving dinner (the rest of my family was dressed so nicely, then there was me, the enormous swollen person who fits into very little at this stage in the game). There were all the mainstay dishes and a wonderful smattering of family smiles and nothing out of the ordinary at all. And you know what? Nothing out of the ordinary felt really comforting. It was really nice to have a stable, dependable kind of holiday weekend. Because externally, there is a lot stirring in my family life, and my head gets a little foggy when I think too hard about all of it. Things like, my parents are moving out of their beautiful home next weekend. The house I love. I admit I'm sad about it. And also, I am having a baby sometime in the coming month. What is he going to be like?? Am I ready for two babies?! And of course, Christmas season is upon us! May the merriment continue onward!

Can we take 12 seconds to talk about this Japanese Maple tree in my back yard? I am so in love with the fiery red goodness its shed all over the fading grass. It's losing its leaves every day and I am so glad we snapped a few more good photos of it before autumn forfeits and gives way to real winter.

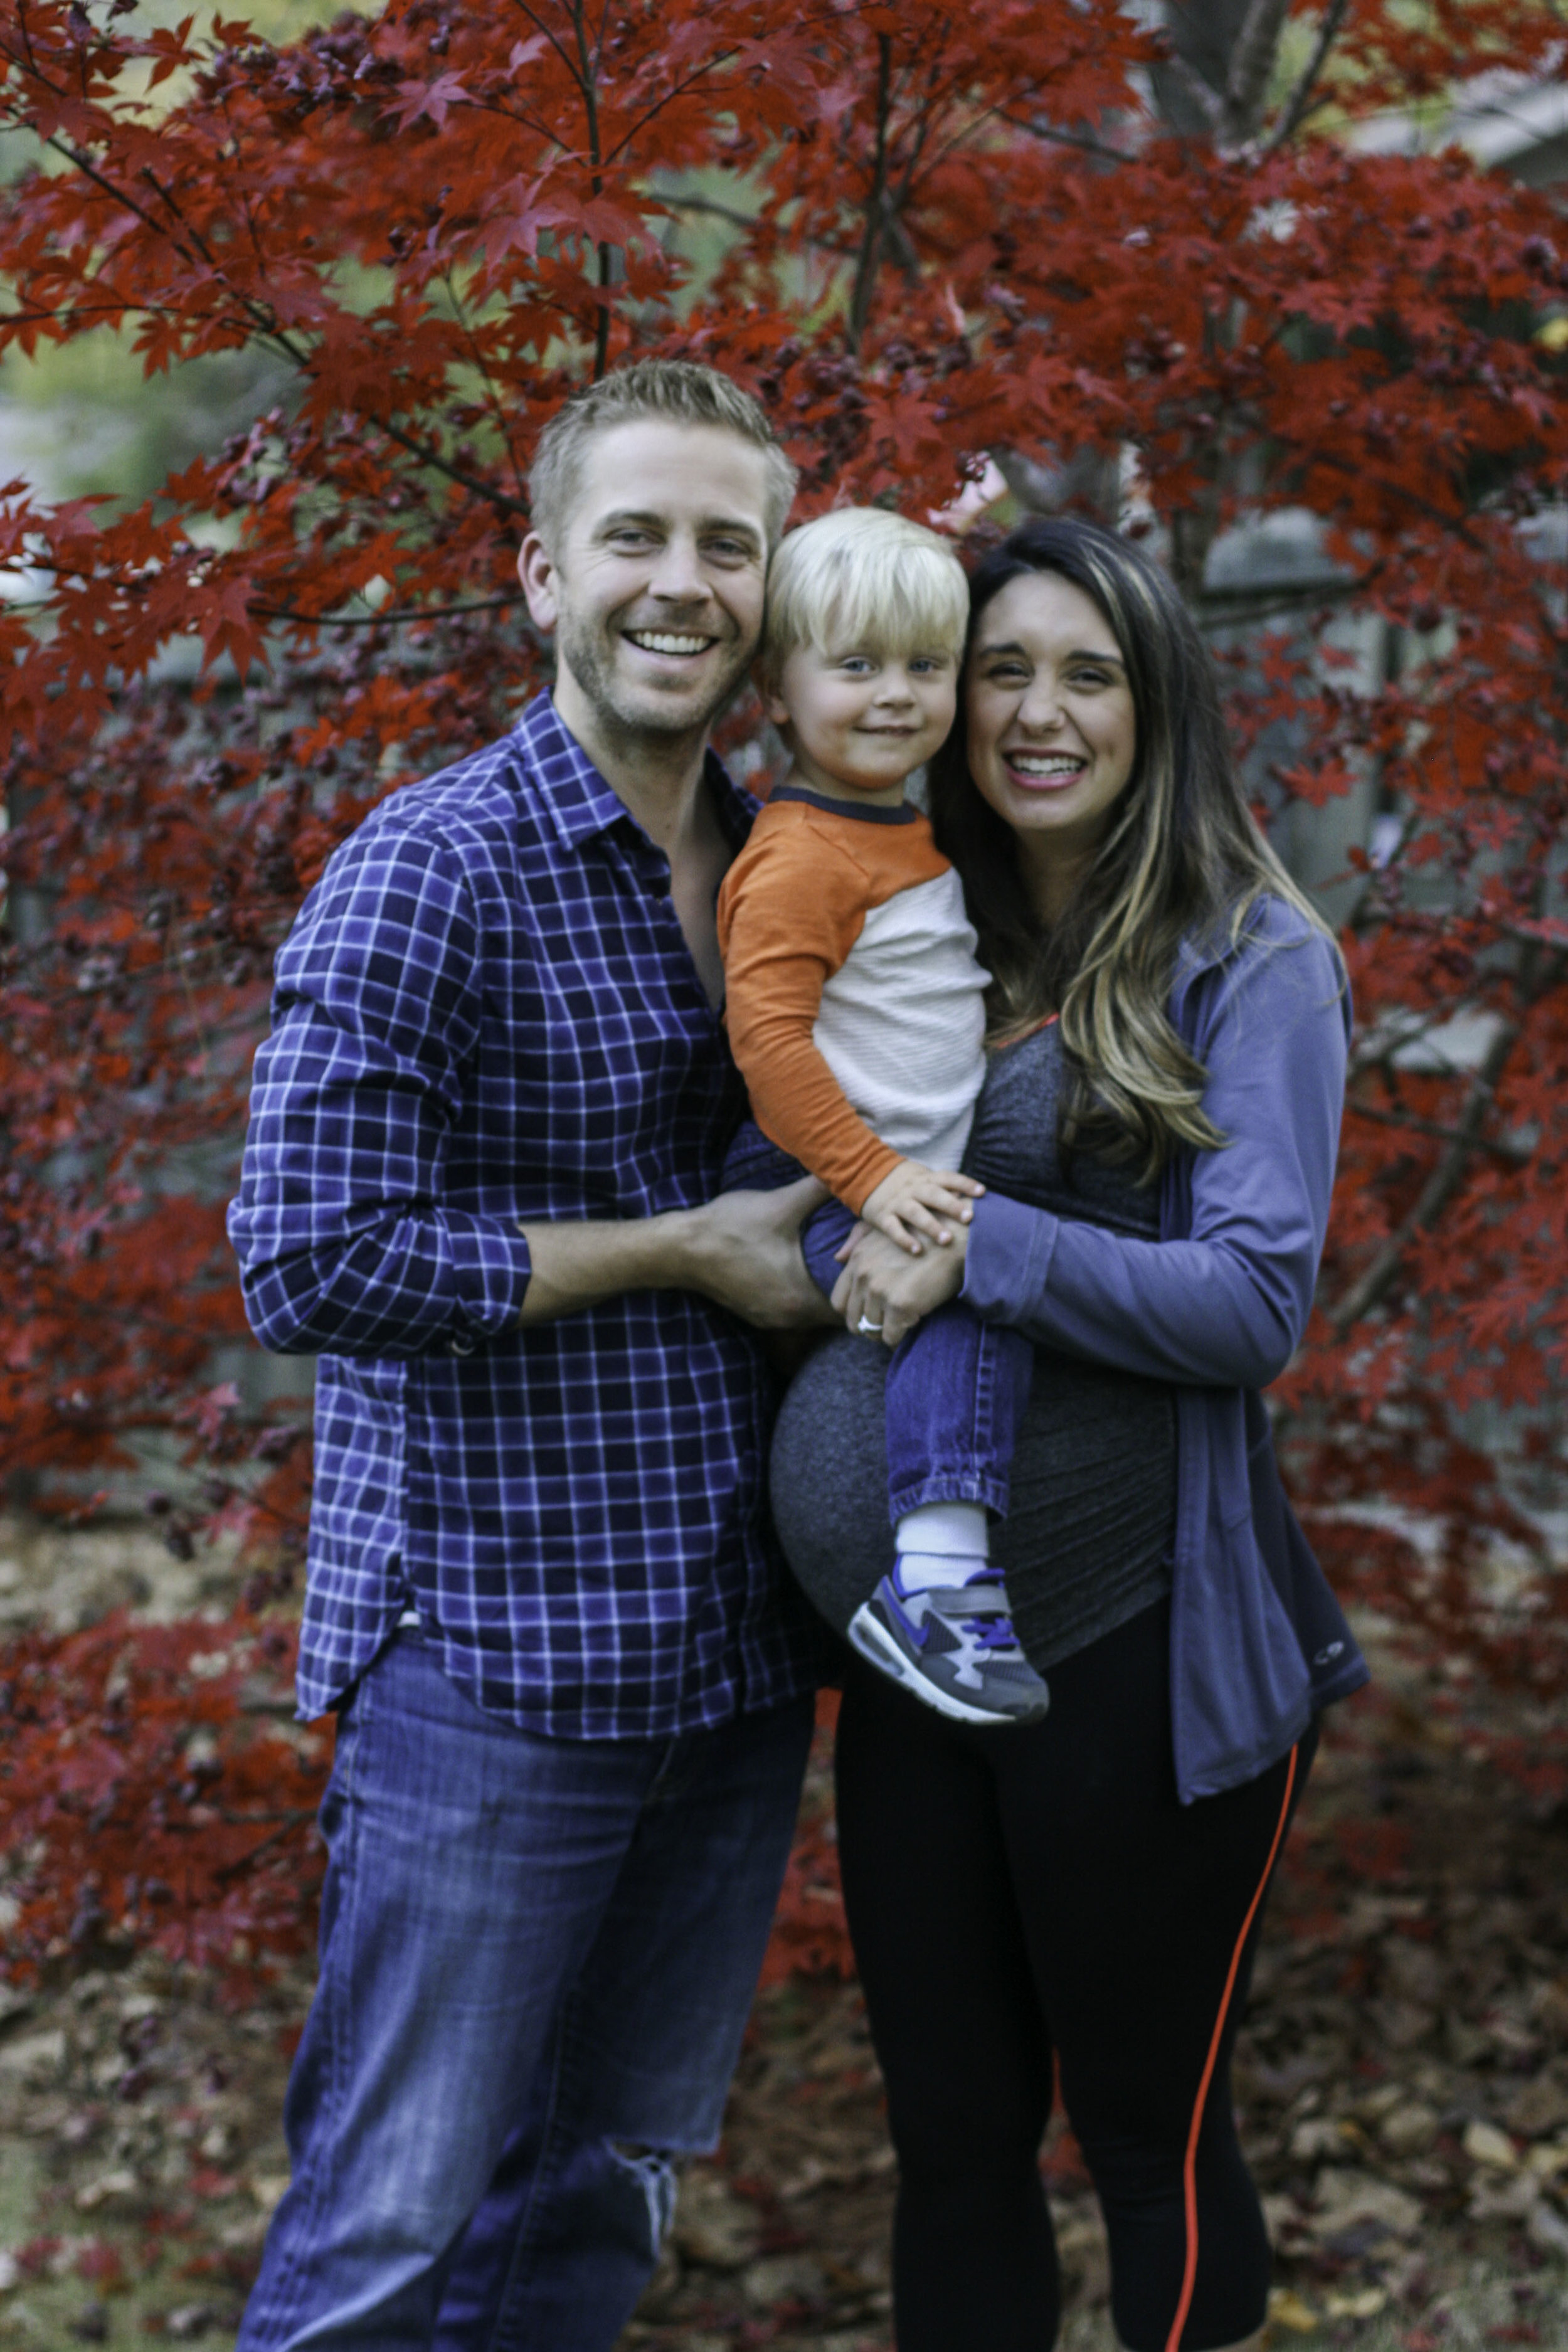
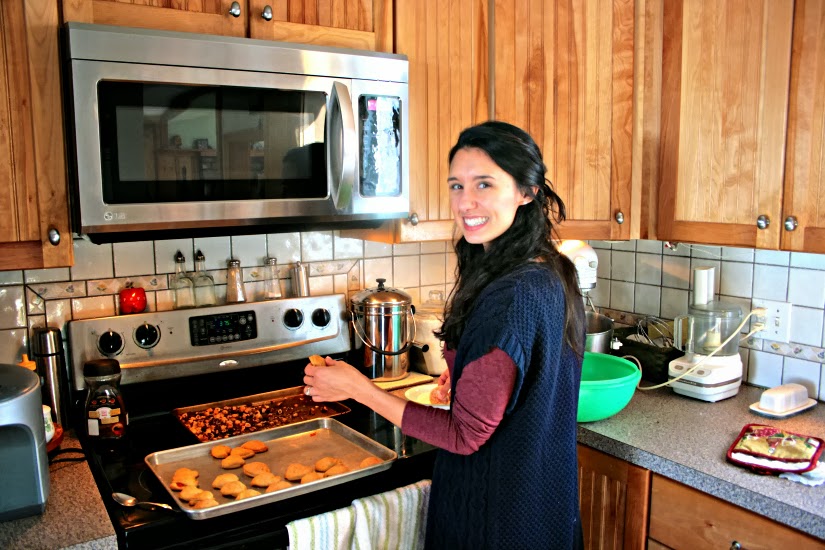
Also, I won this outfit on Instagram, you guys. Enter all the giveaways! You never know what you can win! And thank you to Seraphine, who sent me this wayyyy comfy active kit. Please don't hate me for not using it to exercise, because it's just not in the cards.

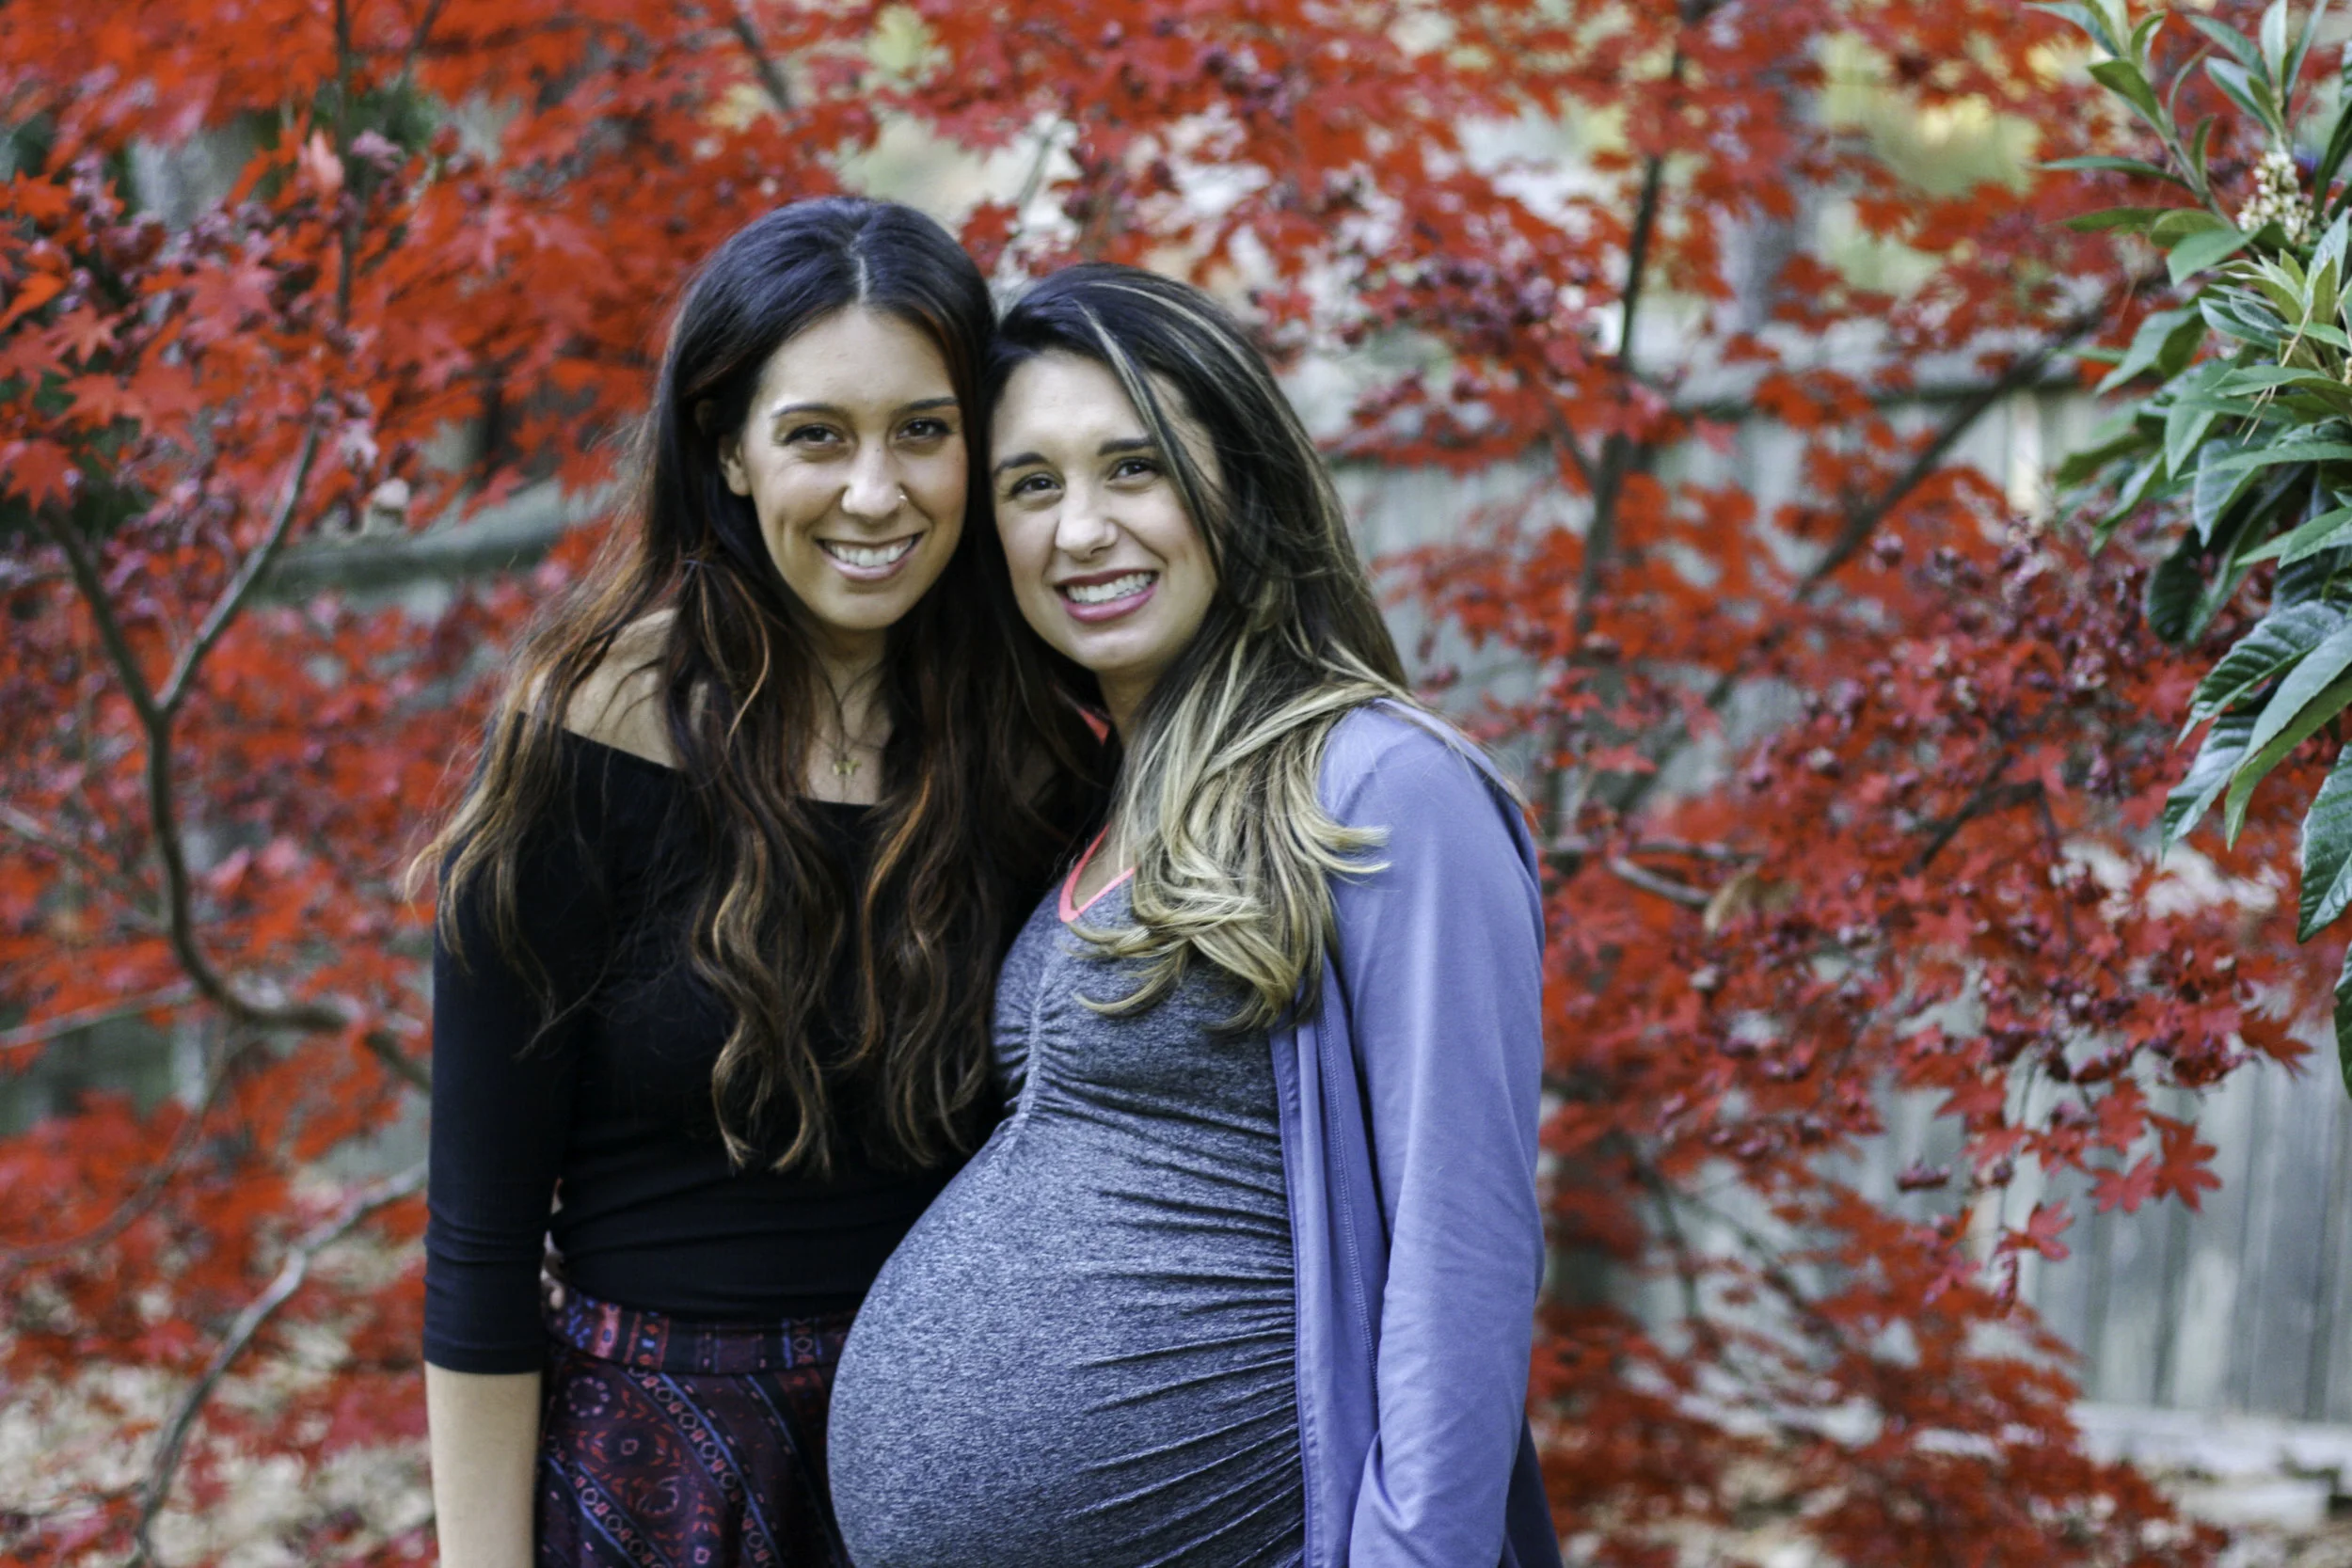
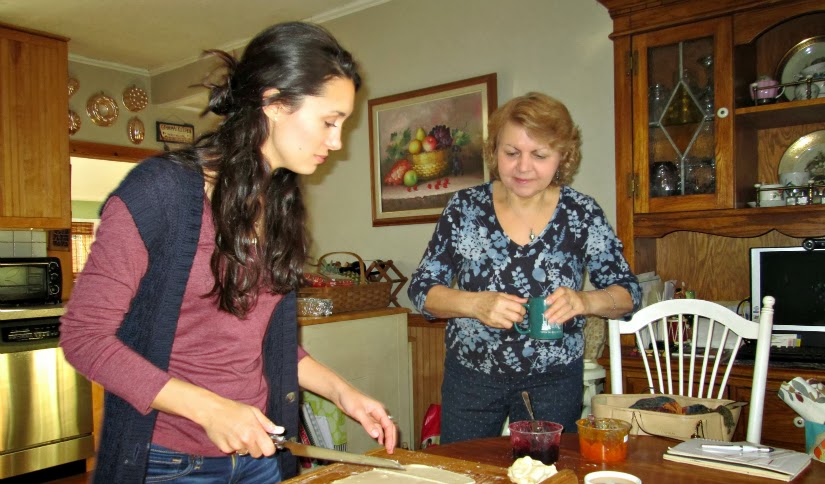
My sis. Does it look like I ate the third sister? #IpromiseIdidnt #shesinflorida

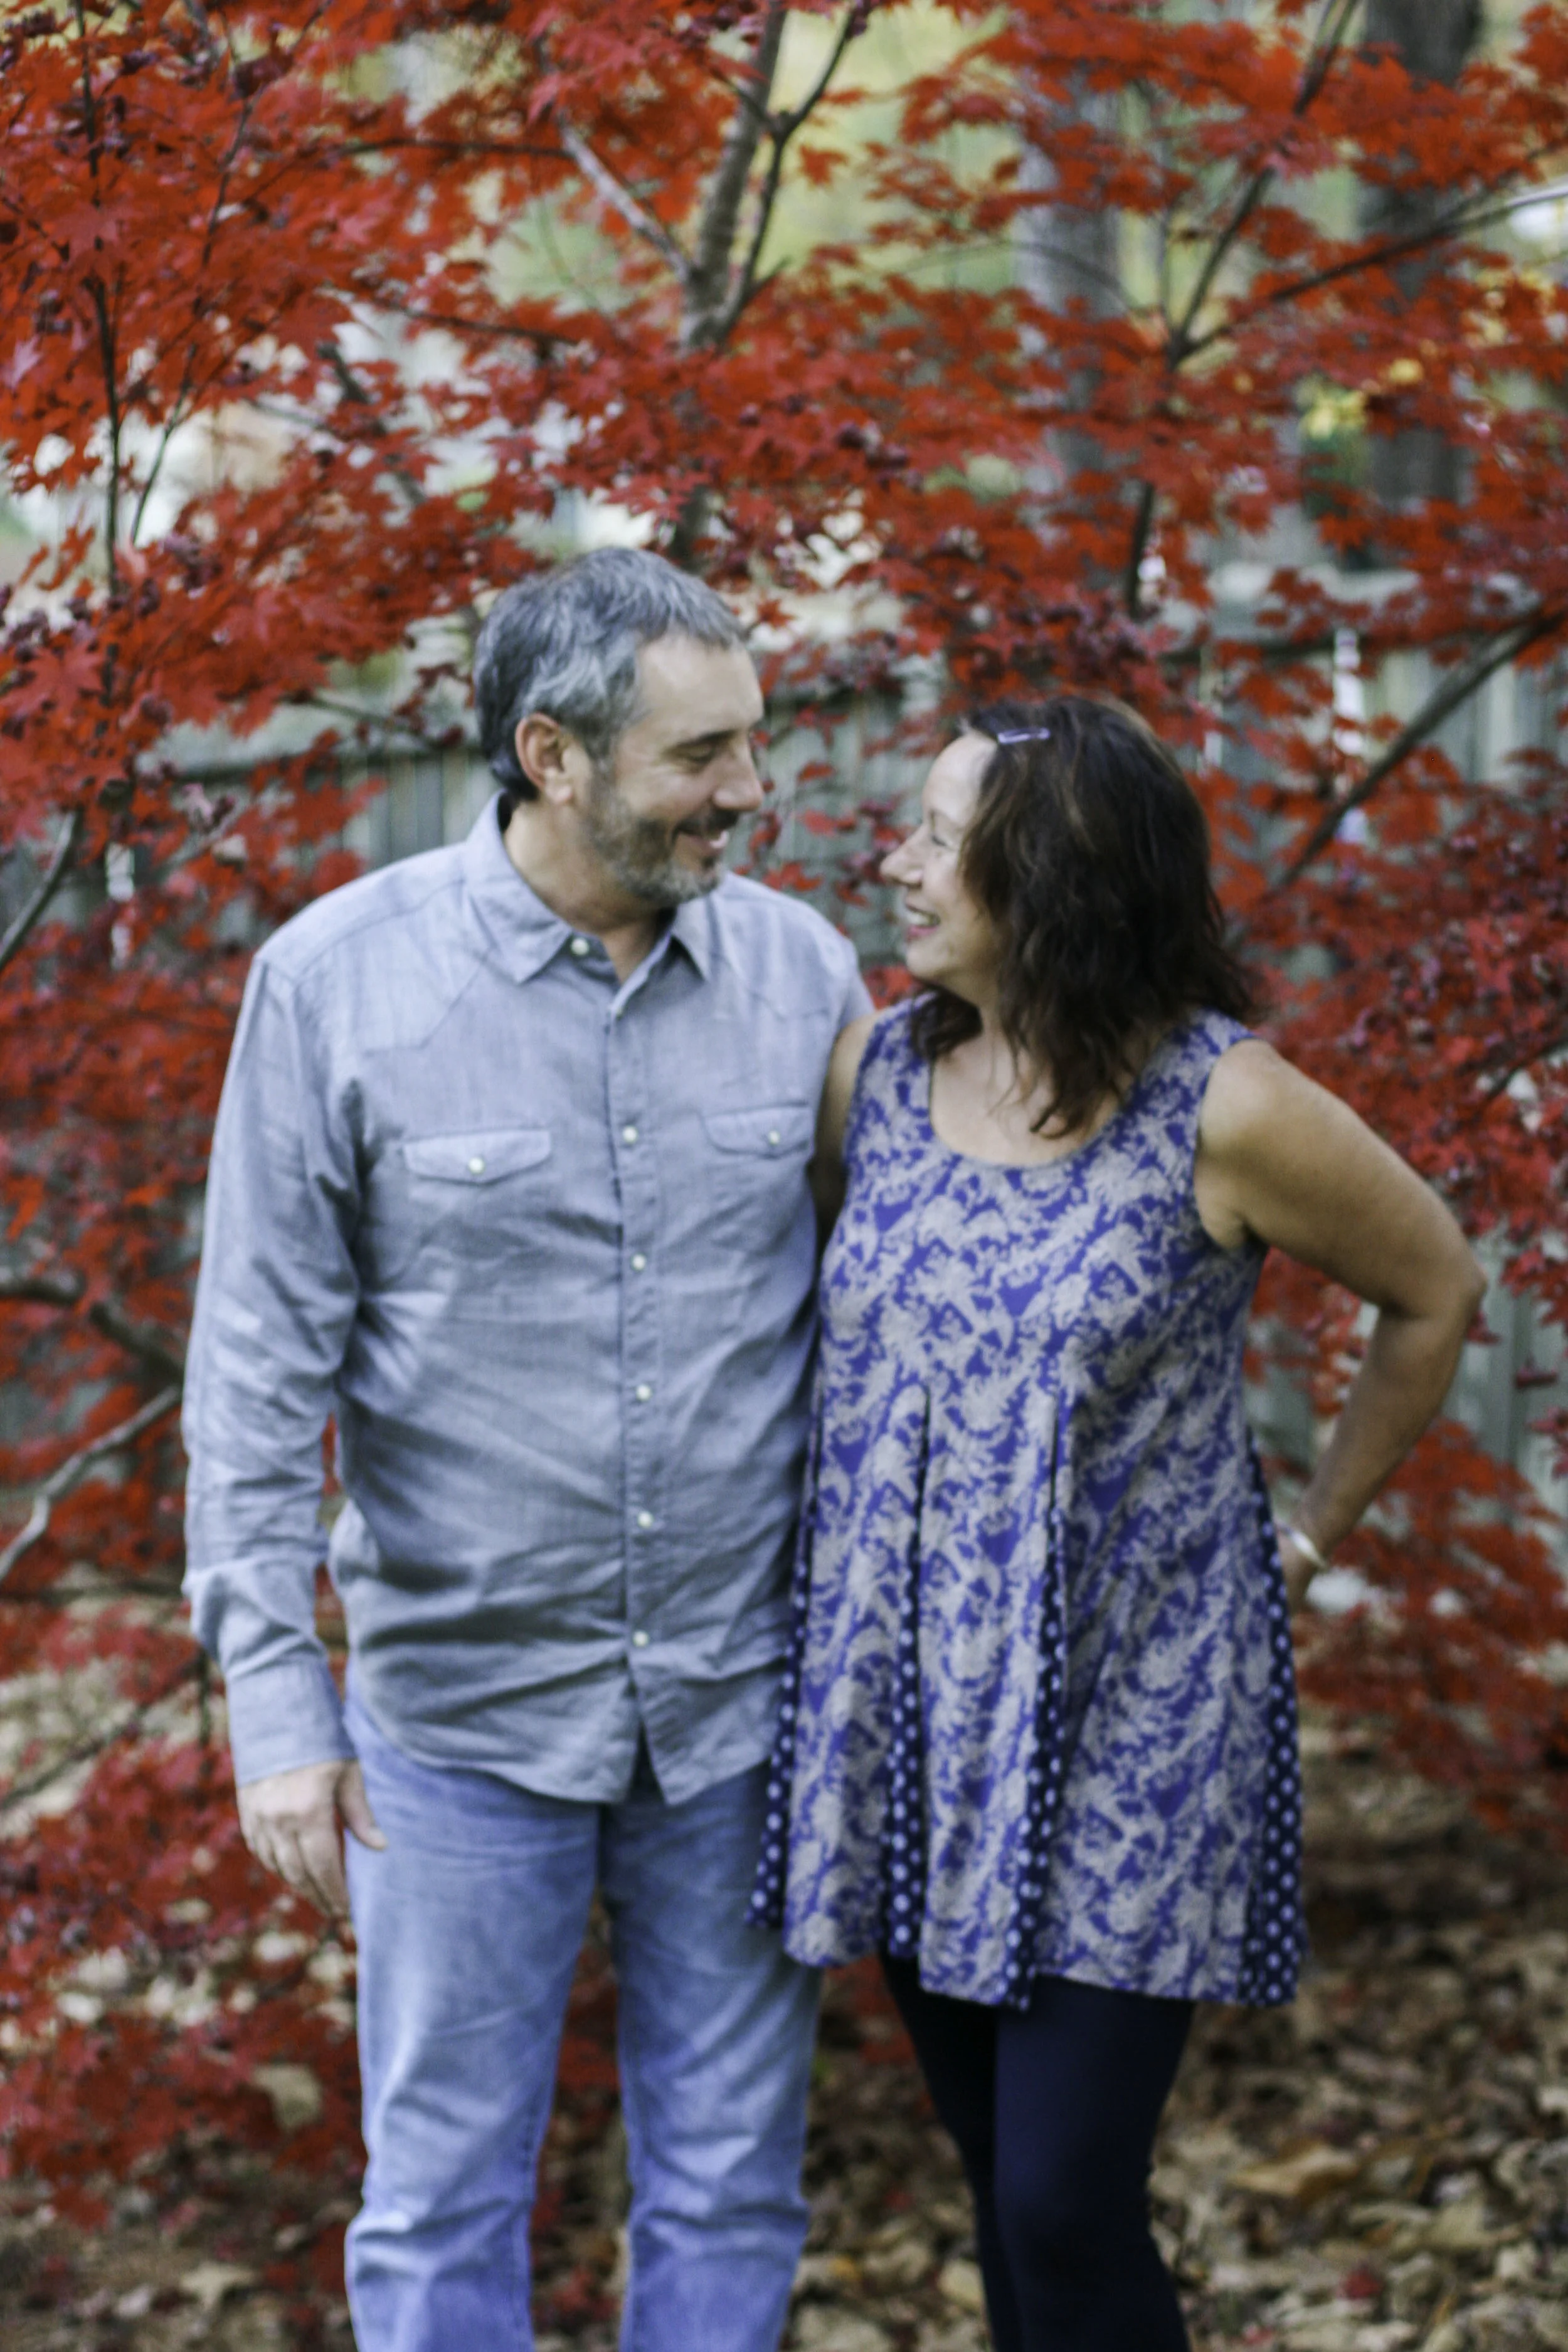
Don't move don't move don't move don't move. Whew. I just needed to get that out. They're not even moving far away, you guys. Haha I just can't handle the change.

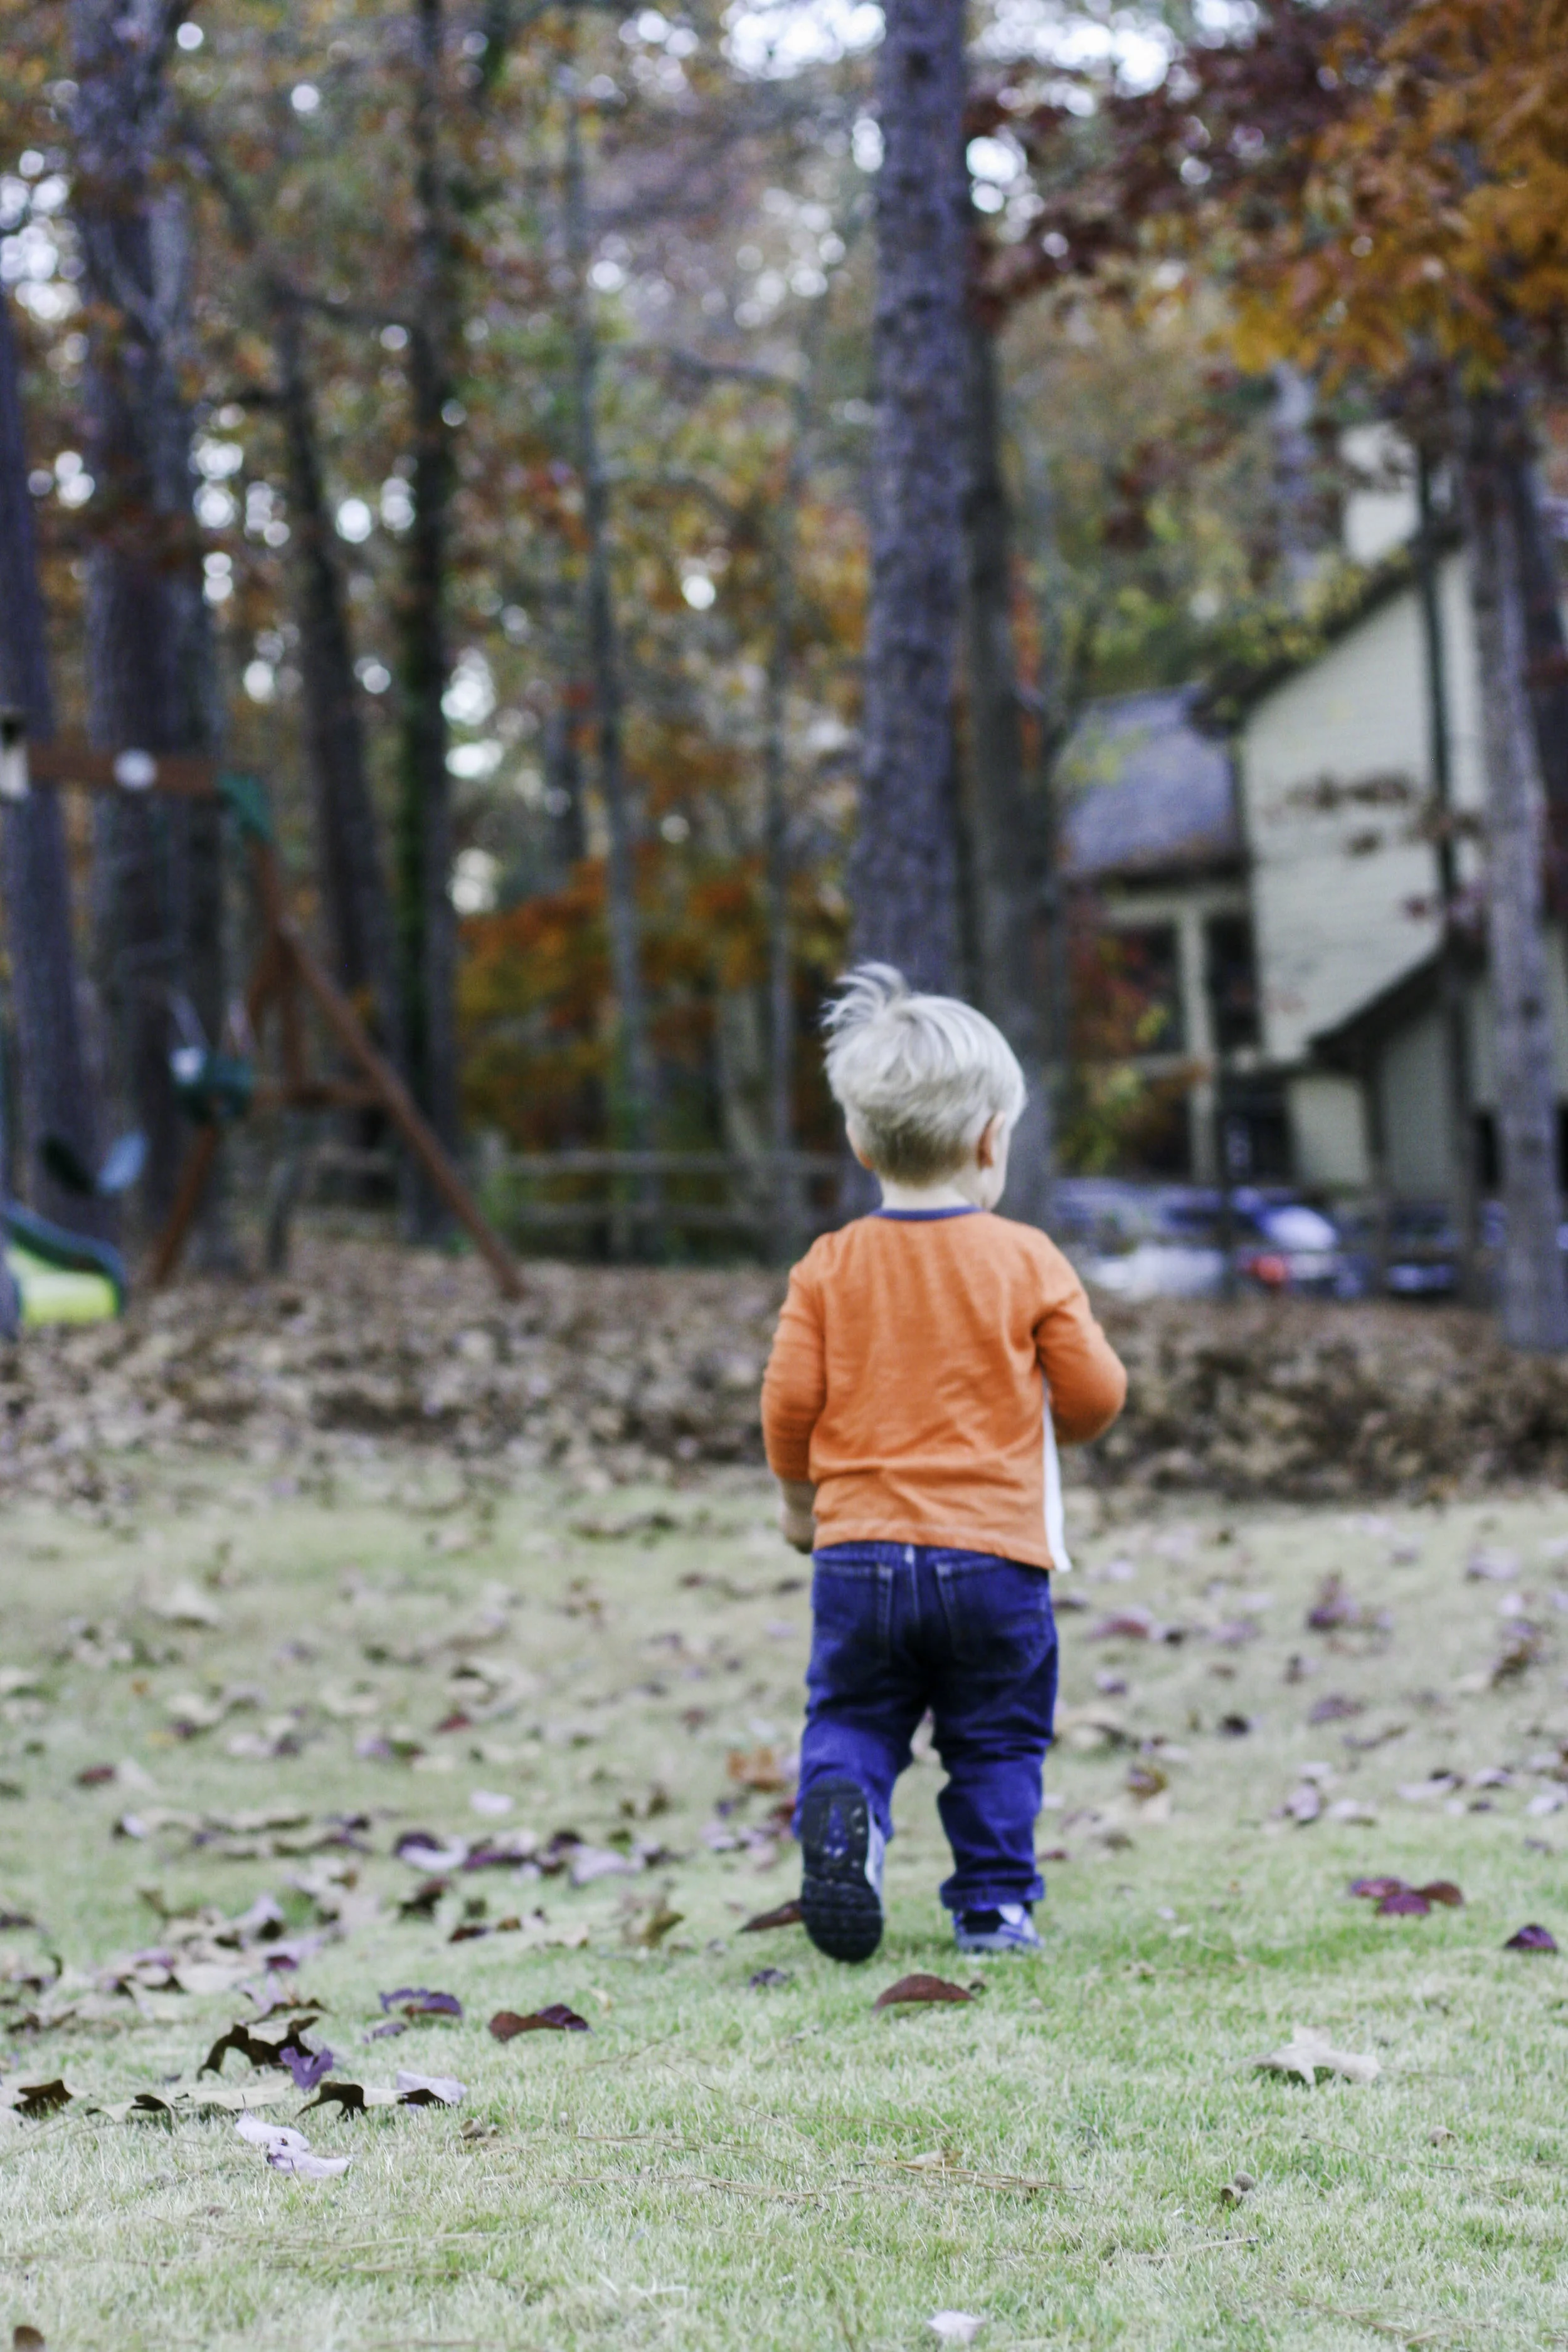
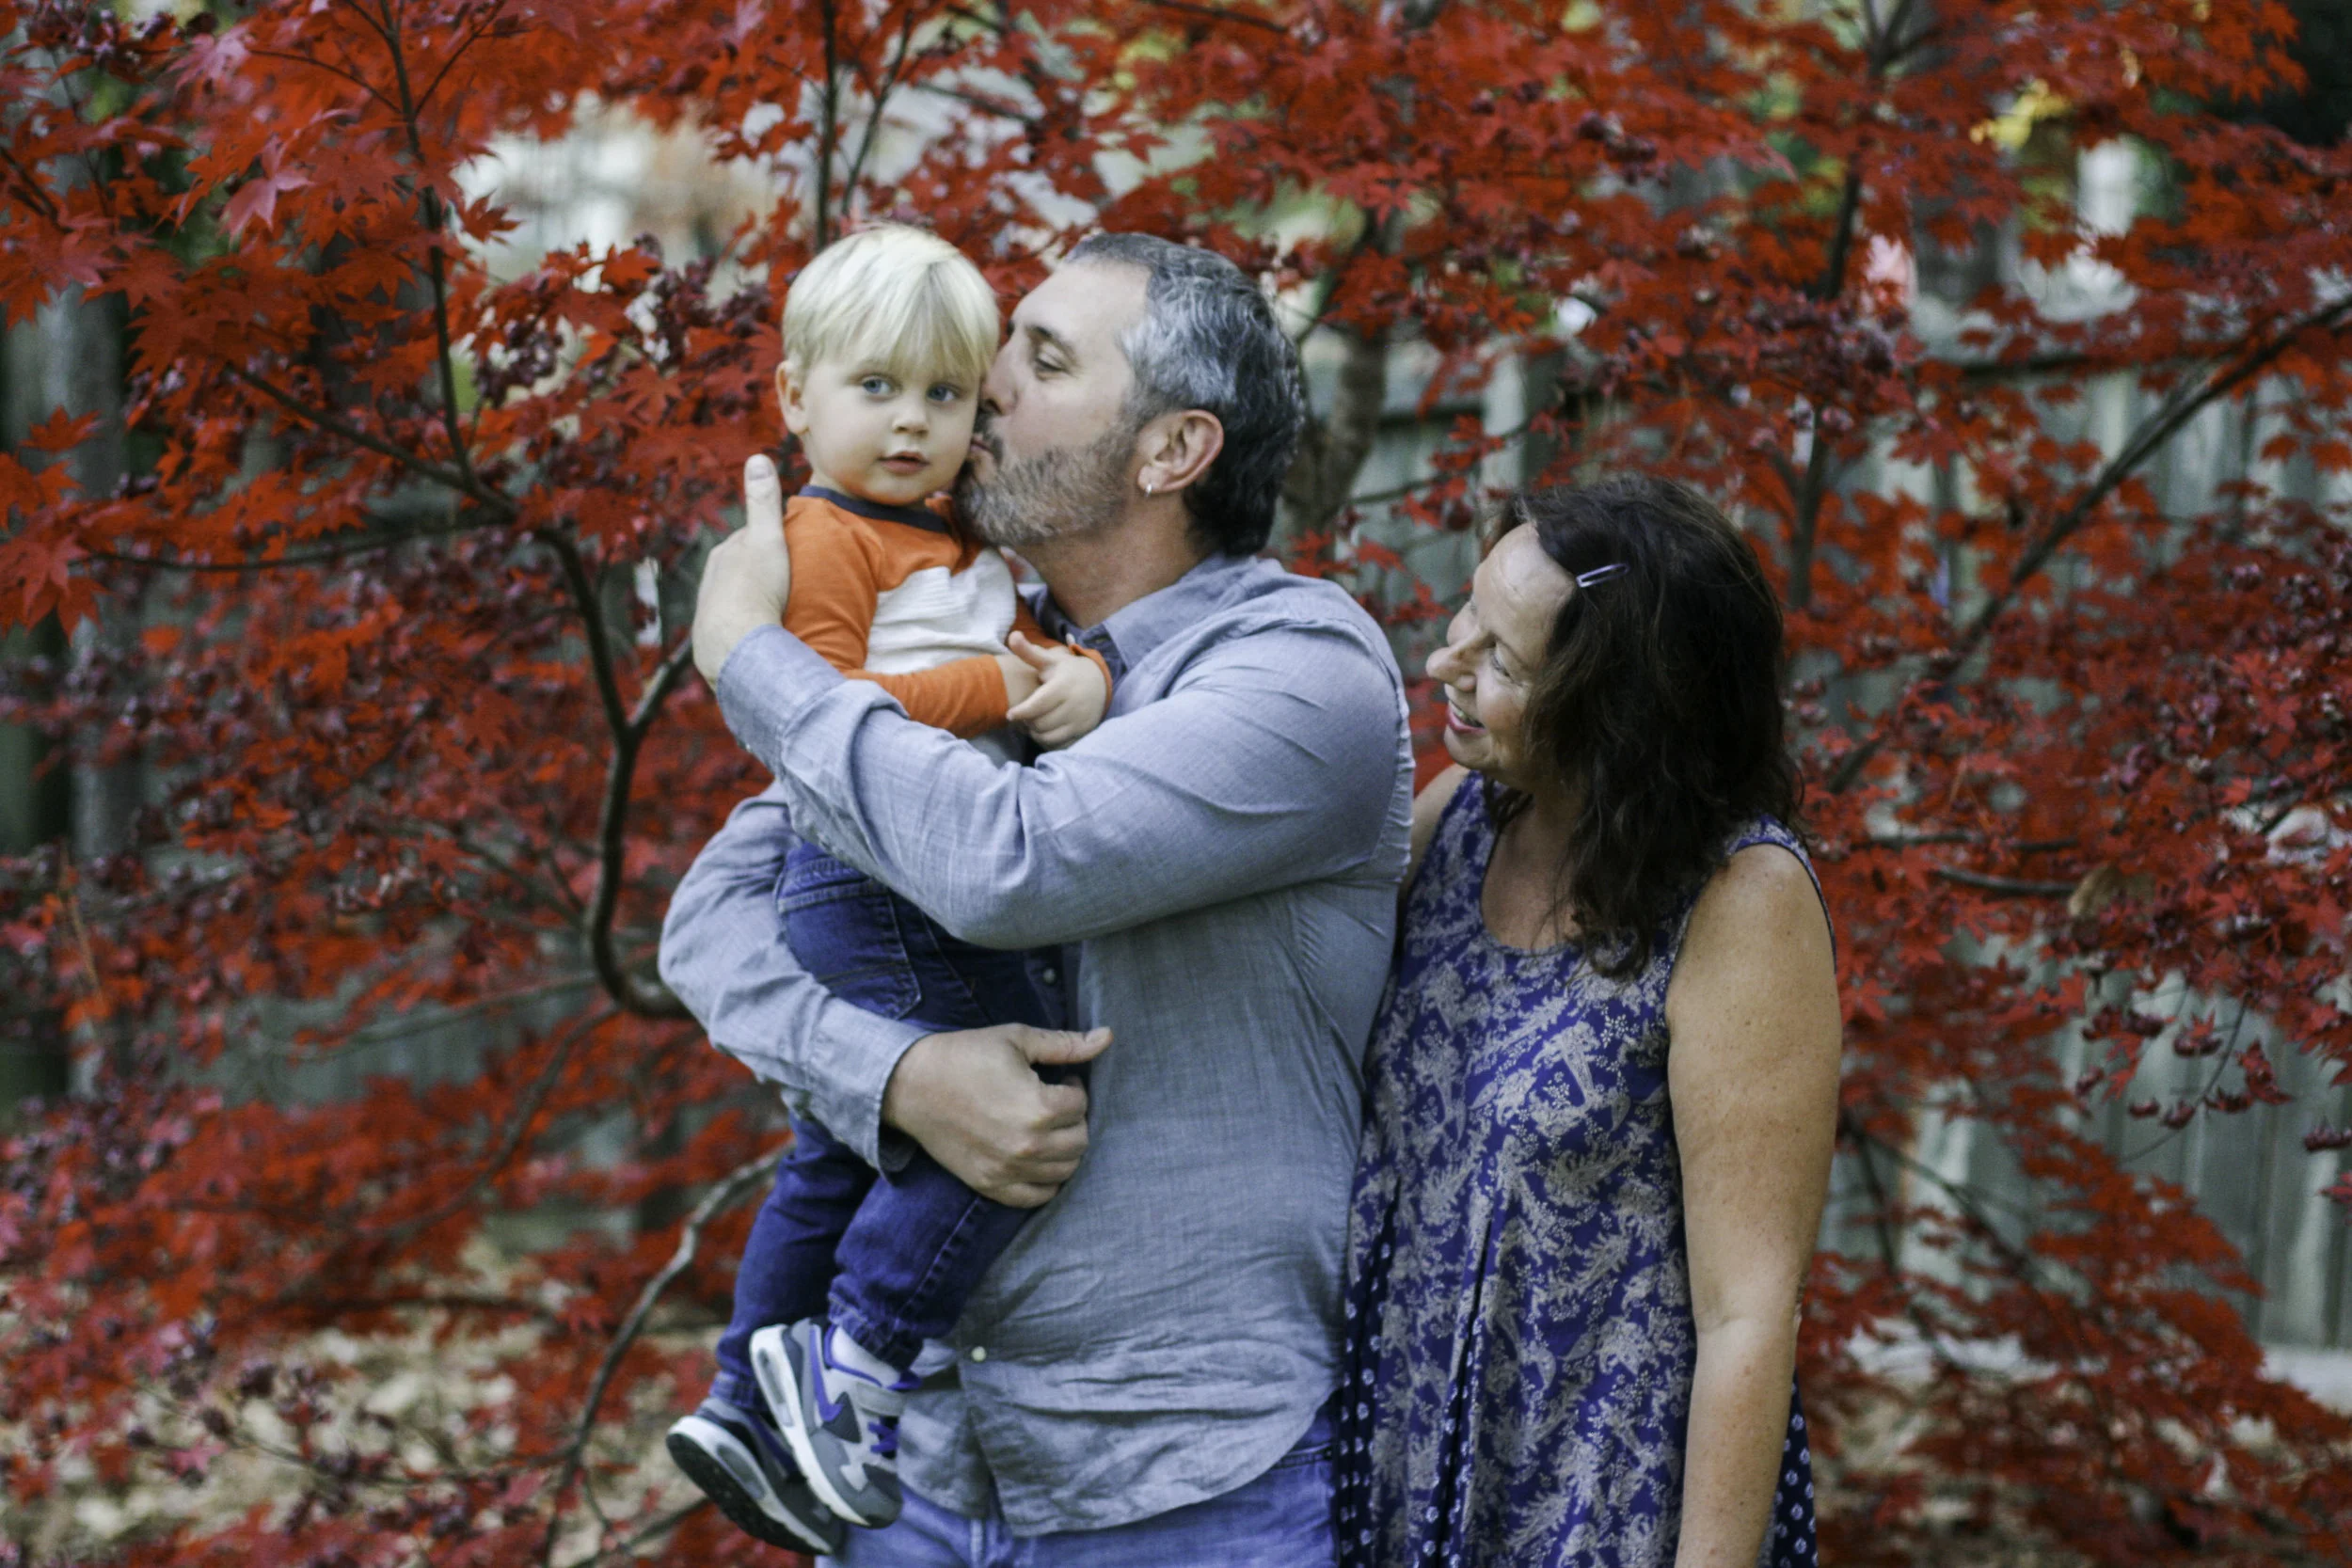
Everett got the croup over the weekend and I think I was fighting off a little bug, too. We stayed in bed and rested a lot, and I actually think we caught his early enough that it didn't manifest into a full-blown sickness situation, thank goodness. I've been using a new brand of essential oils over the past few weeks and I don't mean to be such a crazy oil lady, but I actually think diffusing so many good oils in the house could have helped both of us from getting too, too sick. Time will tell, but I can see this whole essential oils thing becoming an addiction... I've already ordered more and I am really into concocting my own recipes for the house every day. #crazyoillady

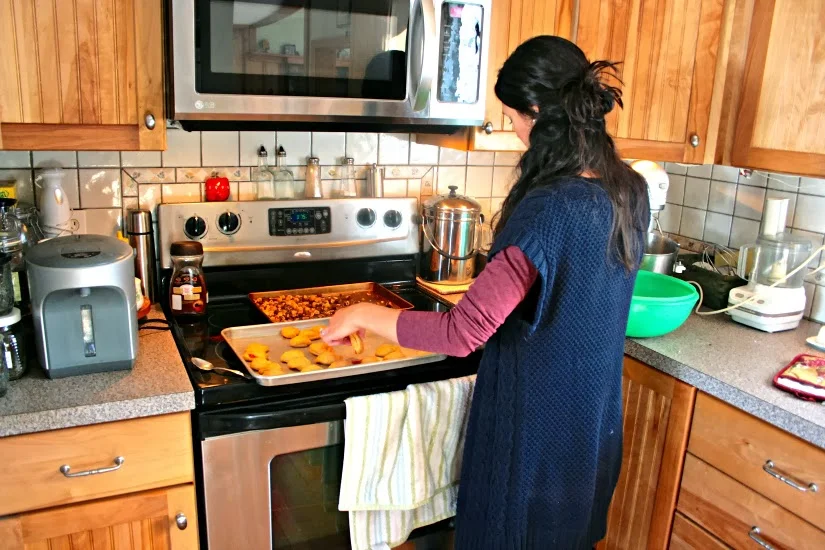
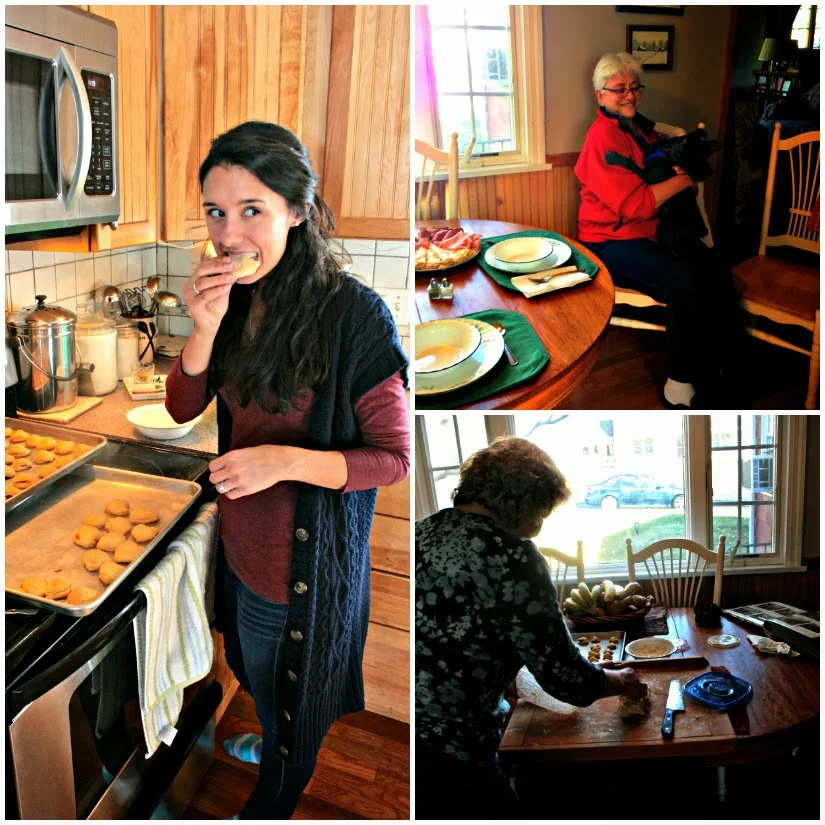
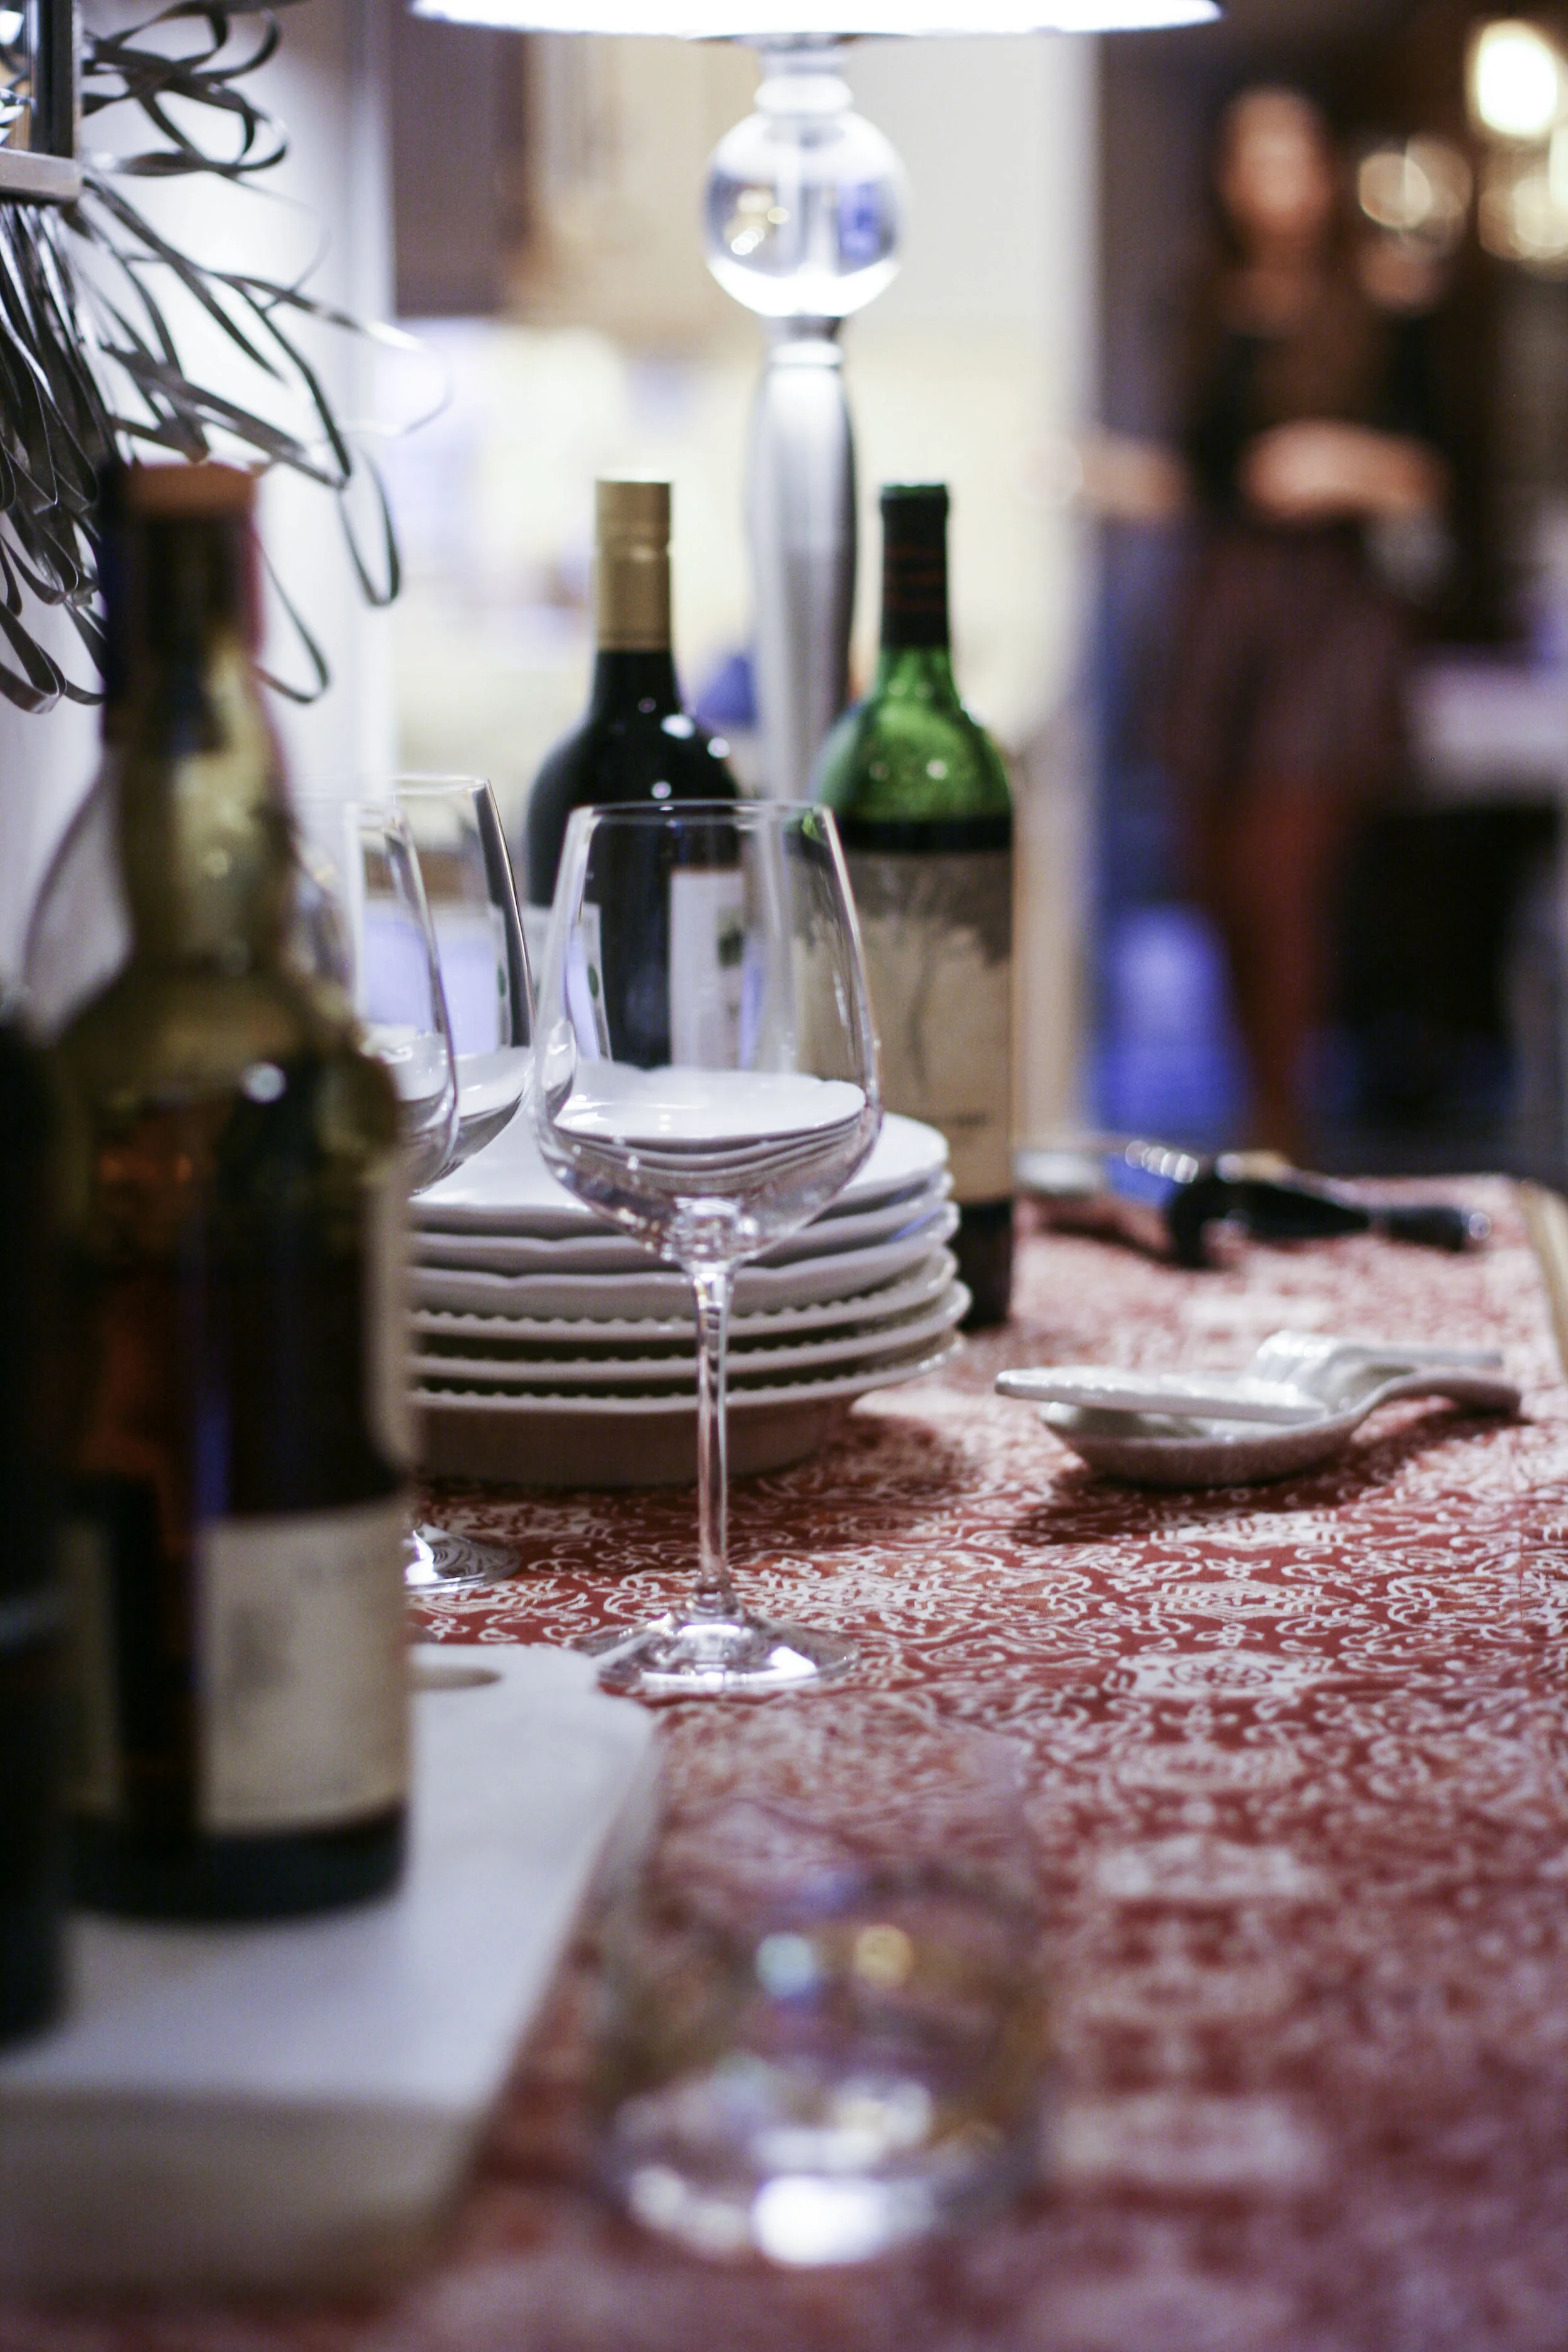
I was really kind of terrible at documenting this holiday. I didn't get any pics with Stevie's fam, even though we totally celebrated with them the day before Thanksgiving. And I didn't take any food photos, even though I actually cooked a bit more than I originally planned. And - I even decorated our dining table and it looked so snazzy but alas - no photos. I just needed a good unplug and some extended rest and this was the weekend for it. I am so grateful for this family of mine. It's really everything. And now I'm feeling more refreshed and ready for December and all it's glow.

I hope your weekend was sweet and full of family and love and quiet and yes - Gilmore Girls! Wasn't that revival something?! I have so many thoughts, but I have to re-watch everything to really process the story.

What was your favorite thing about this holiday weekend? Did you have any killer good new recipes that are must-try? Happy Monday to you, friends! xox

P.S. - I have a few Cyber Monday promo codes for you to some of my favorite stores:

At ASOS - Get 30% off every single thing! Use Code THANKFUL30. Valid 11/24 8am – 11/29 8am GMT.

At Stella & Dot - Get up to 60% off flash sale items!

Shop the Handmade gifts section of Amazon for her, for him, and for kiddos. I heart Amazon this time of year.

At Modcloth - Everything is 30% off with Code: CYBER16!

Our Stage 1 Baby Food Methods & Resources.

Entering Stage 1. 

The past 6-8 weeks have been SO MUCH FUN. My son has started munching on solids, and by solids, I totally mean pureed, smoothie-ish textured foods :) This new part of our routine has led to a much better sleep schedule for us all. Of course, as I type this, I am completely sleep-deprived, because he has been teething this week which just throws everything off again, again. But he has worked so hard for these two little bottom teeth that sprouted up this week (all the moms feel my whole-hearted HOORAY!) In spite of this little teething blip, I must say that overall, things have been really smooth sailing in the baby department lately. Which is saying a lot, because it has been a whirlwind ride since this little boy made his appearance 7 months ago. So, yaay for teeth and fun foods and SLEEP.

"Knowing" He Was Ready.

My pediatrician kept telling me that I would know when my son was ready for solids. I didn't really know what she meant by that. But all the sudden, at 5 months old he started reaching for everything I was eating. He almost drooled into my coffee cup as I poured the happy morning beverage. How does he know to drool over coffee? That's my boy. I guess this was the "I'M FRIGGIN READY, MOM"-indicator. I wasn't ready for him to be ready, but he was! So at 5 and a half months, I tearfully strapped him into his little high chair and slowly armed his clothing with his rubber bib (see a few pics HERE.) I sat down in front of him with my first batch of homemade apple sauce, and after weeping a tiny bit (me, not him), I began spoon feeding him. That little smile. Smeared across his face in mashed-apple joy. He LOVED it. He was in apple Heaven, and started banging on his tray, as if to say, "I want more, cmon woman!" Every day since then, we have given him apple sauce or banana for "breakfast" and fed him different fruits and veggies at dinner time. Of course, this is all in addition to his many nursing sessions each day :)

Resources & Recipes.

I'm not into reinventing the wheel. So when it comes to making my own baby food, I have reached out for lots of help and guidance. I have pulled on the resourceful brains of my big sis Kara and my dear friend Liz, along with the Momtastic Wholesome Baby Food website and book. I started with recipes for making singular pureed baby foods, including Bananas, Sweet Potato, Apple Sauce, Pear Sauce, Mangoes, Avocados, Carrots, Peas and Zucchini. I have started combining some of the foods, creating blends of Apples & Carrots, Pears & Peas, Zucchini & Pears and Banana & Avocado. This isn't proprietary information, since pretty much every blogger under the sun has published the same baby food recipes over and over again. But I really needed step by step instructions spelled out for me, and in case you're a little bit like me, I wanted to share the method I've most enjoyed.

Stage 1 Baby Food Prep:

Cooking.

1) Peel, (when appropriate, core) and chop your fruit/veggie.

2. Place in a steamer basket within a stockpot of water on the stove. Make sure the water is high enough to just barely cover the fruit/veggies.

3) Steam/boil the fruit/veggies until soft enough to easily stick a fork through. The timing will totally depend on the type of fruit/veggie and how much you're steaming. Give yourself anywhere between 7-20ish minutes for this stage.

4) Remove chunks from heat and strain the fruit/veggies out. Reserve that water! It's nutrified.

5) Place chunks into blender (I use a Vitamix), and add a cup or two of the reserved water.

6) Blend mixture until a smooth puree is achieved.

Storing.

7) Pour mixture into ice cube trays. Cover with plastic wrap and freeze overnight. In the morning. place cubes in a large zip-top bag. Label the bag with the food type and date. Keeps in the freezer for 3-6 months.

8) Voila! You've made your baby food! You deserve chocolate.

Serving.

9) Remove a day's worth of baby food from the freezer at the beginning of the day. This could be 1-2 cubes for "breakfast", and 2-3 cubes for "dinner". I haven't really opted in to start serving him solids around lunchtime, but you could!

10) Place cubes in individual baby food containers. Allow to thaw. If you would like to serve the food warmed, you can place this container or this container in a cup of hot/boiling water to quickly heat. My favorite method to thaw/heat baby food is by water submersion, but there are tons of different options.

11) Make sure to stir the mixture well and taste-test each new serving (just to make sure there aren't heat pockets that could burn a baby's mouth.)

// I had a pretty cute audience for this food prep. //

Our Kitchen Tools:

- Tommee Tippee Easi Roll Bibs (These were a genius baby gift, thank you Jordan!)

- Munchkin Soft-tip Spoons

- Keekaroo High Chair (Another gift, thank you Merritt family! We love our pretty high chair!)

- Vitamix Blender

- OXO Freezer Storage Containers (for storing/heating baby food)

- Ball 4-oz. Jars (for storing/heating baby food)

A Few Last Thoughts:

Making baby food is no joke. It feels like a very domestic, wonderfully mommy-ish thing to do, but it is hard work. There is NO SHAME in serving your child store-bought baby food. On our first road trip I gave Everett some of these and these pouches of Stage 1 baby foods and he loved them. So there you go. Kids really don't know the difference.

A helpful note about how much to serve your baby.

A good reminder to always nurse or bottle feed your baby before serving solids. 

After preparing all this food, I was ready to go on a baby food diet myself. Seems so healthy.

I hope this helps! Do you have any tips for feeding your baby solids or recipes/methods that have been super successful in your own family? Do share!

Taste: Artichoke Pesto Farfalle

Artichoke Pesto Farfalle.

Happy Superbowl weekend! I always try to think of something festive to make that doesn't lead with a zillion bad calories. Why is Superbowl food so, well, unhealthy? We're mixing it up this weekend with a ridiculously good pasta. Bless you, Giada, you've done it again.

This Artichoke Pesto Farfalle is a twist on this recipe from Giada's Feel Good Food. I've swapped a few ingredients: farfalle pasta for orzo, diced tomatoes instead of cherry, subtracted the corn (I have a thing about corn), added in pine nuts, that sort of thing. Also, my sister made this the other night, and she added shrimp for a bit of protein. She says it was a hit! The possibilities are endless, but this is a good recipe to have on hand... plus, it's kind of Spring-y, which is always nice when I'm staring out the window at the eternity of snow. At least I can trick my taste buds into thinking that we are almost into warm weather season :-) So...goooooo (insert your team here)!

Ingredients:

- 1 lb. Farfalle pasta (or whatever kind of fancy pasta you prefer!)

- 1 12-oz. jar Artichoke hearts (you could also use frozen, just make sure they're thawed before you cook)

- 2 cups diced Tomatoes (you can use fresh or canned, but if they're canned, make sure you drain them completely before using)

- 1 1/2 cups grated Parmesan cheese

For the Pesto:

- 3/4 cup Olive Oil

- 1/4 cup Walnuts

- 1/4 cup pine nuts (optional, but I just love them)

- 1/2 fresh flat-leaf Parsley

- 1/2 cup fresh Oregano

- Grated zest of 1 lemon

- 1/4 cup fresh Lemon juice (basically the juice from an entire lemon)

- 1 clove Garlic, smashed

- 1/2 tsp. Salt

- 1/2 tsp. Pepper

Method:

1. Cook your preferred pasta to al dente. Drain and set aside.

2. For the pesto, combine the following ingredients in your food processor: 2 cups of the artichokes, the walnuts, parsley, oregano, lemon zest, lemon juice, garlic, salt & pepper and olive oil.

3. Pulse all the ingredients until blended smoothly. You might have to stop and scrape the sides of the bowl to blend everything evenly. This should take a few minutes. Set pesto aside.

4. Chop the remaining artichoke hearts into 3/4-inch pieces and add to the pesto. Add in the (drained) diced tomatoes and parmesan cheese.

Ta da! Your ridiculously delicious dinner is served. The dish itself is so pretty to look at with all the colors, but like I said, you can dress it up a bit more with your preferred protein. I think this is a great option to have on hand on game day, when you might have more than a few (hungry) dudes showing up at the house. Now you have something healthier to serve than chips and queso :-)

Yum yum yum. I want to eat this all over again.

Enjoy your weekend, friends!

Taste: Green Apple & Bacon Grilled Cheese

Mmm. Bacon.

I've got another recipe for you this week! Since it's FREEZING outside (literally, its well below freezing temperatures today), I've been inside a lot, cooking and baking up a storm in my mini-kitchen. This is SUCH a great recipe, and so stinkin' easy. I don't claim that it's the healthiest, but we all like to veg out a bit when it's arctic outdoor, right? This is rich and comforting and indulgent, and isn't that a little bit necessary during the howling-cold month of January? Pair this with a nice tomato soup and an evening all to your Netflix, and you could battle me for the hibernation crown of glory. I invite you to try it.

Ingredients:

- 2 slices of whole-wheat bread

- 2 slices of cooked bacon

- 2 slices of mozzarella cheese (although I suspect gruyere or Vermont cheddar would be to die for, too)

- 1/2 green apple, sliced thinly

- 1 tbsp. butter

Don't love the idea of apple on your grilled cheese? Sub in one of these additions in its place:

- Avocado (to die for!)

-  Portabello Mushrooms

- Roasted Eggplant

- Mustard

- Prosciutto (my mouth is watering here)

- Sliced Tomato

- Artichoke Hearts

Method:

1. You've made grilled cheese before, right? For those of you too healthy to make this on a weekly monthly basis, I'll give you a quick refresher. Drizzle a tiny bit of olive oil in a skillet, and turn heat to medium-low. The lower the temp, the slower it cooks, but this is how you achieve the coveted oozing-cheese situation.

2. As the pan heats up, butter one side of each slice of the wheat bread.

3. Thinly slice half of your green apple (my husband likes this with a red apple, too, so pick your fave and go for it!)

4. Once the pan is heated, place the first slice of bread, butter-side down, into the pan. Place a slice of cheese on top of the bread, then layer the slices of bacon (broken in half), and then the slices of apple. Finish with another slice of cheese and then top the layers with the other side of the bread (butter side up).

5. Let the sandwich cook for 2-4 minutes per side, or until the bottom is golden-brown (just watch to make sure you don't burn it.)

6. Flip it. Repeat. Stop drooling.

7. Inhale sandwich. The end.

Cheesy Delicious.

If you would pay for it at Panera, then it is worth attempting to re-create, right?

Stay warm, friends!

Noel: Mary the Cookie Lady

Mary the Cookie Lady.

When I was a little girl, my Aunt Shirley used to come into town on Christmas Day. She flew in from Connecticut, which always sounded to me just like the North Pole (all that snow!) And my Aunt Shirley, my dear dear Aunt Shirley, would always come armed with a tin full of extra special cookies. These were no run-of-the-mill chocolate chip types, nor boring sugar cookies either. The confections Aunt Shirley brought with her in that special tin were decadent, spectacular truffles of majesty. Swirled with cinnamon, powdered with sugar, fluffy and rich with apricot filling. Oh these cookies! They were the best in the WHOLE WORLD. And my wide eyed sisters and I would exchange equally meaningful and sneaky glances as we attempted to take two, three, four cookies at a time, all the while my mother would cluck her tongue at us, β€œGirls, these are a treat! You only need one!” But we couldn’t bear it. We couldn’t resist the magical cookies from the magical land of Connecticut, which was probably something like the magical North Pole.

I love how romantic childhood Christmas memories can be.

Now, let me tell you, my Aunt Shirley does not bake. She doesn’t cook. There are no spatulas in her kitchen. She has no need for such tools, since her fingers can swiftly dial and she can have takeout from all her favorite places in 20 minutes. She would tell you this herself. She has her doctorate in psychology, she is the most popular professor at Sacred Heart University (and has a bevy of awards to prove it!), she has contributed to a number of humanitarian and rehabilitation efforts over the past 35 years. She has been, understandably TIED UP for quite some time. So baking? Eh, not on her list of to-do’s. She’s been saving the world. Which means that these fine cookies… they weren’t by the work of her hands. These cookies were crafted by Mary the Cookie Lady. AKA Aunt Shirley’s bestie. Mary is the genius mastermind, the true craftswoman behind these works of tasty art. Turkish Delights are a woeful knockoff to her baked glories. Mrs. Fields? Please. Ain’t got nothin’ on Mary.

People. I invited myself to bake with her. I went to Mary’s house. I BAKED WITH THIS GODDESS. I could cry at how amazing the experience was. Um… actually, I did. I got in the car and wept like a foolhardy little girl. Because baking with Mary was like playing onstage with a rock star. She is a rock star. I don’t know how else to describe it.

I asked Mary if I could learn from her, be an apprentice of sorts. I hoped she would be willing to share her generations-old recipes with me, a mere outsider, a non-family member. Not only did she invite me into her home, she welcomed me with the warmth of a queen. When I arrived, she had the kitchen set and ready to learn 5 different cookie recipes. Her ingredients were stocked, her tools were ready and there was a gigantic wrapped present on the counter for me. Seriously, is this woman an angel or what? Apparently she got the memo that I am a total gift hog. She presented me with all sorts of wonderful baking contraptions and ingredients so that I could re-make the cookies when I got home. What a woman. 

Photos by Shirley Pavone, AKA my hero

There is just something about Mary.

I'm sneaking bites, Aunt Shirley is playing with her pup, and Mary is busy working. A pretty accurate portrait of the day.

Herstory.

Mary was born in Croatia and grew up baking with her mother. On the day that we baked together, she pulled out a beautifully worn wooden pastry board that she inherited from her mother. Let me tell you, it was a beauty. You could see the markings of heritage, the imperfections in the grain, the evenly worn tone of the wood that could only be achieved over lots of time. I felt like I was stepping into her story as she unearthed the tools she had used for so many years to bake the magical cookies I had grown up, so tastefully admiring. This woman. She had baked her own legend into my life without even thinking twice.

Our works of art!

The day was more than a success. We laughed (obviously, I cried), we drank a lot of wine and Aunt Shirley was our culinary judge. In fact, she gave us all 10's.

Want to make some of your own famous Mary cookies? I've included one of her recipes below:

Ingredients:

- 8 oz. cream cheese

- 1 cup (2 sticks) sweet butter

- 1/4 cup butter, melted

- 2 cups sifted, all-purpose flour

- 3/4 cup brown sugar

- 1 tbsp. brown sugar

- 3/4 cup finely chopped hazelnuts

- 1 tbsp. water

Method:

1. Blend cream cheese, butter and flour in a mixing bowl until dough ball forms.

2. Chill dough for 1 hour.

3. In the mean time, combine the brown sugar, chopped nuts and cinnamon until well mixed. Set aside.

4. Preheat the over to 400 degrees.

5. Grease cookie sheets.

6. Remove dough from the oven. Cut ball of dough into 4 parts.

7. On a floured pastry board, roll out each fourth into a 9-inch circle (as if you were rolling out a pizza pie.) Dough should be about 1/8-inch thick once rolled out.

8. Sprinkle dough with 1/4 the hazelnut-brown sugar-cinnamon mixture.

9. Cut dough like a pizza, into 10-12 "slices."

10. Roll up slices, starting from "crust end" and gently fold into half-moon wedges. Place on baking sheet.

11. Bake for 15-18 minutes. Remove and let cool on racks.

Thank you, Mary, for taking the time to teach me your way around the kitchen! You are a joy and a total inspiration. And to all of you Oysters, I hope you enjoy your very own special Mary Cookies as much as I do! It's a Merry Christmas, indeed!