The Apple Crisp (that is both breakfast and dessert!)

Apple Crisp7.jpg

Merry Christmas Eve! If you’re like me, you are anticipating lots of people in your home over the next few days. And if you’re like me, you want to have easy, no-fuss snack/meal/dessert options on hand so that everyone gets fed and feels loved and happy.

Enter the apple crisp, the single most versatile weapon in my recipe arsenal. YES I WENT THERE.

This recipe can basically be whatever you want to call it or frame it as. It’s breakfast! It’s dessert! It’s healthy! You can add milk to it, or yogurt (or nothing!) and it’s a yummy warm breakfast. You can add some ice cream to it and suddenly it’s a wickedly good dessert. It’s anything you want it to be! And I love how clean the ingredients are, so you are truly working with a healthy, warm, nourishing dish that is such a universal crowd-pleaser. Make it. I know you will love it.

Apple Crisp1.jpg
Apple Crisp4.jpg
Apple Crisp5.jpg
Apple Crisp6.jpg
Apple Crisp8.jpg

Ingredients:
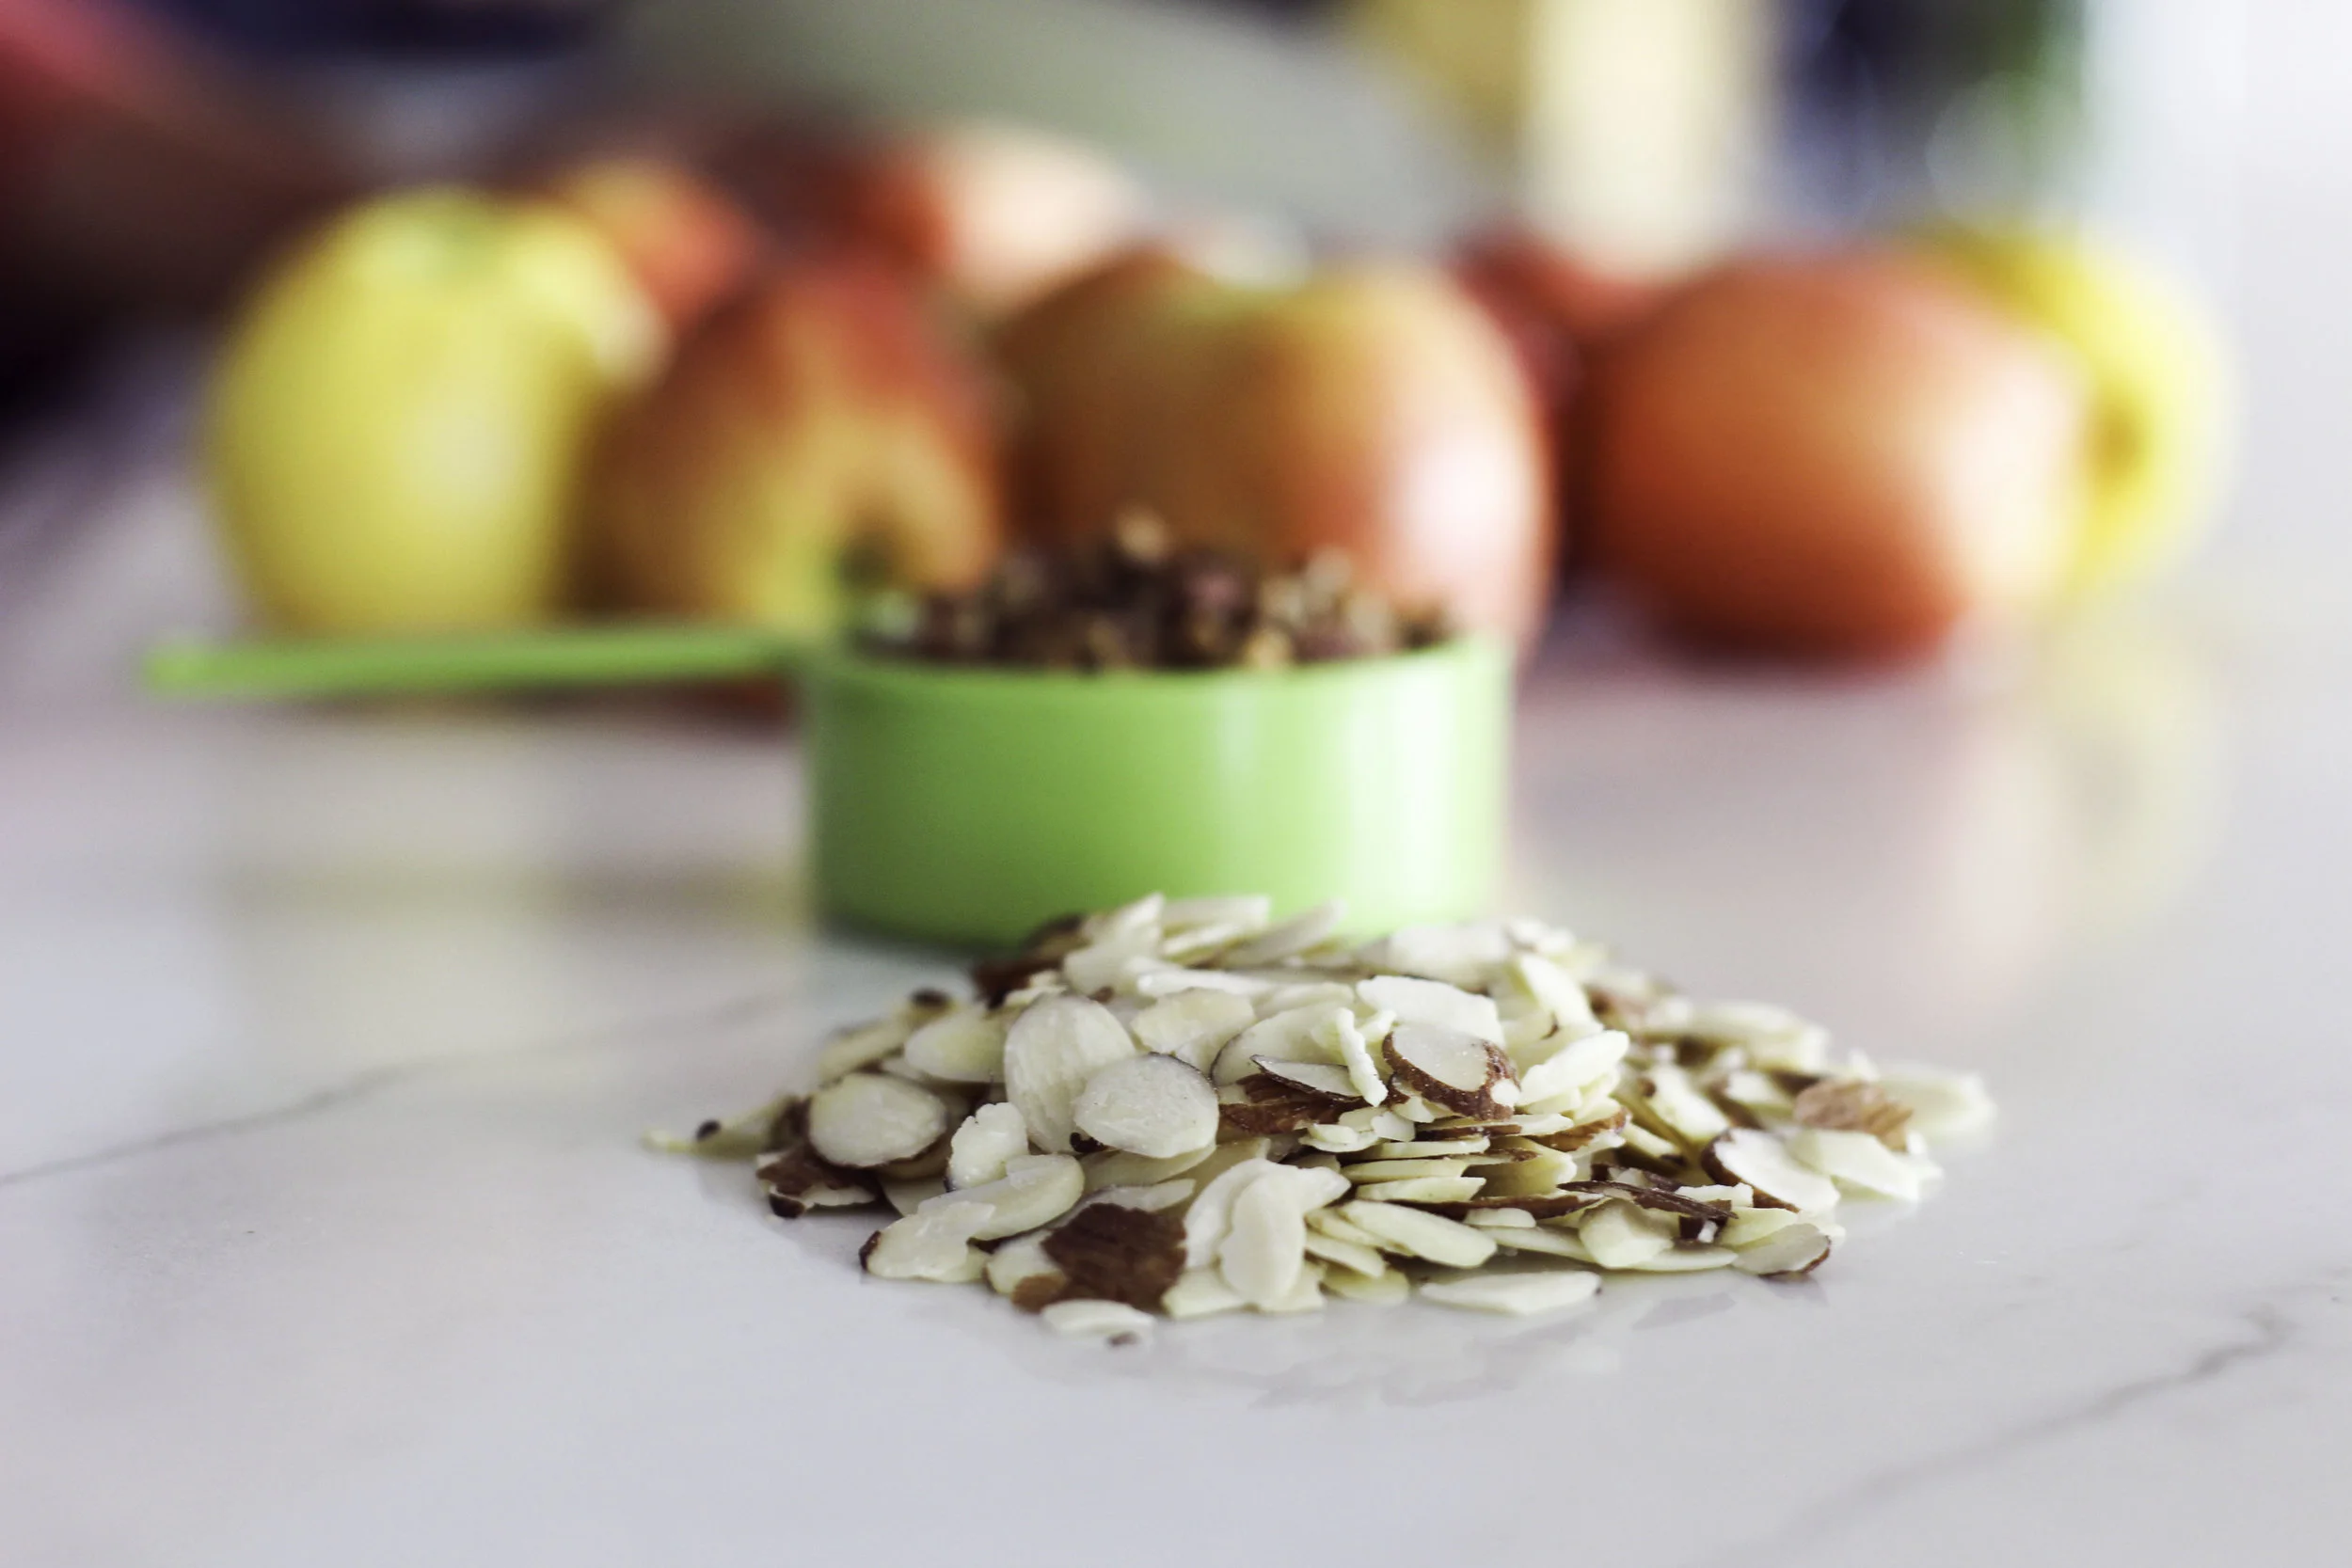
- 4 cups diced apples
- 1 cup old-fashioned oats
- 1 cup nuts, chopped (I like to do a mix of walnuts and pecans)
- 1/2 cup almond meal
- 1/4 cup maple syrup
- 1/4 cup olive oil
- 1/2 tsp. salt

Method:
1. Preheat the oven to 350 degrees.
2. Mix together the oats, nuts, almond meal, syrup and salt.
3. Pour the apples into an 8x8 glass pyrex dish, then layer the toppings over it.
4. Bake for 35-40 minutes, until the fruit is bubbling and the topping is brown and a bit crispy.

Apple Crisp9.jpg
Apple Crisp11.jpg

I typically double or triple this recipe when I have people over, and if I don’t, I still make a lot and freeze half of it. It’s one of the best things to eat first thing on a cold morning! Please let me know if you make it and enjoy it! I love sharing recipes with you that are staples in our household.


I hope the next few days are full of so much love and delight and laughter as you celebrate with your favorite people. Merry Christmas Eve to you all!

Apple Crisp3.jpg

Sparkling Moscado Pineapple Pops!

This post is sponsored by Kroger.

Pops3.jpg
Kroger10.jpg

We've got a long weekend coming up (Labor Day, I'm looking at you!) and Kroger was kind enough to send along a little popsicle kit so I could share this fun, end-of-summer recipe with you! Sparkling wine + ice pops = happy mama. Why should my kids have all the fun? I hope you enjoy this one!

Ingredients:
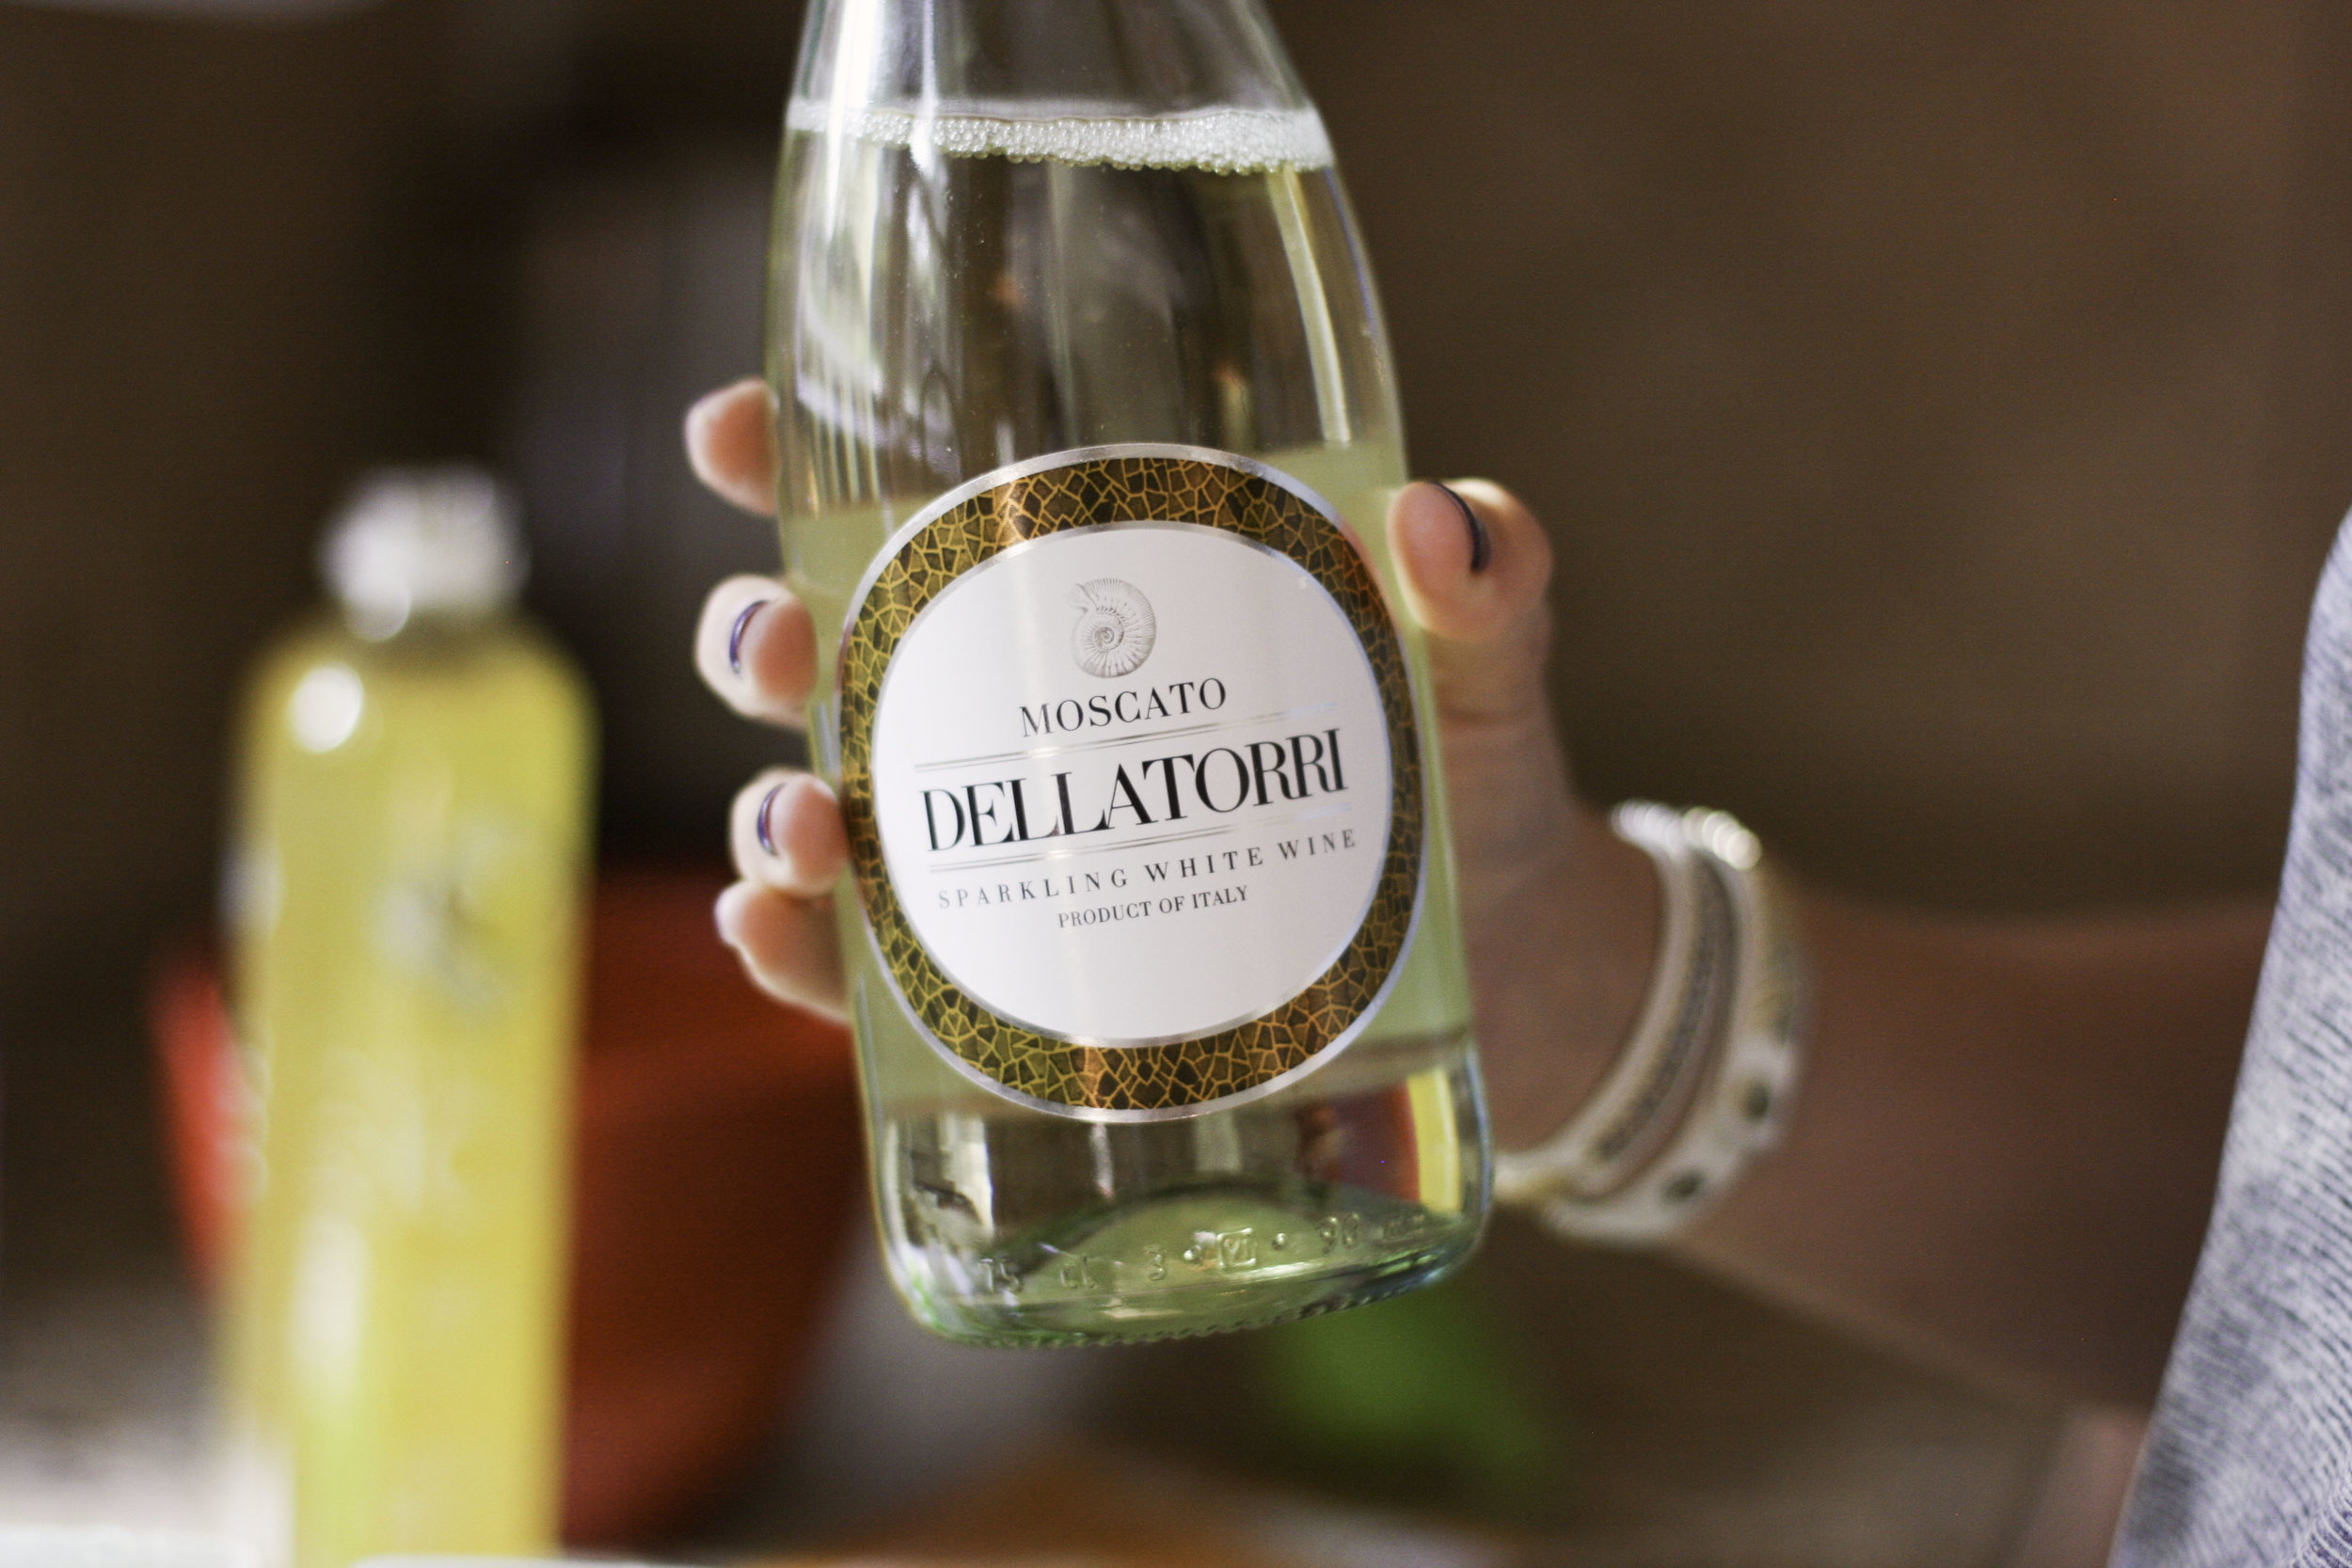
- 1 bottle of Dellatorri Sparkling Moscato
- 1 bottle of Coconut Pineapple Sparkling Ice Drink
- 1 fresh pineapple, sliced

Kroger Pops2.jpg
Kroger Pops6.jpg

Method:
1. Fill each popsicle mold with a few pieces of sliced pinapple.

Kroger7.jpg
Kroger Pops5.jpg
Kroger Pops10.jpg
Kroger Pops4.jpg

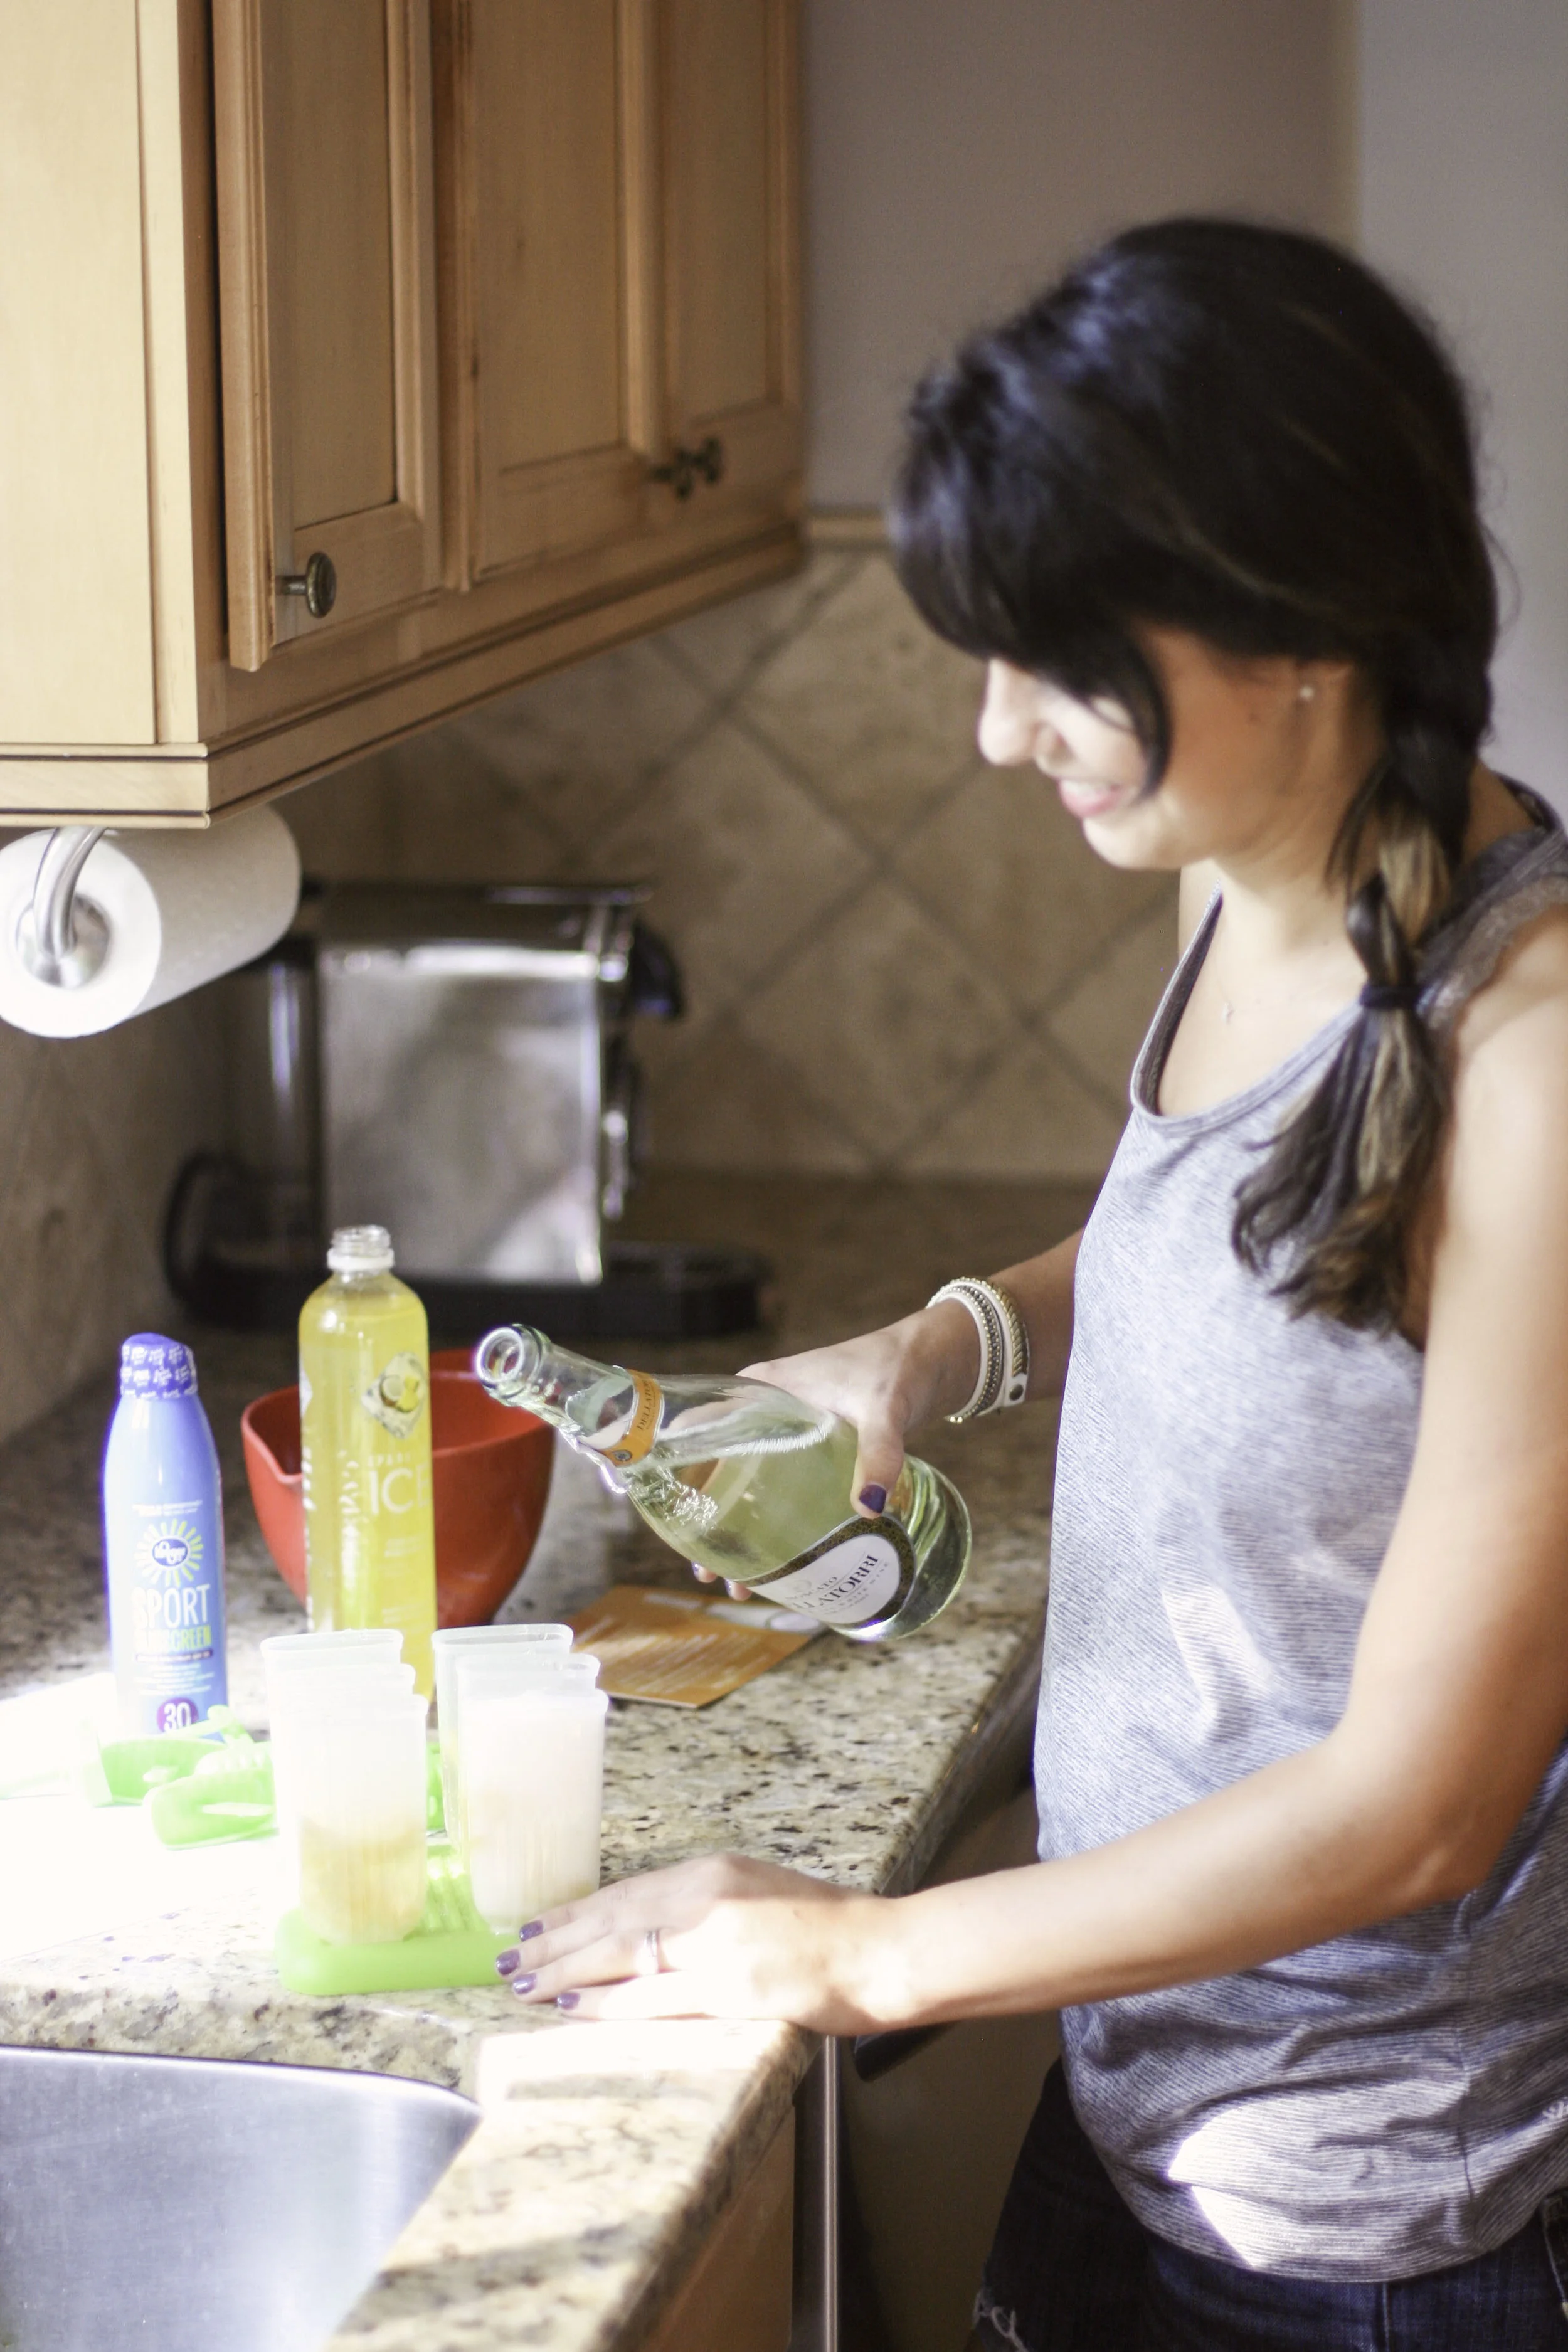
2. Fill each mold halfway with the Dellatorri Sparkling Moscado.

Pops5.jpg

4. Finally, fill the rest of each mold with Coconut Pineapple Sparkling Ice Drink. Make sure to leave a bit of room at the top to prevent overflow while freezing.

pop6.jpg

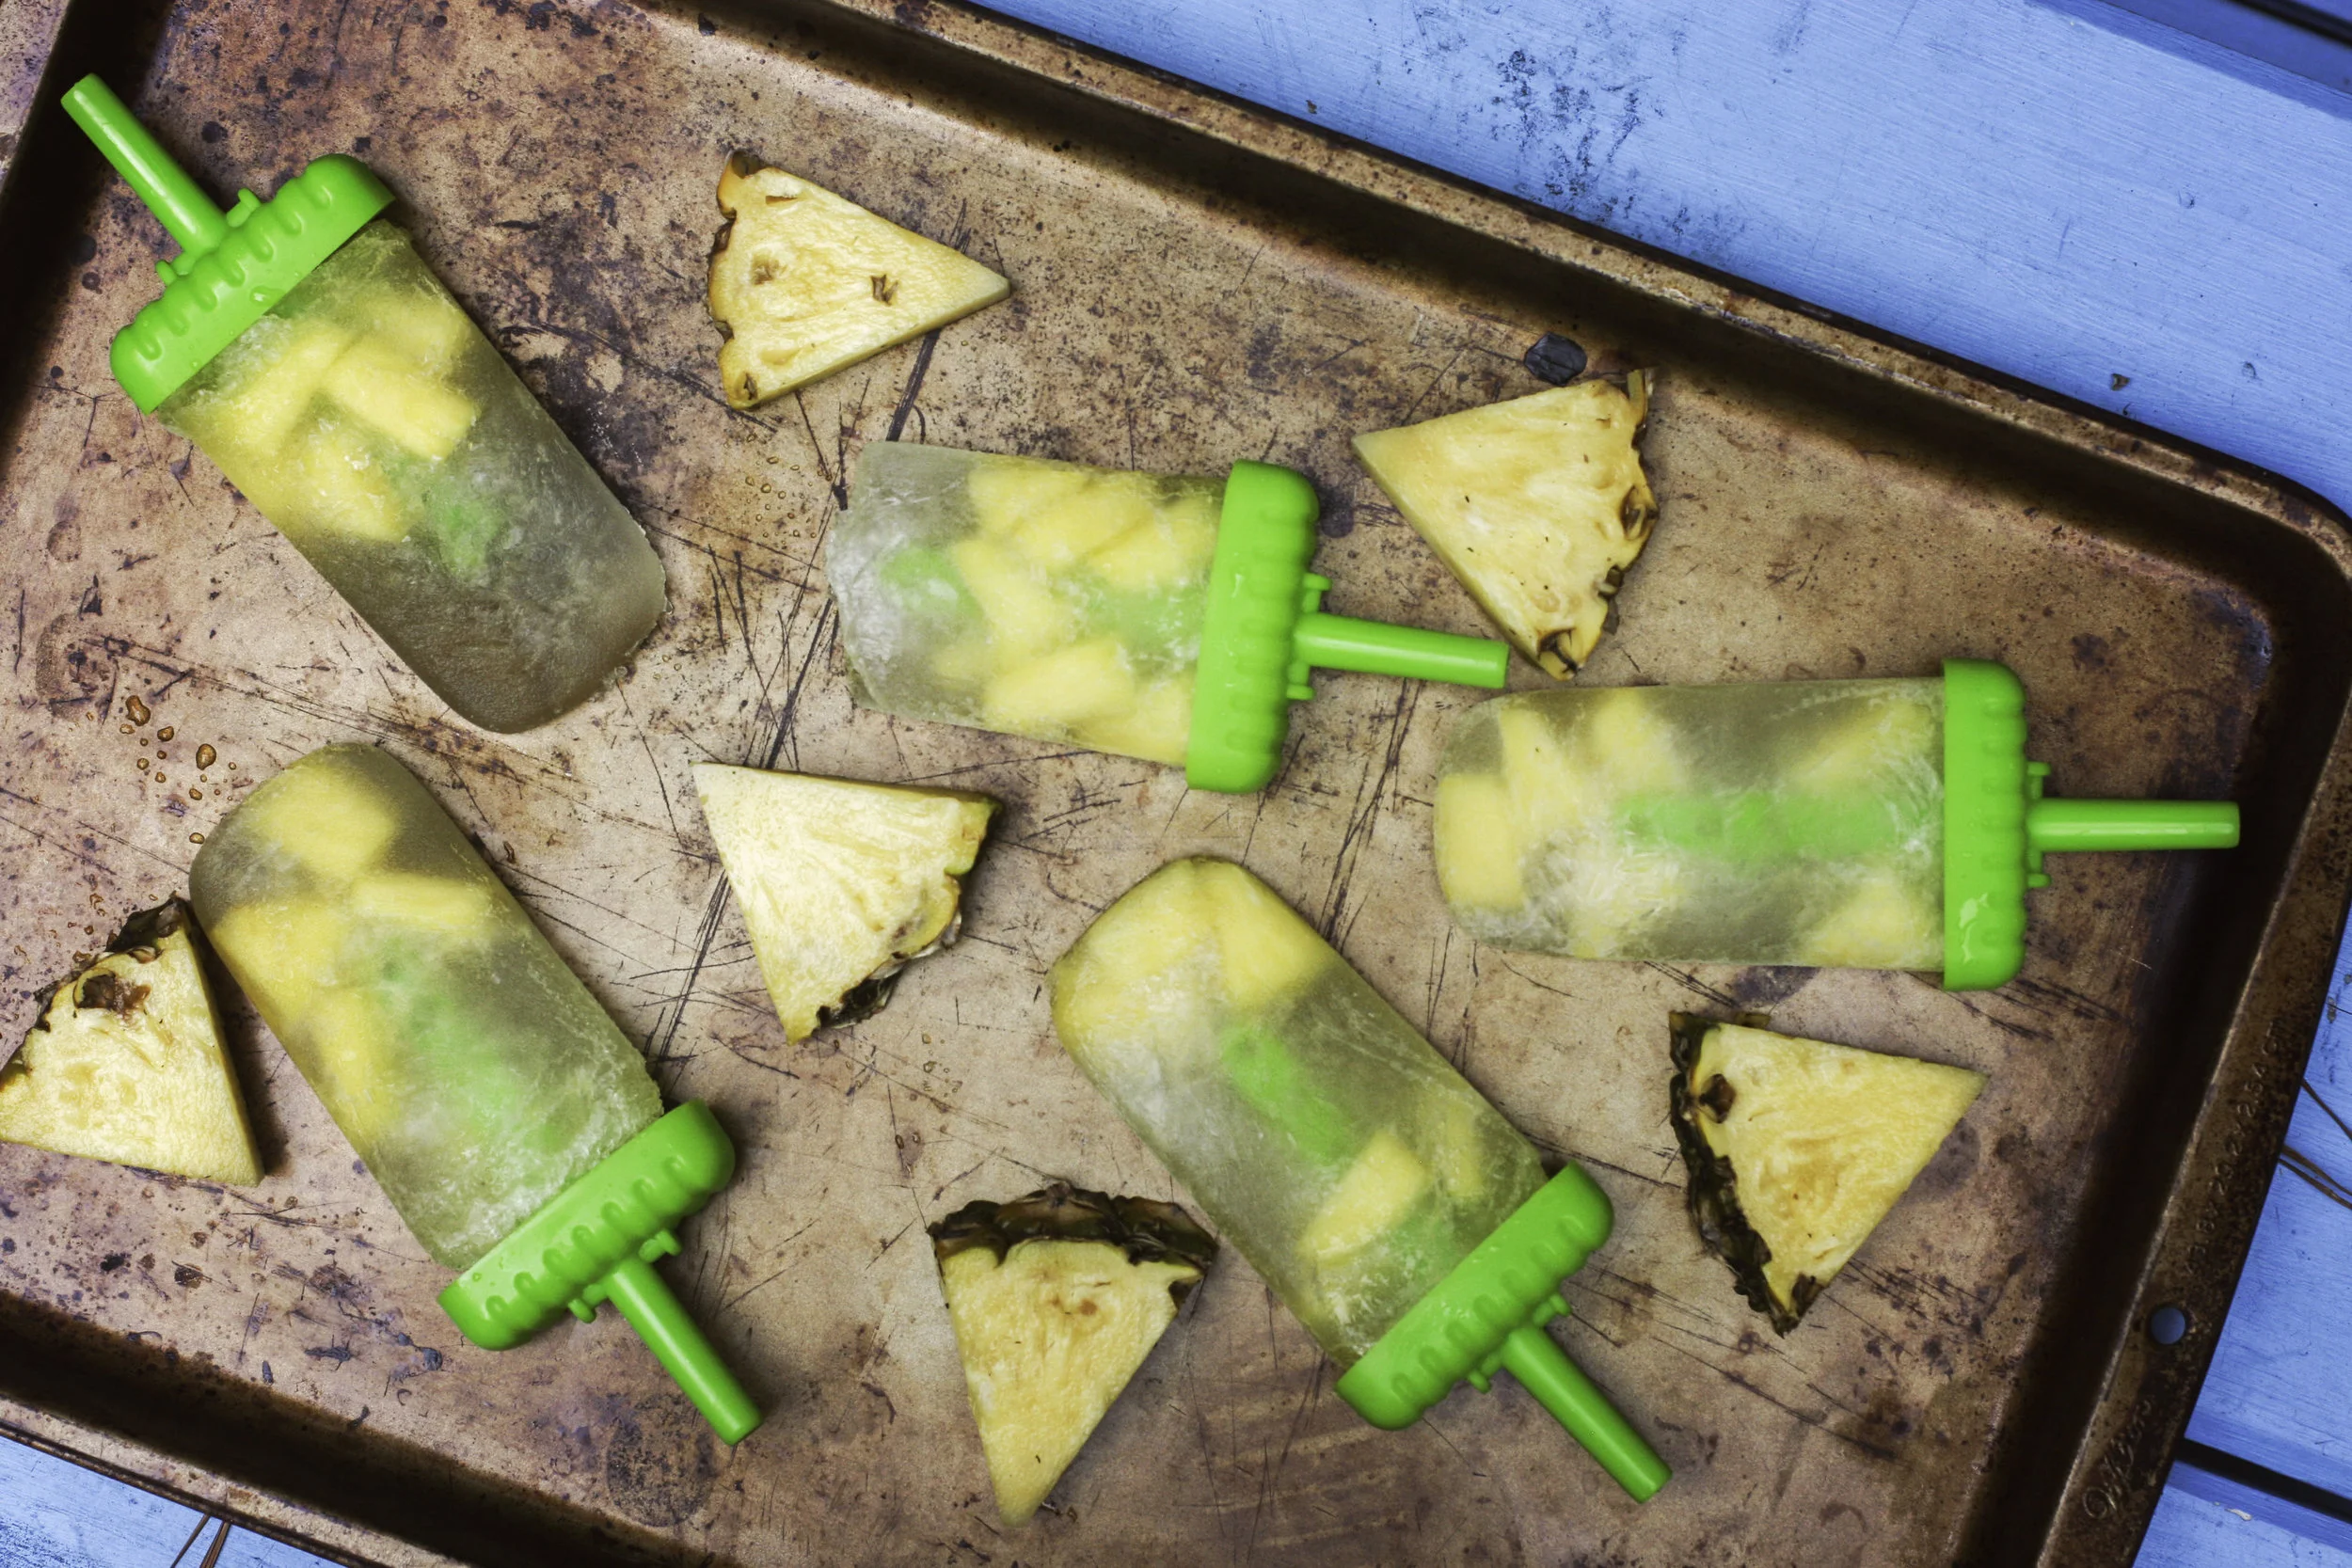
5. Freeze overnight and then have your friends over! I know it's feeling like 5 o'clock over here!

K Pops2.jpg
K Pops1.jpg

I hope you enjoy this recipe! I'm soaking up these last few days of summer with all the golf cart rides, stay-out-too-late in the yard evenings watching my boys play and of course, some of these yummy pops. Anyone wanna come over and slurp them up with me?!

Happy weekend, friends! xx


A Rustic Pear Galette + a Giveaway for "Sheet Pan Suppers Meatless"!

Sheetpan1.jpg

This post is a sponsored conversation on behalf of Workman Publishing. All opinions are my own.

Happy Friday friends! I'm excited to share a quick, suuuuuper easy autumn recipe with you, in partnership with Workman Publishing! I've always been intrigued by the idea of whipping up a rustic, autumnal galette, but to be completely honest - it seemed too fussy. It seemed like the kind of thing that only *real* bakers can achieve, and I should just stick to by-the-book pies. I was wrong! This recipe was EASY and make me feel like one of those fancy-lady bakers. Come on over to my place, it's getting all FALL up in here!

This recipe is from Sheet Pan Suppers Meatless, a new cookbook by award-winning food writer Raquel Pelzel, which is her latest effort in creating wholesome, meat-free meals using just a humble sheet pan. The one-pan approach appeals to busy mamas like me who have more than enough dishes to clean at the end of the day, but especially caters to vegetarians, vegans, those who follow a gluten-free diet and anyone who's interested in adding meatless meals to their lifestyle. The sheet pan approach uses three techniques to prep all the meals - roasting, baking and broiling, all of which allow the flavors of the food to marinate and intensify, creating savory meatless meal options. Flipping through the book, I was honestly surprised by how many recipes I wanted to try out. I don't follow a vegetarian lifestyle but I can certainly see the benefit in implementing more vegetarian meals into my family's repertoire. Don't laugh - but maybe my galette (which is basically a pie) will be a gateway. Perhaps we will progress to actual vegetables next week ;)

I'm sharing Raquel's recipe today, but make sure to hop on over to my instagram for your chance to win a copy of Sheet Pan Suppers Meatless along with a prize pack! More details below, following the recipe.

Sheetpan3.jpg

Rustic Pear Galette:
Excerpted from Sheet Pan Suppers Meatless by Raquel Pelzel (Workman Publishing). Copyright © 2017.
Ingredients:
- 1 piecrust dough (you can make your own or use a store-bought version)
- 3 medium-ripe Barlette or Anjou pears, cored and sliced into 1/4-inch thick slices
- Finely grated zest of 1 lemon (I adore my microplane grater)
- 1 tbsp. fresh lemon juice
- 1/4 cup sugar
- 1/2 tsp. ground cinnamon
- 1/8 tsp. kosher salt
- 1 large egg
- 1tbsp. butter

Method:
1. Remove piecrust from the refrigerator and let it warm up to room temperature.
2. Line a rimmed sheet pan with parchment paper or a silicone baking mat (I have yet to graduate to one of these, though perhaps this should be my year). Place the pears in a medium-sized bowl and toss with the lemon zest and juice, 1/3 cup sugar, cinnamon and salt. Set aside.
3. Whisk the egg, 1 tbsp. water and a pinch of salt to a small bowl.
4. Unroll pie dough onto the prepared sheet pan and pile the pears in the middle. Leave a 2-3-inch border around the edges.
5. Cut butter into small pieces and scatter on top of the pears. Loosely fold the edges of the dough around the pears, pleating the dough as you go, leaving the tart open in the middle.
6. Brush the dough with the egg wash. Refrigerate the tart on the sheet pan for 30 minutes or overnight (if refrigerating overnight, wrap pan in plastic wrap).
7. Bake tart at 400 degrees until the crust is golden brown, 30-40 minutes. Let cool completely on a wire rack, slice into pieces and serve.

Sheetpan2.jpg

Giveaway!
I'm excited to offer you the opportunity to win a copy of Sheet Pan Suppers Meatless, along with a Kate Spade cooking mitt and a Sur la Table sheet pan! To enter, visit this post on my instagram and follow the post instructions. U.S.-based addresses only.

SheetPanSuppers-OvenMittPrize-1.jpg

4th of July Berry Cake!

I love the 4th of July! It's so fitting that it's basically the half-birthday of Christmas, because I feel an almost Christmas-y festivity about this holiday. I love the decor and the patriotism and the community vibes - there is nothing bad about this holiday! I especially love staying home and being in our little town, because people really go all out, decorating their golf carts and driving them to the local parade and fireworks. It's just good exuberant fun for all. I make this delicious berry cake every year (it's my big sister's recipe) and I can't believe I haven't shared it here on the blog before. Last year we actually had a #kitchenfail and I dropped this cake on the floor just after I pulled it out of the oven. There was no saving it, it literally smashed into a sopping mess. It was a sad moment, and even sadder when we pulled out forks and tried to eat the parts that didn't actually touch the floor... don't judge. It's really good cake.

The secret ingredient that makes this cake really really special is the moisture factor - the strawberry yogurt gives it an almost pound cake effect (without the extra calories!) And even though Cool Whip is not something I usually reach for in my kitchen, when it's mixed with the yogurt, it is the dreamiest topping. Basically this cake is fit for a unicorn. Make it and wow all your people on the 4th!

Ingredients:
- 1 box white cake mix (usually calls for eggs and oil, as well)
- 1 large tub strawberry yogurt (I love the Stoneyfield brand)
- 1 tub of Cool Whip
- strawberries (sliced lengthwise) & blueberries

Method:
1.) Preheat oven and oil a 9x13 glass pan. Prepare cake mix according to the box. This usually calls for a few eggs, oil (I replaced vegetable oil for coconut) and water. Blend everything together.

2. Add in 1 cup of strawberry yogurt to the cake mix. Mix well, until completely blended in. The mix should take on a slightly pink hue - this just makes it good unicorn fun.

3. Pour cake mix into the oiled pan. Bake according to instructions on box, about 33-35 minutes. Cool cake completely before adding whipped topping.

4. To make topping, combine 3/4 tub of Cool Whip with 1 cup of strawberry yogurt. Mix well with a spoon, until completely combined. Spoon on top of cooled cake.

5. Top in a flag design with sliced strawberries and blueberries :)

Notes:
- I baked this cake the night before to ensure that it was completely cooled before adding the topping. If you don't give it enough time to cool, the whipped topping will liquify. Which probably would still taste good, but look kind of unpatriotic.
- This would also be really fun if made into cupcakes! Just follow the recipe on the box for cupcake instructions.

I hope you have the absolute happiest, most patriotic holiday with your friends and family! Celebrate the joy of being an American! And if you happen to make this cake, please tag me on instagram, I'd love to see your creation! - @oykristen #Oy4thofjulycake

P.S. - You can shop my stars and stripes tank here.

Almond Butter, Maple & Sea Salted Cookies.

I love the week between Christmas and New Years. All the hubbub from the holiday is behind and I feel like I can finally settle into some peace and quiet, and reflect on the coming year. I love writing out all my family's birthdays in my new planner and making goals for the fresh year. There is something cleansing about this week. Of course, this year, things look entirely different, with my newborn waking me up at all hours and filling my days with exhausting and wonderful snuggles. I am so grateful that this little boy decided to make his debut before 2017. Thank you Daxton!

I wanted to share this cookie recipe because this is the week for baking! And sharing cookies with relatives and hunkering down and watching movies. This is one of those recipes that is a bit more guilt-free, according to the author (you probably know how much I love the recipes from Gwyneth Paltrow's book, It's All Good). She claims that these cookies give all the satisfaction of a treat with no guilt (I can attest to that). This recipe is free of sugar, so the cookies are the perfect sweet pick-me-up when you're really trying to be good but craving something a little sweet and salty. Kind of carmel-ly, almost. Actually, they're a little dangerous to have around the house, for that very reason. They're still a cookie, but using maple syrup and almond butter, instead of traditional ingredients, lowers the overall glycemic index of this baked treat. So enjoy!

Ingredients:
- 1.5 cups flour*
- 1/2 tsp. fine sea salt
- 1 tsp. baking powder
- 1 cup natural almond butter
- 1 cup maple syrup
- 1 tsp. pure vanilla extract
- 1/2 tsp. Maldon sea salt (I get mine at Williams Sonoma, but you can also snag it off Amazon in this two-pack. The most delicious salt on Earth, seriously.)

* If you would like to make this recipe gluten-free, feel free to use a gluten-free flour. If the flour doesn't include xanthan gum, make sure to add 3/4 tsp.

Method:
1. Preheat the oven to 350 degrees and line 2 baking sheets with parchment paper.
2. Whisk together the flour, fine sea salt and baking powder.
3. In a separate bowl, whisk together the almond butter (I heated mine to make it more whisk-able), maple syrup and vanilla.
4. Thoroughly combine the wet ingredients into the dry ingredients.
5. Use a spoon to scoop out tablespoon-sized dough and roll into a ball in your hands. Space the cookie dough balls about 2 inches apart on the prepared baking sheets.
6. Press each dough ball down a bit, so it forms a disk on the baking sheet.
7. Sprinkle each cookie with a bit of the Maldon Salt.
8. Bake for 10-12 minutes, and make sure to let the cookies cool on a rack before serving.

Yum you guys. These are best if served with, what else - MILK. Santa would have probably liked these. Haha TOO BAD. Love to you all. Let me know if you make these! Would love to know what you think! xo