TASTE: Turkey Kale Chili

Chilly? Try Chili!

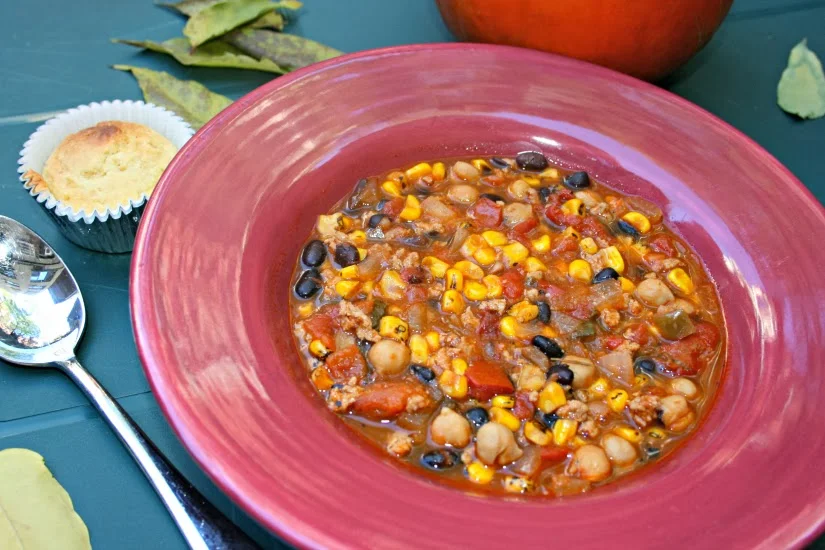
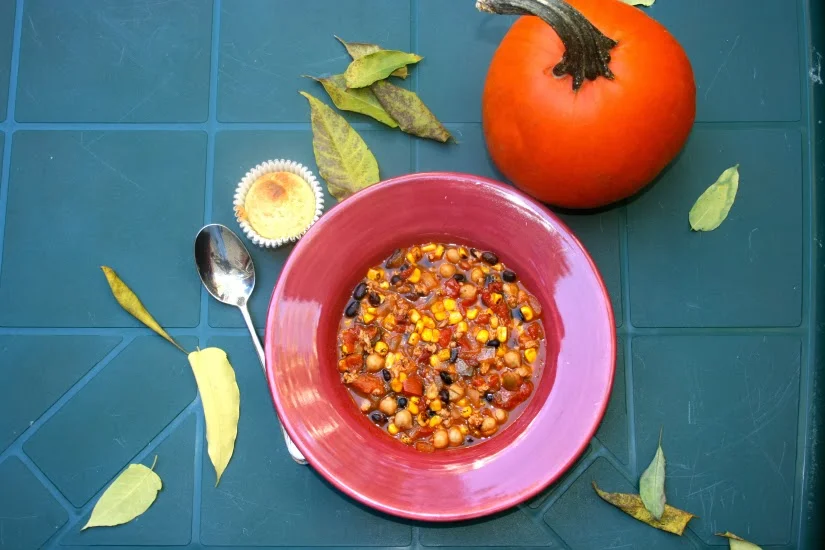
The weather has officially cooled off to a steady chill here in the city. The wind is whipping around building corners and I have to make sure to don my hat and gloves before I leave the coziness of my apartment. It's officially... November. I've decided to kick off a few of my favorite cold-weather recipes. It's time for soups, chilis and stews! This is a really healthy spin on a hearty autumn favorite. I adapted this recipe from TheKitchn and served it at an impromptu party here at the apartment - it was a crowd-pleaser!

Turkey-Kale Chili Ingredients:

- 1 lb. Turkey

- 1 medium onion, diced

- 1.5 tbsp. cumin

- 2 tbsp. brown sugar

- 2 tsp. Italian Seasoning

- 2 tsp. salt

- 2 tsp. pepper

- 2 tbsp. tomato Paste

- 2 14.5-oz. cans diced tomatoes

- 1 can black beans

- 1 can garbanzo beans

- 1 bag frozen corn kernels (I used fire-roasted, available at Trader Joes)

- 2 cups chicken broth

- 1 large handful of kale, roughly chopped/shredded

Method:

1. Head your stock pot over medium and coat the bottom with olive oil. Combine the turkey, chopped onion and garlic and cook it all together (until the turkey turns white), about 7 minutes. Make sure to season it with the salt and pepper! Mmm it already smells grand.

2. Add the brown sugar, cumin & Italian seasoning to the turkey. Make sure to mix it up well.

3. Add the tomato paste and diced tomatoes to the mixture. Stir well.

4. Add the chicken broth, garbanzo beans, black beans and corn to the mixture. Stir well. Cover the mixture and lower the heat to medium-low. Cook for about 20 minutes.

5. Finally, add the kale and cook uncovered for about 15 more minutes. 
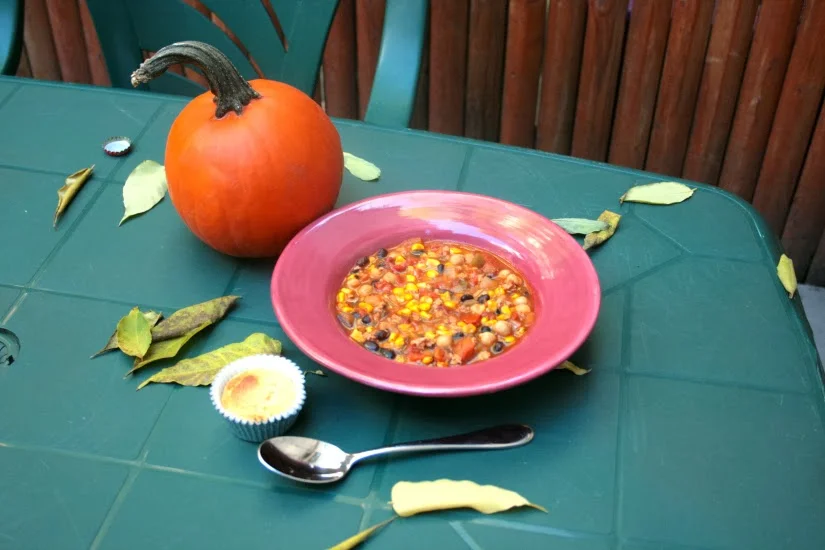
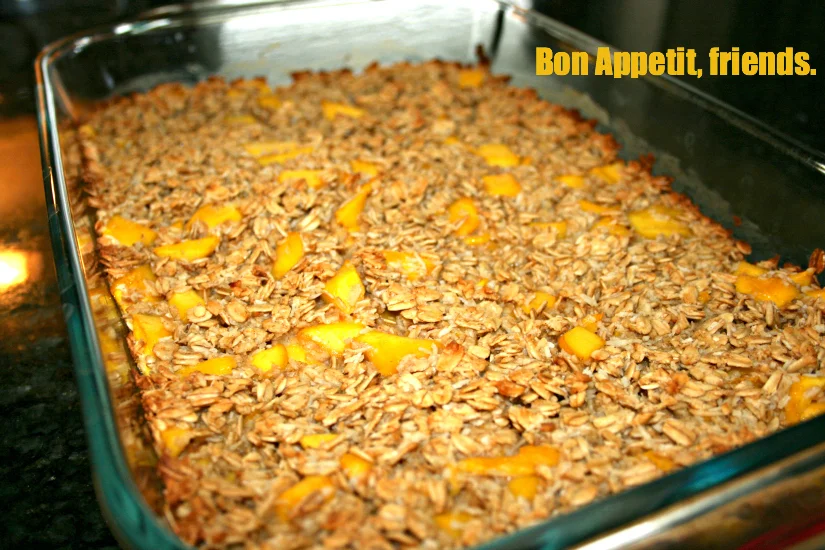
Bon Appetit.

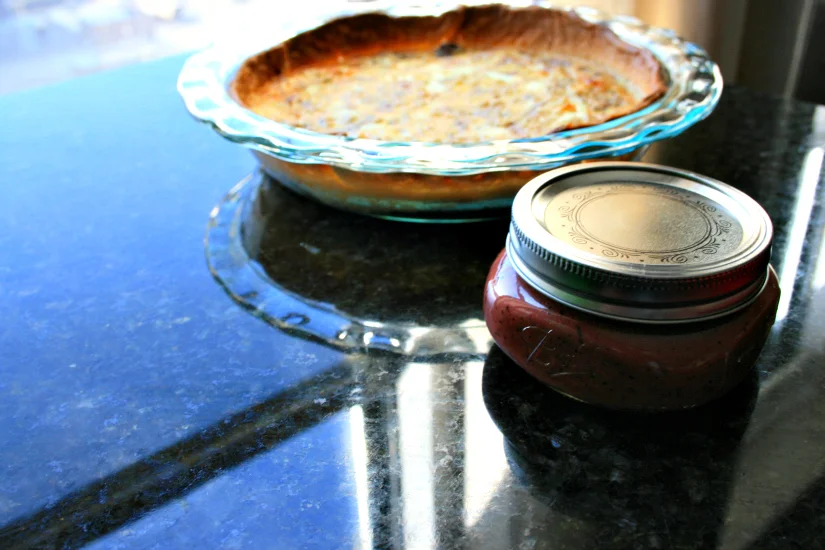
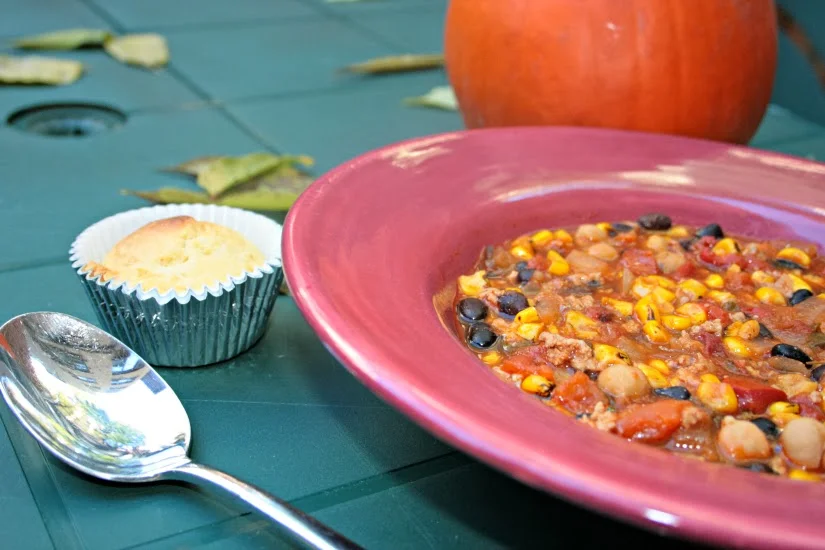
I like to pair this recipe with crumbly corn bread and a favorite autumn brew. Your belly will be warm and full! Keep an eye out next week for another (slightly heartier) chili favorite!

TASTE: Lavender-Agave Limoncello

Inspiration for Lemons.

I'm already longing for my time in Italy. This past summer I took the most epic of all trips and backpacked through Europe with the love of my life. This is a trip we had been dreaming about for 6 years, and it came to a beautiful and adventurous culmination during the month of June. We ate SO well, and I've been mulling over a couple of exotic recipes that I want to attempt to make stateside. So maybe I can't exactly replicate this astounding margherita pizza from Naples (apparently the flavor is in the water), but I can try my hand at a few other tasty treats. The first of my European-inspired attempts is limoncello. FYI it takes a bit of patience to make this (so add PATIENCE to your ingredient list. Seriously.)

Limoncello is served in Italy at the very end of a meal, when your belly is gleefully protruding over your pants and your mouth is dumbly drunk from the pleasing combination of bufala mozzarella, hot doughy bread, fresh spiced basil-tomatoes, savory white fish, home made pasta and of course, wine. And dessert. And then more wine. Need I say more? Then, at the very end of the meal, limoncello seals the deal. It's the last kiss of the night before you roll yourself into bed. And it's glorious, to say the least.

I got this recipe from a dear old Italian woman who ran a restaurant up in the foothills of the Amalfi Coast. She laughed at me while she wrote the recipe down, saying, "You can try, but you won't be able to make this back at home." Apparently that is because the Italians use 100-proof alcohol in their recipe, which is, well, not exactly sold in the U.S. We basically have to make do with a lot of vodka. So I fashioned my own concoction based on her recipe, along with Giada's (obviously), this recipe from Linden Hills Co-op and this recipe from Imbibe. And I decided to make two batches, one regular and one using infused lavender and agave. Time to get crazy!

Lavender Agave Limoncello

Ingredients:

- 2 cups vodka

- 5 lemons, peeled

- 2 limes, peeled

- 1/2 tsp. lavender

- 2/3 cup agave

- 1 cup water

- Juice from 2 lemons

Method:

1. Using a vegetable peeler or sharp knife, peel the lemons and limes carefully. Trim away any white pith from the peels, as the pith can make the limoncello taste bitter.

2. Place the peels in a large pitcher and pour 2 cups of vodka over the peels. Add in the lavender. Cover the mouth of the pitcher with plastic wrap and set the pitcher in a cool, dark place. Allow the peels to steep for at least a week. (This is the part where your patience needs to kick in.)

3. After a week has passed, combine the agave+water+juice from two lemons in a saucepan and bring to a boil. I like to boil the sliced lemons in with the sweetened mixture (it gives it a yummy sweet-and-sour flavor!) After the mixture has boiled for a good 5 minutes, remove from heat. Let the mixture cool completely. (Again, utilize your patience and just walk away. You can do it.)

4. Once it's completely cooled, the agave+water+lemon mixture should be the consistency of syrup. Strain the syrupy through a fine mesh strainer. This should weed out all the lemons and seeds. Double strain if necessary. Set the syrup aside.

5. Next, strain the lemon peel-vodka mixture.

6. Combine both mixtures and seal in a glass jar. I got mine at Crate & Barrel, but I also used a mason jar as a second container. Store in the freezer for up to a month.

Now Enjoy! You can serve the limoncello in shot glasses at the end of the meal, or you can use it as a cocktail mixer. It's a snazzy beverage, perfect for the coming months' holiday celebrations.

To Make Regular Limoncello

Follow the above method with these ingredients: 

- 2 cups vodka

- 5 lemons, peeled

- 2 limes, peeled

- 1 cup sugar (I used raw)

- 1 cup water

- Juice from 2 lemons

Drink and Be Merry.

I hope you love this as much as I do. Soak up your inner-Italian and enjoy. It's a real treat.

Bon Appetit!

TASTE: Coconut Mango Baked Oatmeal

Happy Monday, friends! It's about time for a new recipe. This one came to me, sort of in a dream, and the dream spectacularly came to life. Mad props to my Dream Project partner-in-crime Carrie, who first introduced me to the notion of baked oatmeal. It's a great go-to recipe I often make when guests come to town or for a weekend brunch with friends. It's also great to make on a Sunday night to have throughout the week for a nutritious snack. P.S. I get a little carried away with the toppings (but you can, too!)

Ingredients:

- 3 cups Rolled Oats

- 2 Eggs

- 1/4 cup Agave

- 1/2 cup shredded Coconut

- 1/4 cup Butter, melted

- 1 Mango, pitted and chopped*

- 1 cup Almond Milk

- 1 tsp. Ground Cinnamon

- 1/2 tsp. Salt

Method:

1) Pit and chop an entire mango. Combine in a bowl with the coconut. Set aside.

2) In a large bowl, combine the oats, salt and cinnamon. In another bowl, whisk the eggs and combine with the almond milk, agave and melted butter. Stir into oat mixture until blended.

3) Spoon into a greased 9-in. square baking pan. Bake at 350Β° for 40-45 minutes or until set. Yields 9 servings.

Note *

You can add (almost) any kind of fruit into this baked oatmeal treat. Apples and blueberries are lovely for a fall-theme main dish. Strawberries and oranges are a summery way to celebrate the oatmeal indulgence. Most recently, I added a mix of chopped mango and papaya (with a smattering of nutmeg) and I think it was the most delicious ever. So get creative! Fruit are your friends.

Brunch it up! And maybe add a mimosa.

TASTE: Very Berry-licios Salad

 I have never been a huge fan of salads. I'm a woman, so apparently I should love salad and rightfully gorge myself on it. As if it's some badge of honor. This is one of the huge disappointments I've found with being a member of my gender. Apparently all self-respecting women should just eat lettuce as a meal. This proves you're "taking care of yourself" or something. Ew. I am just not one of those rabbit-like salad eaters. I like protein. I like fruit. I like cheese. And throw in a little wine. So sue me. No don't. But for REAL throw in some bread and I'm a happy girl.

Here's the Deal.

I decided to create a GOOD salad. I'm gonna go ahead and tell you that this is a success story. Read on.

My delicious tasty oh-so-yummy salad consists of:

- A handful of Romaine Lettuce

- Another handful of Spinach

- 1/4 sliced avocado

- 1/4 cup blueberries

- 1/4 cup sliced cucumbers

- 1/4 cup sliced kiwi

- A smattering of sunflower seeds

- A sprinkling of sliced almonds

- A light shower of grated Parmesan cheese

- A pinch-ful of fresh Rosemary

- Salt and Pepper to taste

Lets Dress* it up:

- 1/2 cup fresh strawberries, quartered

- 1/2 cup fresh blueberries

- 1 tbsp. olive oil

- 1 tbsp. agave nectar

- 1/2 tbsp. balsamic vinegar

*This dressing has been adapted from the Gluten-Free Goddess recipe for "Berry Dressing"

Method:

1. Combine all the "salad stuff."

2. Combine all the "dressing fixings" into a food processor. Blend until mostly smooth (it will be textured) and then toss delightfully over the delicious yummy salad. Bring on the taste.

// I canned my dressing in ball jars. Just a bit of my Southern roots coming out. And yes, that is my specialty quiche, as well. //

My friends agreed. I may or may not have made this in honor of a ladies lunch and bridge club session. I would normally feel embarrassed of what you think of me for saying that, but for some surprising reason I just don't. I'm learning to play bridge and learning to love salad. And this was a goooooooooood salad. Enjoy your taste buds again, ladies. And eat your heart out. You're welcome.

TASTE: Granola Protein Bars

Happy Monday!

I want to share a healthy recipe with you from my dear friend Natalie. She is so ripped. Even though we live far apart, she is still a mega inspiration to me on a daily basis. She is a beautiful lady, inside and out, and I often find myself missing her sweet spirit and uplifting view on life. And she can just really make me laugh. Natalie has a fierce dedication to working out and eating healthy, and I am often honoring her recipes and workouts here on Oy!

She is Miss Fresh Life. And she's done it once again.

Getting Fit.

Okay, I know martinis (above) aren't the healthiest choice, but we like to indulge, too! On a much healthier note, I've savored Natalie's Granola Protein Bars after (and sometimes before) my workouts, and these tasty treats have really improved my recovery. These aren't like the sugary bars you buy in the store; they are chock-full of protein and fiber. They contain awesome raw ingredients like bananas, walnuts, shredded coconut and protein powder. I won't list out the details of the recipe, you can link over to her site here to check it out step by step. Here are my highlights of the recipe process:

Victory.

Yum. These granola bars are killer. Natalie mentioned putting them in the freezer, and that's my favorite way to enjoy them. Usually I only eat a half a bar because they are so hearty and filling. They are the perfect fuel for a pre-workout or a great post-workout snack to tide you over until dinner time. Plus, they are husband approved.

Taste Test.

It has already been determined that I'm a dork. A neon-donning, granola-bar-scarfing dork

(see above exhibits for confirmation.) I was honestly a little nervous about making something with protein powder (since I feel like all the stuff in the grocery store is crap), but I found a pretty legit brand at Whole Foods that was worth the investment. It doesn't taste too chalky and doesn't contain any soy (I don't want my man eating soy!) I used the Garden of Life Raw Protein in the vanilla flavor and I have been very pleased. These granola bars are so awesome; almost as awesome as Miss Fresh Life herself.

Enjoy your healthy treat. You will NOT be disappointed. Bon Appetit!