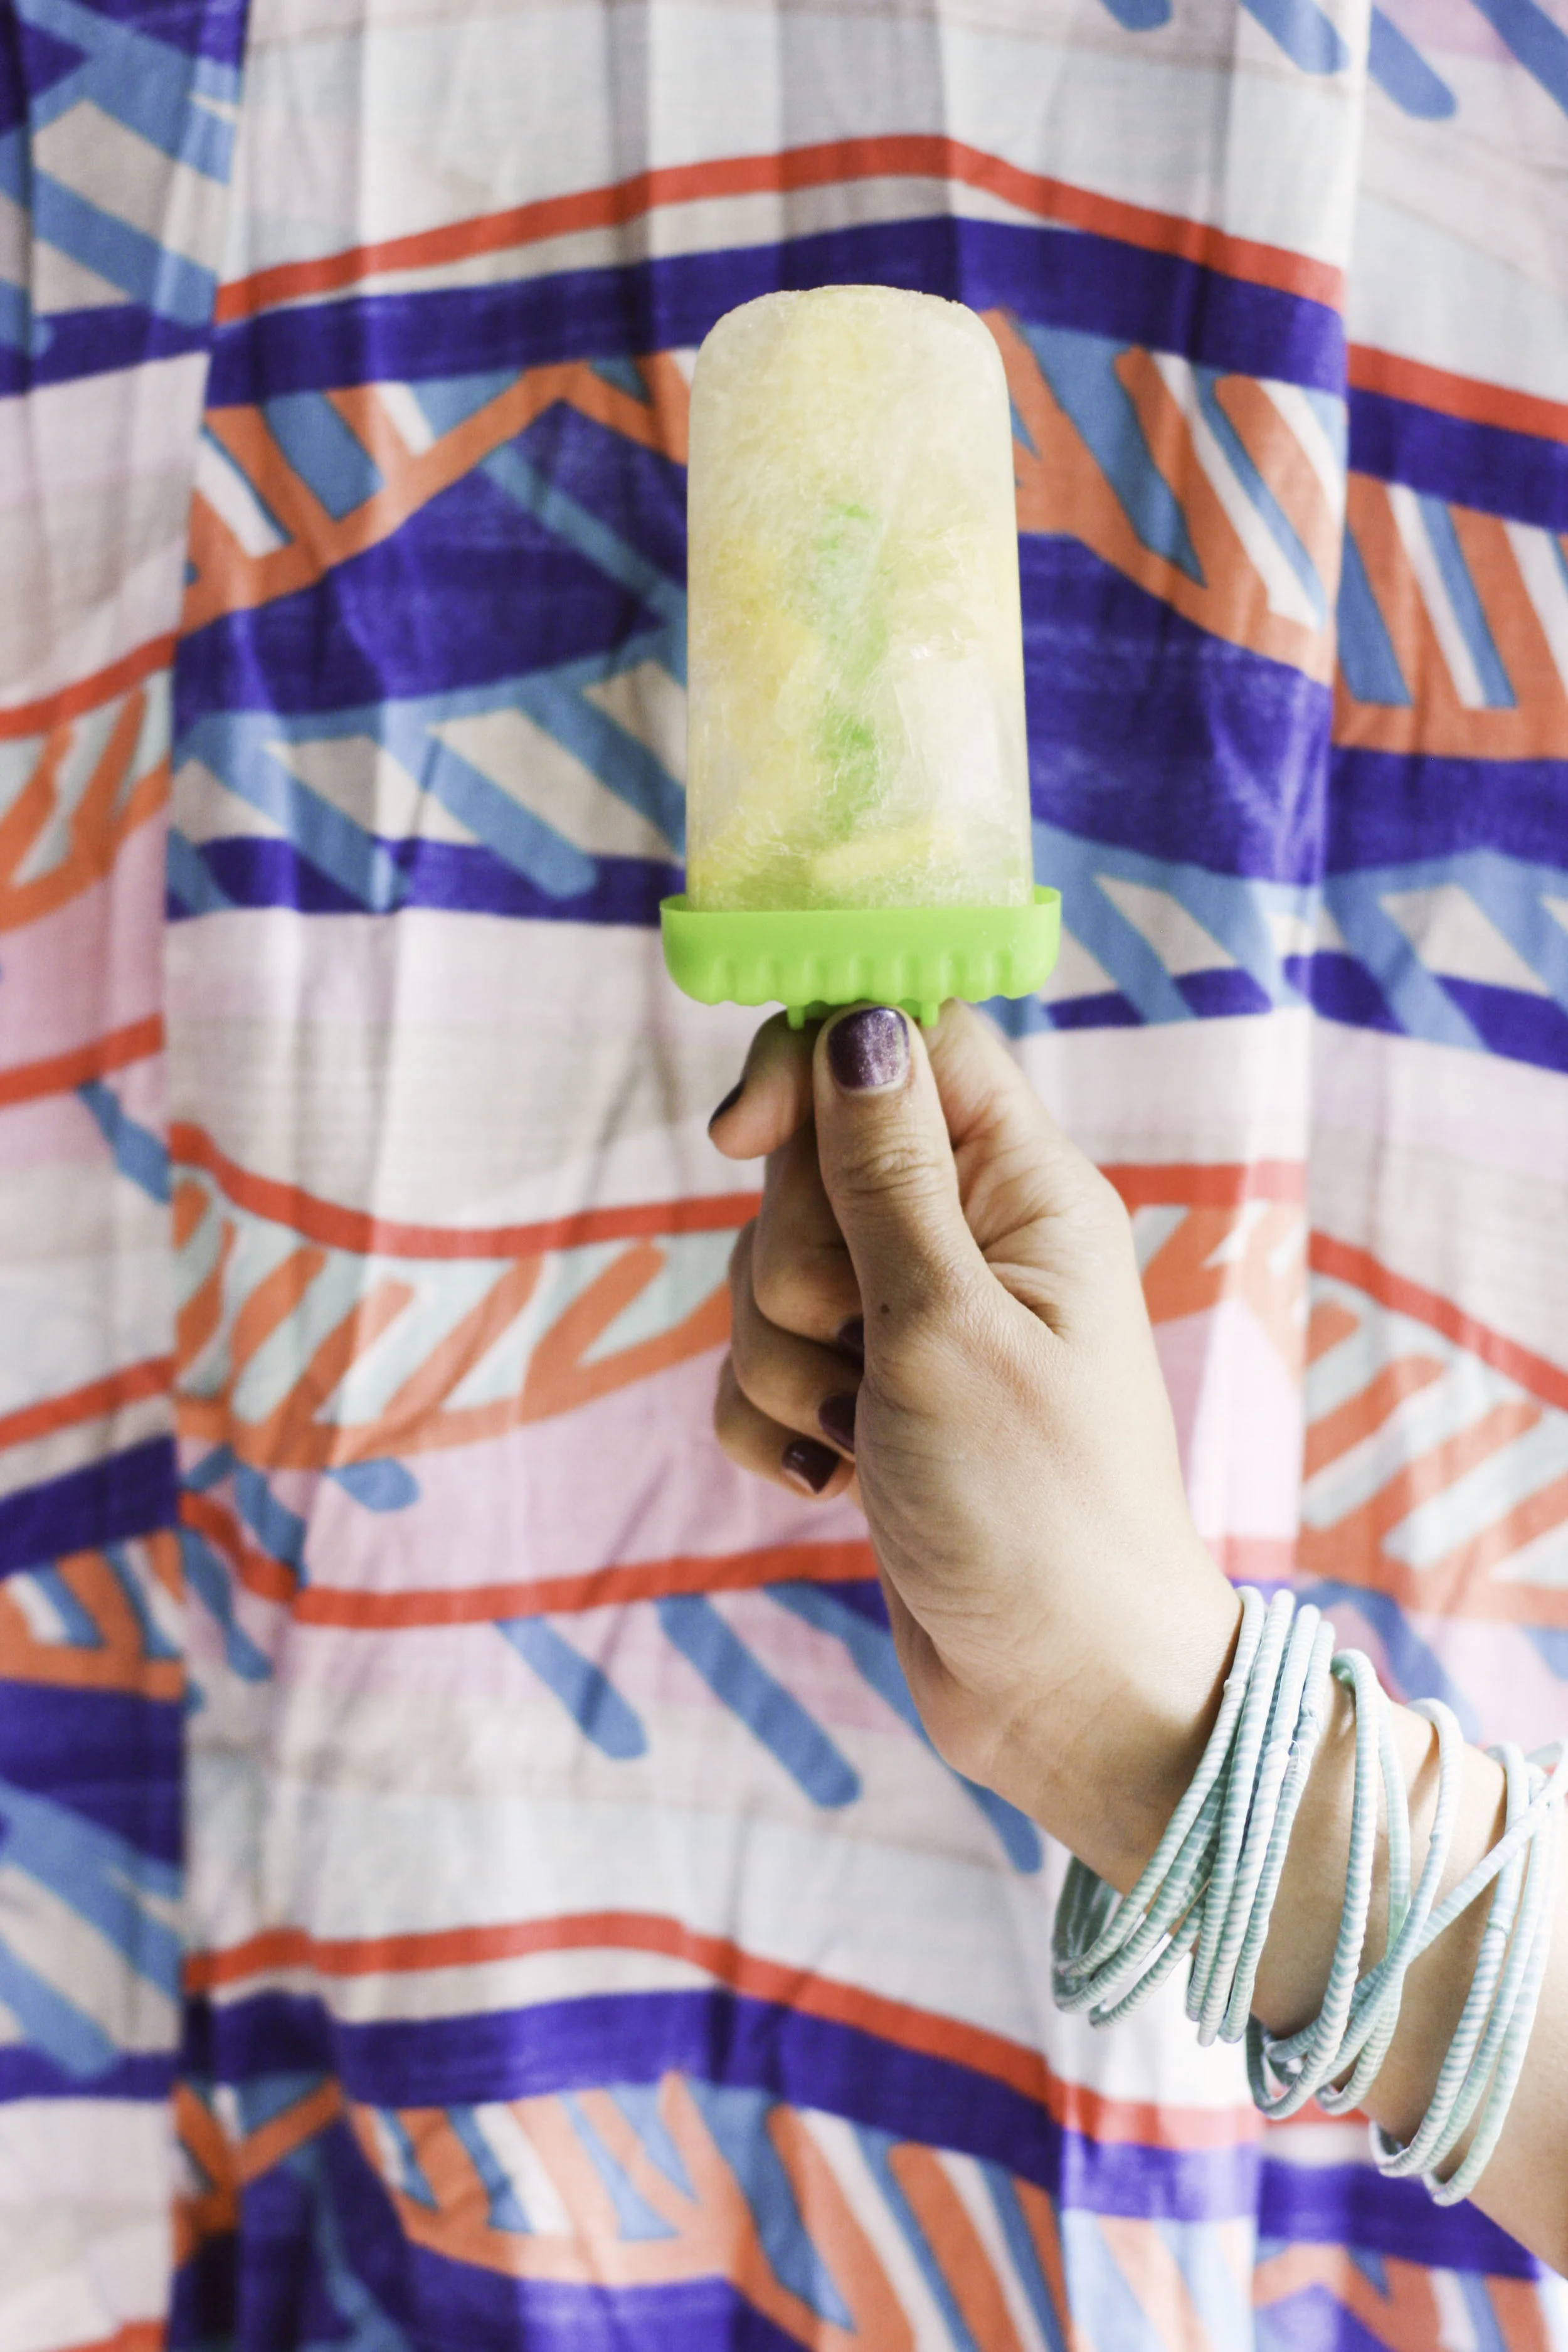
Sparkling Moscado Pineapple Pops!

This post is sponsored by Kroger.

Pops3.jpg
Kroger10.jpg

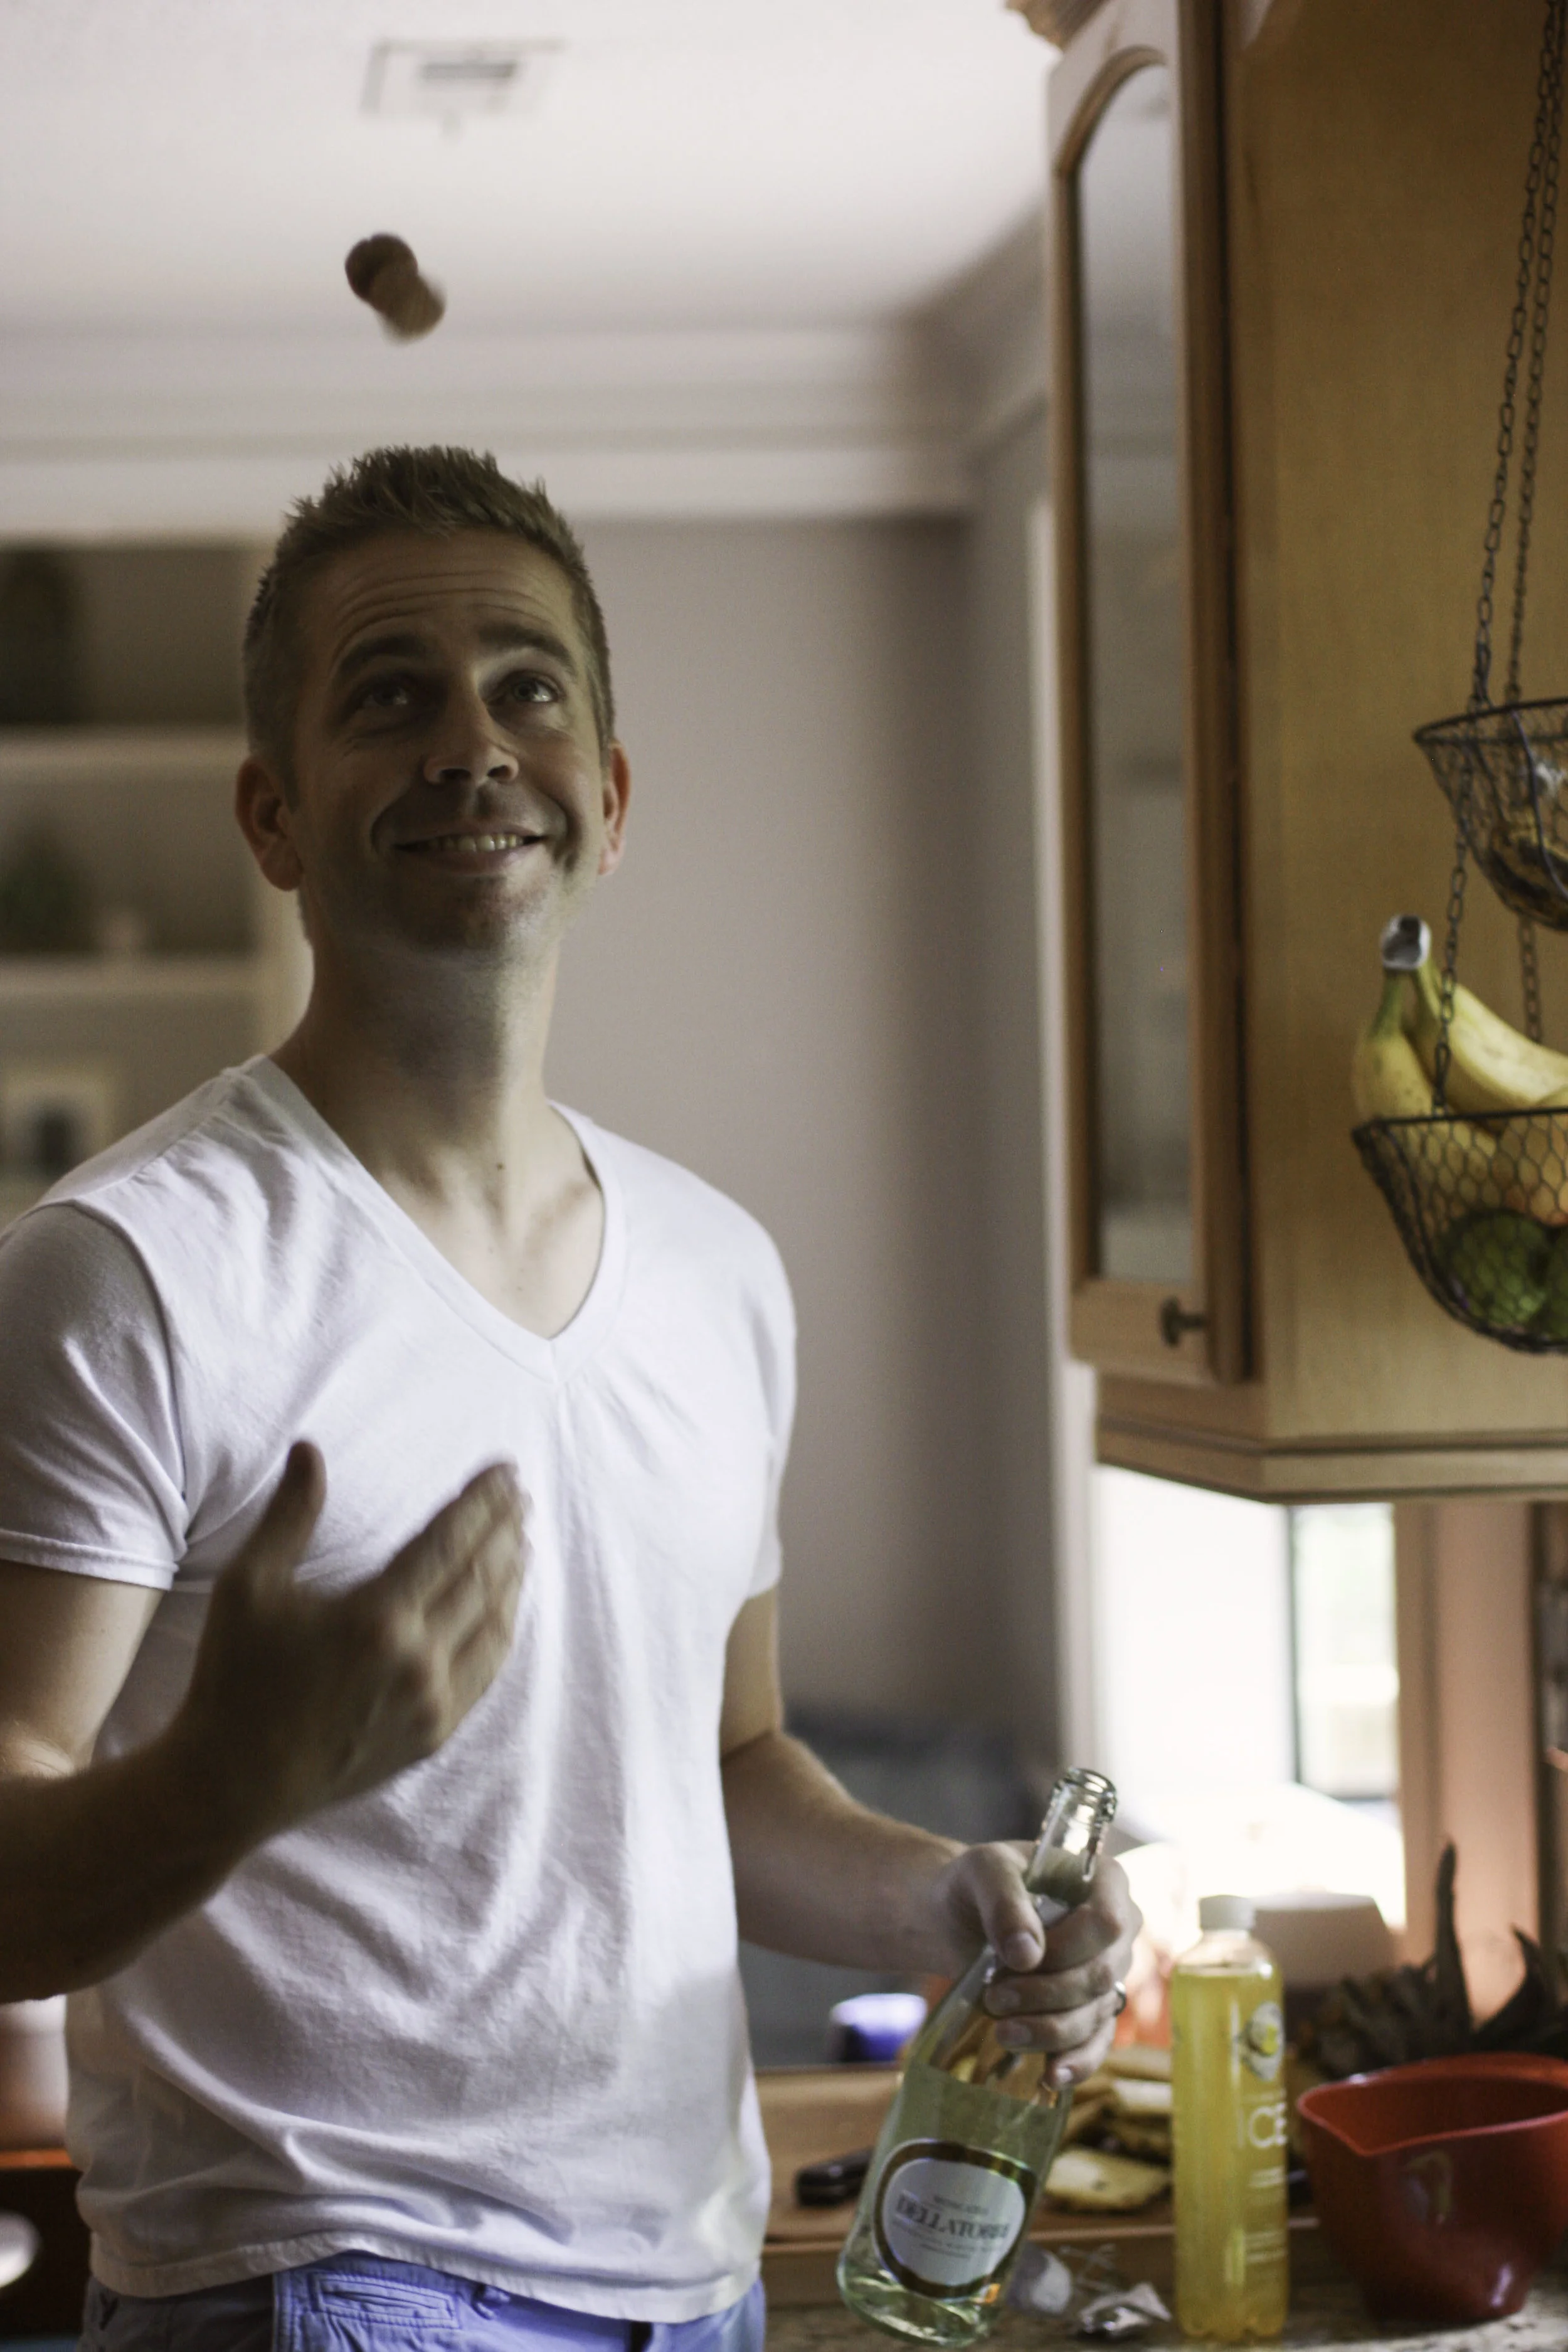
We've got a long weekend coming up (Labor Day, I'm looking at you!) and Kroger was kind enough to send along a little popsicle kit so I could share this fun, end-of-summer recipe with you! Sparkling wine + ice pops = happy mama. Why should my kids have all the fun? I hope you enjoy this one!

Ingredients:
- 1 bottle of Dellatorri Sparkling Moscato
- 1 bottle of Coconut Pineapple Sparkling Ice Drink
- 1 fresh pineapple, sliced

Kroger Pops2.jpg
Kroger Pops6.jpg

Method:
1. Fill each popsicle mold with a few pieces of sliced pinapple.

Kroger7.jpg
Kroger Pops5.jpg
Kroger Pops10.jpg
Kroger Pops4.jpg

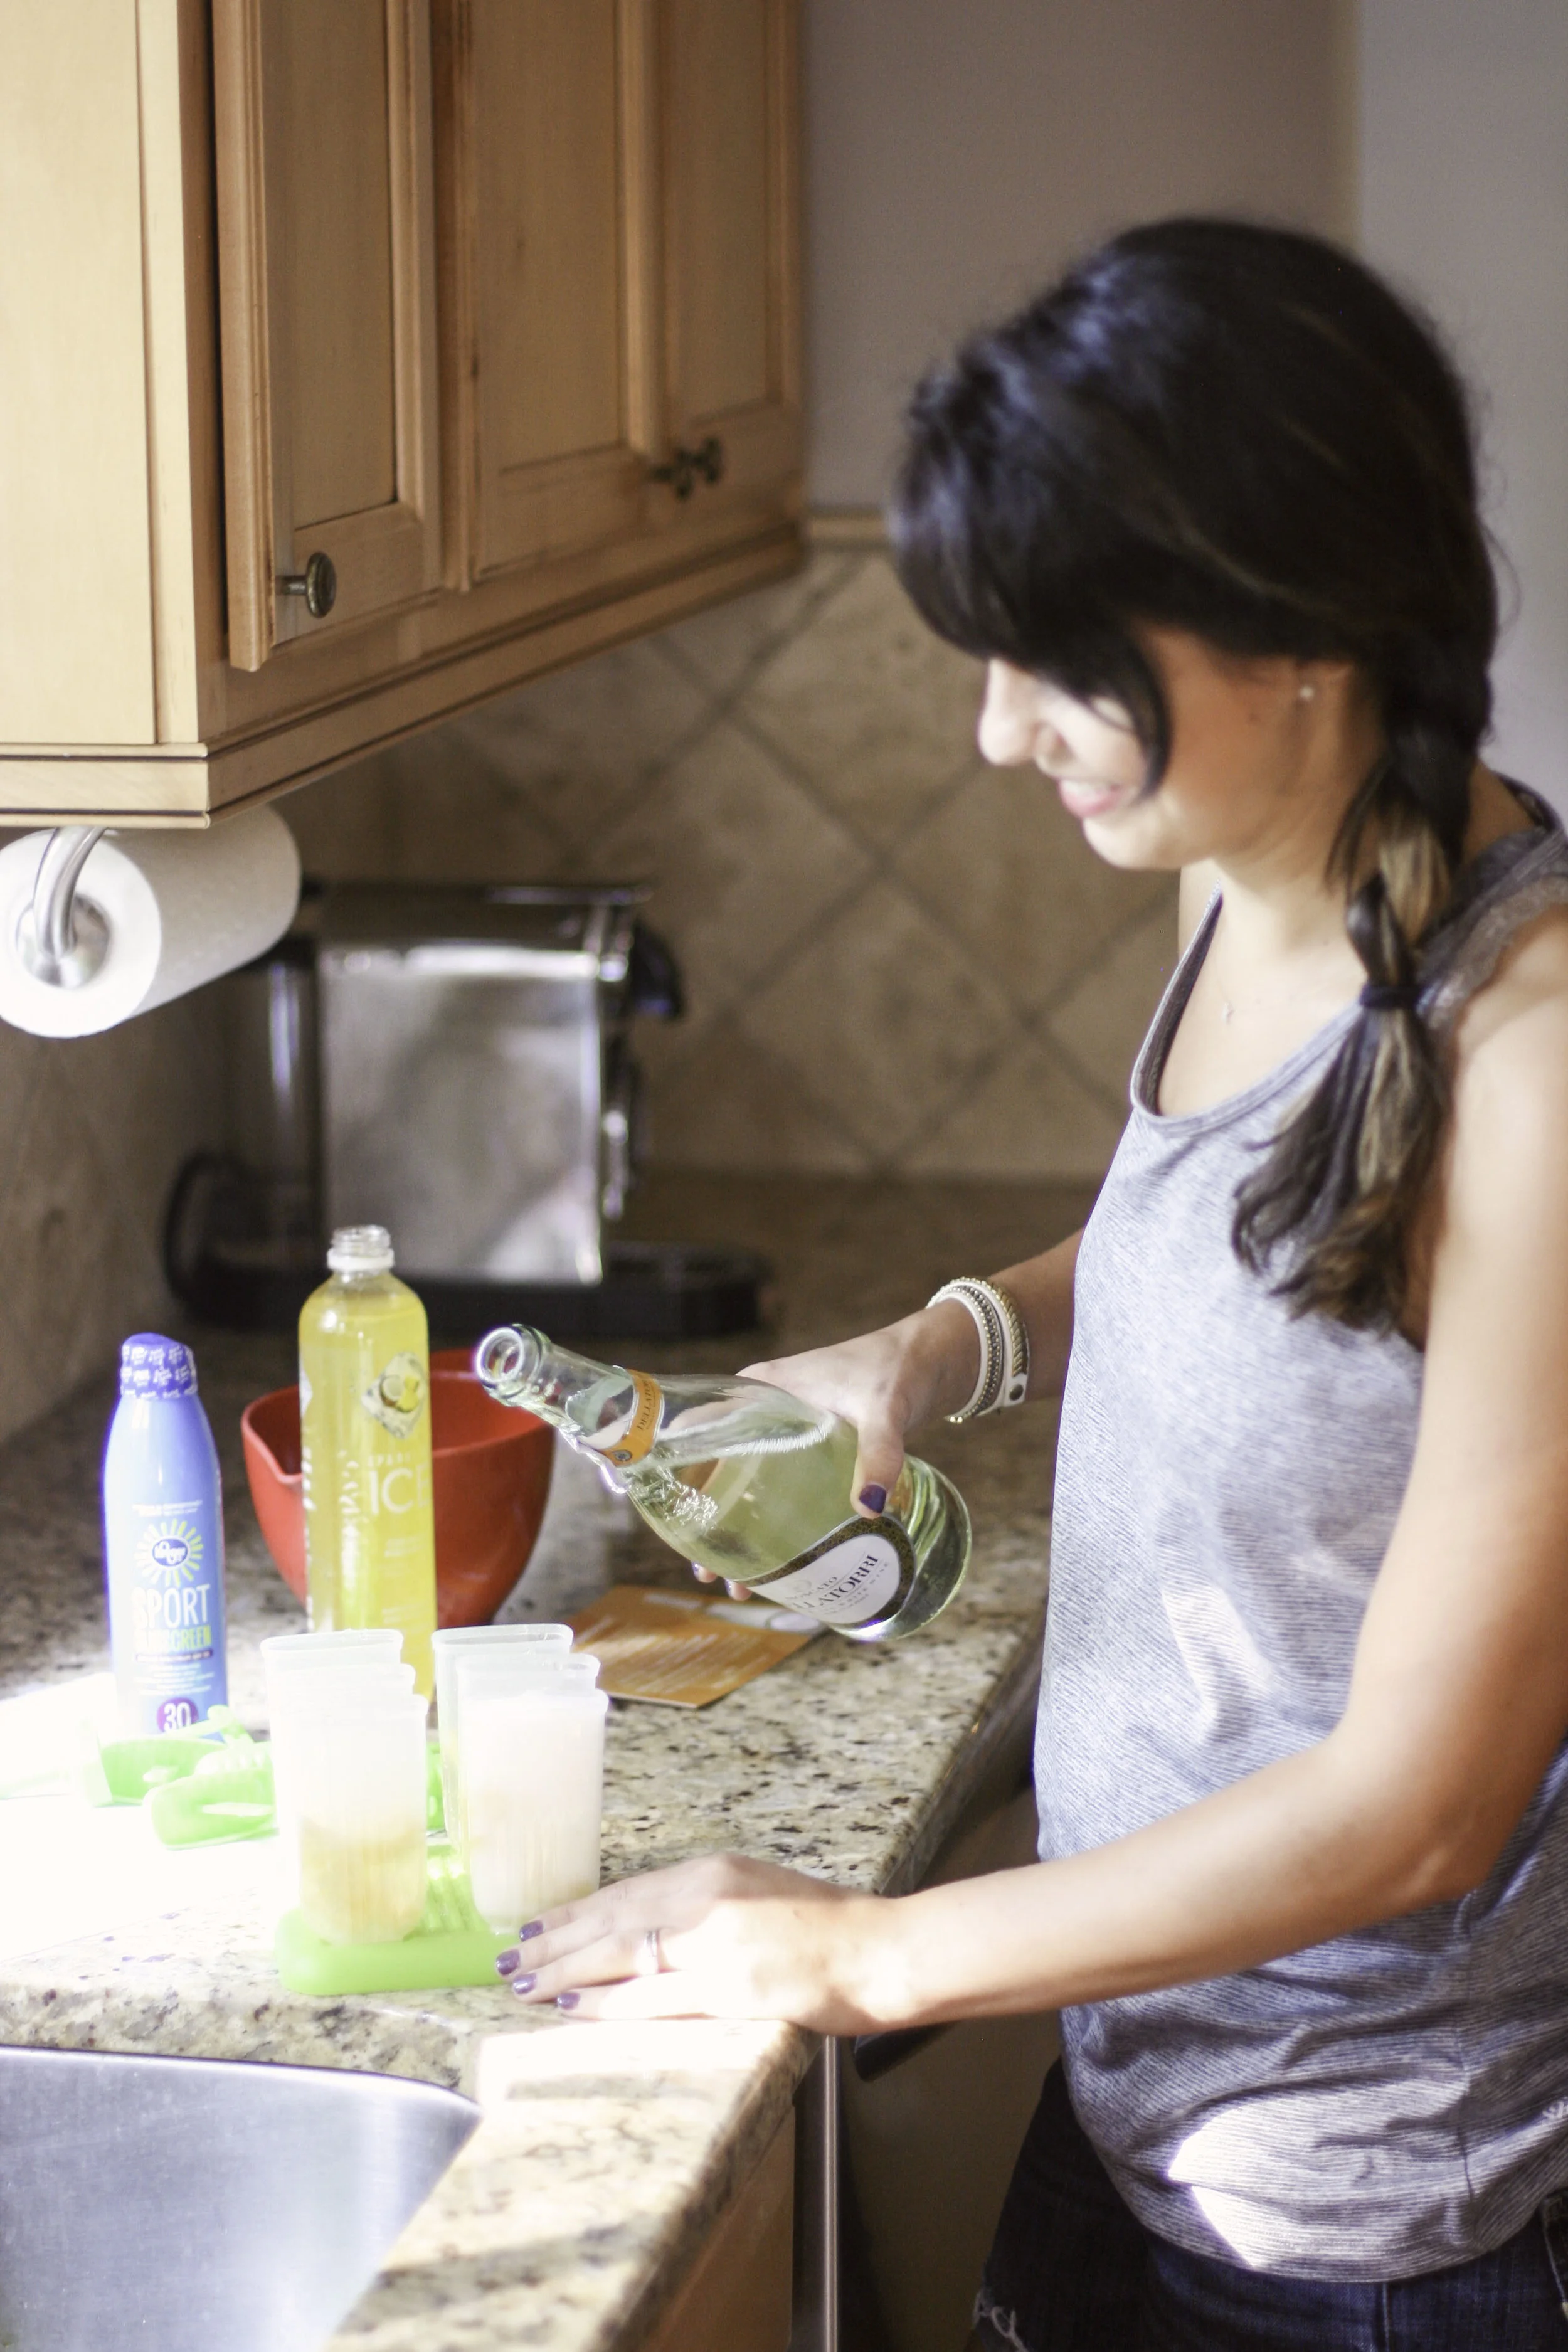
2. Fill each mold halfway with the Dellatorri Sparkling Moscado.

Pops5.jpg

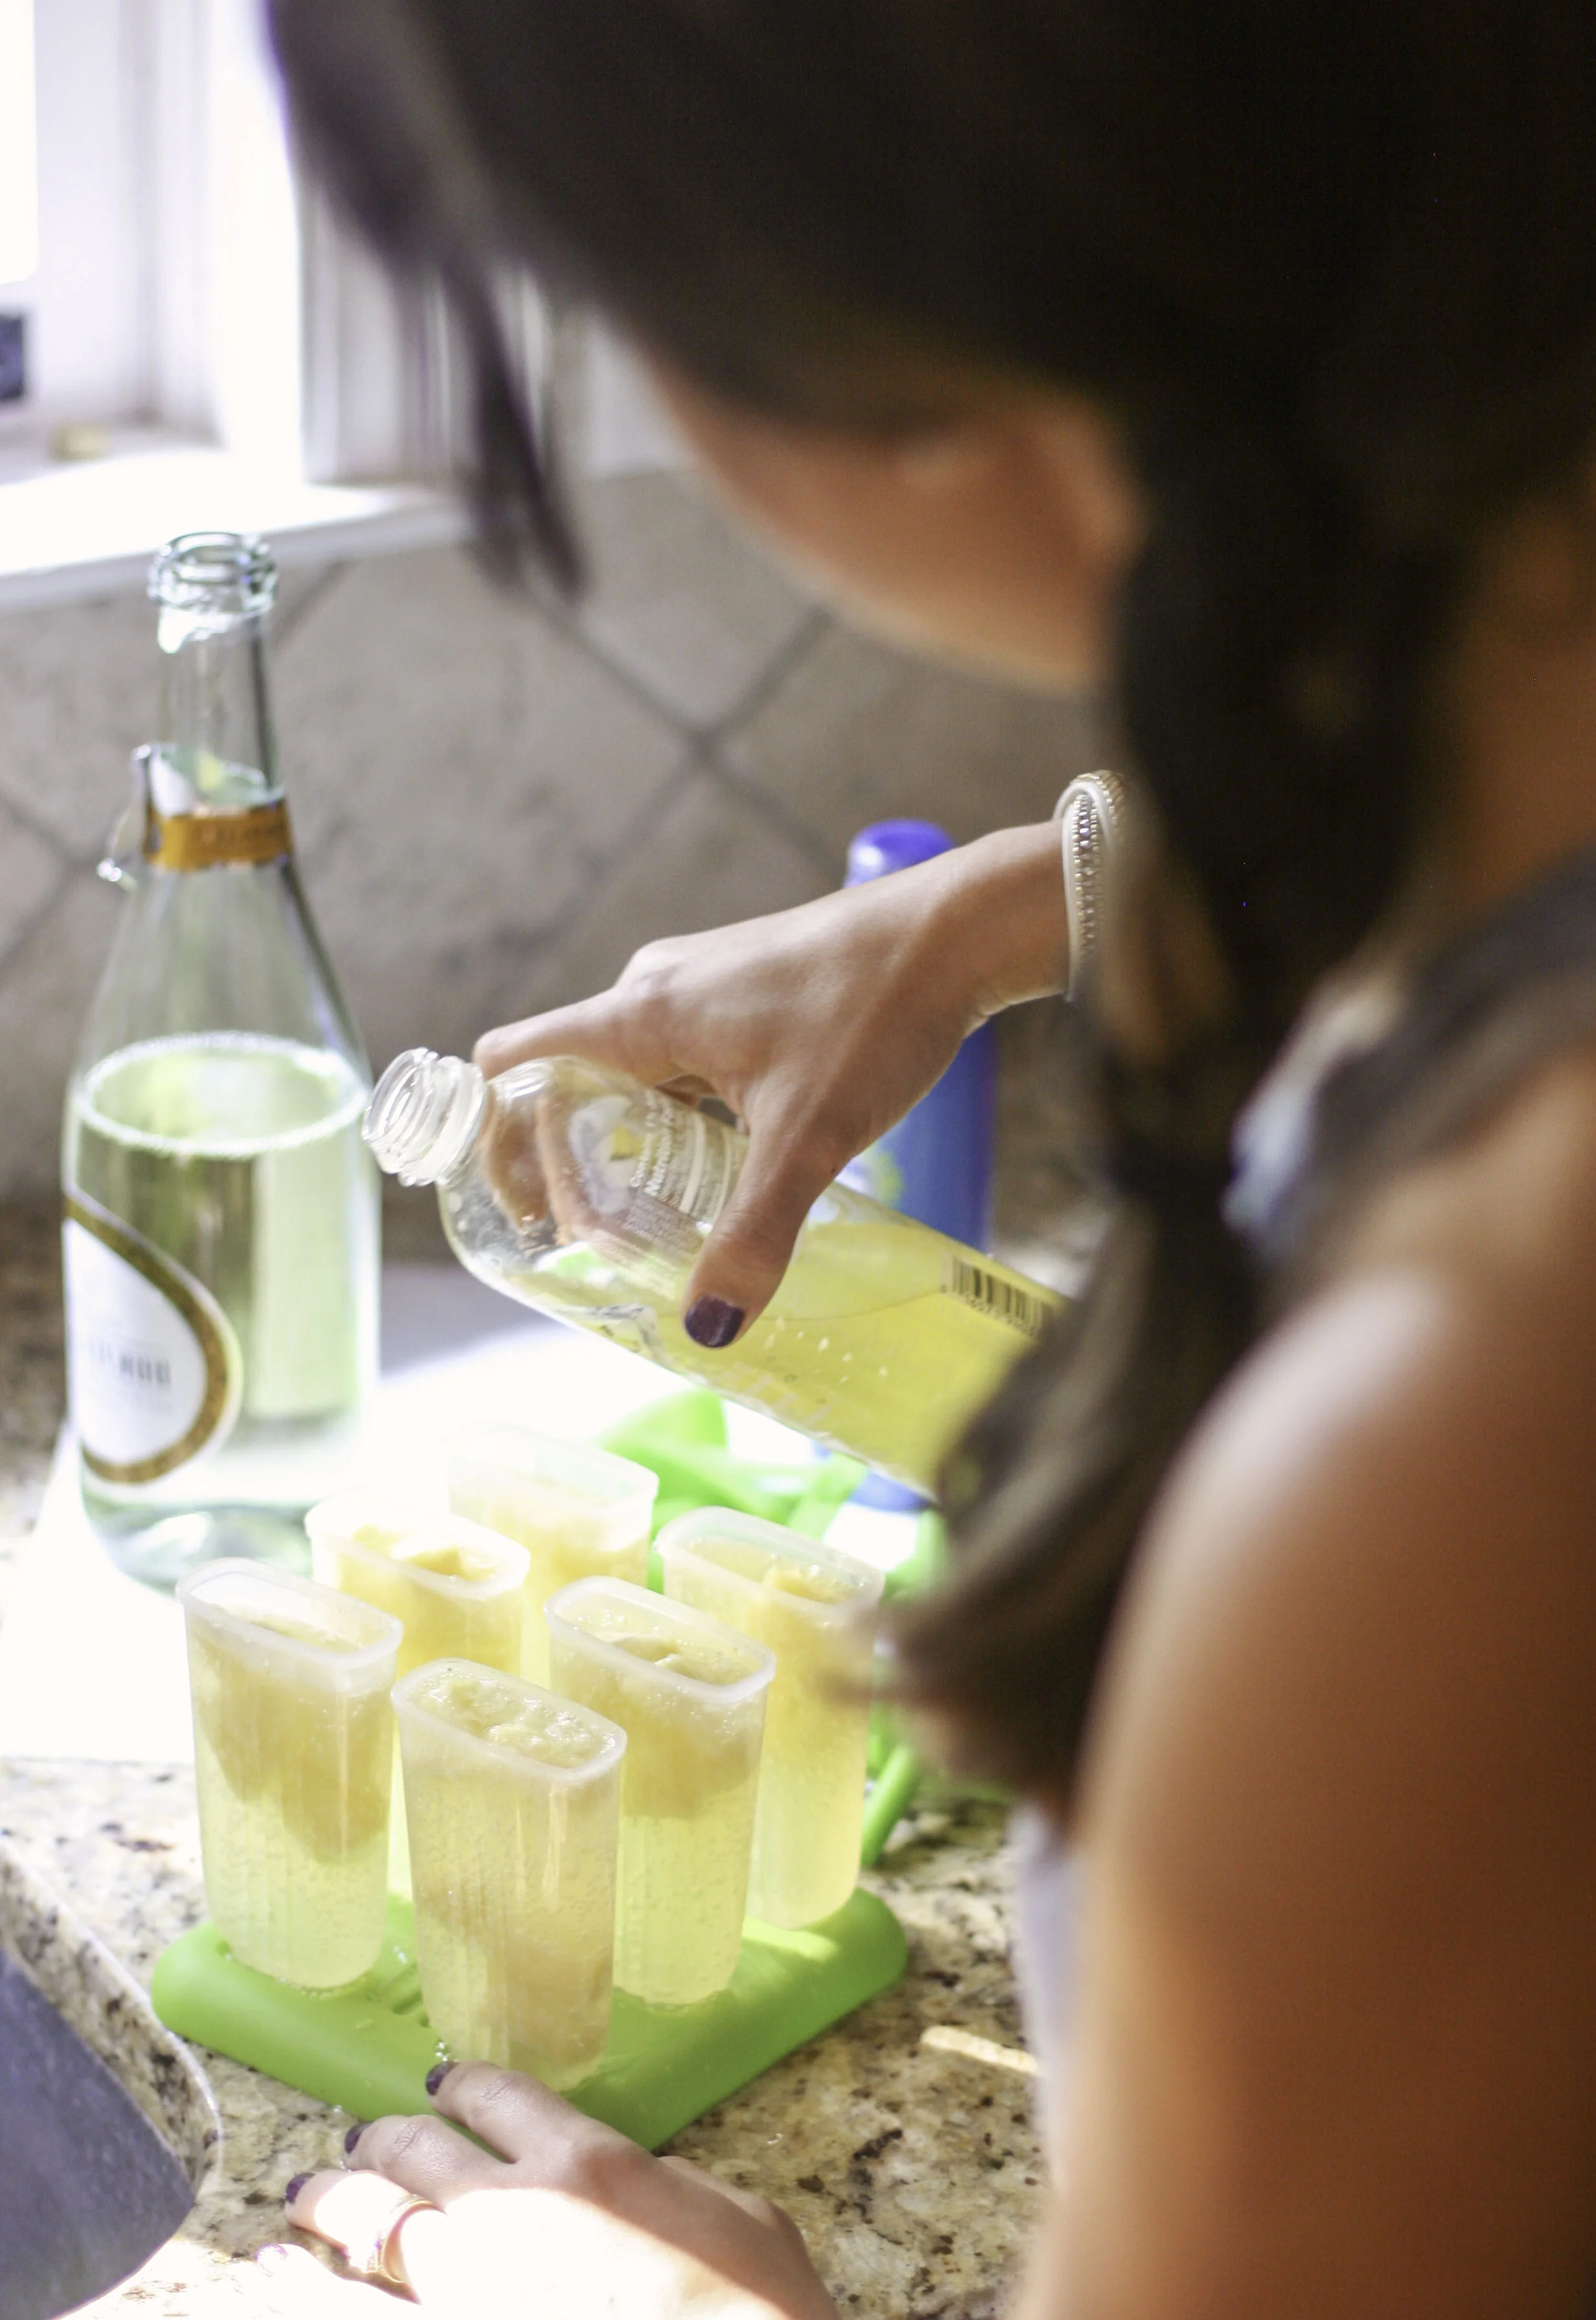
4. Finally, fill the rest of each mold with Coconut Pineapple Sparkling Ice Drink. Make sure to leave a bit of room at the top to prevent overflow while freezing.

pop6.jpg

5. Freeze overnight and then have your friends over! I know it's feeling like 5 o'clock over here!

K Pops2.jpg
K Pops1.jpg

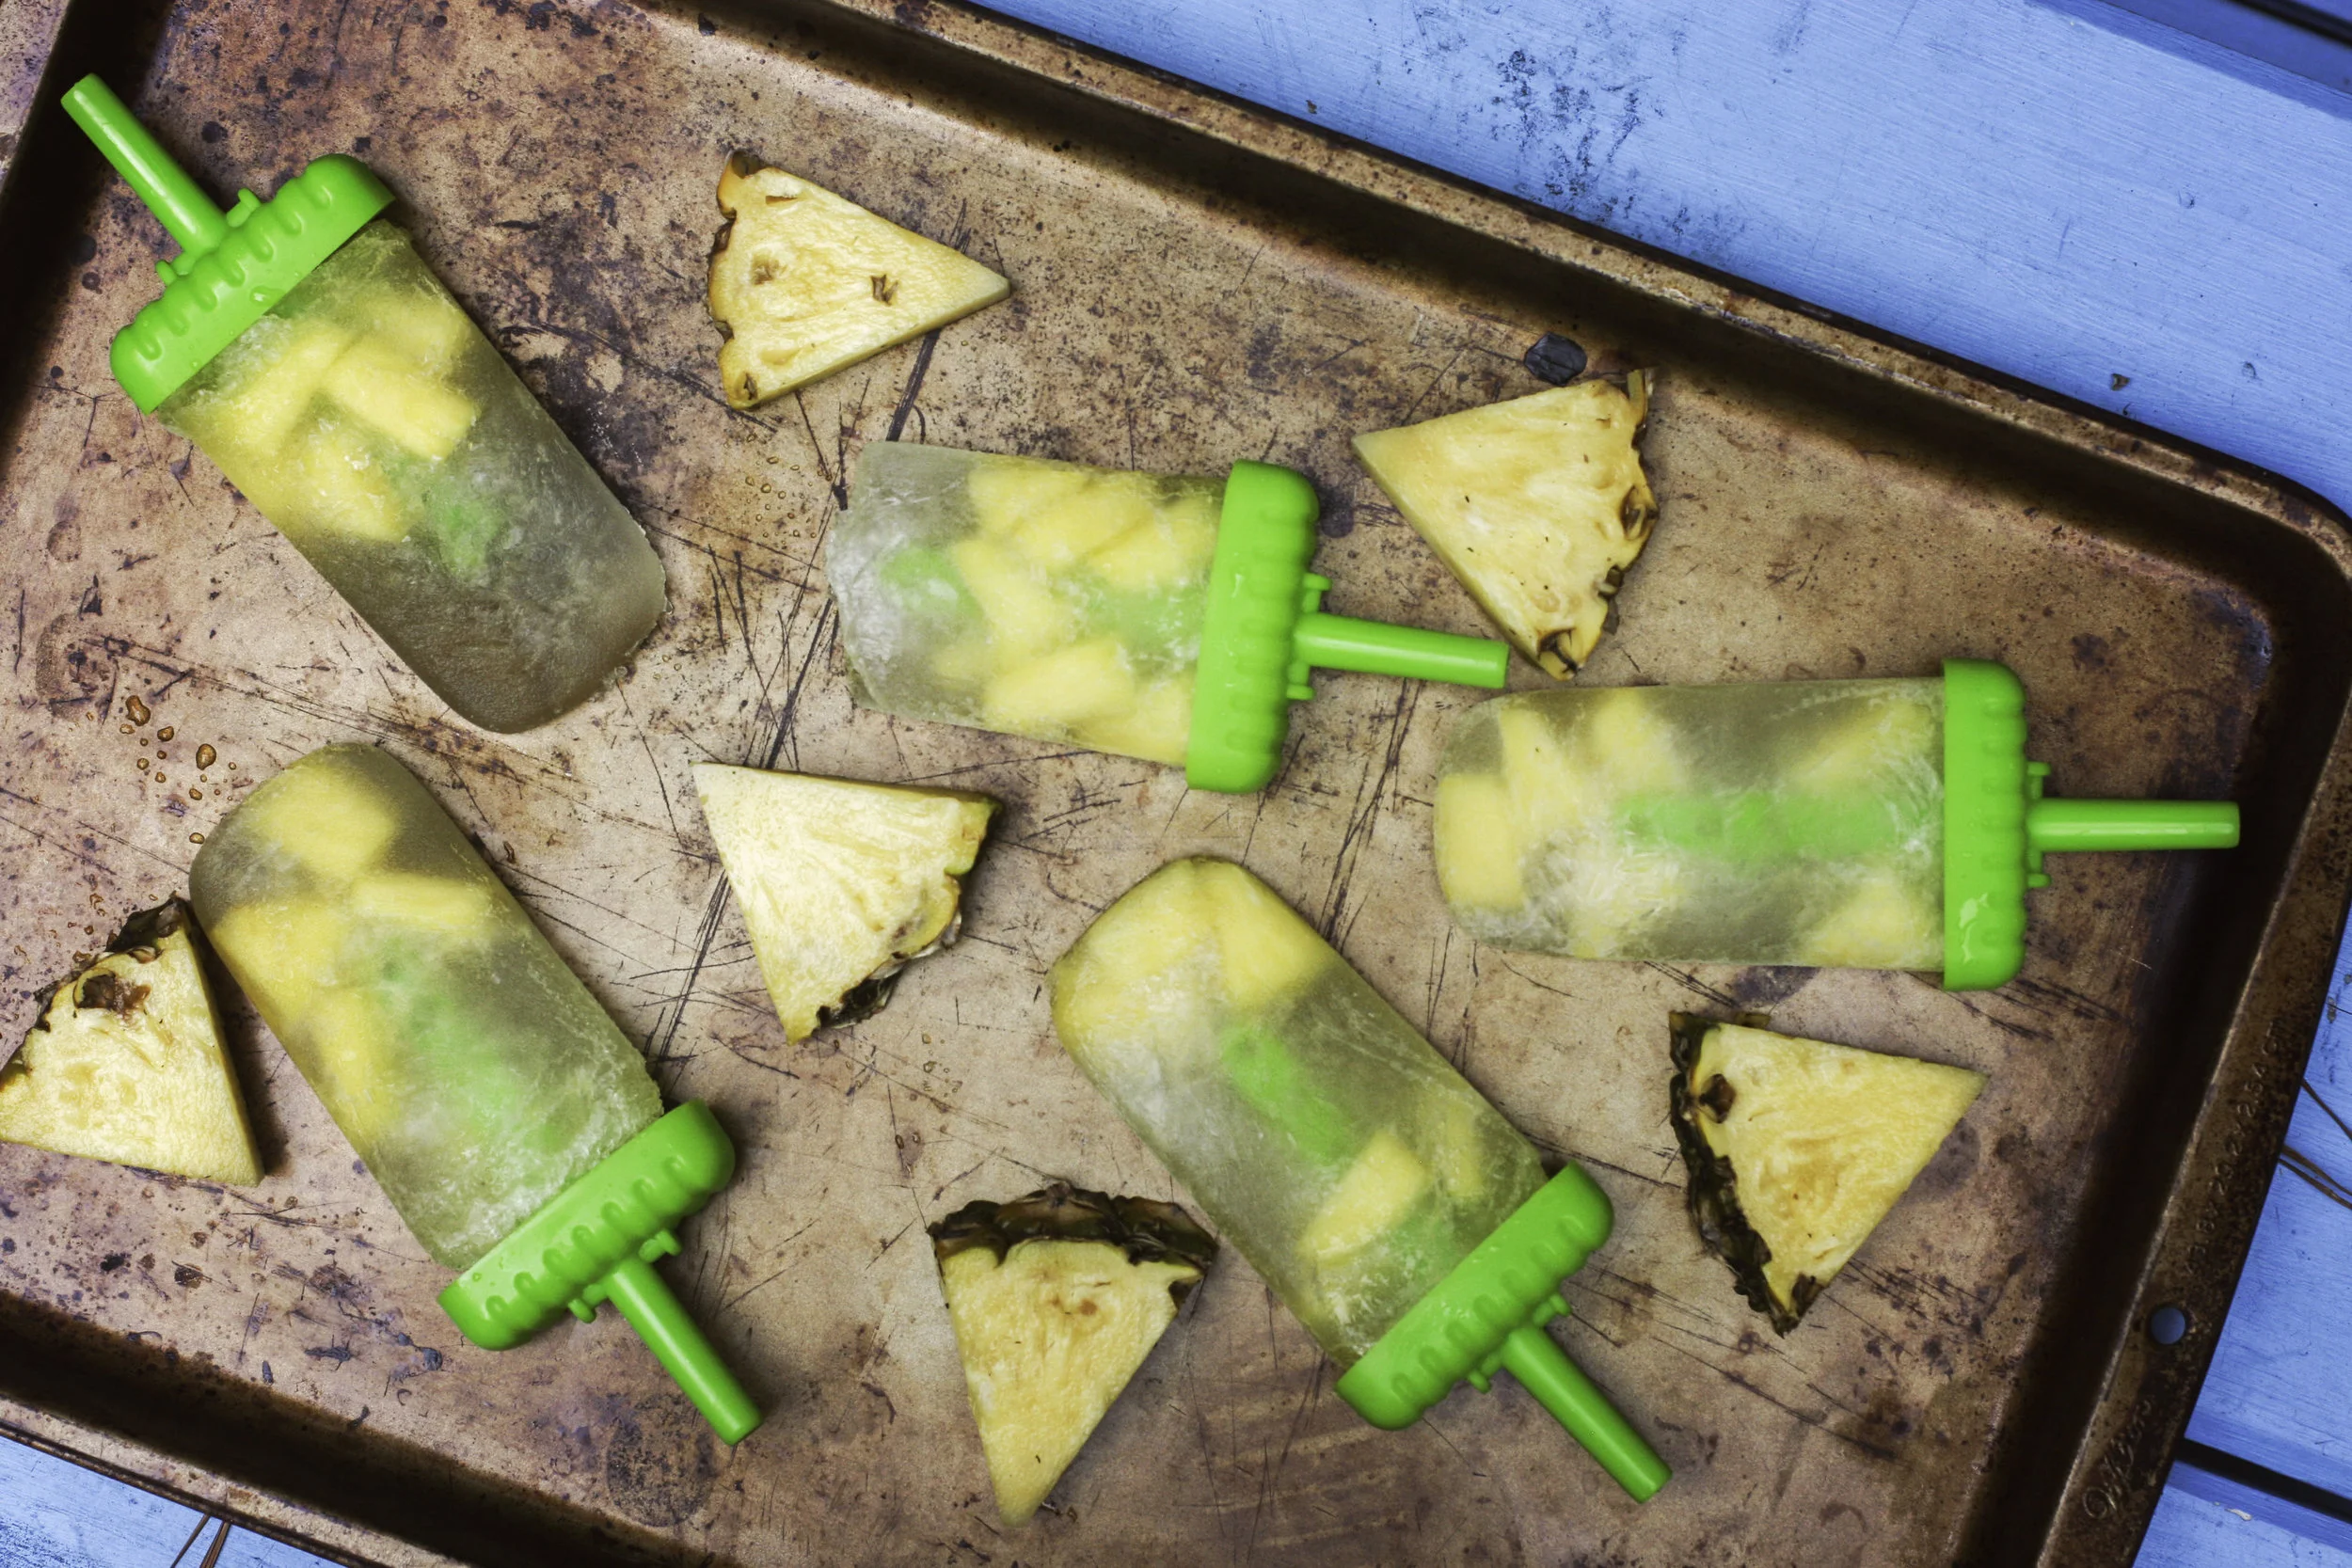
I hope you enjoy this recipe! I'm soaking up these last few days of summer with all the golf cart rides, stay-out-too-late in the yard evenings watching my boys play and of course, some of these yummy pops. Anyone wanna come over and slurp them up with me?!

Happy weekend, friends! xx


Almond Butter Energy "Milkshake" (Whole30 Compliant!)

Almond Butter Milkshake4.jpg
Almond Butter Milkshake3.jpg
Almond Butter Milkshake7.jpg
Almond Butter Milkshake5.jpg
Almond Butter Milkshake1.jpg

During Whole30, you aren't really supposed to indulge in anything sweet. In fact, the whole purpose of Whole30 is to "slay the sugar dragon", and detox your body from it's incessant desire for sugar. But if I hadn't made a few gateway "treats", I wouldn't have survived Whole30 either time I did it. This little recipe is a great trick to have up your sleeve if you're jonesing for something indulgent or seriously need a snack, especially if you're breastfeeding and need the extra calories and energy! All the ingredients included are Whole30 compliant, so it's technically safe, but be aware that these kind of snacks are sort of frowned upon if you're trying to do the program as strict as possible.

But doesn't it feel kind of good when you bend the rules a little? I'm not talking about shoplifting here, people. It's just a pretend treat.

Go ahead, have a milk shake and laugh in the face of DAIRY.

Ingredients:
- 1/2 banana
- 1 cup coconut milk (from a can)
- 3 ice cubes
- 1 pitted date
- 1 heaping tbsp. almond butter
- 1 tbsp. coconut oil
- 1/2 tbsp. chia seeds
- a dusting of cinnamon

Method:
1. Combine all the ingredients in a high-powered blender and mix on high until completely combined and smooth. The consistency should be thick and creamy, just like a milkshake. Makes one large glass or two smaller servings.

Go on with your bad self. Happy Whole30 to you!

P.S. - My 3 year old took this photo of me. He's either getting really good or he really wanted that milkshake, which I gave to him immediately after we photographed it ;) Treats for everyone!

Almond Butter Milkshake6.jpg

P.S. - Looking for more Whole30 meals ideas? Check out my quick reference meal guide to my tried-and-true favorites!

The Simplest Banana Bread.

A cold front came through the south this weekend, just when we thought for sure that spring was in full force down here. Oh Georgia, make up your mind! With the burst of cold, I woke up craving something warm and home-y. Since Stevie was gone playing guitar at church, I decided to spend a little time in the kitchen with Everett while Dax napped. Everett has been quite the little helper lately, and he loves standing on his special stool and helping me dump all the ingredients for simple recipes like cookies and breads, or 1-pan dinners. He was begging for this one the entire time it baked. Let me just say that 55 minutes of a toddler begging for banana bread feels, well, longer than 55 minutes.

Ingredients:
- 1/3 cup coconut oil, melted
- 1/2 cup maple syrup
- 2 eggs
- 2 large bananas, browned, either mashed or sliced
- 1/4 cup almond milk
- 1 3/4 cups whole wheat flour
- 1 tsp. baking soda
- 1 tsp. vanilla extract
- 1/2 tsp. salt
- 1/2 tsp. cinnamon
- Optional add-ins: dried cranberries, dark chocolate chips, shredded coconut, etc.

Method:
1. Preheat the oven to 325 degrees and grease a 9x5 loaf pan (my absolute favorite here).
2. In a large mixing bowl, combine the melted coconut oil and maple syrup. Add in the eggs and beat well, followed by the almond milk and finally, the mashed/sliced bananas.
3. Add the baking soda, vanilla, salt and cinnamon - blend lightly.
4. Slowly add in the flour while your mixer is still running (if you have an upright mixer like this), otherwise, slowly add and whisk to combine.
5. Bake for 55 minutes or until a toothpick inserted in the center comes out clean. Allow bread to cool for 5-10 minutes, then transfer to a wire rack to finish cooling and slice.

A few notes:
- I didn't add any mix-ins because I was craving a really simple bread, but I think this would be almost sinful tasting with the ghirardelli dark chocolate chips.
- I never used to think a wire rack for cooling was necessary, but after purchasing this one, I can't believe how evenly everything cools. It's definitely worth the investment! I love using this bad boy.
- I doubled this recipe and froze the other loaf for later this week when we have family in town. I double most recipes these days and save half for another meal later - its so helpful.

What are your favorite comfort recipes? Its my goal to clean up our recipes so they still taste great but consist of more healthful ingredients. Happy cold front to all of you, my East Coast friends!

Dragonfruit Smoothie Bowl.

This is officially the prettiest food I've ever assembled. I mean, look at that pink bowl of fruity goodness. Yum! And spoiler alert - it tastes as grand as it looks. I've been on the acai berry bowl kick for a while now, but since discovering another exotic pretty food - pitaya (also known as dragonfruit), I've been whipping these up in my Vitamix and it couldn't be a more delicious snack. Or breakfast. Or lunch. I really like food that can multitask for me, and this one is good any time of the day :)

Ingredients:
- 1 serving Pitaya Smoothie packet (4-packs found in the freezer section of your grocery store, next to the frozen fruit, right next to the acai berry smoothie packs) - I like the Pitaya Plus brand
- 1/4 cup Almond Milk
- Fresh fruit of your choice - strawberries, blueberries, kiwi, bananas, sliced
- Toppings of your choice - I like granola, chia seeds, sliced almonds, shredded unsweetened coconut

Method:
1. Run 1 frozen packet of pitaya under cold water for about 20 seconds. Then add packet to a blender (I love my Vitamix), and combine with 1/4 cup almond milk. Blend until smooth.
2. Pour pitaya mix into two bowls.
3. Top with sliced fruit and all the yummy toppings.

Ta da! You're done! Eat aaaaaalll that goodness up now.

P.S. - This would make a lovely Valentine breakfast.
P.P.S. - My acai berry bowl recipe here, case you're like me and can't get enough of the smoothie bowl trend :)

Homemade Apple Sauce, 2 Ways.

I do my best to prepare recipes that will work for my entire family. That is a tall order, since my 2-year-old currently eats like, well, a 2-year-old. He prefers grilled cheese and chicken nuggets to everything and actually tells me he doesn't like green food. How has he possibly already learned that?! Green is his favorite color!

I haven't been shy about my love of preparing large portions of recipes and freezing them (like most recently with these sweet potato muffins and these breakfast burritos) because when I find something that works, I want it in bulk. These boys of mine eat so much. One super simple autumn recipe that can be adapted a zillion ways is homemade apple sauce. I know, you're probably rolling your eyes like "duh!", but seriously - do you make your own apple sauce? Because you should! It's ridiculously easy and tastes so authentic when made at home. It can easily be stored and frozen, then defrosted or reheated. Plus, when it's served hot, it's an indulgent treat for this lady.

OXO Tot sent over a few products for me to try out with my apple sauce recipes -  the food masher and glass baby food blocks (awesome for stashing in the fridge or freezer, with no BPA!) and the feeding spoon set. They were super useful, not just in prepping the apple sauce quickly but for storage purposes, too. My method with apple sauce is prepping and cooking the apples, then dividing into two batches and seasoning each slightly different depending on who will be eating it in my family. I make my 2-year-old Everett a basic version of apple sauce, keeping the recipe free of added sugars but with lots of cinnamon (his favorite seasoning.) And I make myself and my husband a spiced version, with caramelized onions and nutmeg and allspice, served heated over pork or chicken. Yum. Apple sauce is a win for everyone in this family!

A Few Notes:
1.
You can prepare these two recipes side by side in two large stockpots so to easily prep and cook both recipes at the same time.
2. I don't bother with peeling the apples, because once they cook down I don't think the skins are any kind of nuisance. I prefer my apple sauce with some texture. How you like them apples?
3. I use any and every type of apple - not picky over here. Each time the flavor is a little different, based on the type of apples used!

Apple Sauce for Toddlers                                            
Ingredients:                                                                        
- 4-6 apples, diced                                                        
- 1 cup water                                                                 
- juice of 1 lemon                                                           
- 1 tsp. cinnamon                                                           
                                                                                                                                                            
Spiced Apple Sauce for Adults:
Ingredients: 
- 2-4 apples, diced 
- 1/2 onion, diced
- 1 cup water
- juice of 1 lemon
- 1/2 tsp. each: allspice, nutmeg & cinnamon
- a dash of cloves

Method:
1. Combine all the ingredients in a large stockpot and cook over medium heat for 25 minutes.

2. Using the OXO food masher, mash the softened/cooked apples to desired consistency. I like my apple sauce a little chunky, but I mash it up extra good for Everett to enjoy.

3. Serve immediately or store in the refrigerator or freezer and serve as needed.

Apple Sauce10.jpg

Honestly, I would have to make, like, a quadruple batch to actually have enough to freeze, because we go through this stuff so fast. But the OXO glass baby food blocks are awesome because they are made of borosilicate glass, which is thermal shock resistant. This means they can go directly from the freezer to the oven or microwave, and there's no need to wait until the apple sauce is fully defrosted before heating it up. Which is what I like to do with it. HOT APPLES, YOU GUYS. There's nothing quite like it. :) One more thing to note - if you like your apple sauce really smooth, then you could always throw the hot apple mixture from the stockpot directly into a blender. But using the food masher is a really quick and less messy way to achieve apple sauce when your little ones are pulling on you for a fast snack.

Other fun uses for apple sauce:
- serve heated over ice cream (yes please. Please.)
- to replace eggs in baked goods
- served atop french toast/pancakes
- in oatmeal, to naturally sweeten

How do you make your apple sauce? Any wild ingredients I should try to mix things up a bit? Let me know if you try out these recipes, because I would love to hear what you think!

P.S. - Other apple recipes that I obsess over - my roasted pumpkin & apple butter, this blueberry-apple baked oatmeal, and this apple & spinach green juice.

Many thanks to OXO Tot for sending me free products to include in this post. All opinions expressed are my own. And many thanks to you for reading and supporting brands that continue to make this blog possible!