The Apple Crisp (that is both breakfast and dessert!)
/
Merry Christmas Eve! If you’re like me, you are anticipating lots of people in your home over the next few days. And if you’re like me, you want to have easy, no-fuss snack/meal/dessert options on hand so that everyone gets fed and feels loved and happy.
Enter the apple crisp, the single most versatile weapon in my recipe arsenal. YES I WENT THERE.
This recipe can basically be whatever you want to call it or frame it as. It’s breakfast! It’s dessert! It’s healthy! You can add milk to it, or yogurt (or nothing!) and it’s a yummy warm breakfast. You can add some ice cream to it and suddenly it’s a wickedly good dessert. It’s anything you want it to be! And I love how clean the ingredients are, so you are truly working with a healthy, warm, nourishing dish that is such a universal crowd-pleaser. Make it. I know you will love it.


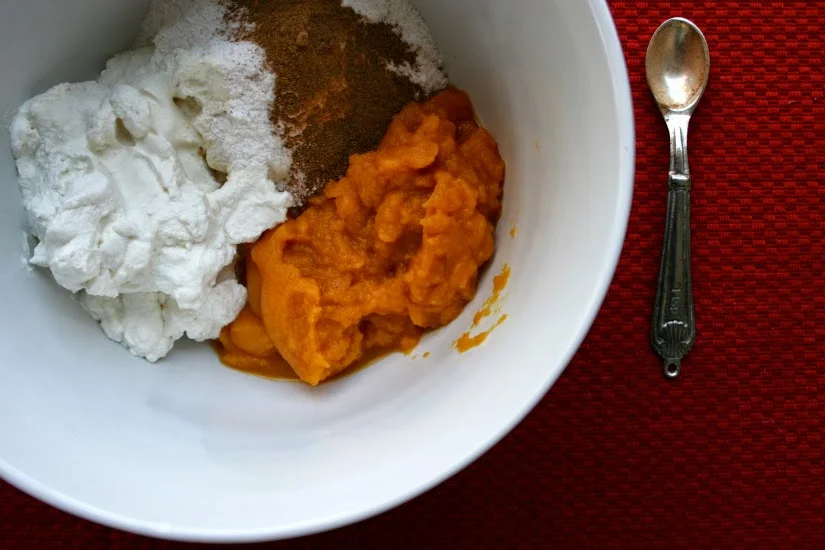
Ingredients:
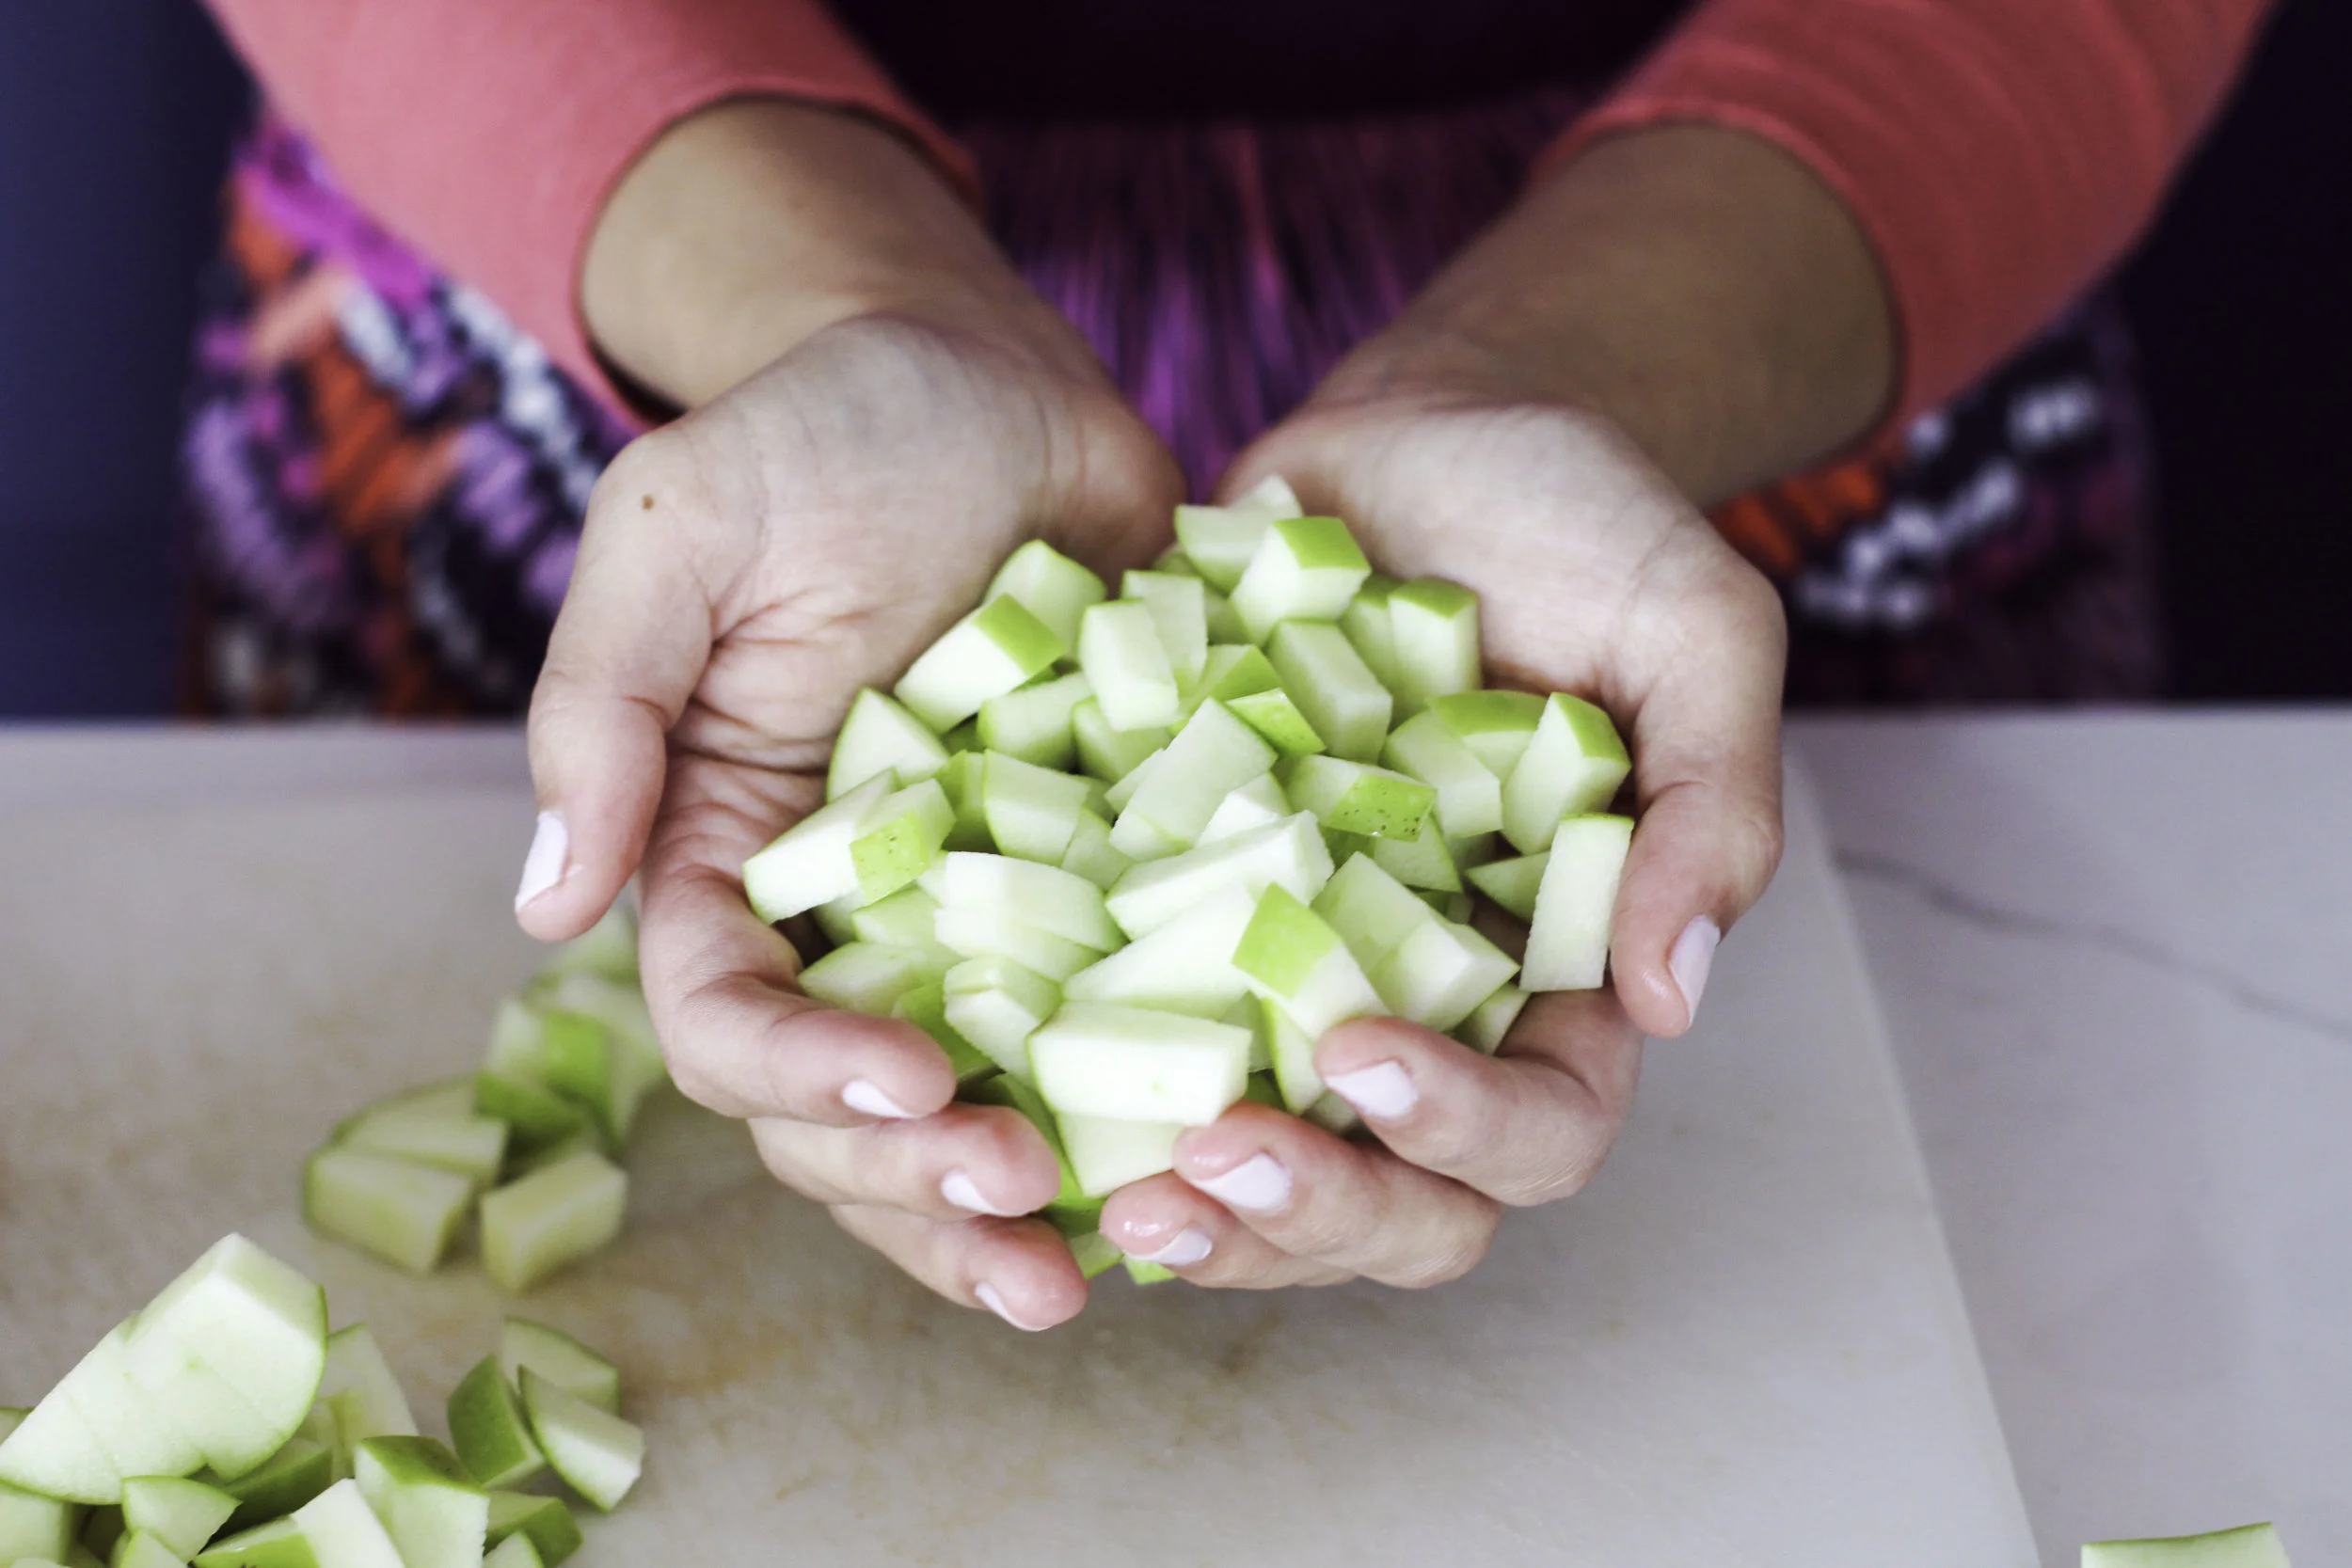
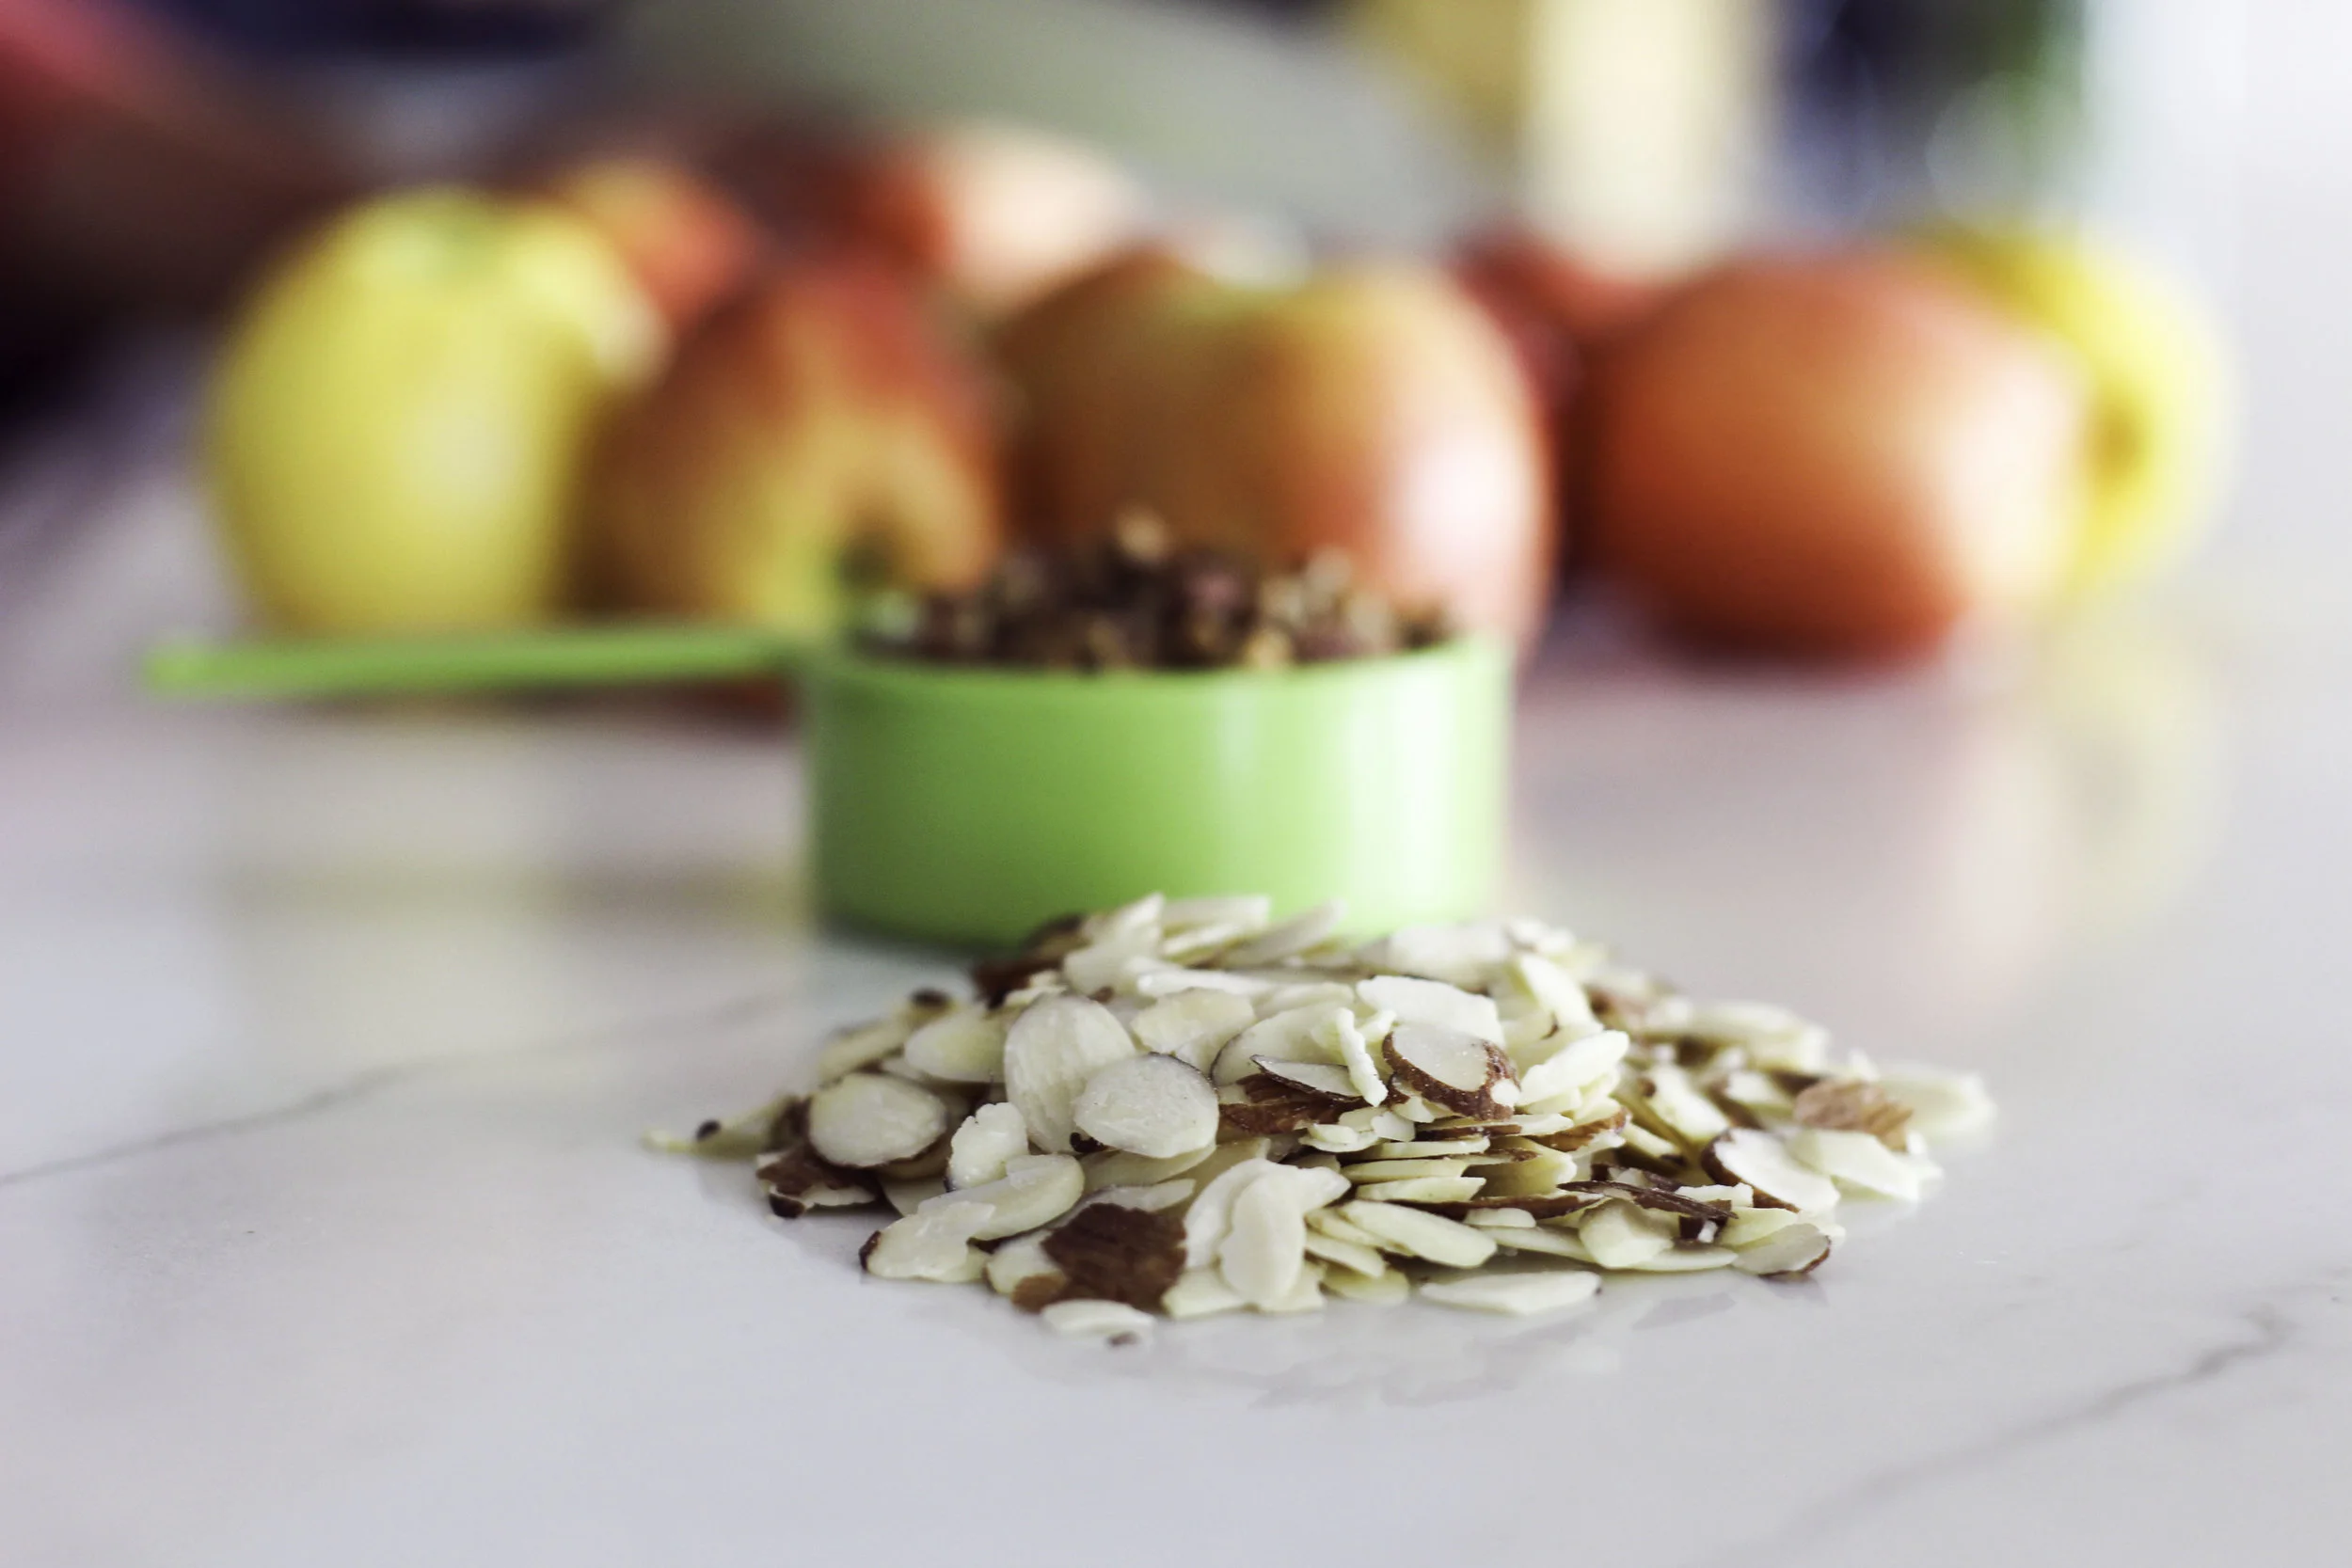
- 4 cups diced apples
- 1 cup old-fashioned oats
- 1 cup nuts, chopped (I like to do a mix of walnuts and pecans)
- 1/2 cup almond meal
- 1/4 cup maple syrup
- 1/4 cup olive oil
- 1/2 tsp. salt
Method:
1. Preheat the oven to 350 degrees.
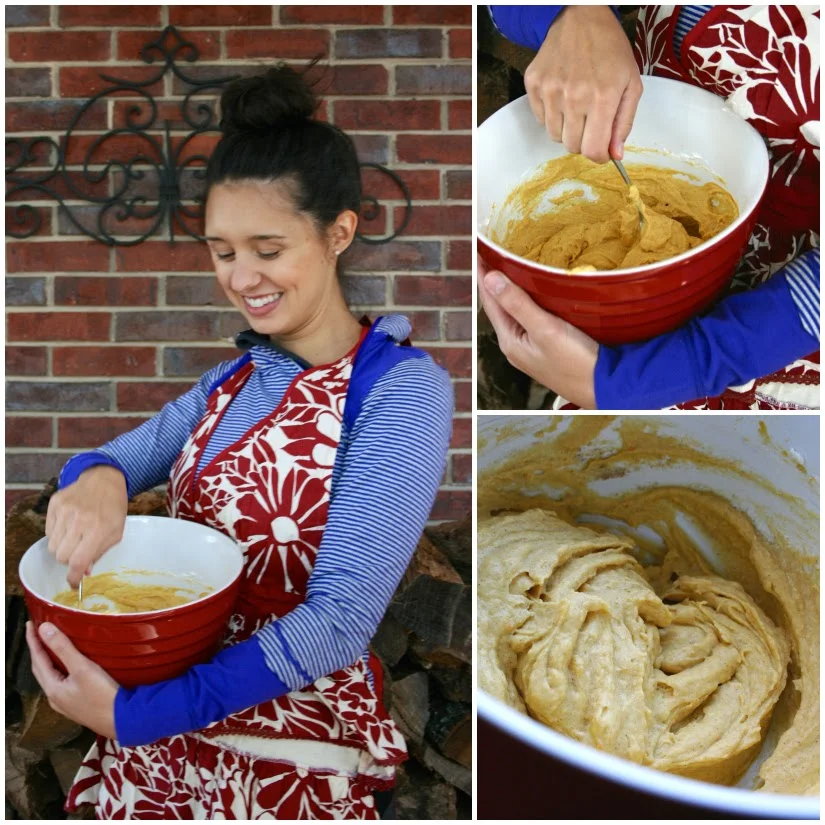
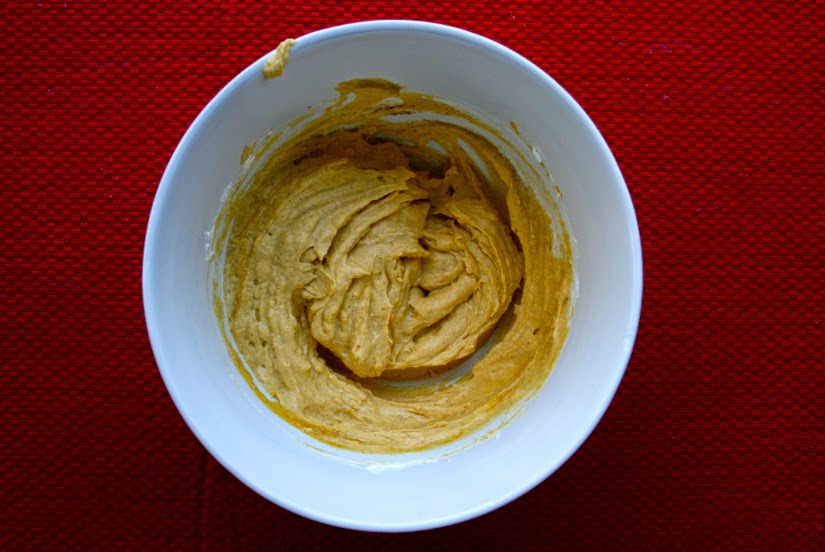
2. Mix together the oats, nuts, almond meal, syrup and salt.
3. Pour the apples into an 8x8 glass pyrex dish, then layer the toppings over it.
4. Bake for 35-40 minutes, until the fruit is bubbling and the topping is brown and a bit crispy.


I typically double or triple this recipe when I have people over, and if I don’t, I still make a lot and freeze half of it. It’s one of the best things to eat first thing on a cold morning! Please let me know if you make it and enjoy it! I love sharing recipes with you that are staples in our household.
I hope the next few days are full of so much love and delight and laughter as you celebrate with your favorite people. Merry Christmas Eve to you all!