Holiday Wassail (with essential oils!)

Wassail3.jpg

It’s Thanksgiving week! Yes!!! I am fist pumping while I write this. I truly believe that Thanksgiving and Christmas are holidays that go hand-in-hand. Once we begin the celebrations for Thanksgiving, I can’t stop that cozy magical feeling through New Years. It’s just all such a wonderful time of year, really focusing on gratitude and the amazing miracles that we all have living amongst us. It’s just the best time of year! Minus the insane volume of deal emails.

I lucked out because a few weeks ago Stevie’s side of the family got together and I got to try out a few of my holiday recipes on them. Not only was it fun to feed everyone, but you know how family is, right? They keep it REAL. I got such great feedback on this recipe (and others to come!), and was able to tweak these to make them even better. I am so excited to share these recipes with you, and I hope that you and your family are able to gather around your table this year and enjoy the wonder and simplicity of a holiday feast together.

I wanted to make wassail because, seriously, ever since I watched Little Women when I was a little girl, I wanted to know what it tasted like! I researched so many recipes and found out that it’s basically glorified apple cider, which I can definitely get myself onboard with. And I added in the essential oils because it’s such a great way to get some of the incredible healthy benefits (and flavor!) from these oils. So without further adieu, let’s your Wassail, my lady ;)

Wassail4.jpg

Ingredients:
- 4 cups apple cider
- 2 cups pineapple juice
- 2 cups orange juice
- 1 drop DoTERRA Cinnamon essential oil
- 1 drop DoTERRA Ginger essential oil
- 1 drop DoTERRA Clove essential oil
- 1 drop DoTERRA Frankincense essential oil

Method:

1. Combine all the ingredients in a slow cooker and heat on low for 4 hours.

I love this recipe so much because I am totally an apple cider girl. This is super easy to throw together, will make your house smell like the absolute North Pole, and it tastes incredible! The essential oils add so much flavor and depth and, let’s be honest, when you throw them in a slow cooker is basically like diffusing them so the house smells SO GOOD. If you don’t have these oils you could dust in some of the spices instead. And after pouring into your own mug, you can add an adult beverage to increase the merriment. My suggestion - bourbon or whiskey. You will be very thankful and merry indeed.

Wassail1.jpg
Wassail6.jpg
Wassail5.jpg
Wassail2.jpg

What are your plans for Thanksgiving this week?! Do you already have your menu planned or are you a bit more spontaneous? If you make this recipe please report back here and let me know your thoughts!

My New Essential Oil Business Cards with Basic Invite!

Thanks to Basic Invite for sponsoring this post. All opinions are my own.

Basic Invite2.jpg

I just got back from Salt Lake City where I attended the 2018 DoTERRA Dream Convention and it was THE BEST. I cannot wait to share more about what I learned and all the exciting products that are launching next month! I’m a little bit freaking out about all the good things I get to share.

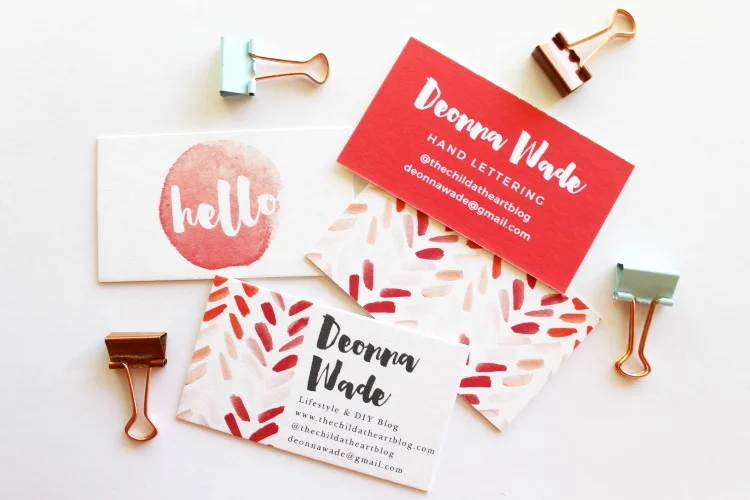
As my essential oils business has grown over the past few months (in November it will be 1 year!), one thing I’ve been thinking about is getting a separate business card made just for that. So when Basic Invite reached out to me to try out their custom business cards (and when I saw how adorable their designs and colors are!), I was floored.

Basic Invite4.jpg

Now hear me out when I say that I am a true paper product girl. I really love a beautiful paper product and I’m not afraid to say that I’ve run the gamut, trying out lots of different paper companies over the years for different needs (look out, Dunder Mifflin). The Basic Invite business card designs are really sharp. When I sat down at my desk to order, I thought I might want to customize the color of my business cards, based on the fact that Basic Invite is one of the few paper product websites that allow customers almost unlimited color options with the instant previews online. Once you select a design, you can alter the color of each element on the card with over 180 different options so you can make sure the card is exactly how you like it. I played around with some different mint and turquoise shades for a while but found that I actually loved one of the pre-made designs with a pink marbled look and rose golf foil, so I went with that. And I love how it turned out! Ever since rose gold foil has become a thing in paper products, I hope there’s never a day in the future where it won’t be a thing.

Basic Invite3.jpg

If you’re a little unsure of how your card will look and you need a little good faith policy, you can actually order a custom sample. This way you can see exactly how your card will look and how the paper will feel, before committing to a huge print job. I sort of had buyers remorse after I chose my card design, only because I really wanted to try out the plastic business cards as well! If that sounds intriguing to you, too, check out some of the samples at the bottom of this post. And maybe for the next round I will play around with that option because I honestly love my choice, too - how many business card designs are too many? #dontanswerthat

Since I mail a welcome package to each of my new essential oil customers, now I can include one of these beautiful cards in the package as well. Although we live in the digital age, I am still such a paper lover and I can’t resist a beautiful business card. Especially when I am the boss and I can choose pink and rose gold and totally get away with it!

Basic Invite6.jpg

I’ll be honest with you. As I was ordering these cards a wonderful premonition of Christmas cards swept before my eyes, and I know, I know, IT’S TOO SOON. But all I can say is that I maybe peeked and Basic Invite has a darling suite of merry christmas cards options which also features the custom color option along with over 40 different colored envelope options. And an address capturing service and free recipient address printing on all Christmas card orders, which really takes the headache out of addressing all those holiday cards. So I am being a basic mom and making a plan for my card photo now. Because really, it is too soon? Don’t answer that either.

Basic Invite7.jpg

I’m linking to a few of my favorite designs below, both in business cards and stationary. Right now Basic Invite is offering all of you 15% off with coupon code: 15FF51

Let me know if you decide to take advantage of this deal and try out some of the business cards (especially the clear ones!)


Potato Print Art DIY.

Art DIY5.jpg
Art DIY8.jpg
Art DIY4.jpg
Art DIY10.jpg
Art DIY7.jpg

Art DIY12.jpg
Art DIY13.jpg
Art DIY14.jpg

I found this Rebecca Atwood DIY on Emily Henderson's site over a year ago. I think Rebecca's work is phenomenal and was blown away with how Emily styled it just so magnificently. The more I thought about it, the more enamored I became with the way that you could tailor this kind of art to however you like - it's really so simple! Potato printing has been around a long time, and there are infinite ways that you can express yourself using potatoes as your stamp!

Supplies Needed:
- a canvas (I grabbed a massive one on sale at Michael's!)
- 3 kinds of paint (or more!) I used Annie Sloan Chalk Paint in Pure White and Old Ochre, along with a simple black acrylic paint simply for mixing and adding depth
* I used the chalk paint because I wanted the crackled texture/effect when the paint dried, but if you are look for more of a smooth texture, definitely stick to an acrylic ;)
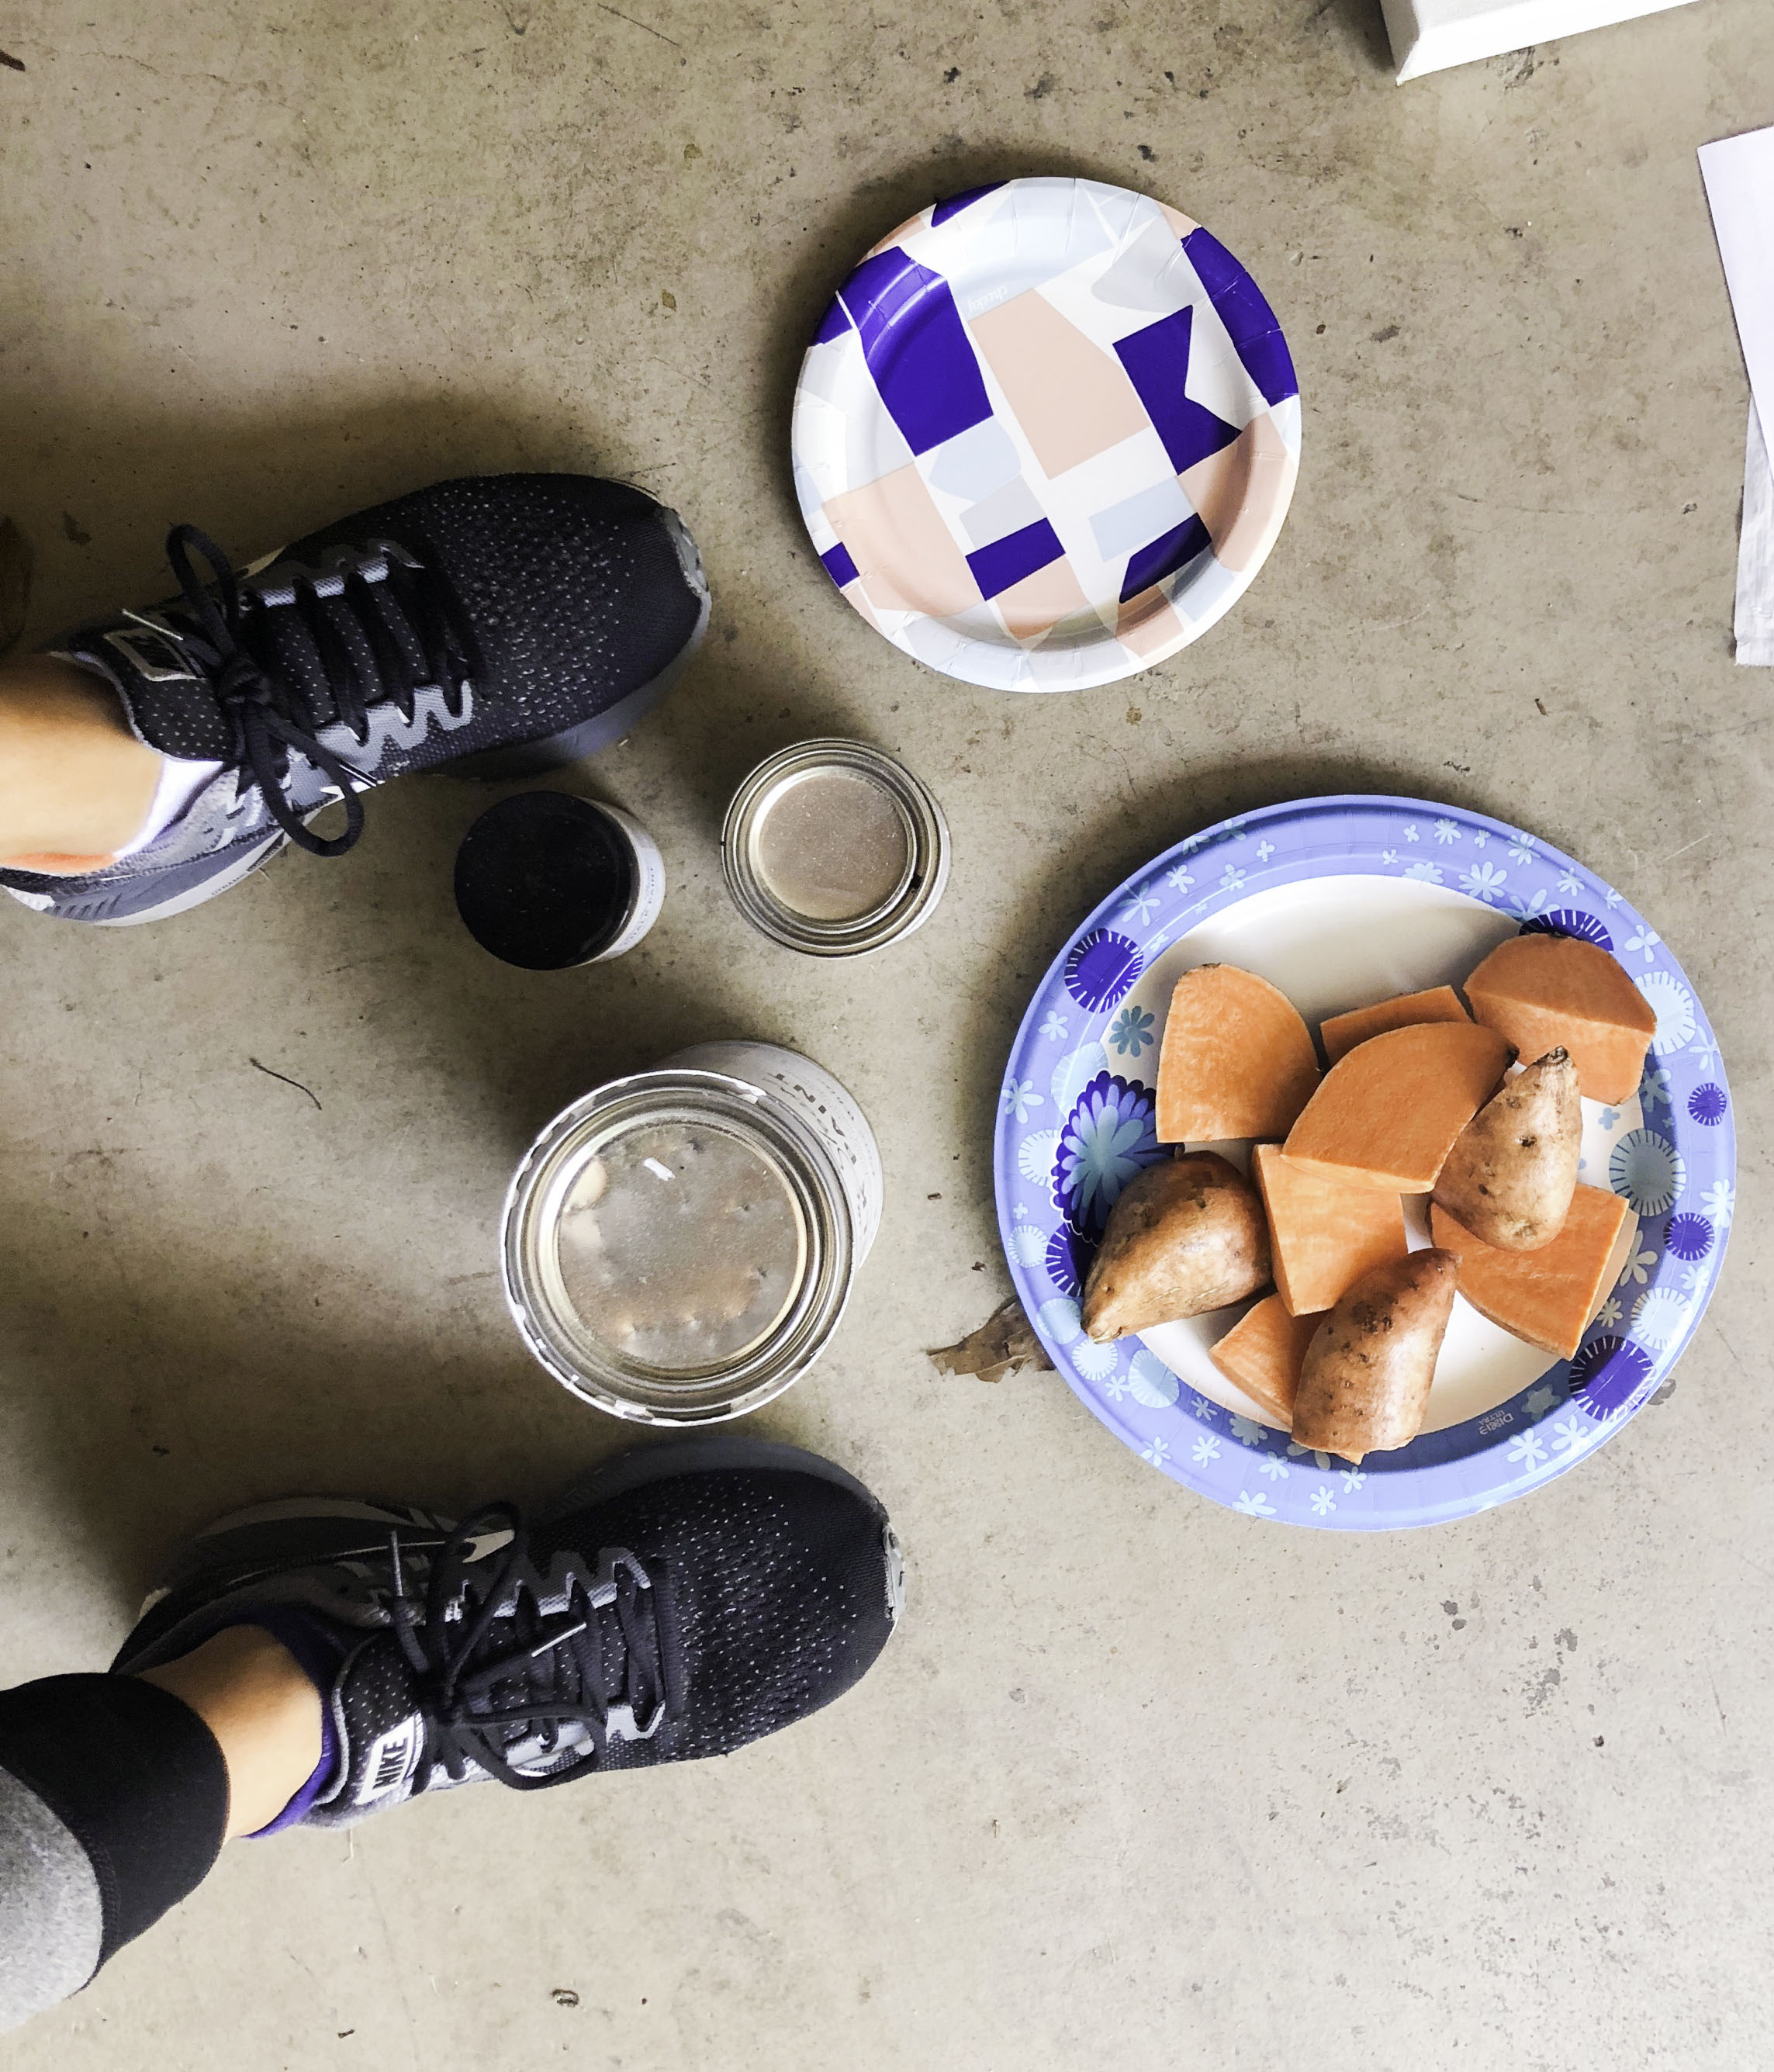
- 1 potato (I used a sweet potato!), to be used as the stamp, cut into half-moon shapes (I made about 6-7 stamps)
- a few paper plates for mixing the paint

Method:
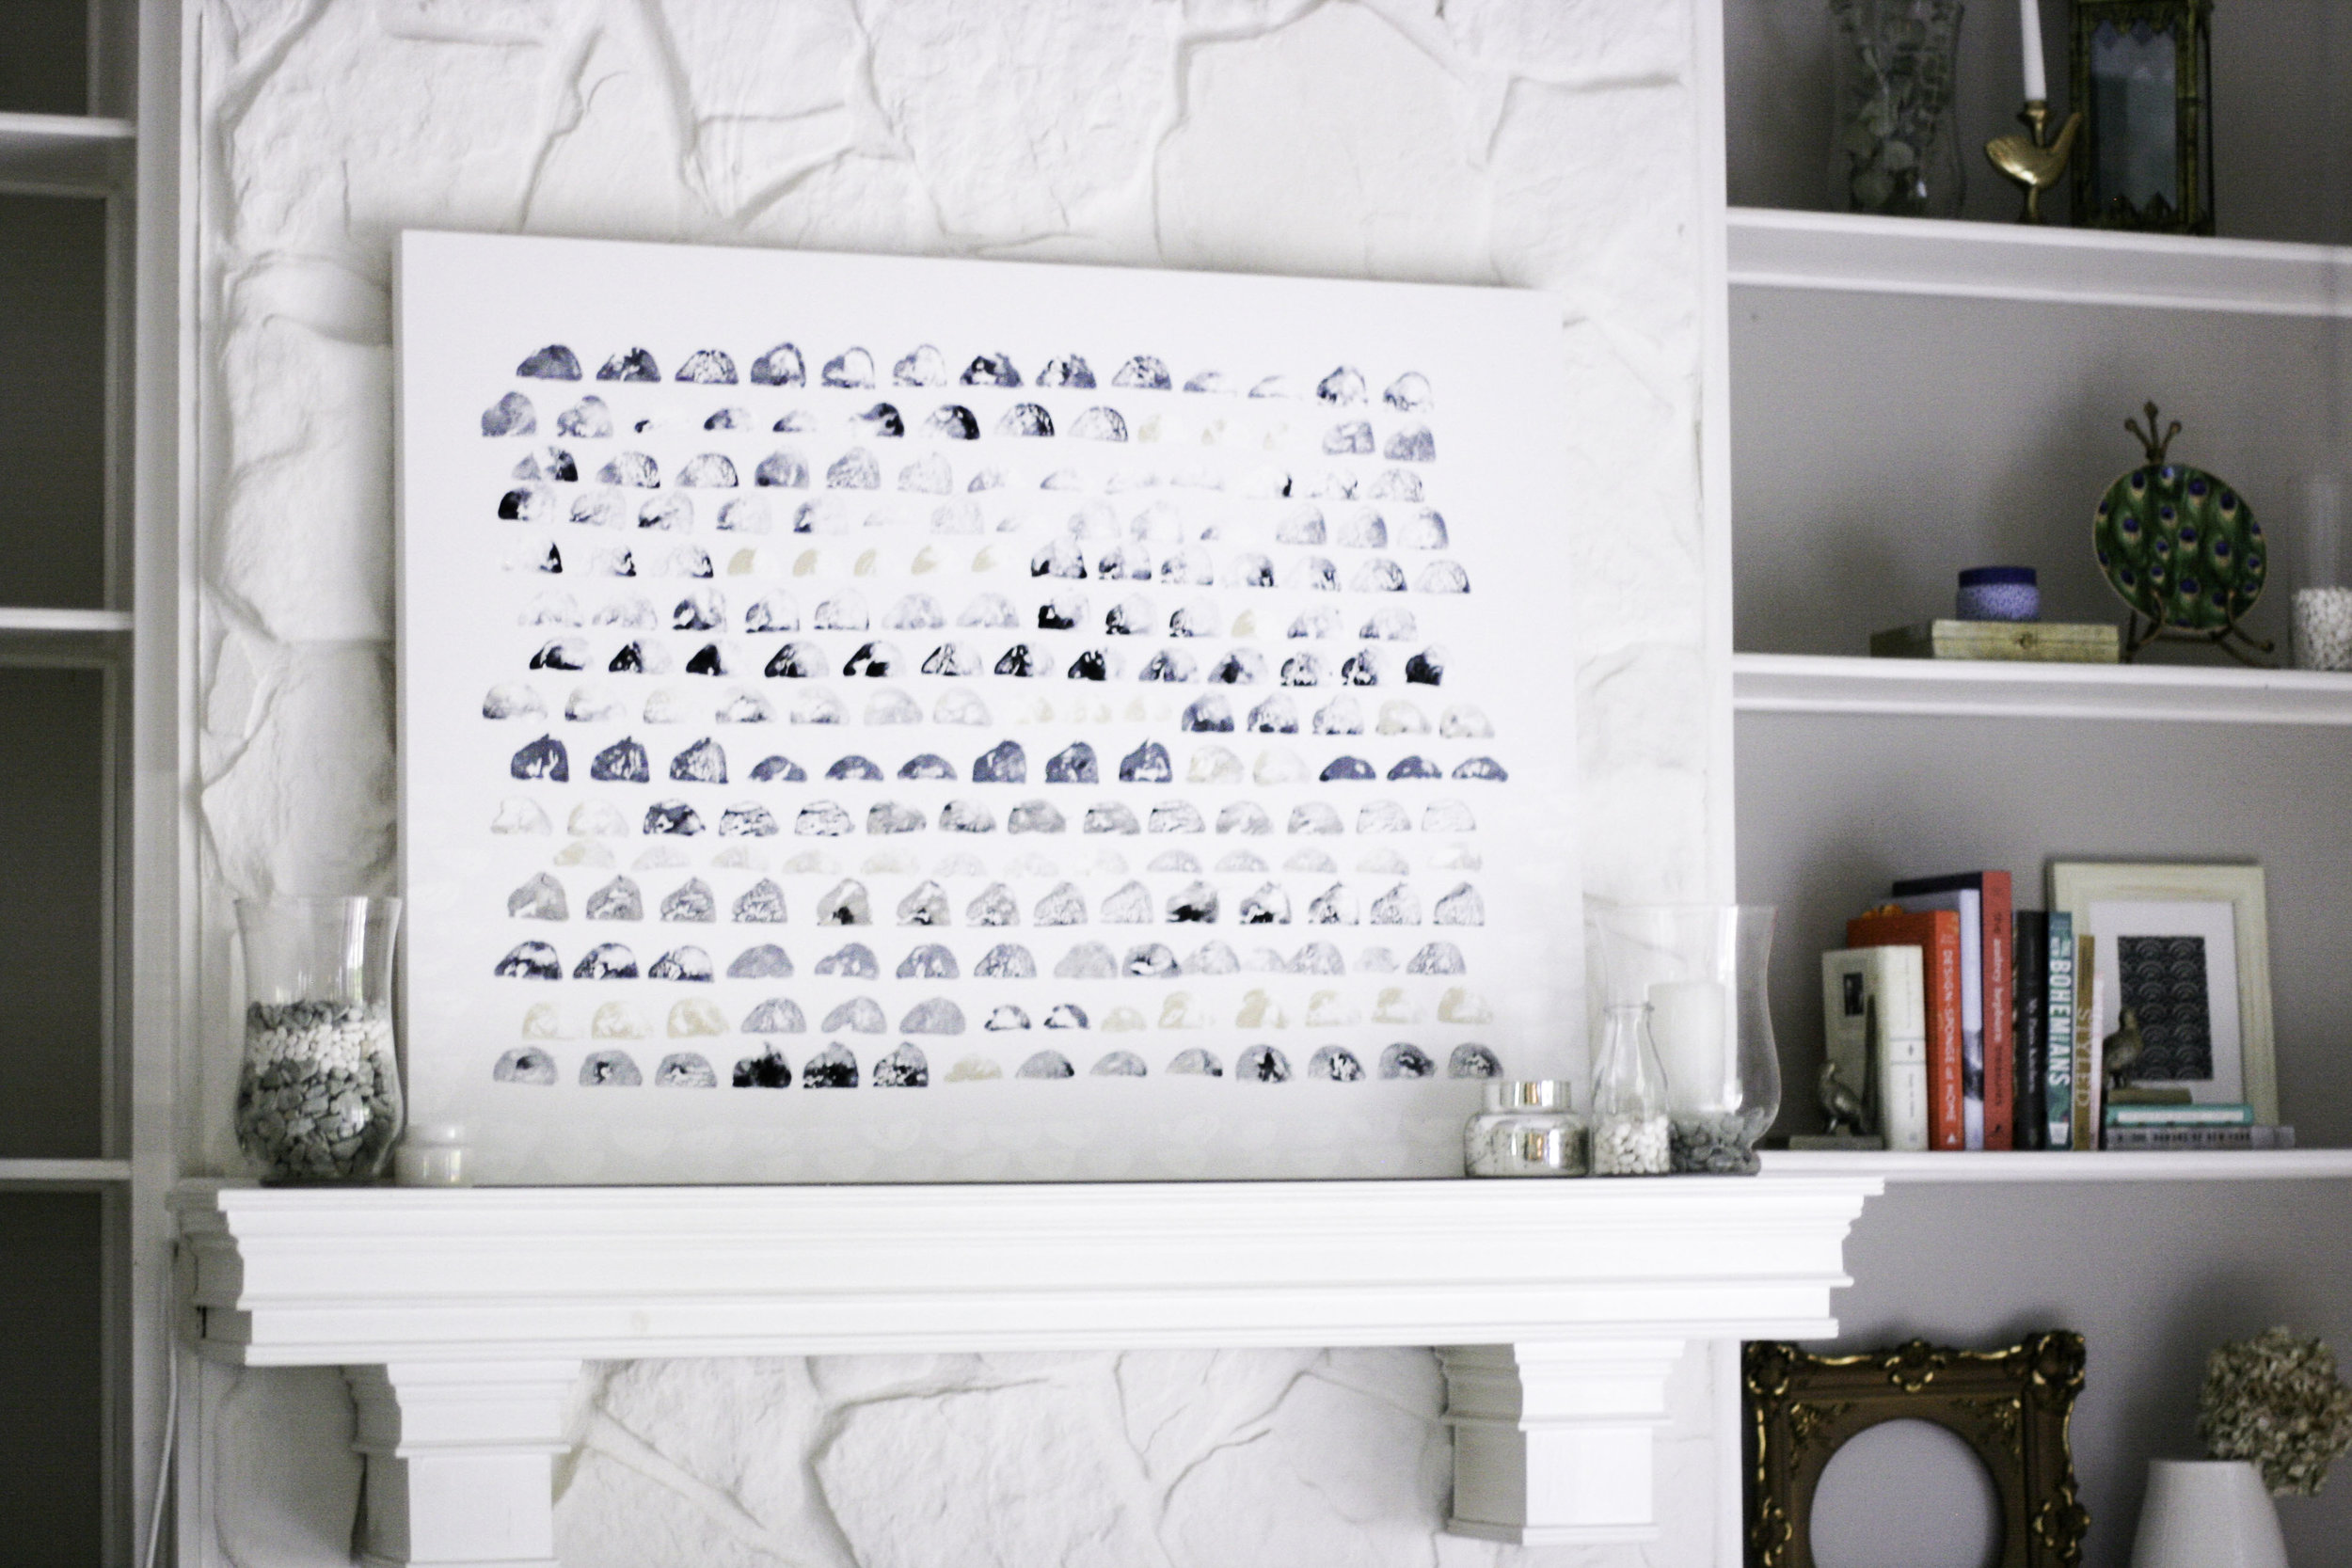
It's really a matter of touch with a piece like this. I used the 3 paint colors and mixed them in 6-7 different ways, then I assigned a different potato "half moon" stamp to each of the paints I mixed up. I am kind of a touch artist, so I don't do a lot of measuring when it comes to something like this, I just feel out the dimensions (this drives my husband crazy but its MY ART). So I eyed the width and length of the canvas and knew that I wanted to keep a thick white border around the paint, and started pressing the stamps (dipped in the paint) a few inches in. I just began pressing the stamps into the canvas, mixing up with paint and shapes with every few presses. I didn't dip each stamp into the paint every single time, because I wanted the effect of some being more bold and some being lighter for contrast.

I continued this process, standing up a lot to make sure my lines were straight (I actually like the bit of wiggle!), and making sure I was mixing up the shape of the half moons consistently.

I also decided to add a pure white "border" on the bottom of the piece, gently working my way up until fading it out at about half way. It's extremely subtle and hard to see in the photos, but I love the effect and it made it feel like "mine" this way.

The Result.
This piece was extremely therapeutic for me to make. It was something that was in my heart for a long time, so actually doing it was kind of emotional. Don't laugh, but I actually cried through some of the process. I love how art (and using your hands to create it) can be so helpful in processing what is happening in your life. I personally have had a lot of up and down emotional experiences this summer, and this painting really helped me with some of my coping. And I didn't expect that! So this piece is extra special to me.

I planned for the piece to look more black and white, but the black ended up adding a blueish effect to the white paint. The ochre shade added a sandy tone, and along with the slight movement in the piece, the end work reminds me of the ocean. I love it! And this ended up looking more like the example then I expected! But I absolutely love the result and I am super proud with the uniqueness of this. I've been inspired to do it again, perhaps on a smaller canvas with a yellow/orange vertical style. And maybe using a different medium for the stamp!


Art DIY9.jpg
Art DIY11.jpg

I'd love to hear your thoughts on this DIY! Is this something you would be up for trying? What kind of DIYs are you interested in learning more about? Let me know in the comments below!

DIY Essential Oil Bug Spray.

Bug Off2.jpg
Bug Off5.jpg
Bug Off3.jpg

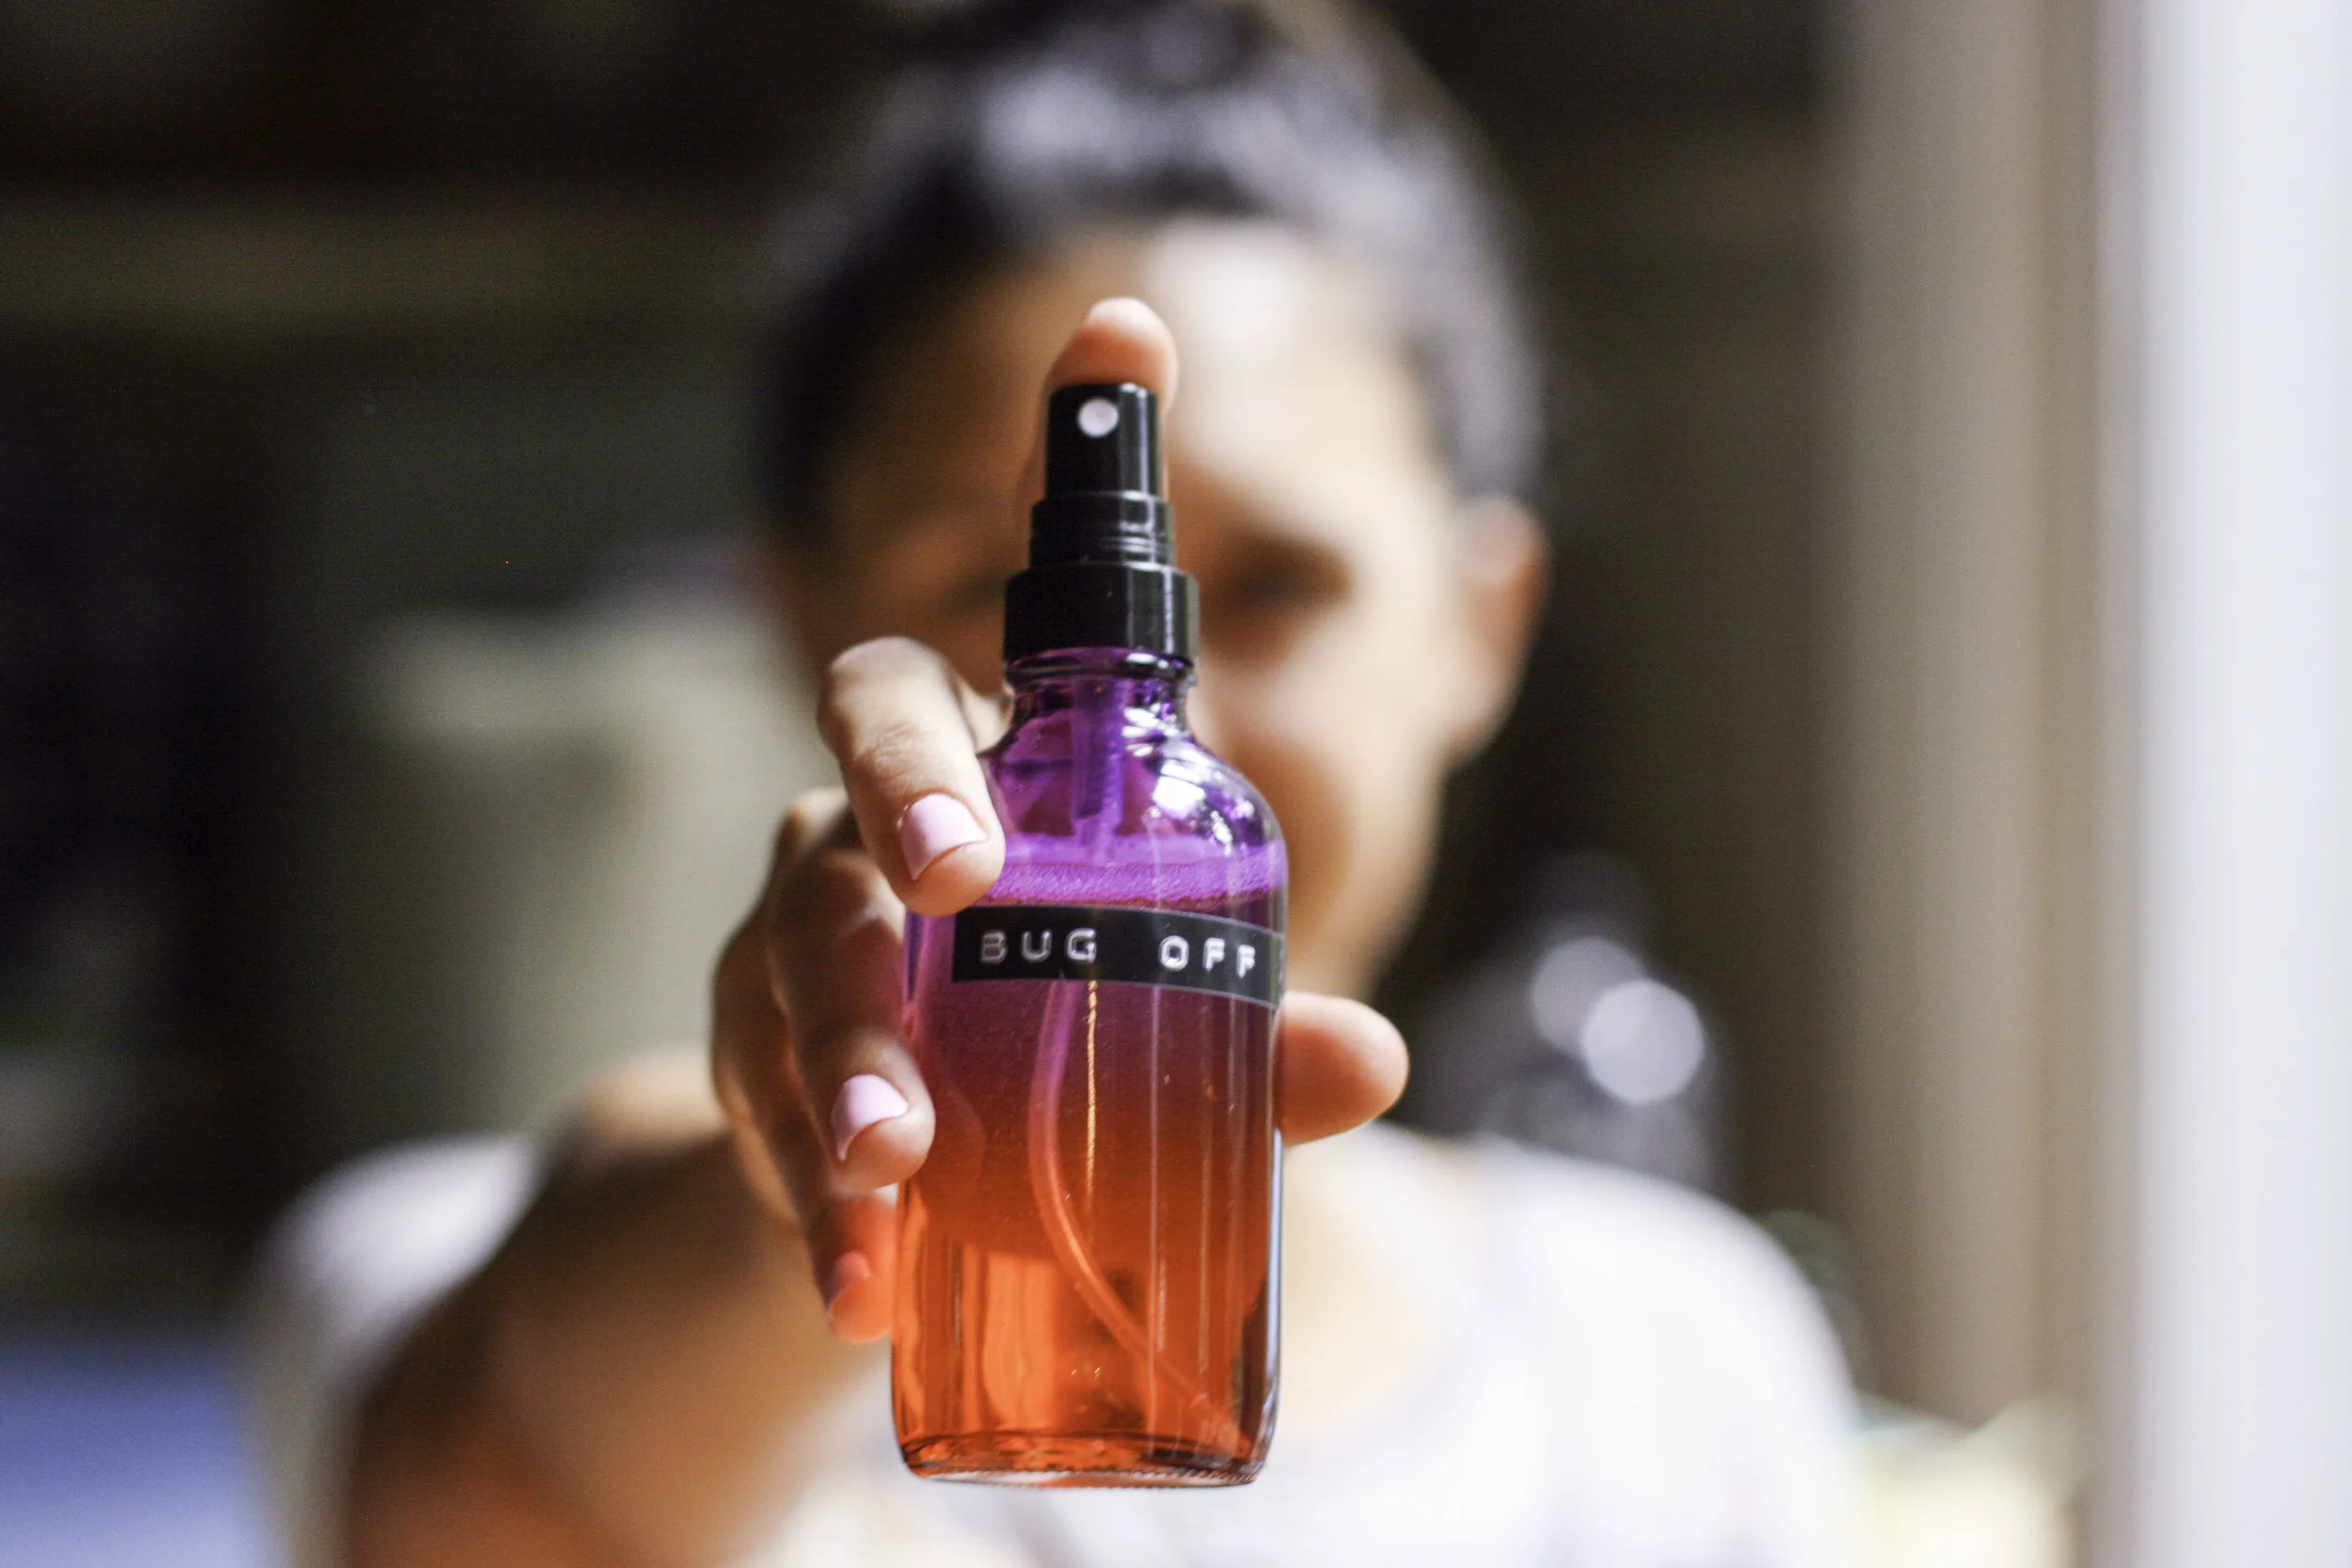
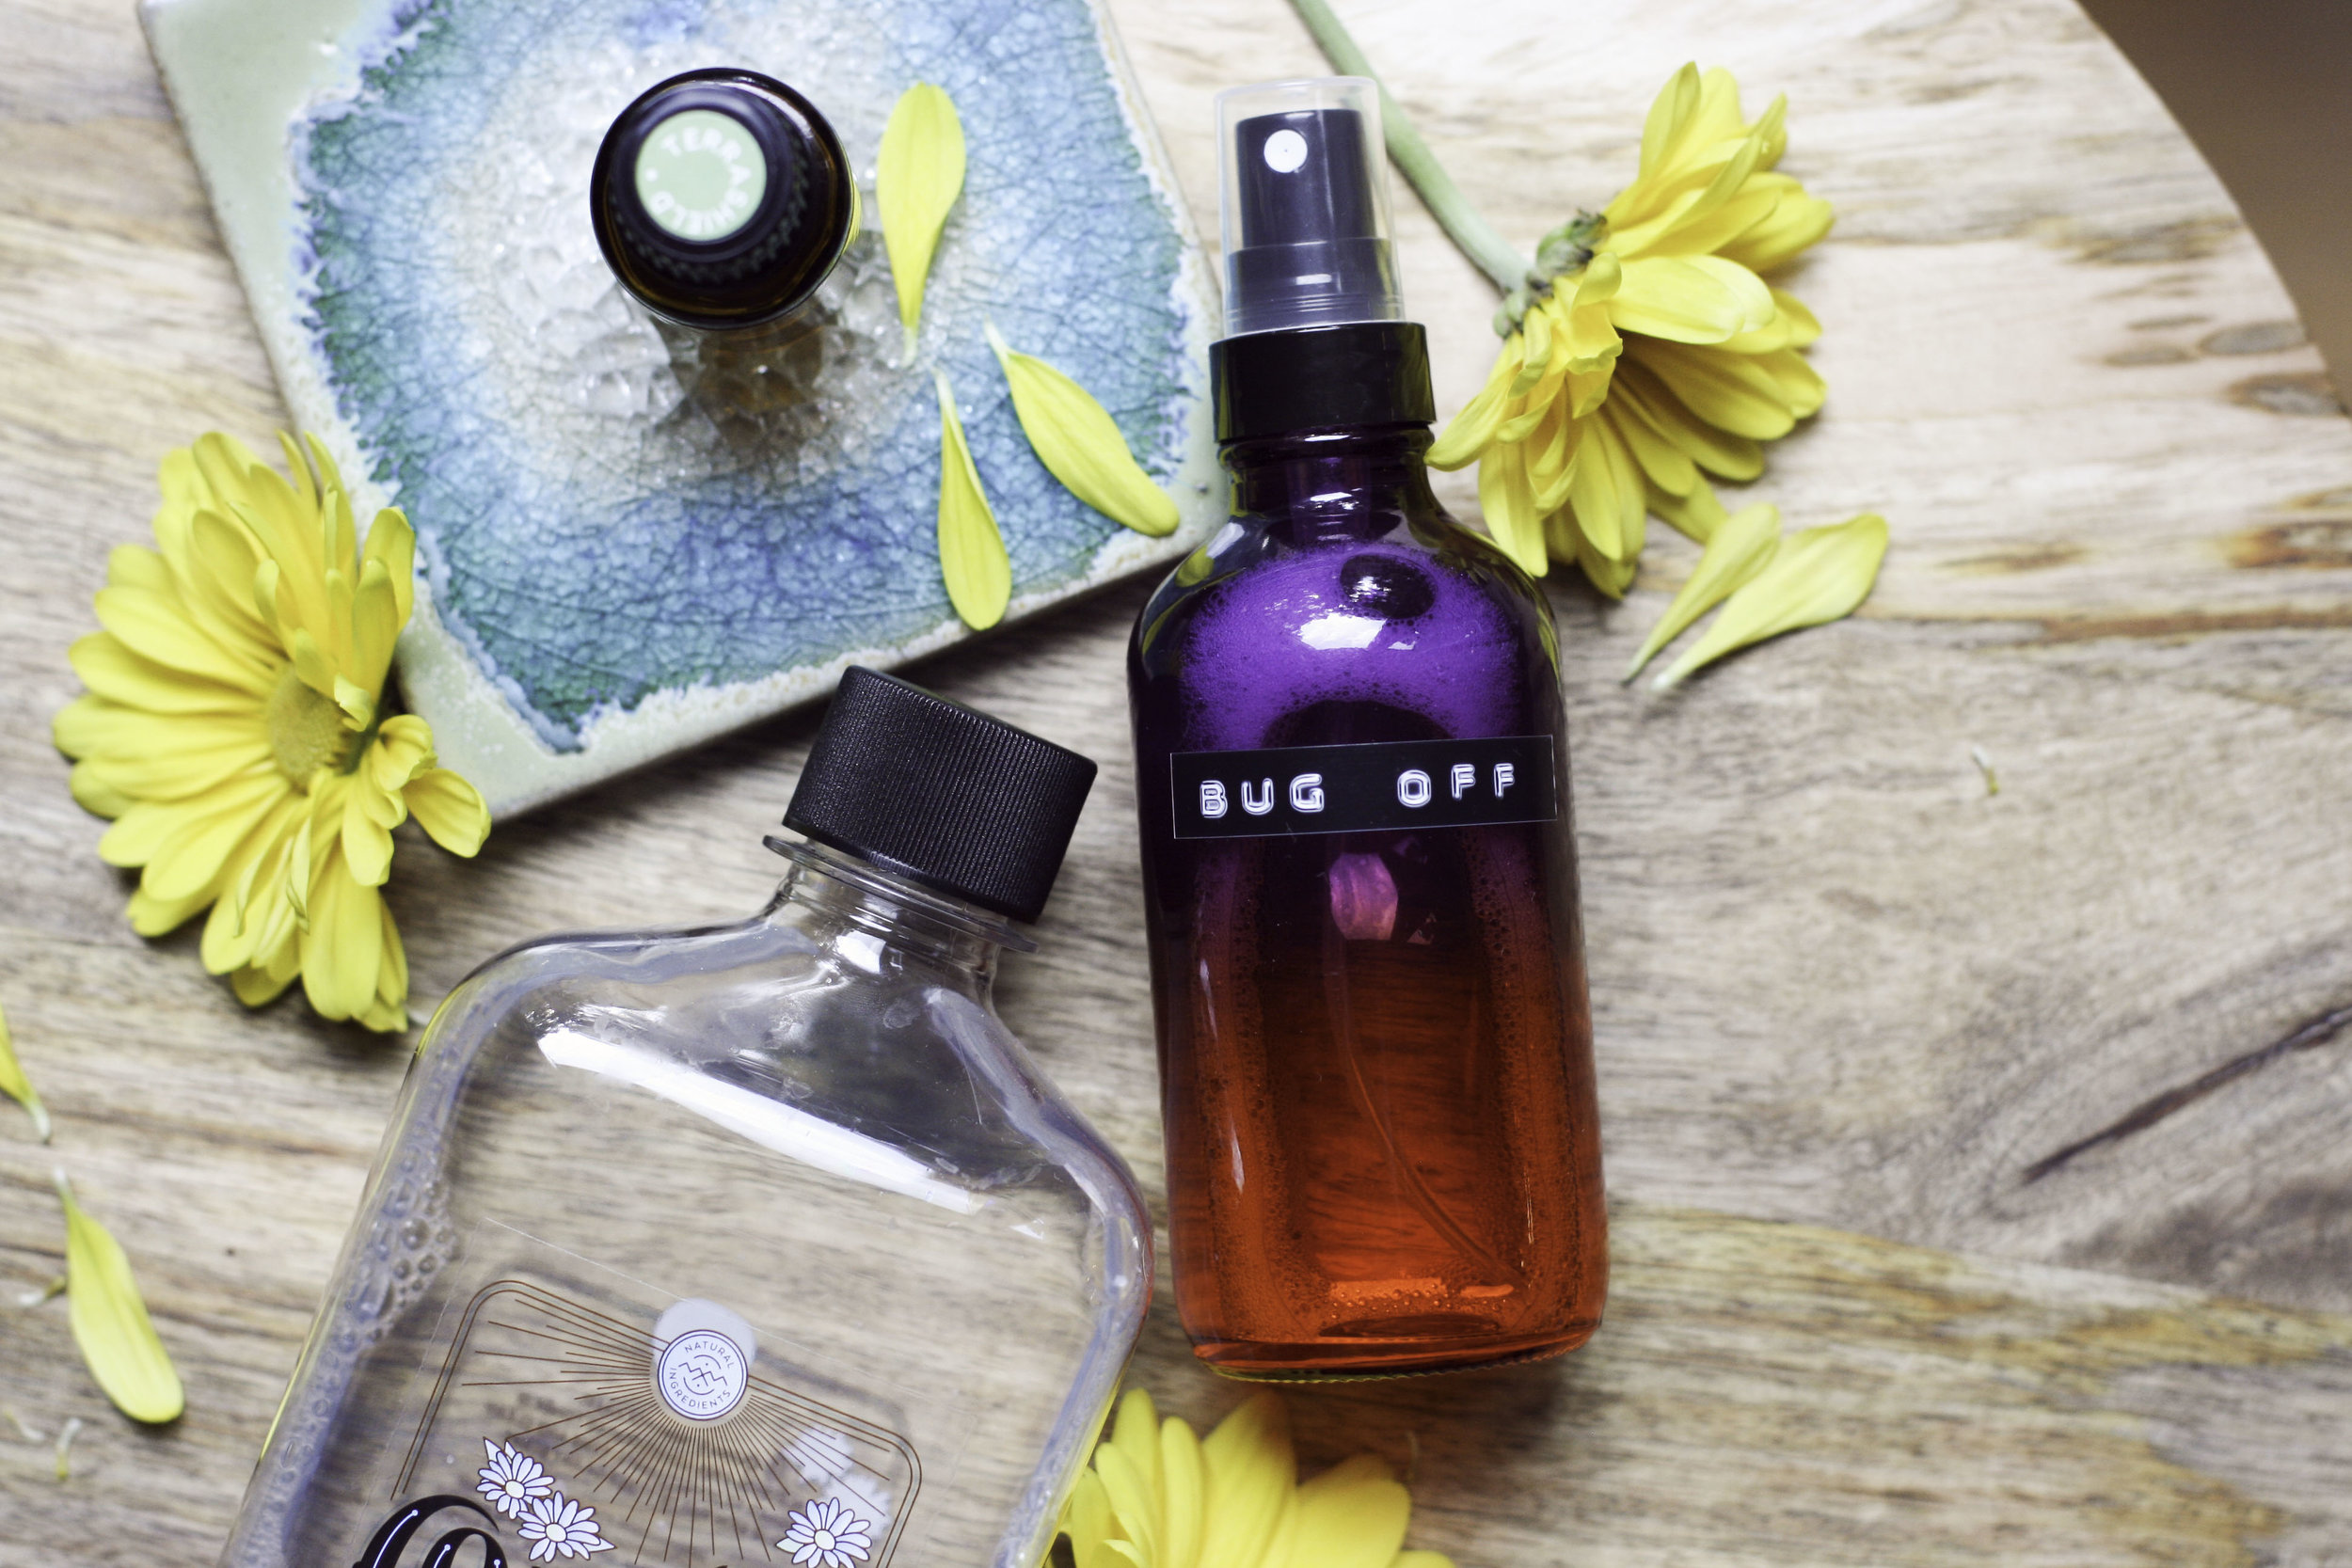
It's that time of year - when the mosquitoes love to FEAST in the sunset glow. I love spending time outside with my boys, but we do seem to have some enemies out there with us, especially right around twilight. My poor little Daxton boy seems to be anointed with my blood type and we get especially bitten up in the summer months if we forget to apply bug spray. I really hate conventional bug spray because most are loaded with toxic ingredients and with our skin being like a sponge, I just can't in good conscience put that garbage on my children. But I have a great, easy bug spray DIY that I've been using since last summer which is completely natural, non-toxic and safe for kiddos - and it works! My boys have gotten used to having this sprayed on as soon as we get outside, and I do re-spray if we've been outside for more than an hour. This DIY is based on DoTERRA's pest-repellent oil blend, TerraShield which is so awesome and smells much, much better than regular bug spray. So it's a win-win! So without further adieu, enjoy this essential oil DIY!

Supplies:
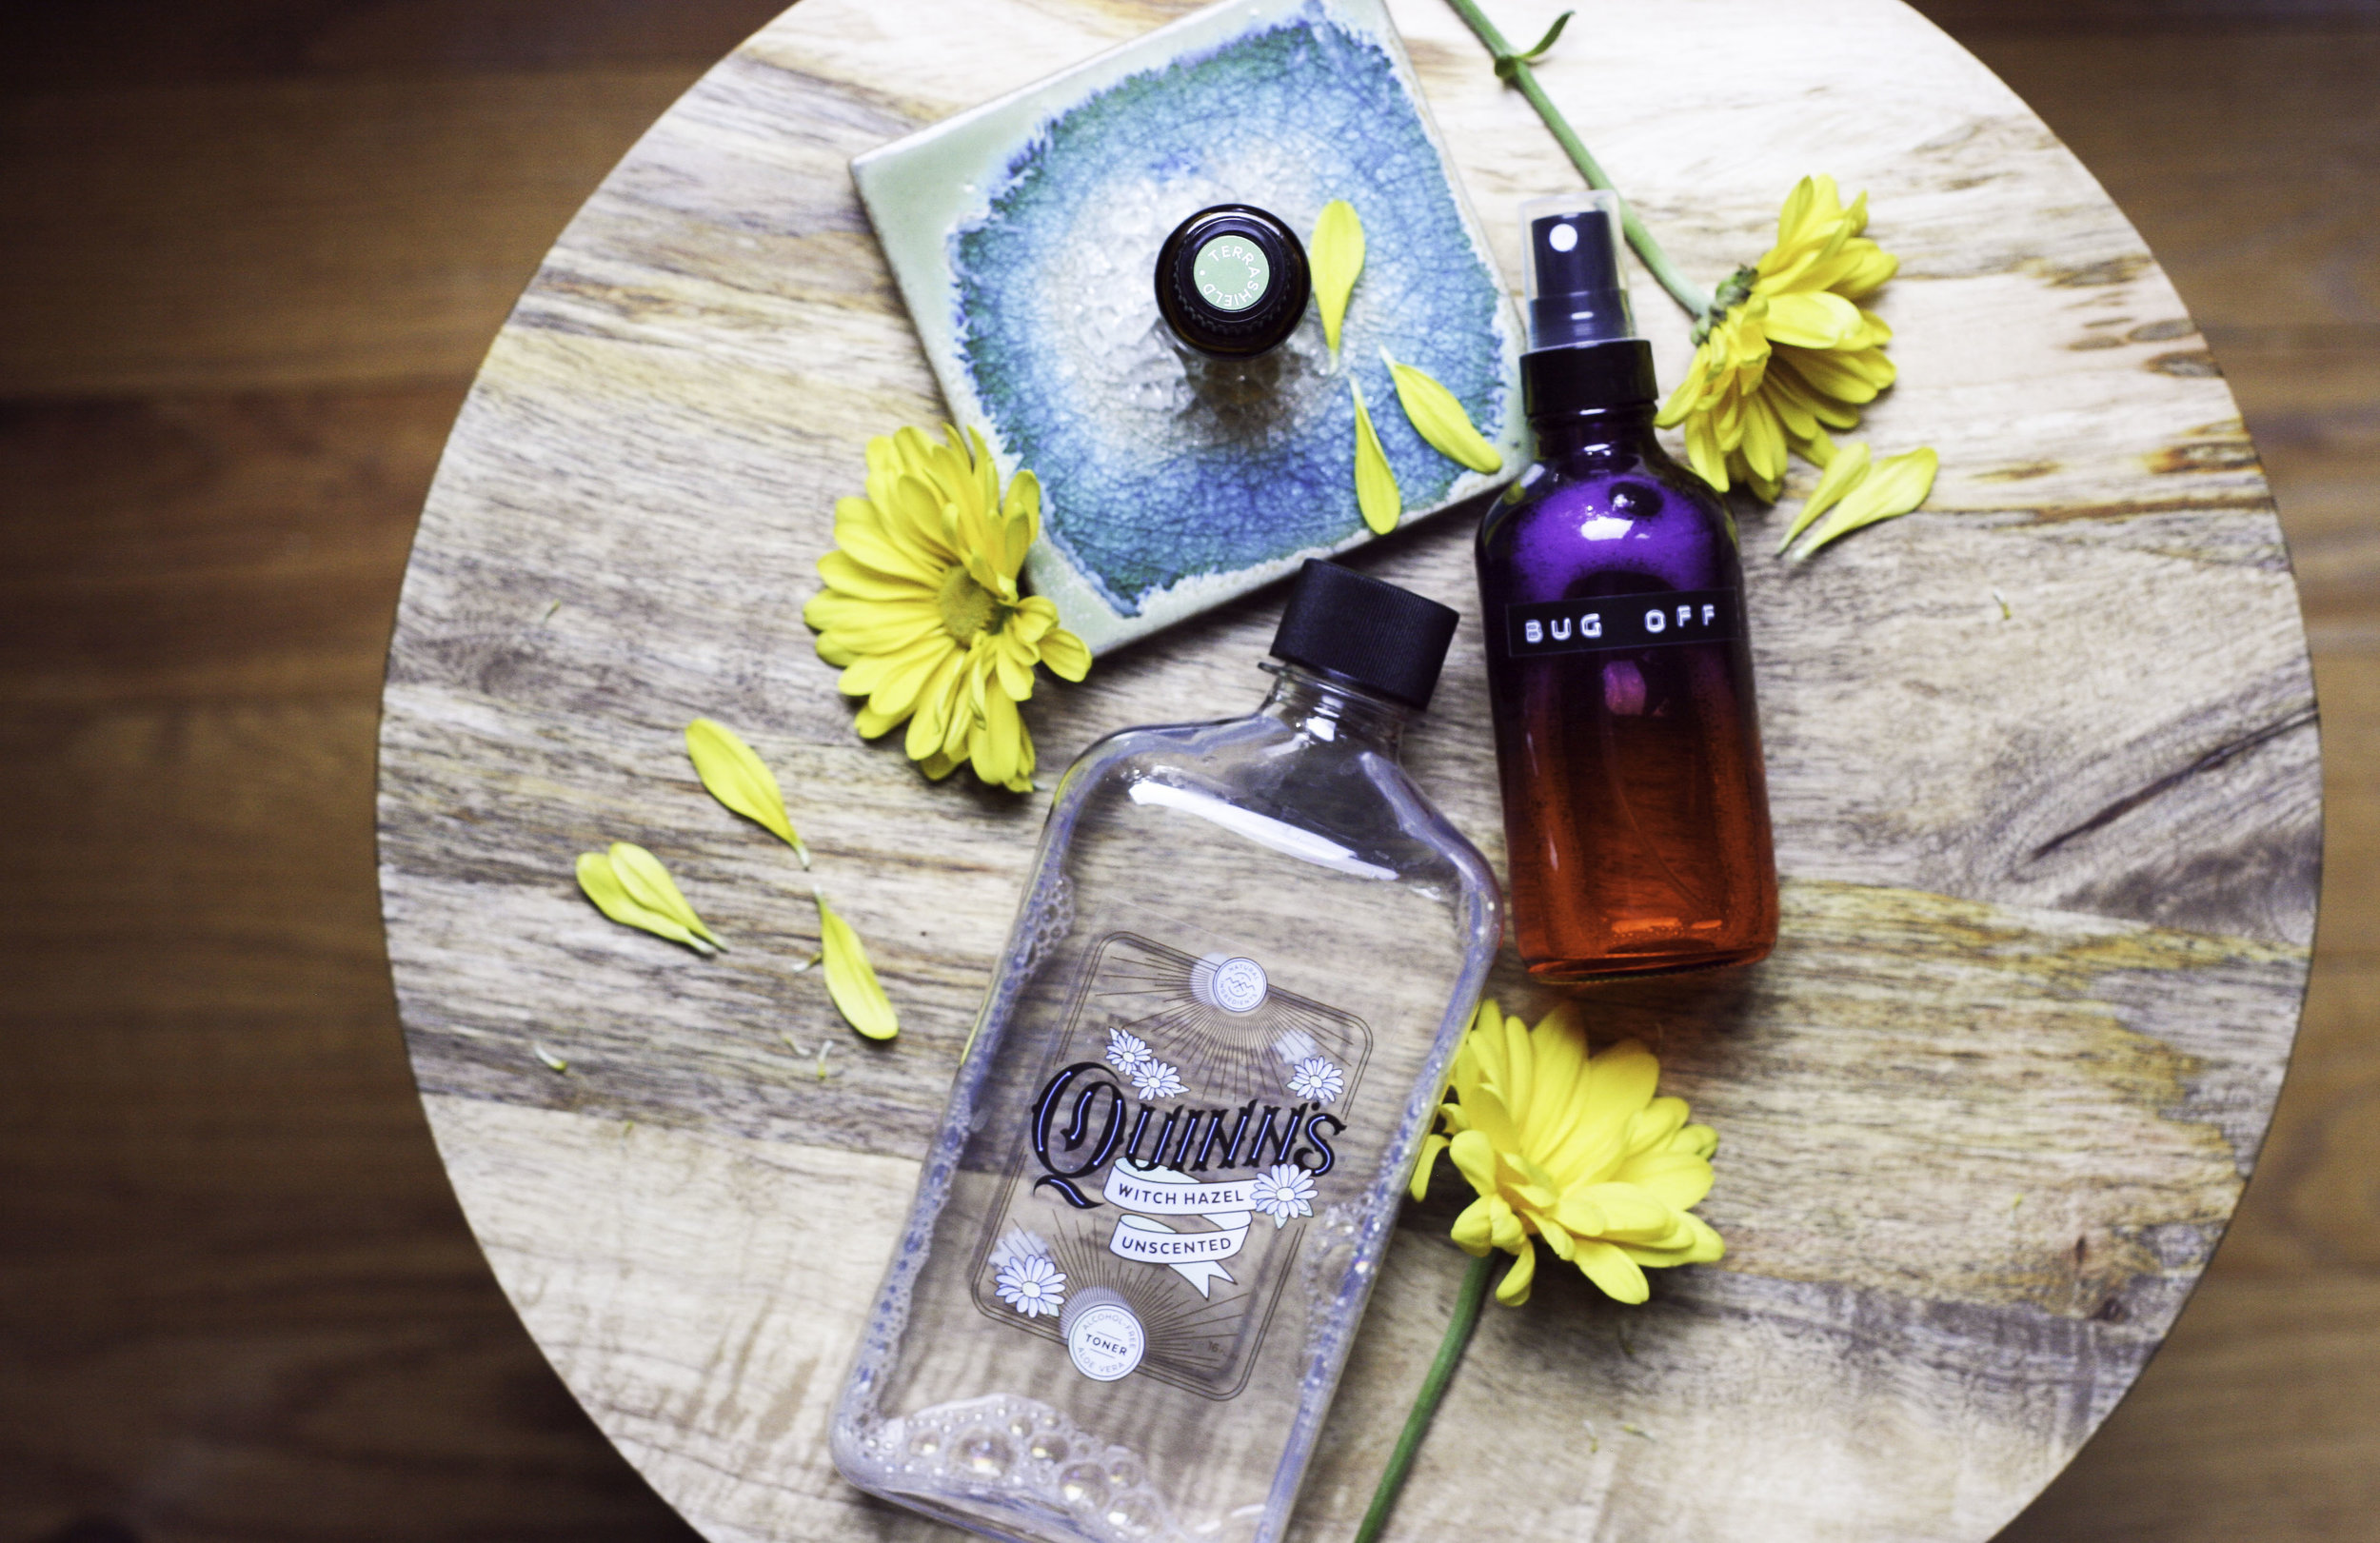
- 2 oz. glass bottle (I got my ombre bottle here)
- Quinn's Witch Hazel
- DoTERRA TerraShield oil blend

Method:
1. Measure out 1/3 cup of water and pour it into the 2 oz. bottle.
2. Add 25 drops of Terrashield essential oil to the glass bottle.
3. Top off the bottle with Quinn's unscented witch hazel (this should be between 1/3 - 1/2 cup).
4. Shake bottle to distribute and voila, you're ready to say, "Shoo mosquitoes!"

Notes:
-  I prefer to use unscented Witch Hazel so that the only scent is from the oil itself.
- When making any kind of blend with essential oils, you want to make sure that you are using a glass contained. Plastic or other material can "pull" on the essential oils and release toxins, etc. into the mixture, whereas glass, aluminum and stainless steel don't have that effect with the EO's.
- I like to make several of these bug spray mixtures and keep on in the car, one in the stroller, one at home, and anywhere else you would find yourself reaching for bug spray! Like the Boy Scouts say, always be prepared!

bug off6.jpg
Bug OFF4.jpg

Interested in learning more about DoTERRA essential oils? I would love to share more about why I love them, how I use them, and how you can get some in your home, too! You can shop for them here, or leave a comment and I can invite you to one of my online classes where you can learn more! xx

Who Wants to Join a Book Club?!

The Miracle Morning.jpg

I announced this on Friday to everyone who tuned into this Facebook Live, and now I want to extend the fun to you - I'm starting a book club and you're all invited!

How Will It Work?

This will be an online book club where we read one book each month, then come together to discuss the book in a Facebook Live-esque forum, that way we can chat and interact. Make sure you like my Facebook page so that you can get the updates! At the end of each month, I will announce 2 new options for the following month and you all can vote on which one you would like to read! Over the weekend, many of you voted between The Miracle Morning by Hal Elrod and Eleanor Oliphant is Completely Fine by Gail Honeyman, and The Miracle Morning won!
 

What Is The First Book?

I'm super excited about The Miracle Morning because a dear friend of mine recommended it when I shared with her how I've been struggling to get all my work done AND feel like a present and engaged mom during the day. It seems like this book will give some really helpful strategies and tools for creating a peaceful and productive early morning. I know a few people mentioned in the comments that their kids wake up super early, so they don't know how to possibly cram more into their morning - I get it! I'm very interested to see how this book can lend some insights on that. Make sure to snag your copy here or find it at your local library!

I shared more in my FB Live (you can watch it below) about why I want to start this book club. I've been toying around with the idea for a few months and I was going to wait until the Fall when people were getting back into a normal routine, but I just decided to go for it in July!

Why A Book Club?

To be totally honest, I've been feeling like I've been kind of living on the surface for a while now. Being a stay at home mom, I do a lot of cooking, cleaning, wiping, washing - all "doing" activities that keep me busy and on my feet. Like, I wear tennis shoes everyday to keep up. But I've been feeling like the person underneath all the doing is feeling neglected - the person with a mind and a heart and opinions and feelings. I realized I haven't been doing a great job exercising my mind and taking time to really think. I want to be able to get bored and let my mind wander, but I'm just not in a boring season of life. Since I've always loved reading I've MISSED it, and probably like many of you, I haven't made time for this thing that I love. I thought that maybe a few of you might feel the same way so why don't we embark on a group project together? Book club! Plus, every time someone says, "We talked about this in my book club", I've always been jealous. Ha. Time to start one.


Final Thoughts.

There's no commitment! Join in and read the book one month and take a month off if you like! I think I will do some giveaways for those who participate, because why not? I love giving presents. Also, I'm re-posting the video in case you missed it and you want to catch up on the announcement! This is the format where our book discussions will take place, so this should give you a feel for it!


Tell me! Do you have book recommendations for what we should read in the coming months? I would love to hear your thoughts!