A Nursery for Bebe.

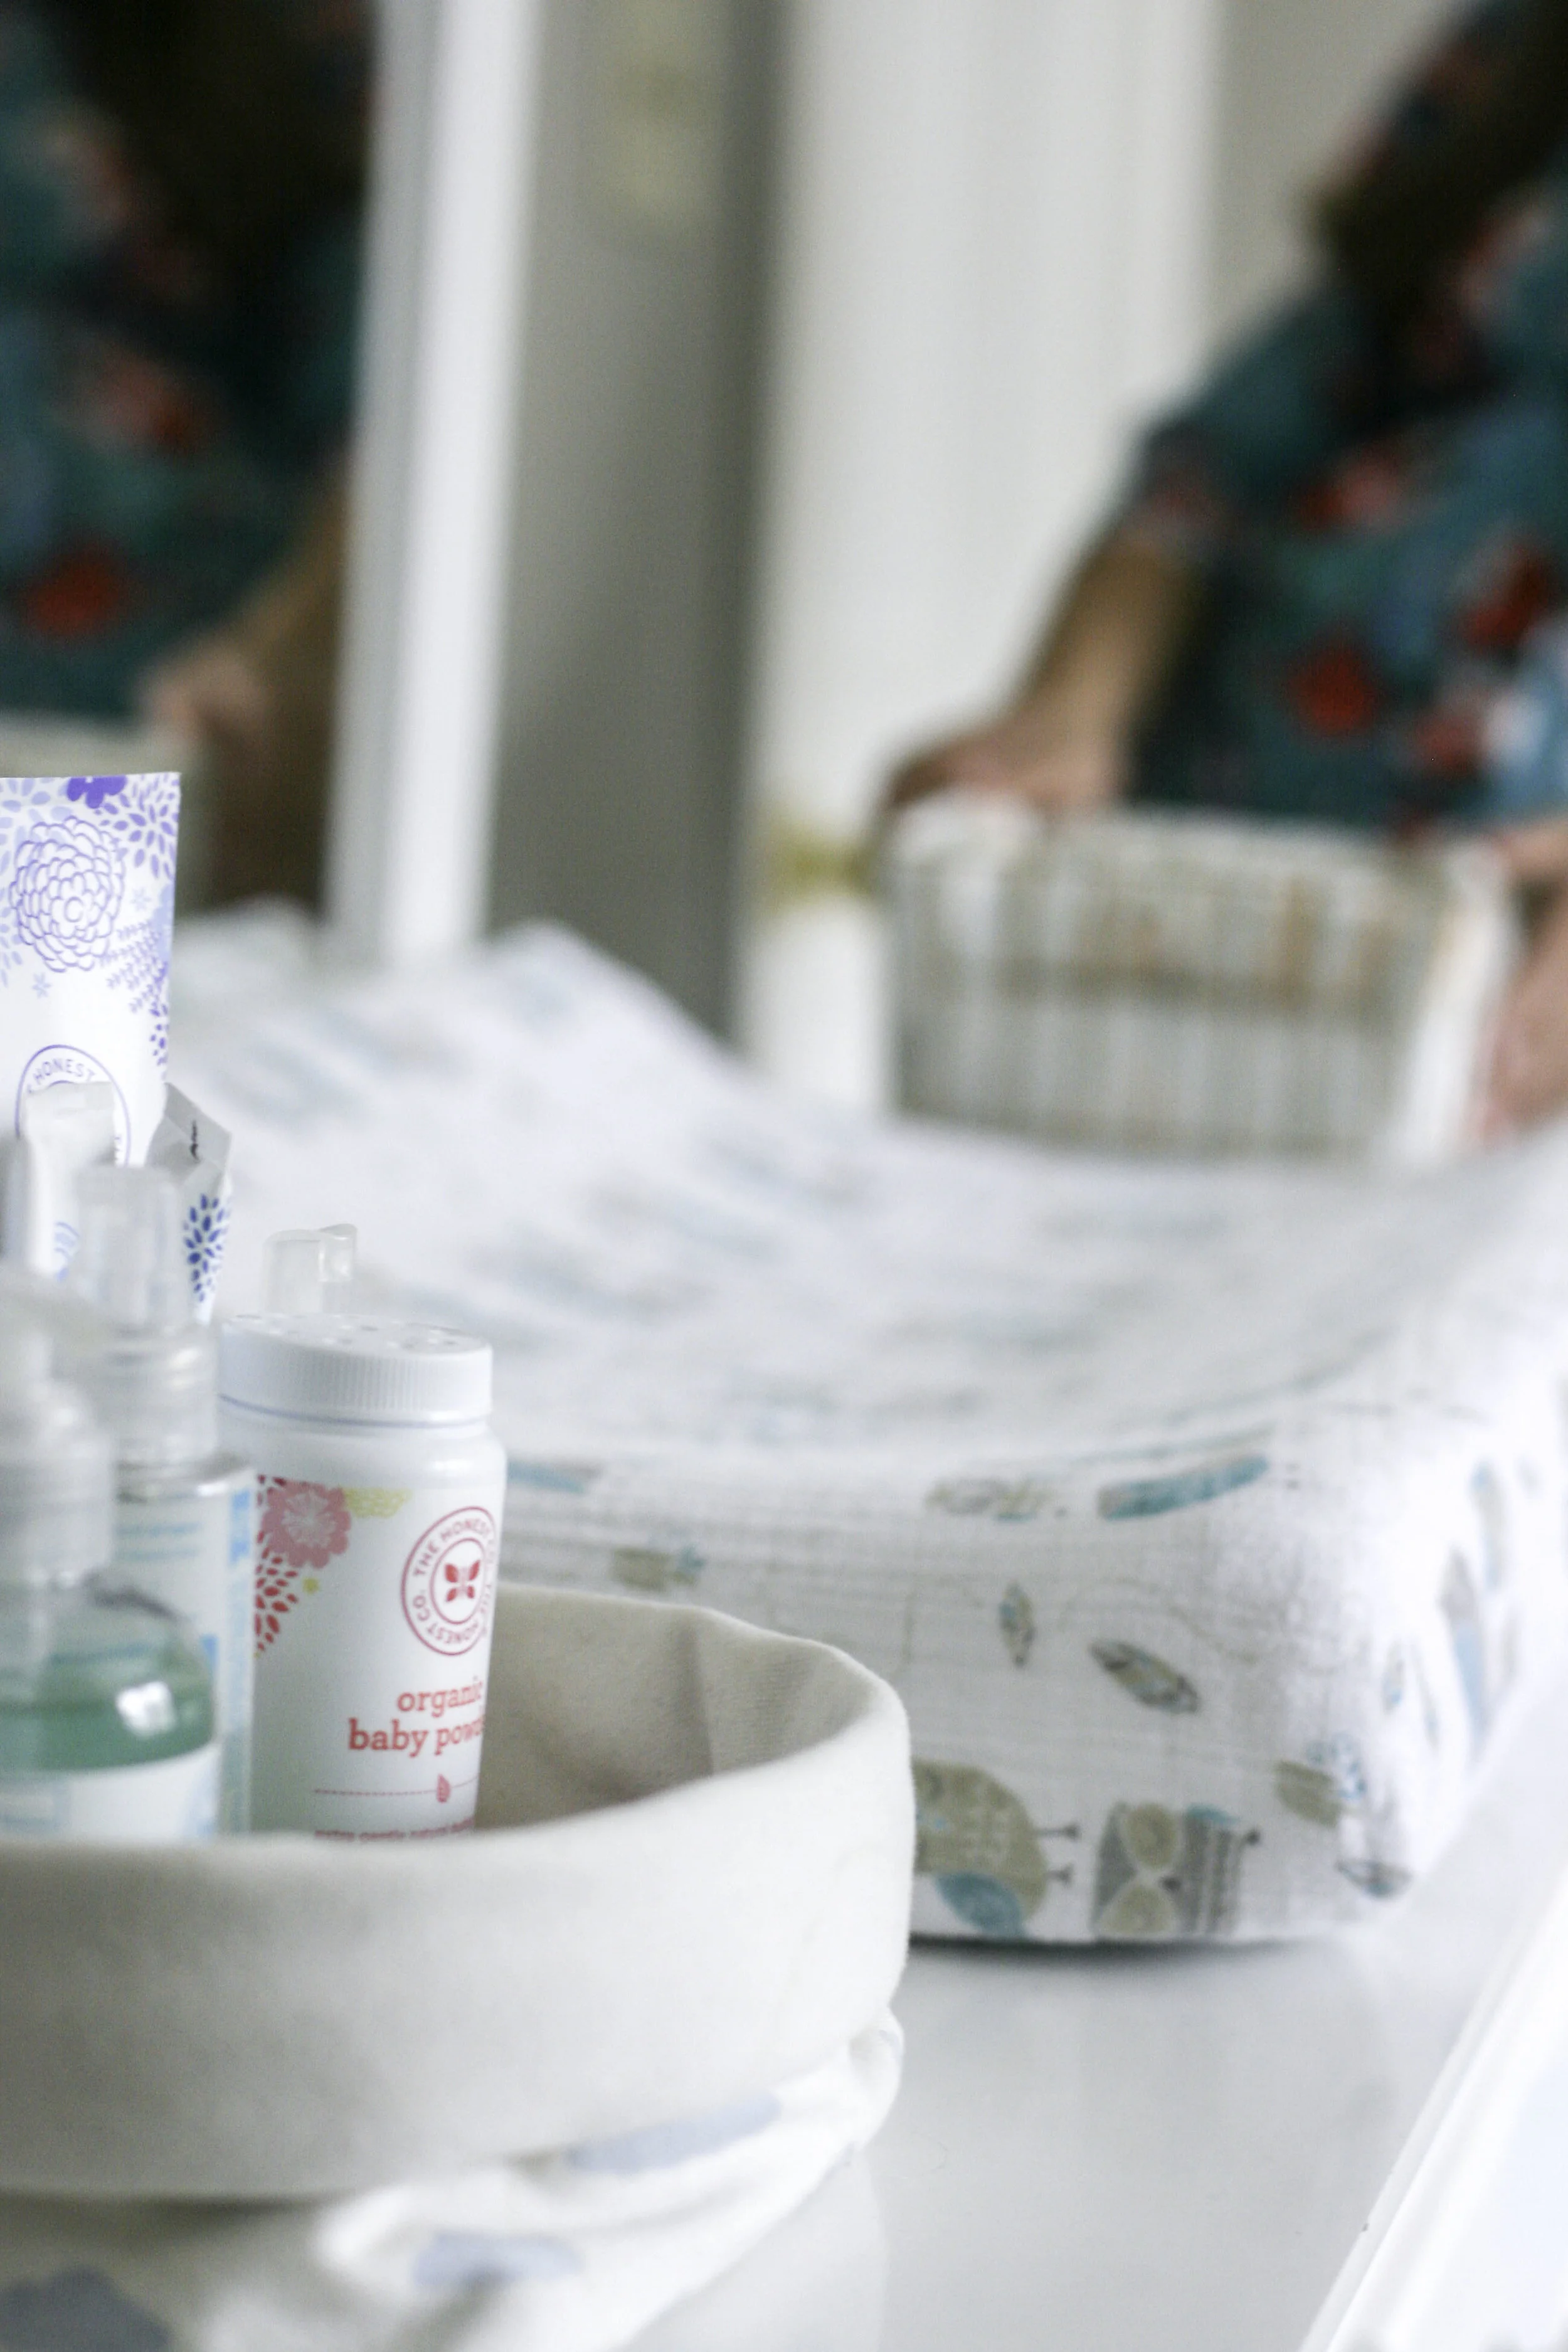
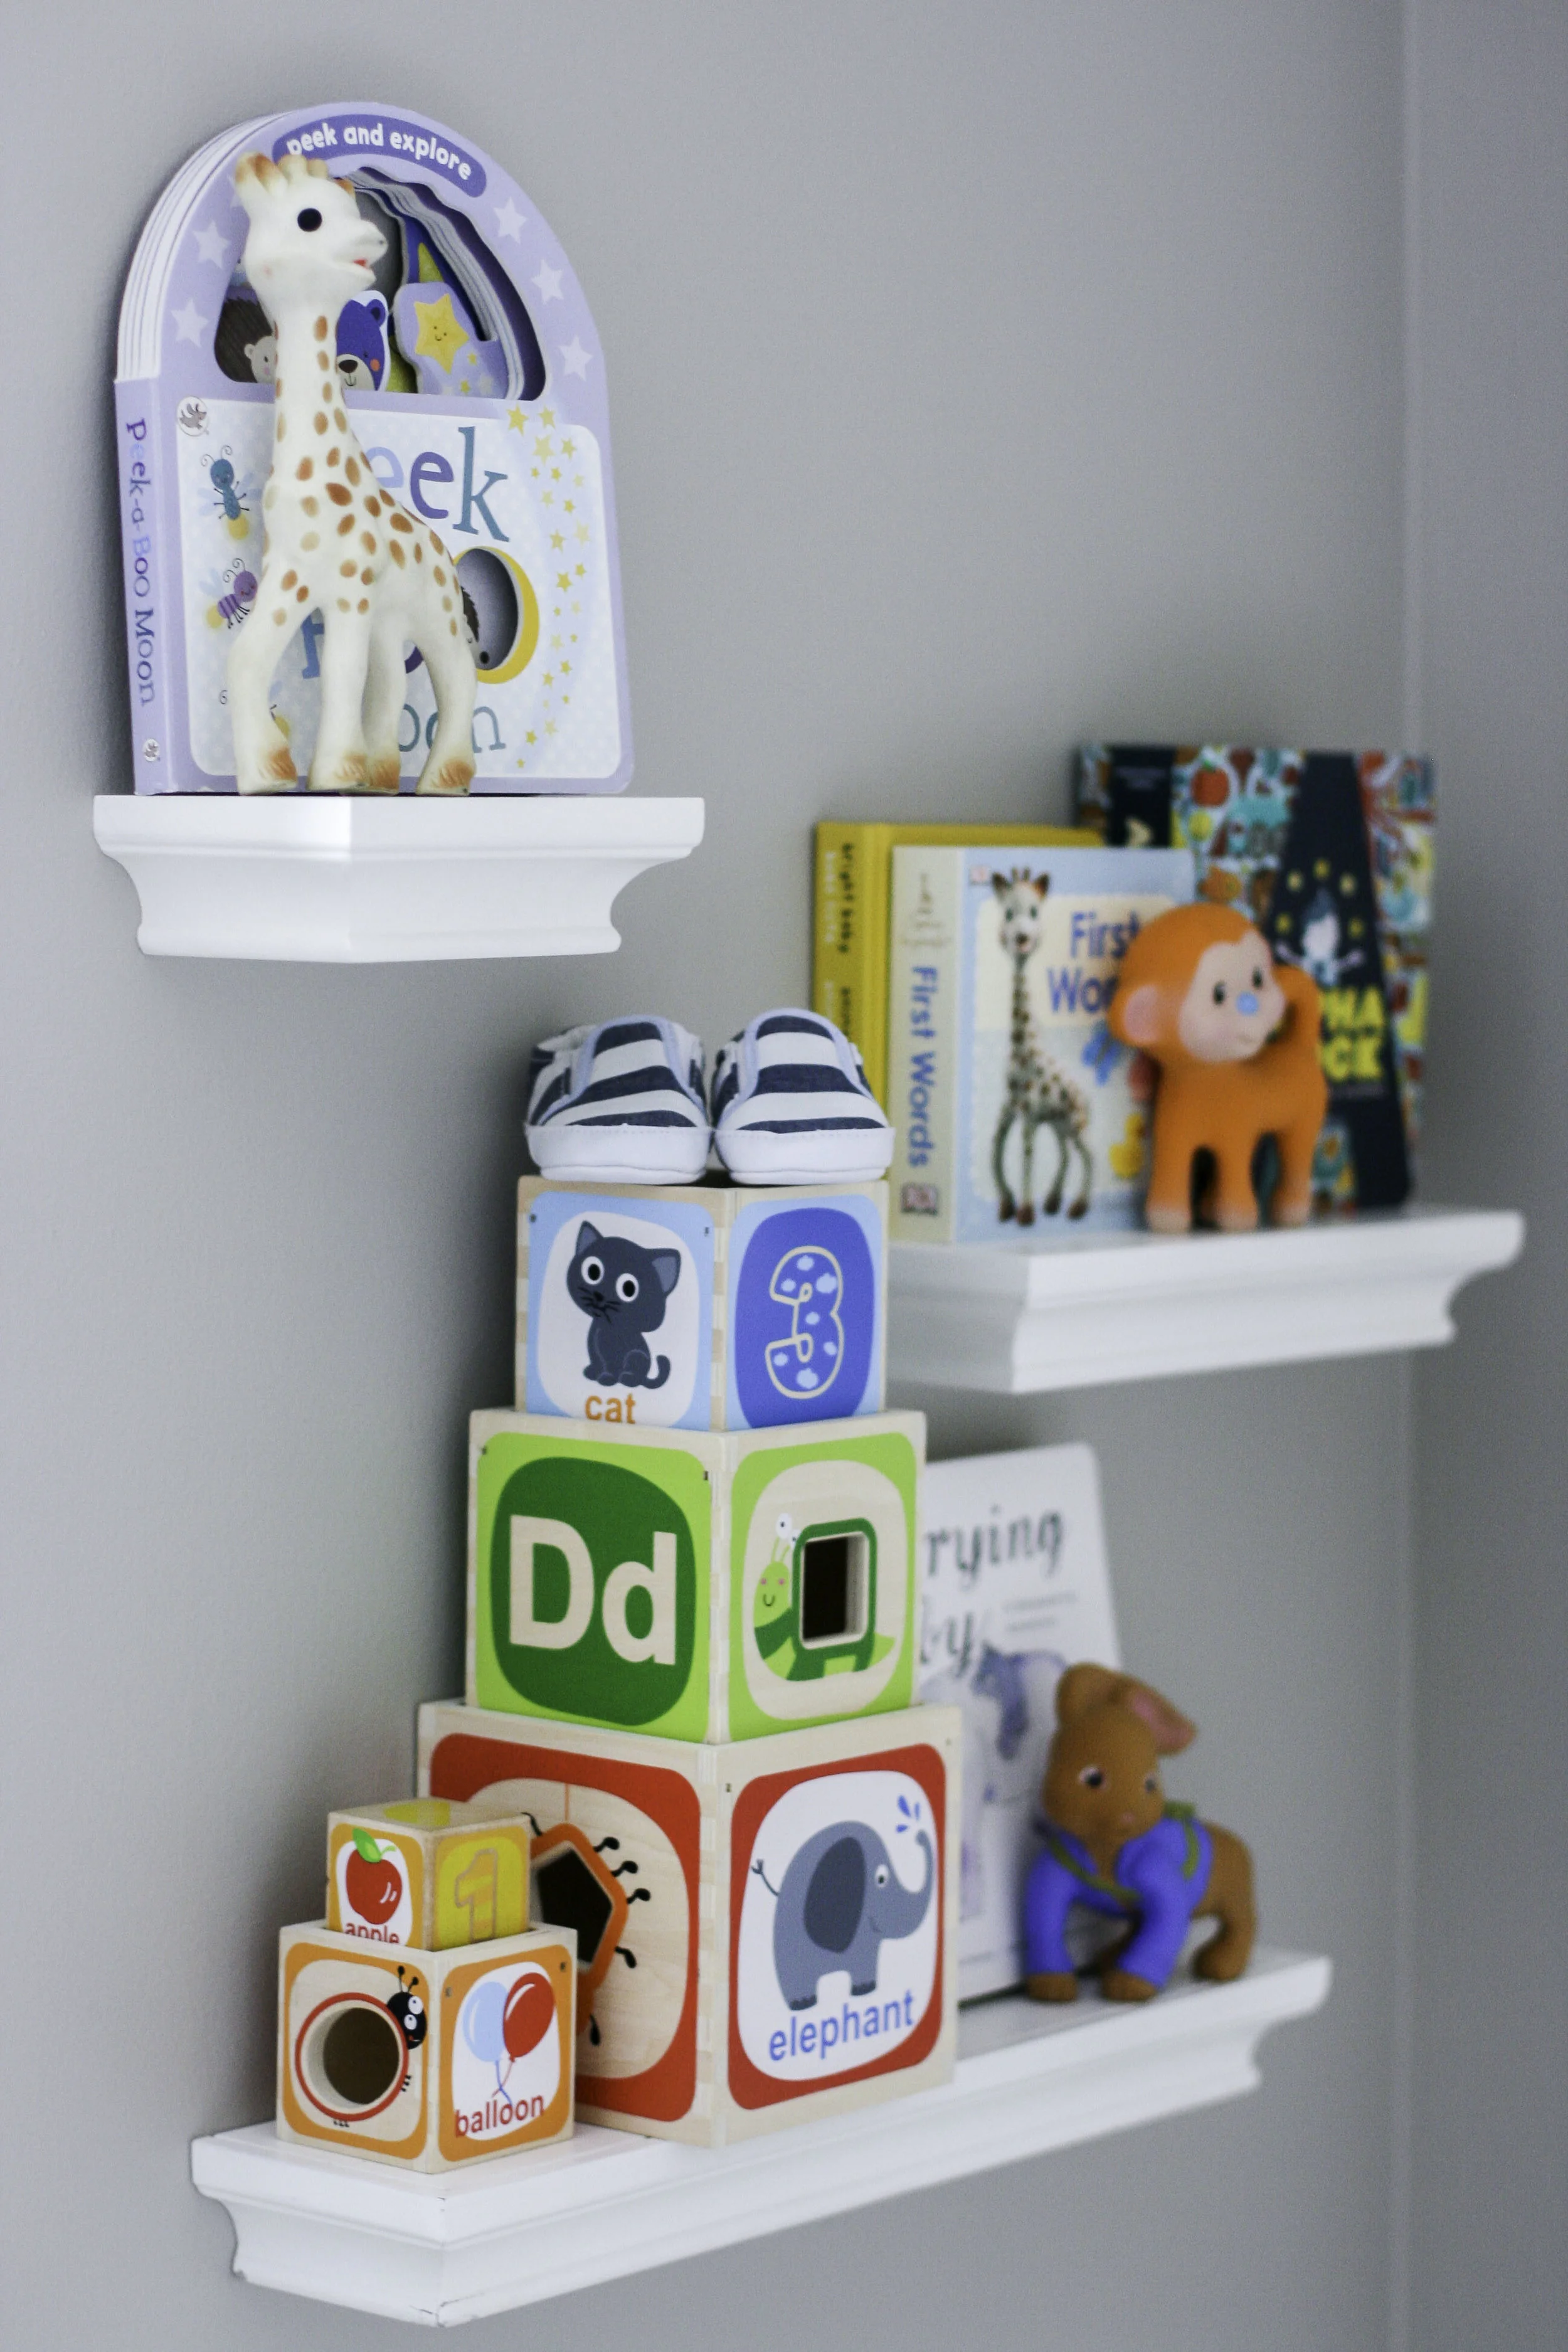
The diapers and wipes are stocked. The clothes are folded in the dresser. The tiny hats, the bitty socks. The pictures are hung and the monitor is set. Everett has done a fine job breaking in the room for his little brother to be - laying in the bouncer to "take a nap" and strewing the teething toys around the room. He even "plays baby" and lays in my arms and says he needs a bottle. Ha, yeah right kid. NOW he wants to take a bottle, even though when it mattered, he never took one. Ever.

I digress.

The nursery is ready. Now all we need is a little brother to occupy it.

Now, Daxton won't really be in his nursery for a while, since we have a space set up for him to sleep in our bedroom for the first stretch. I can't remember how long we had Everett in our room when he was a newborn, so I don't really have a grid for when Daxton will start regularly residing in his nursery. But it is ready for him! All ready. Come on, little baby. At 39 weeks, my belly is enormous and it's time for you to evacuate :)

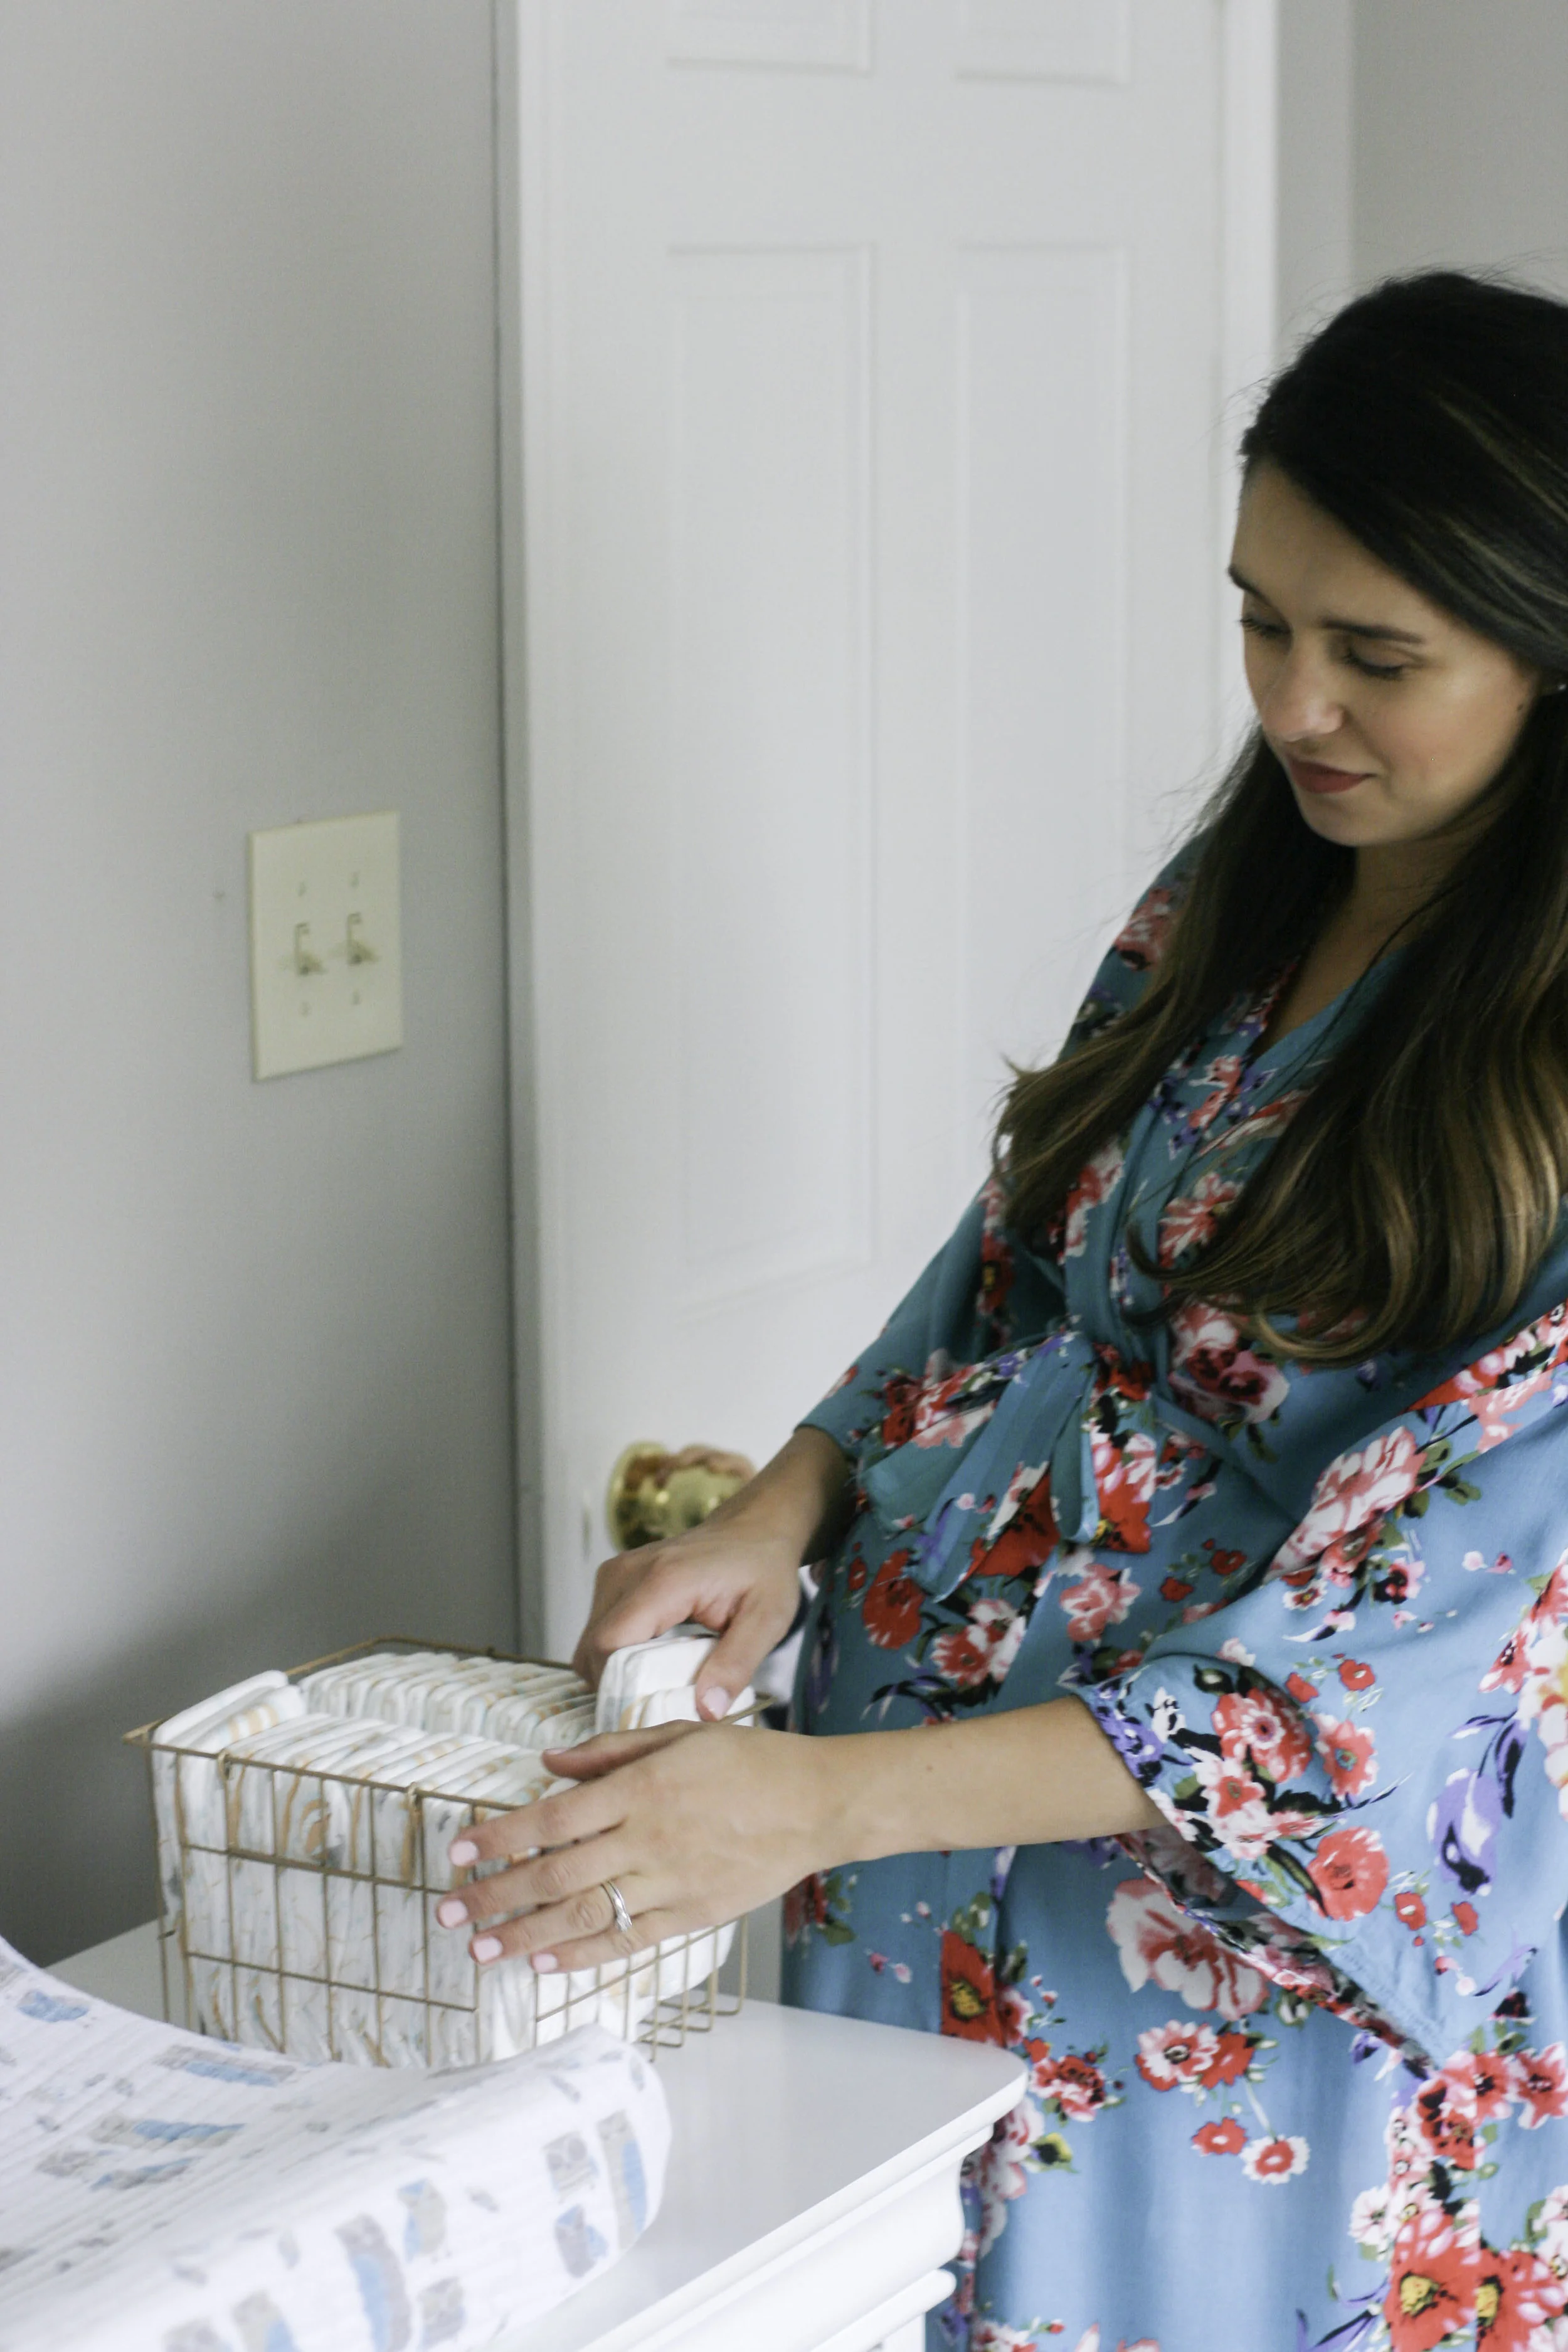
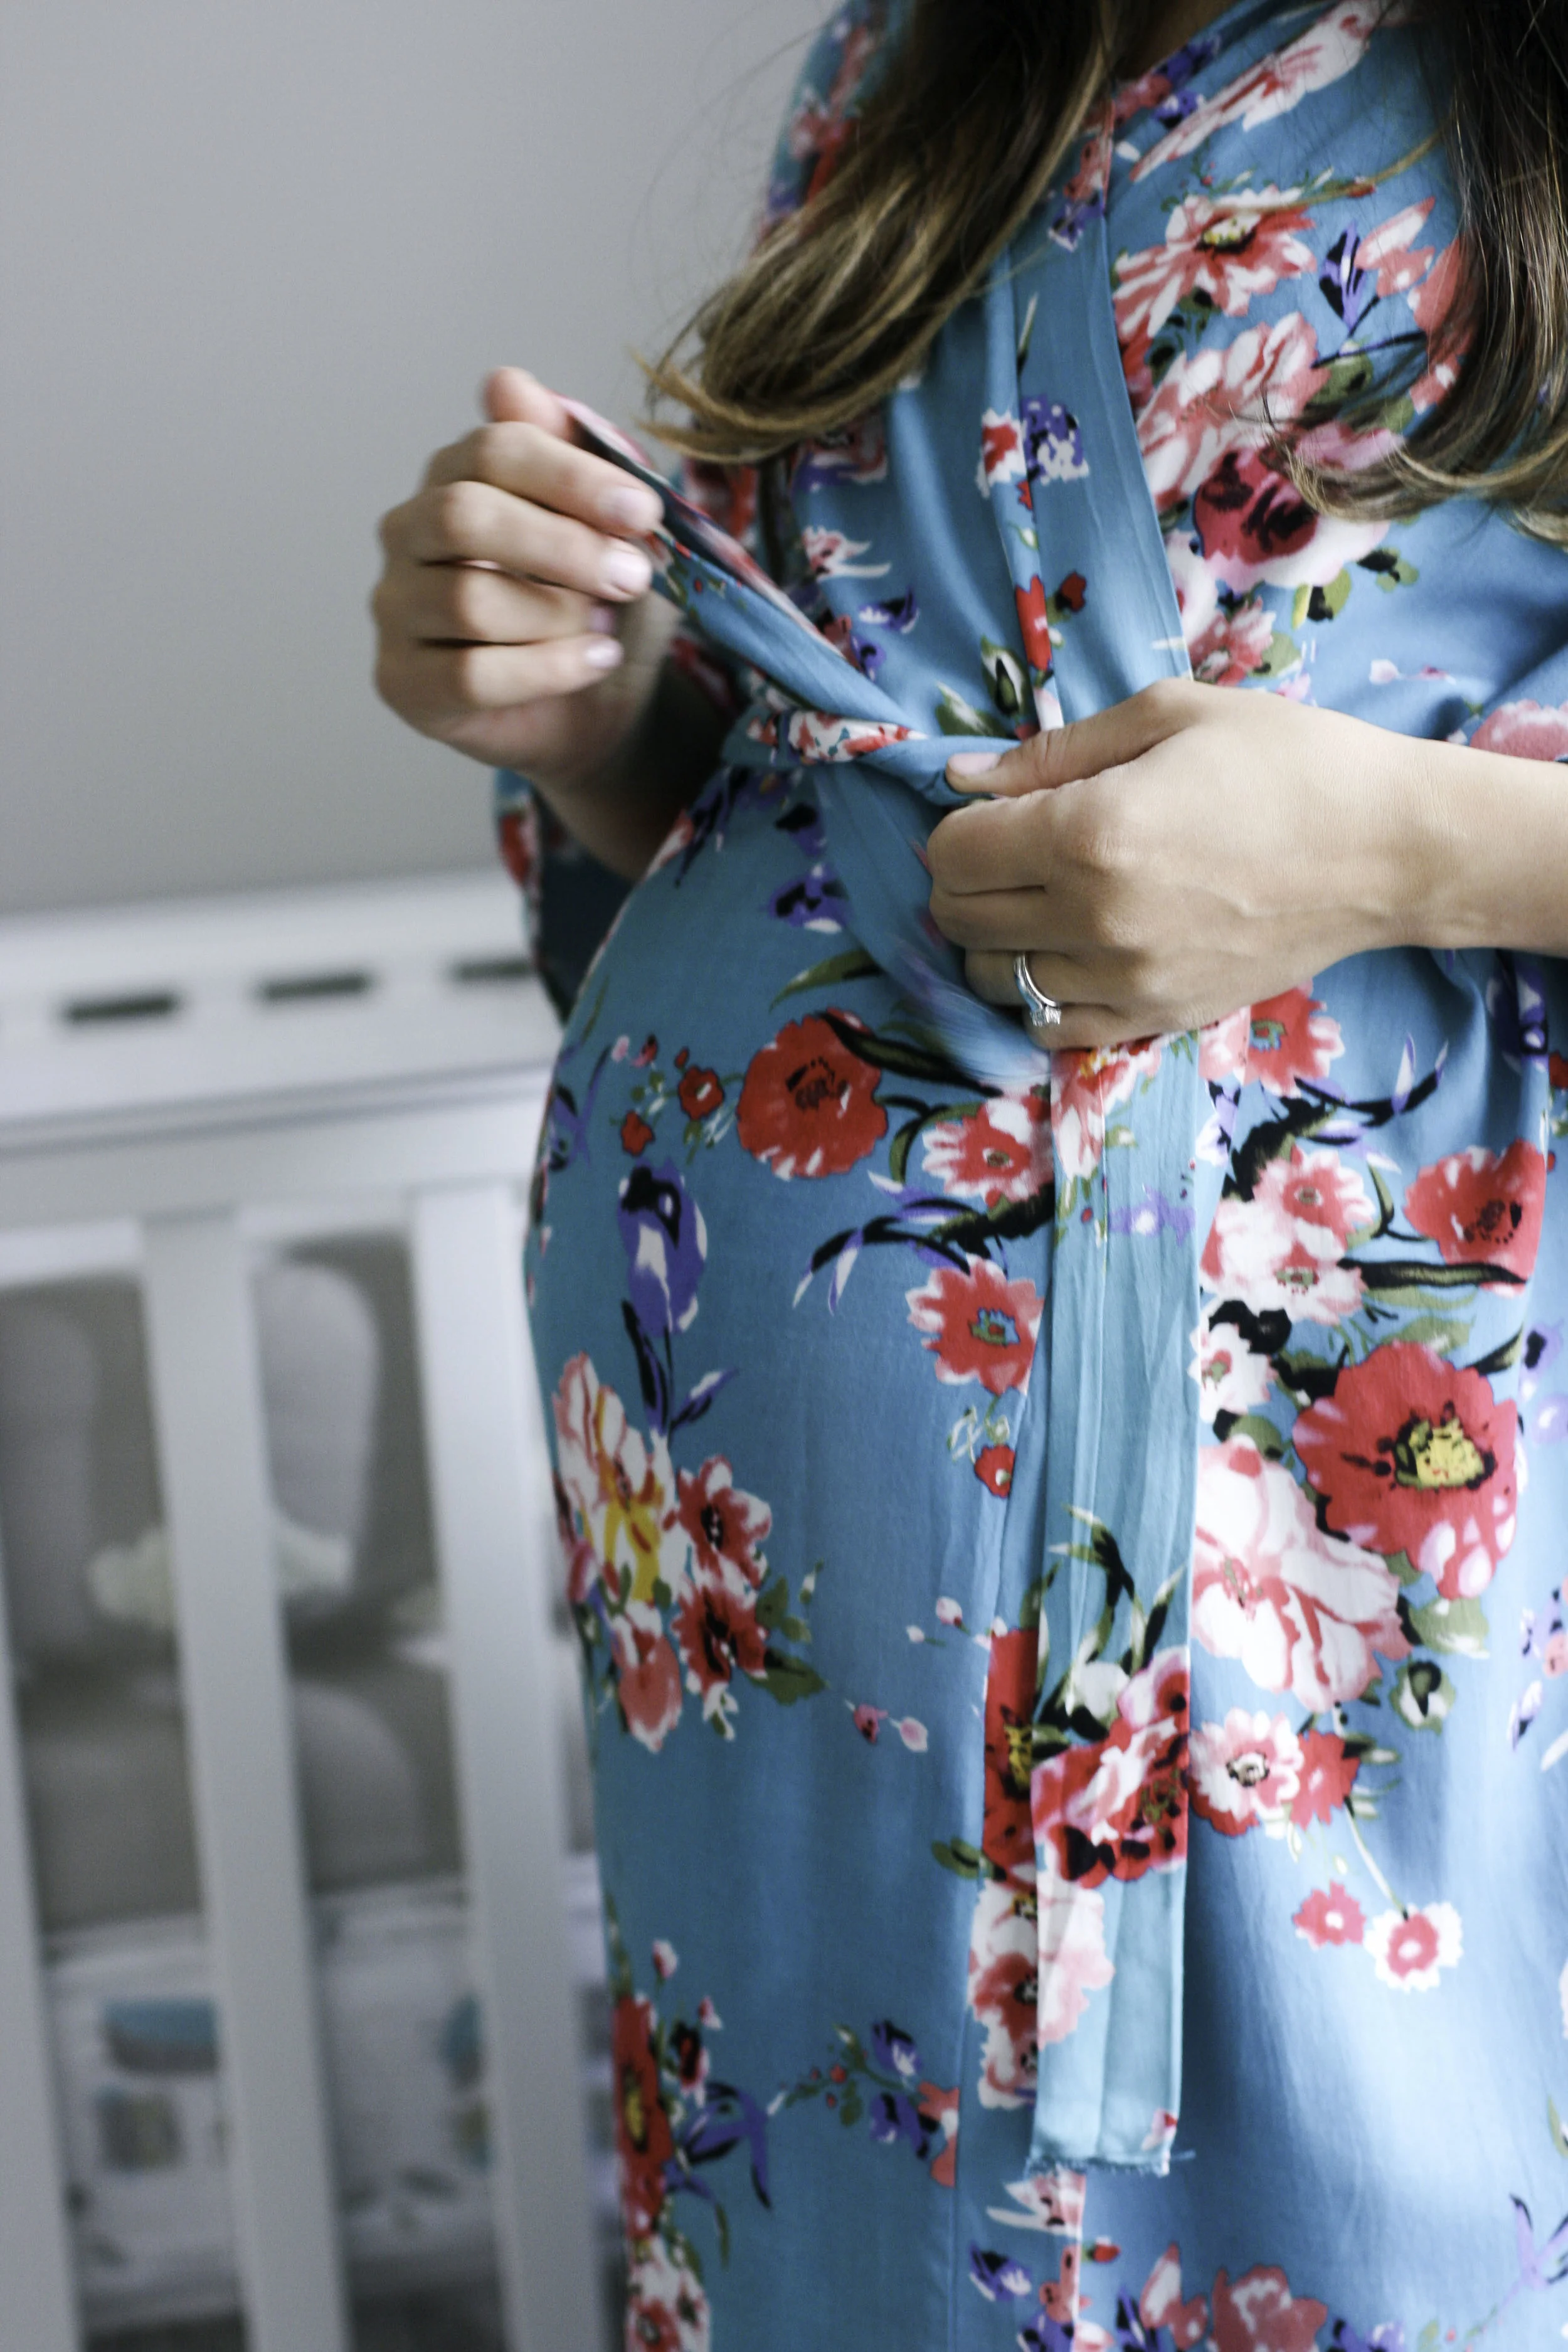
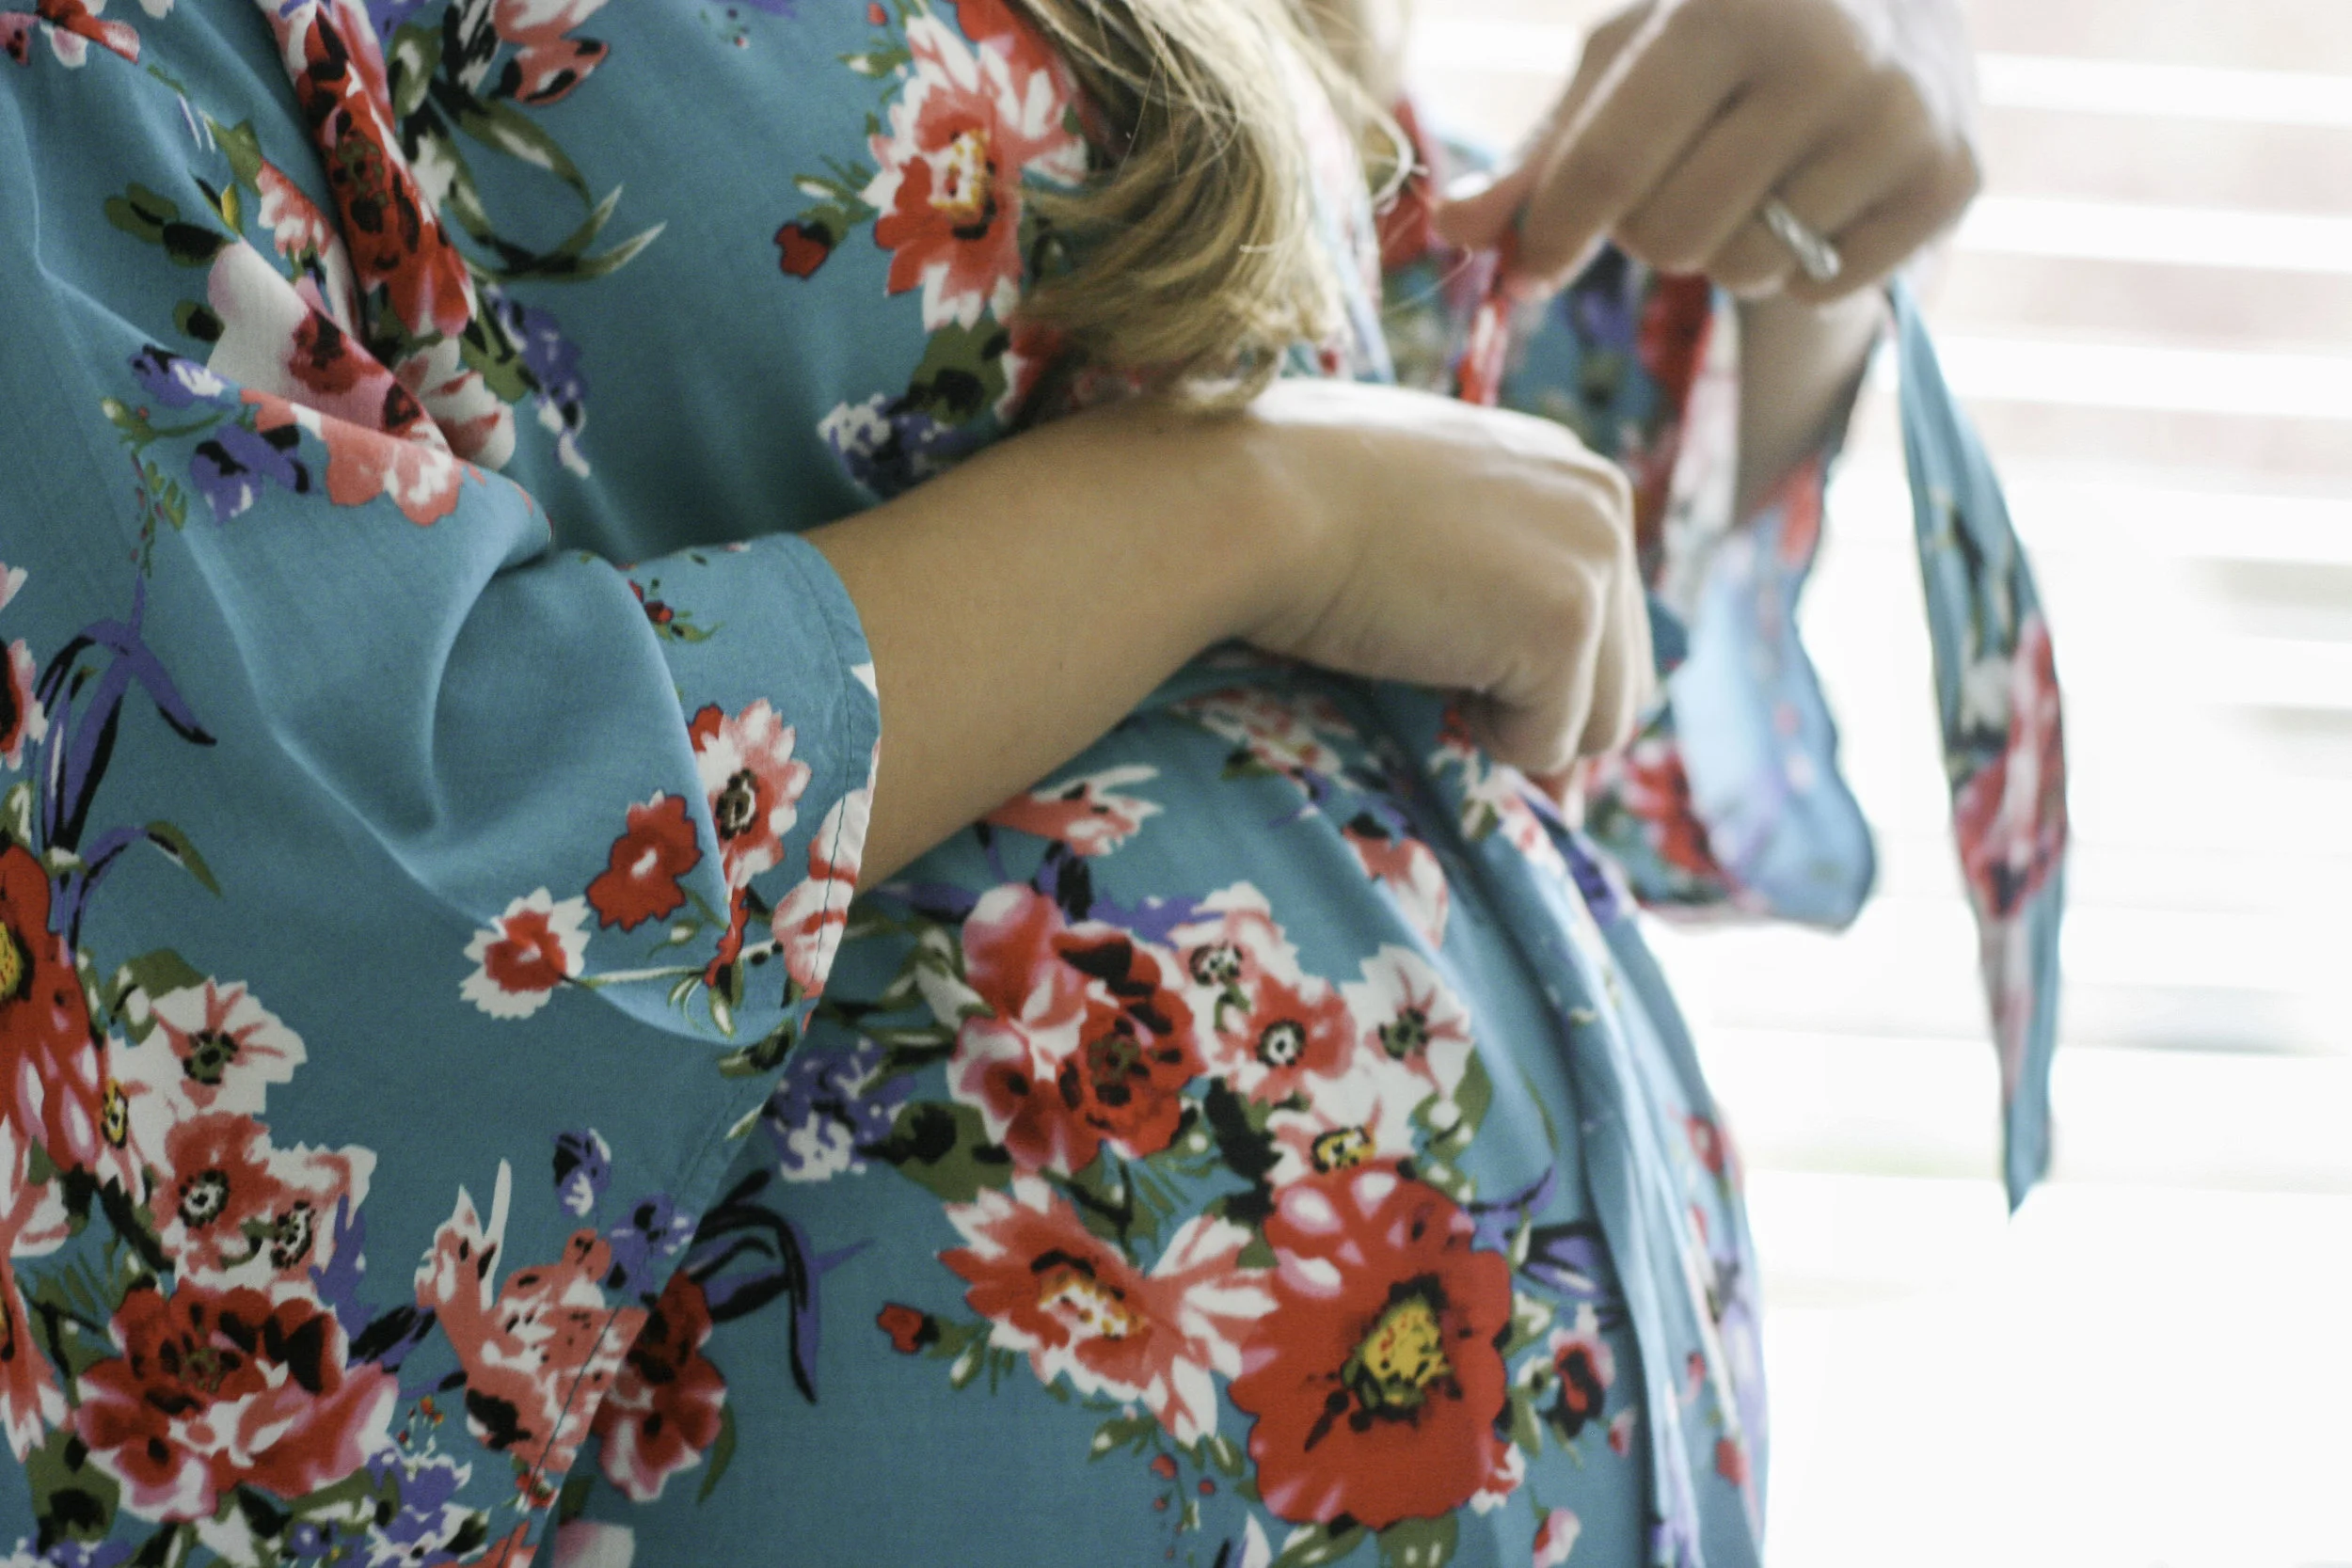
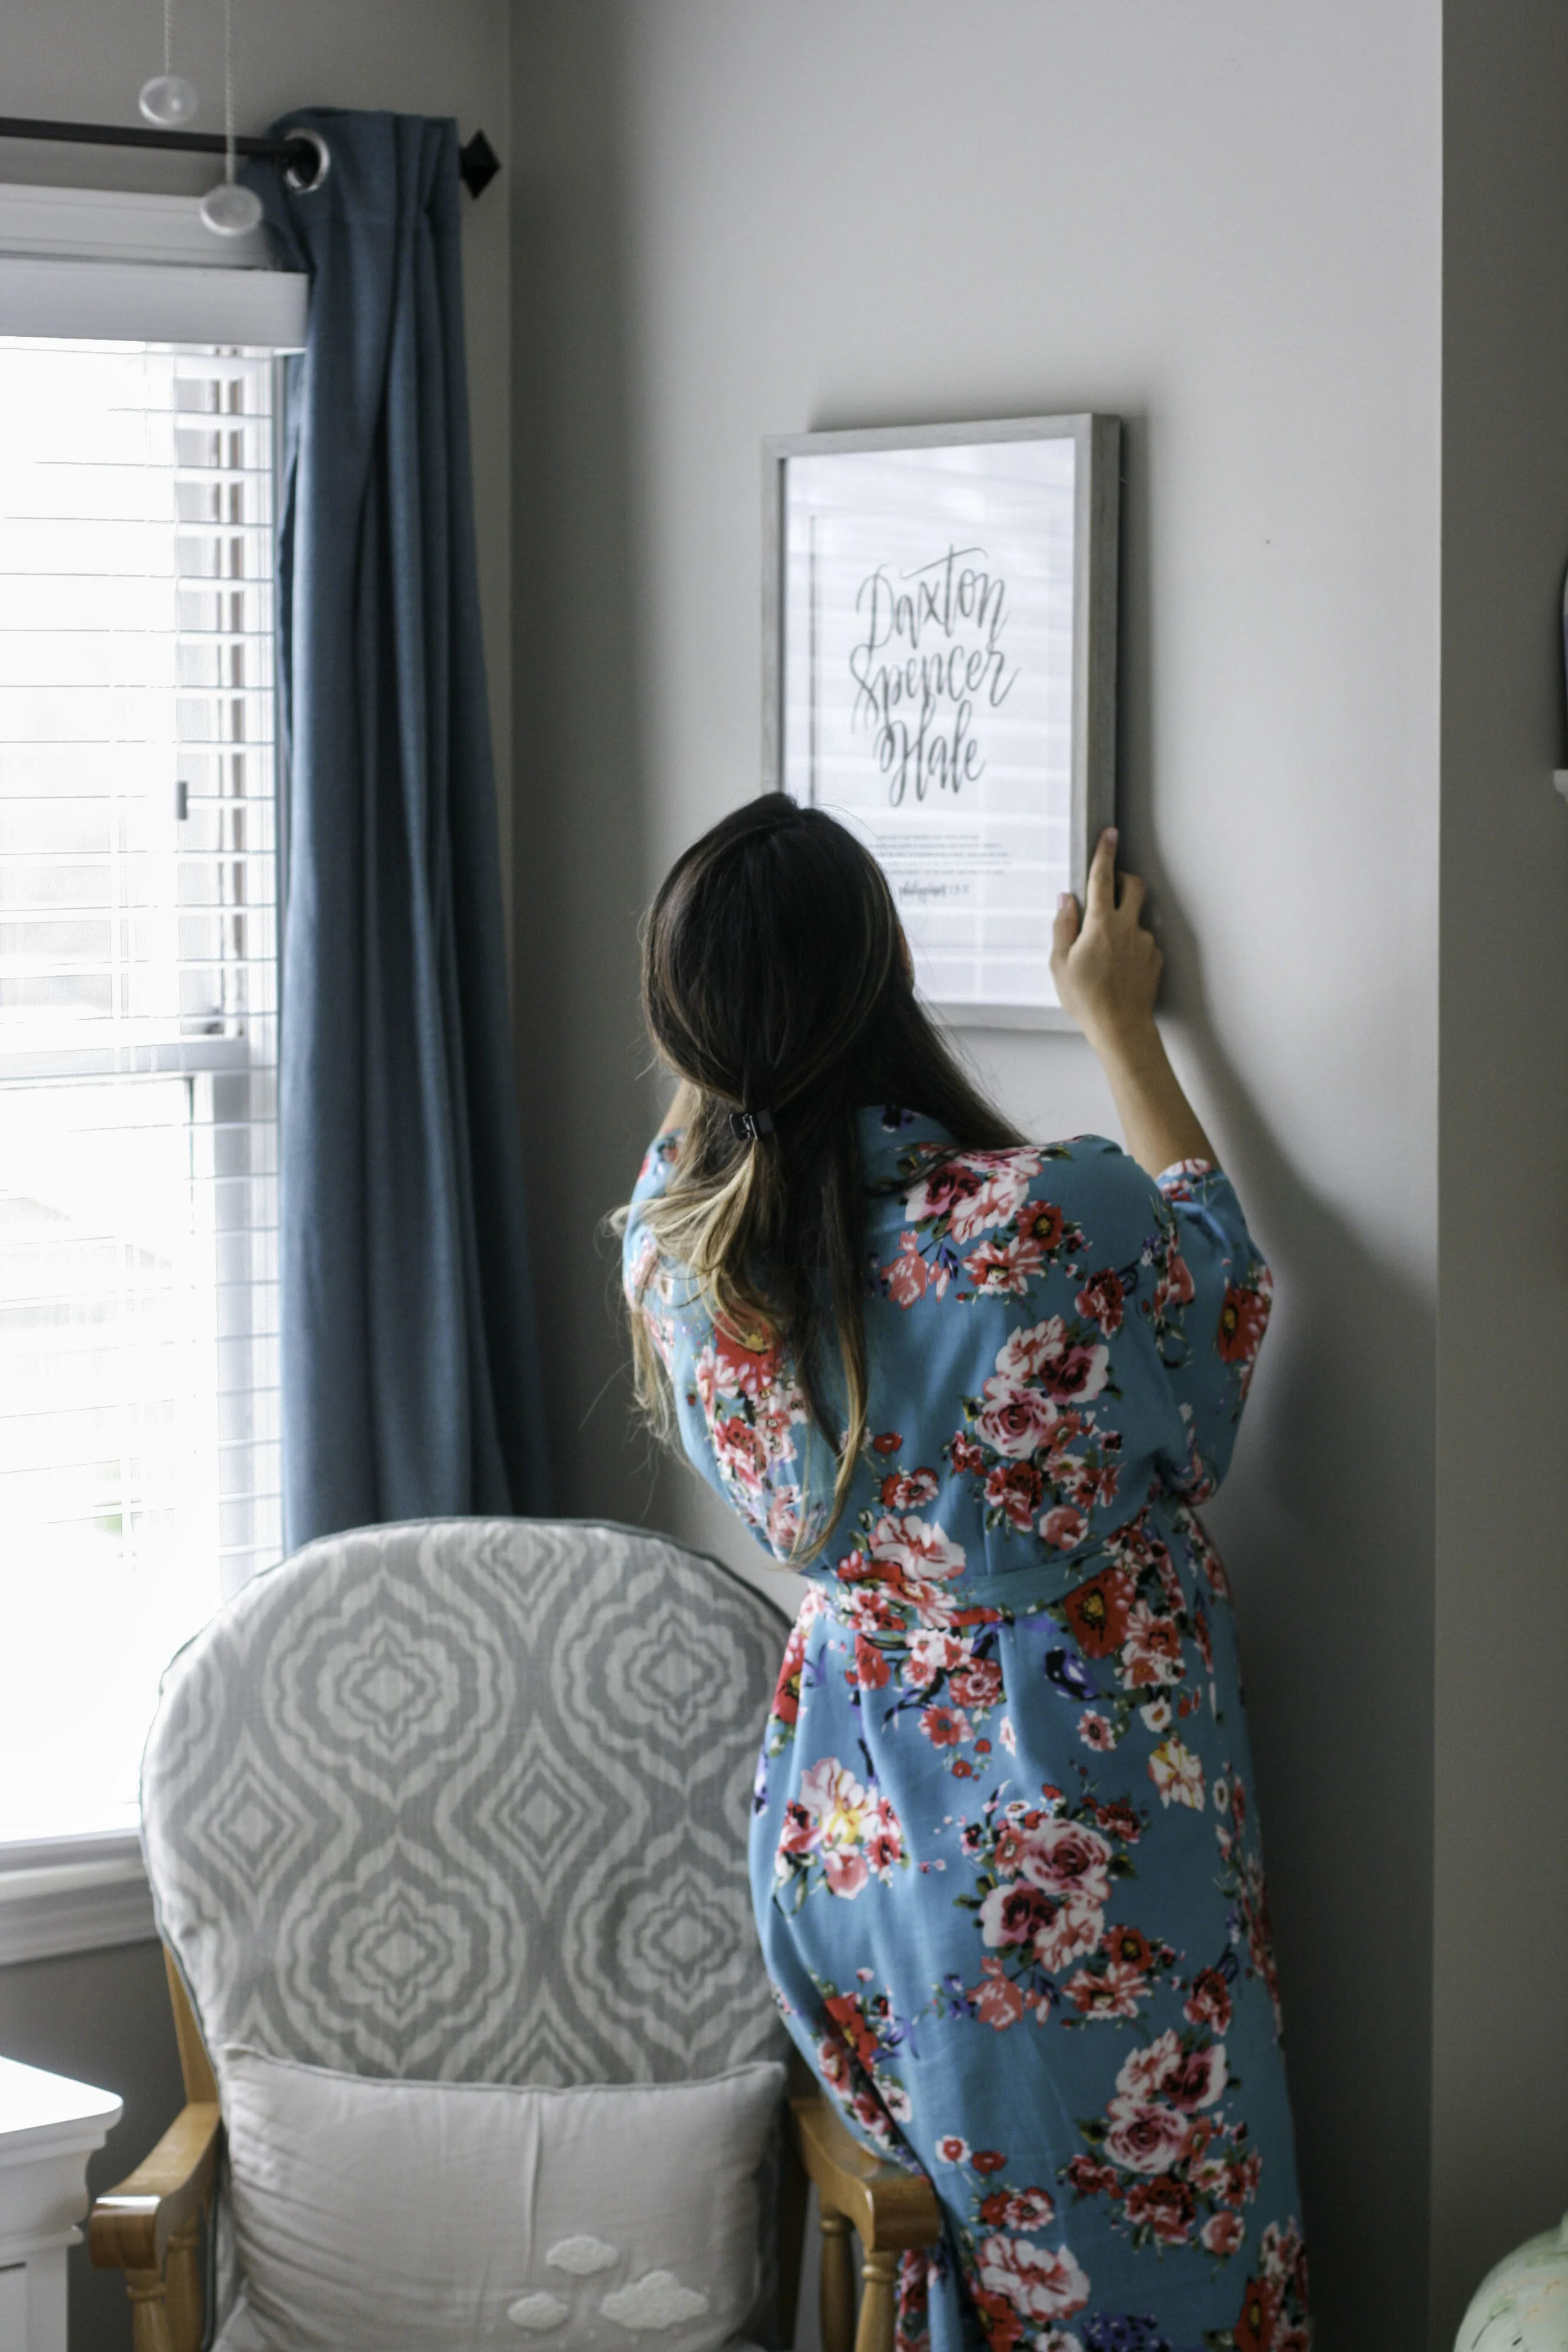
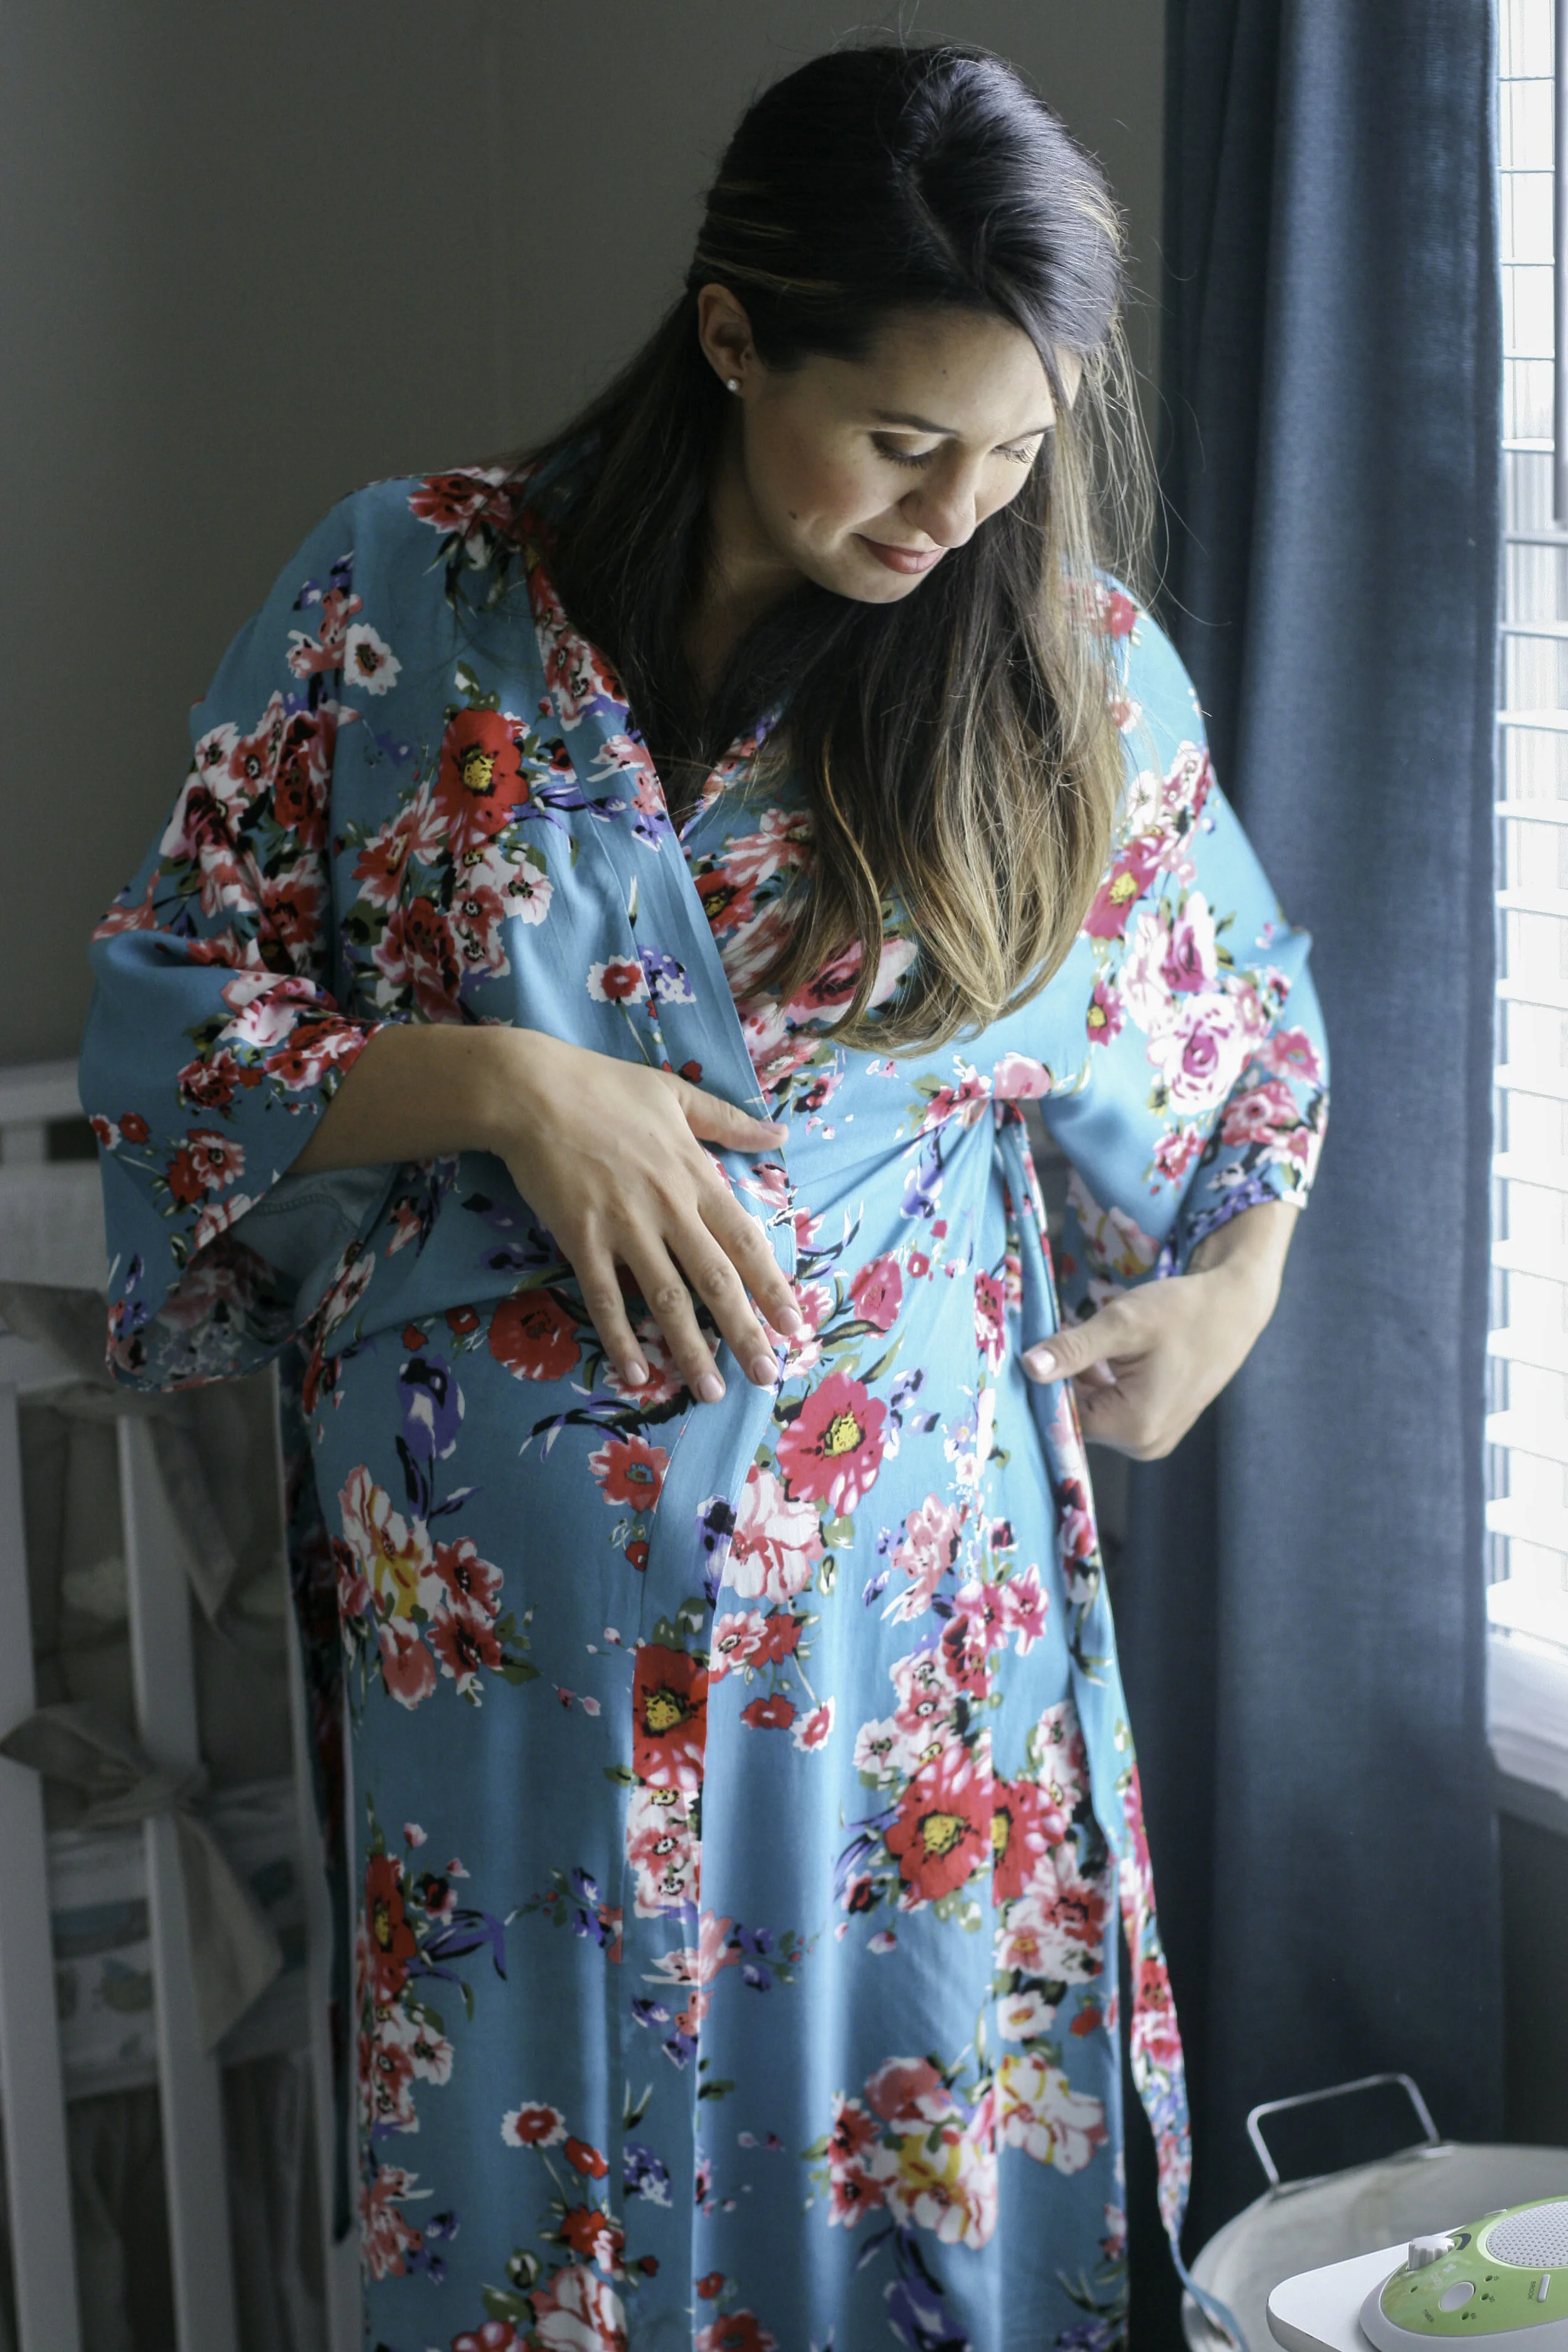
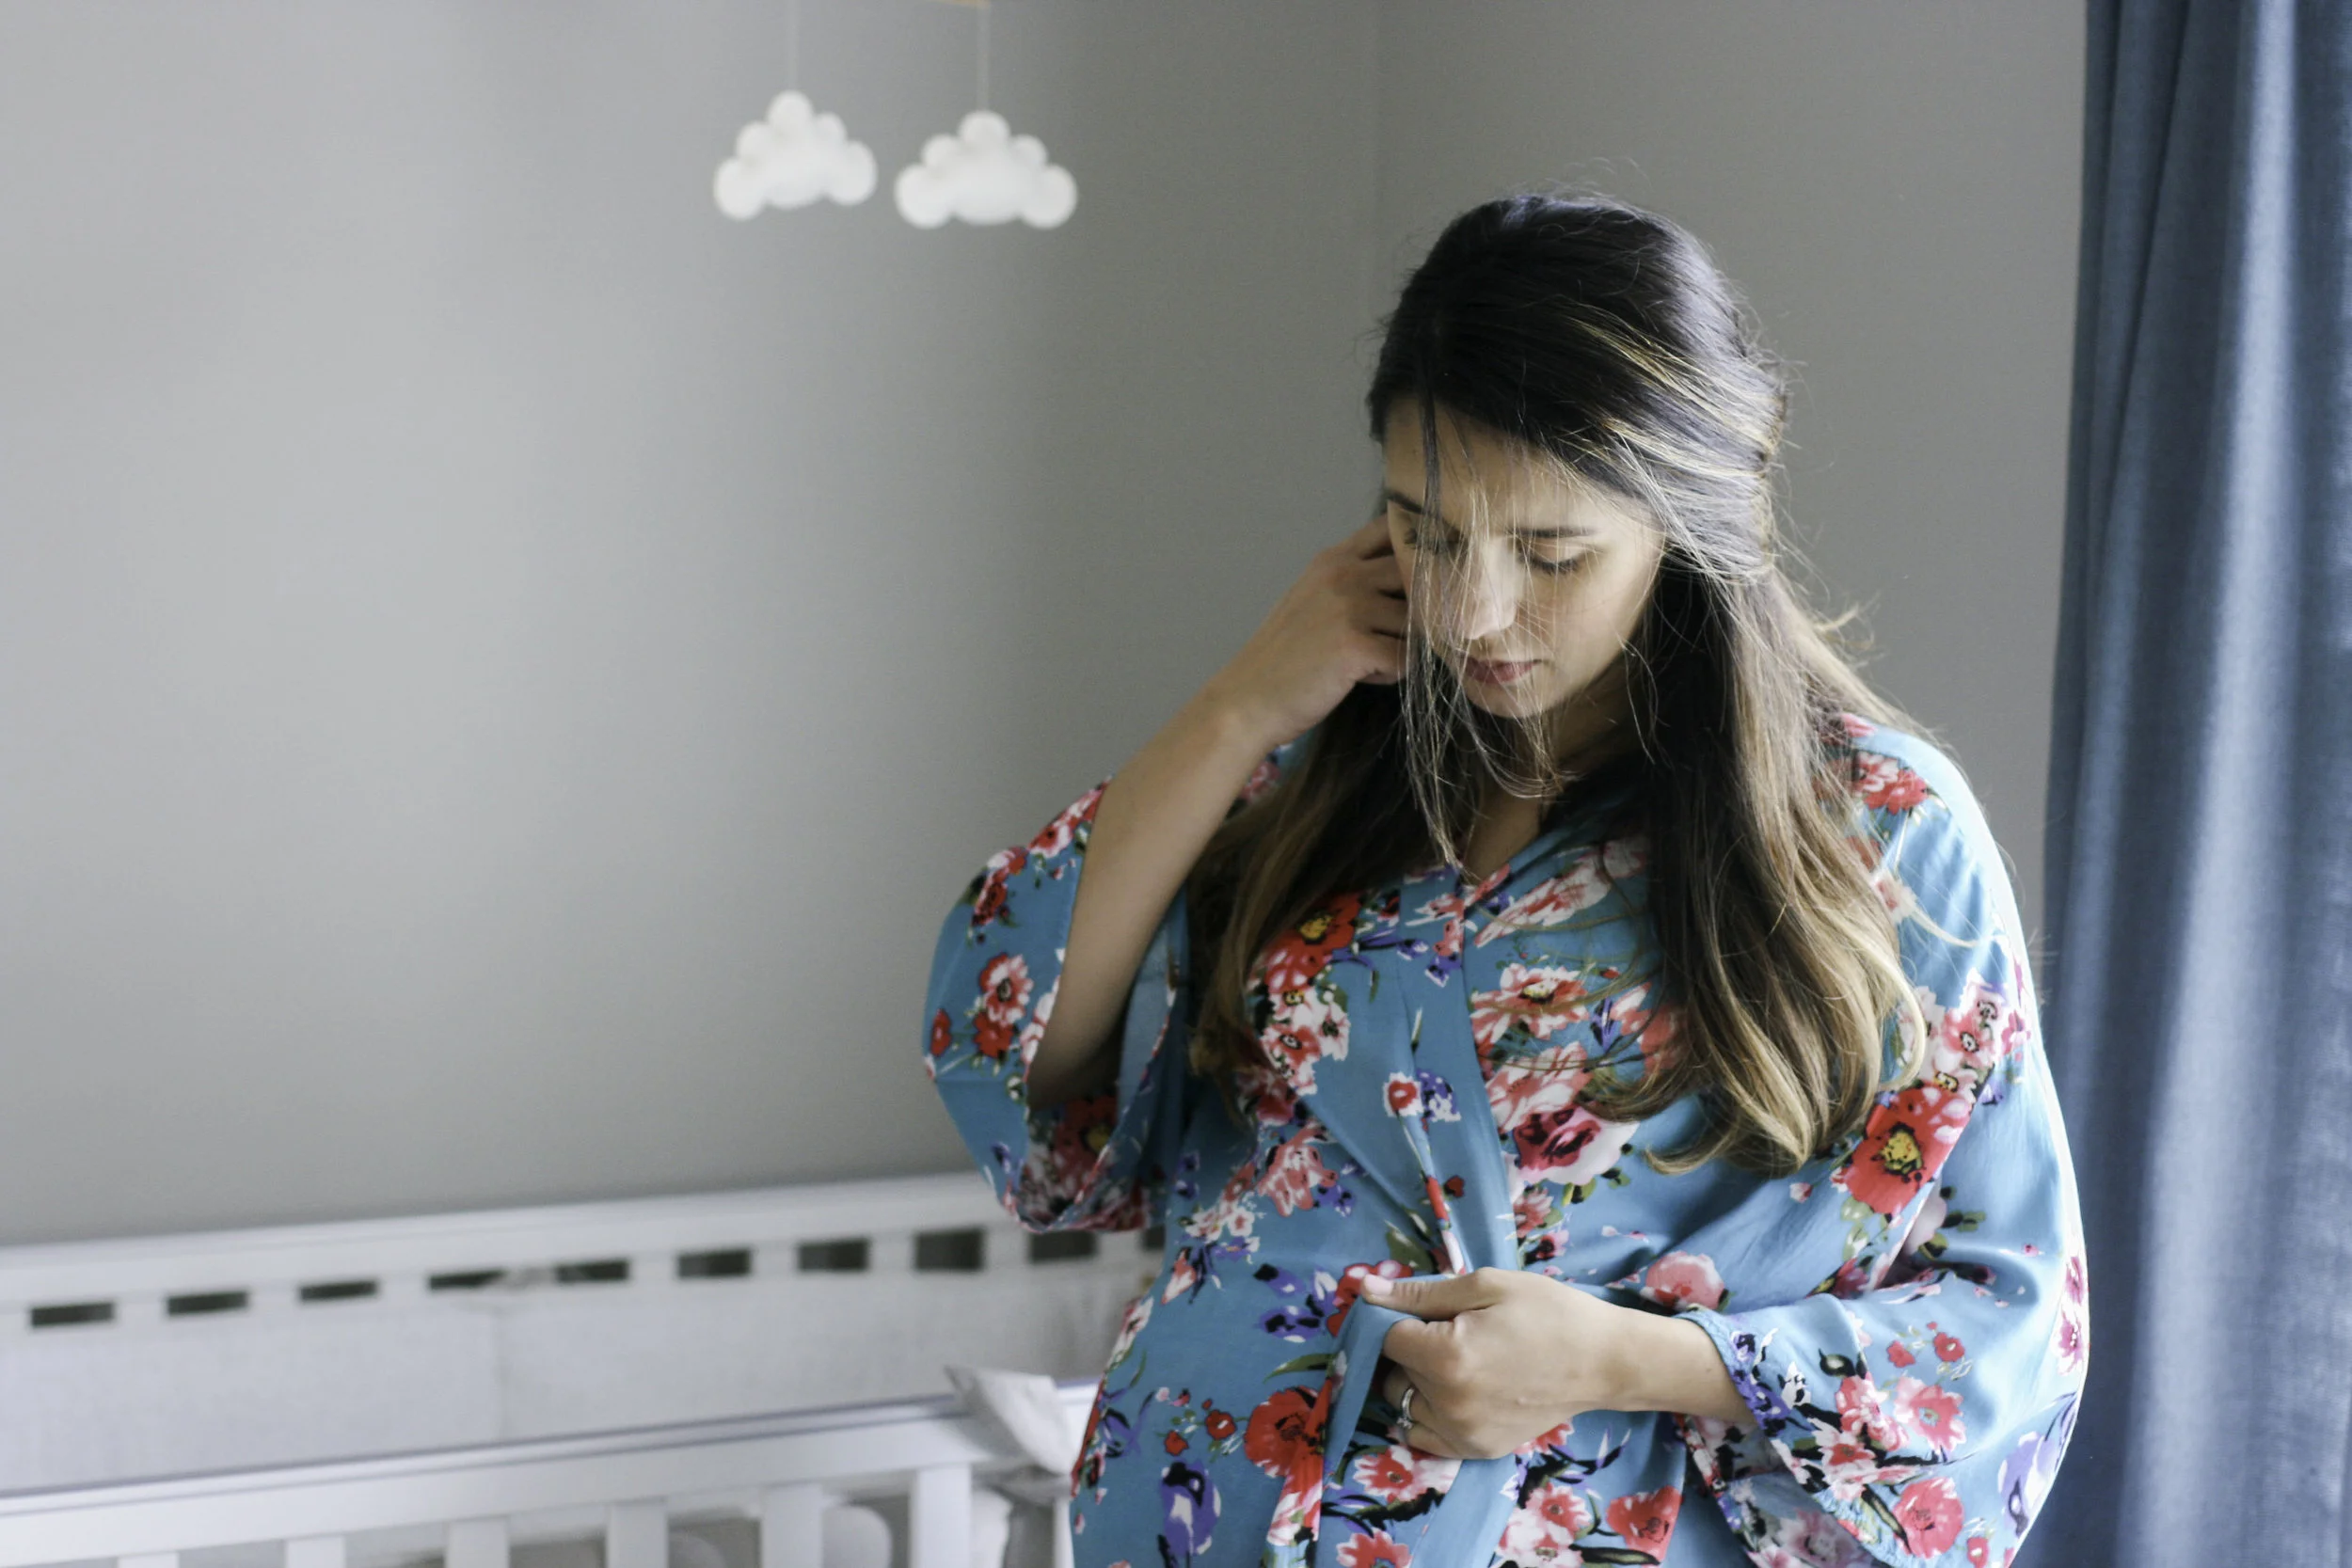
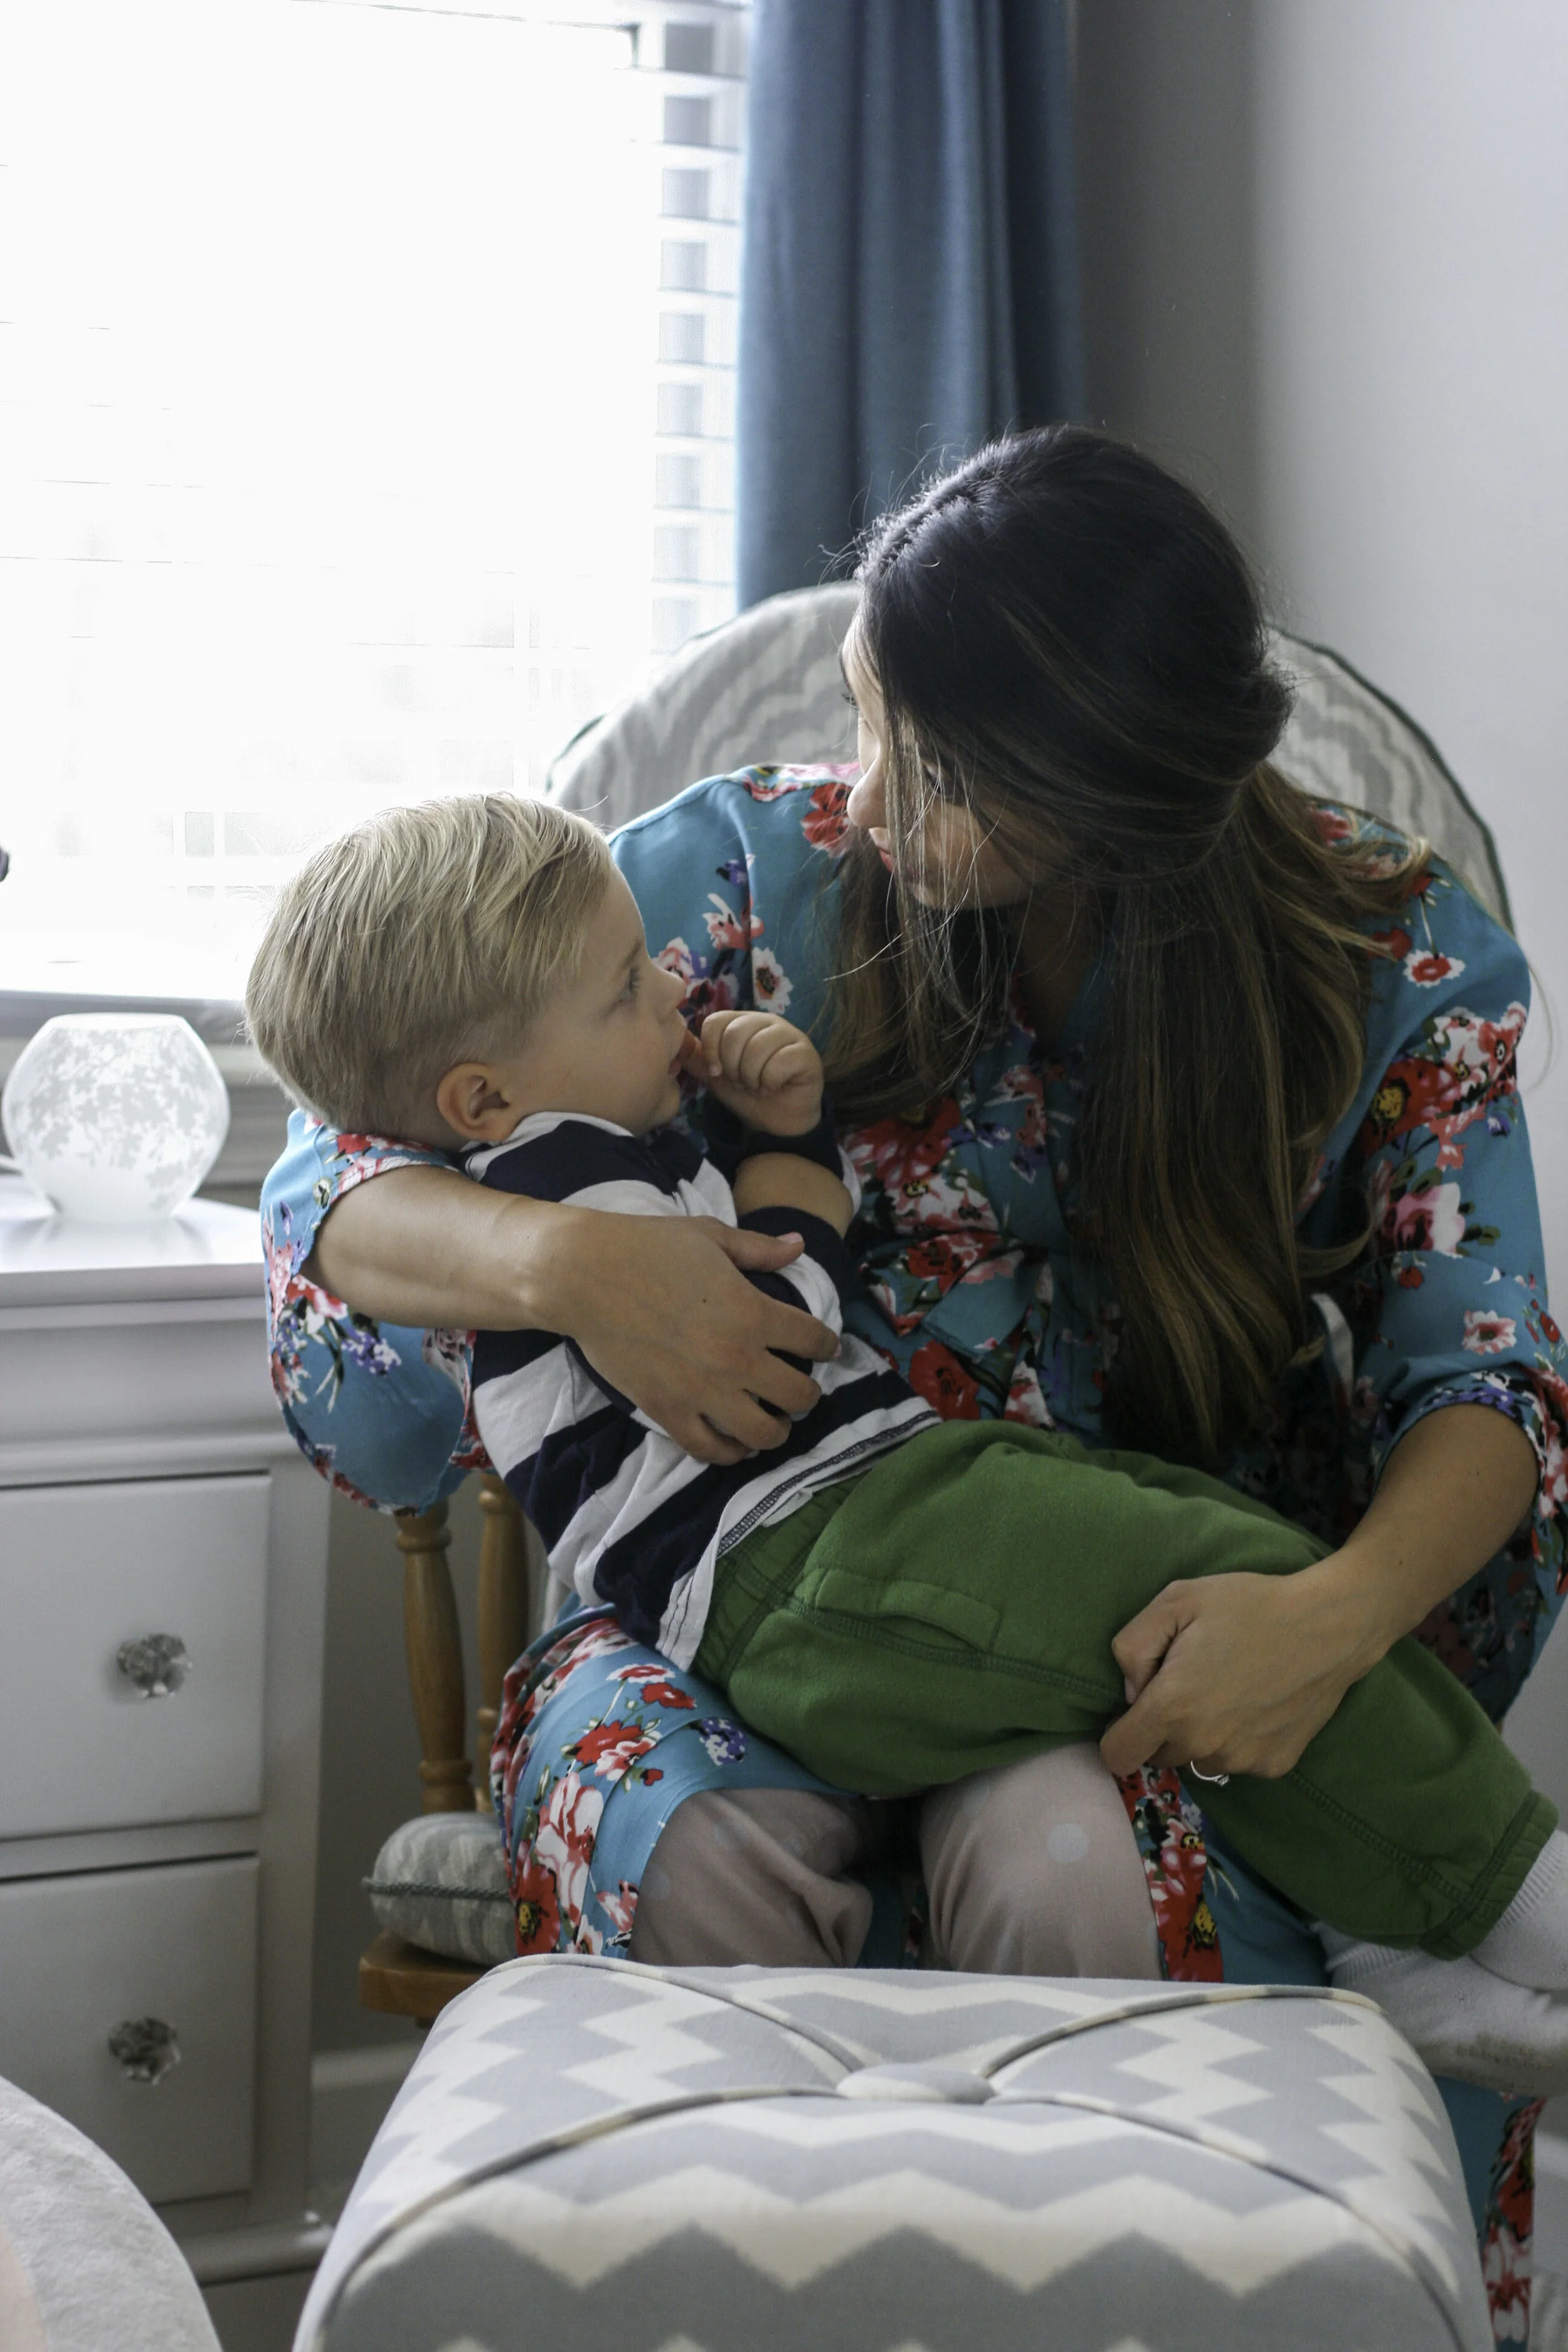
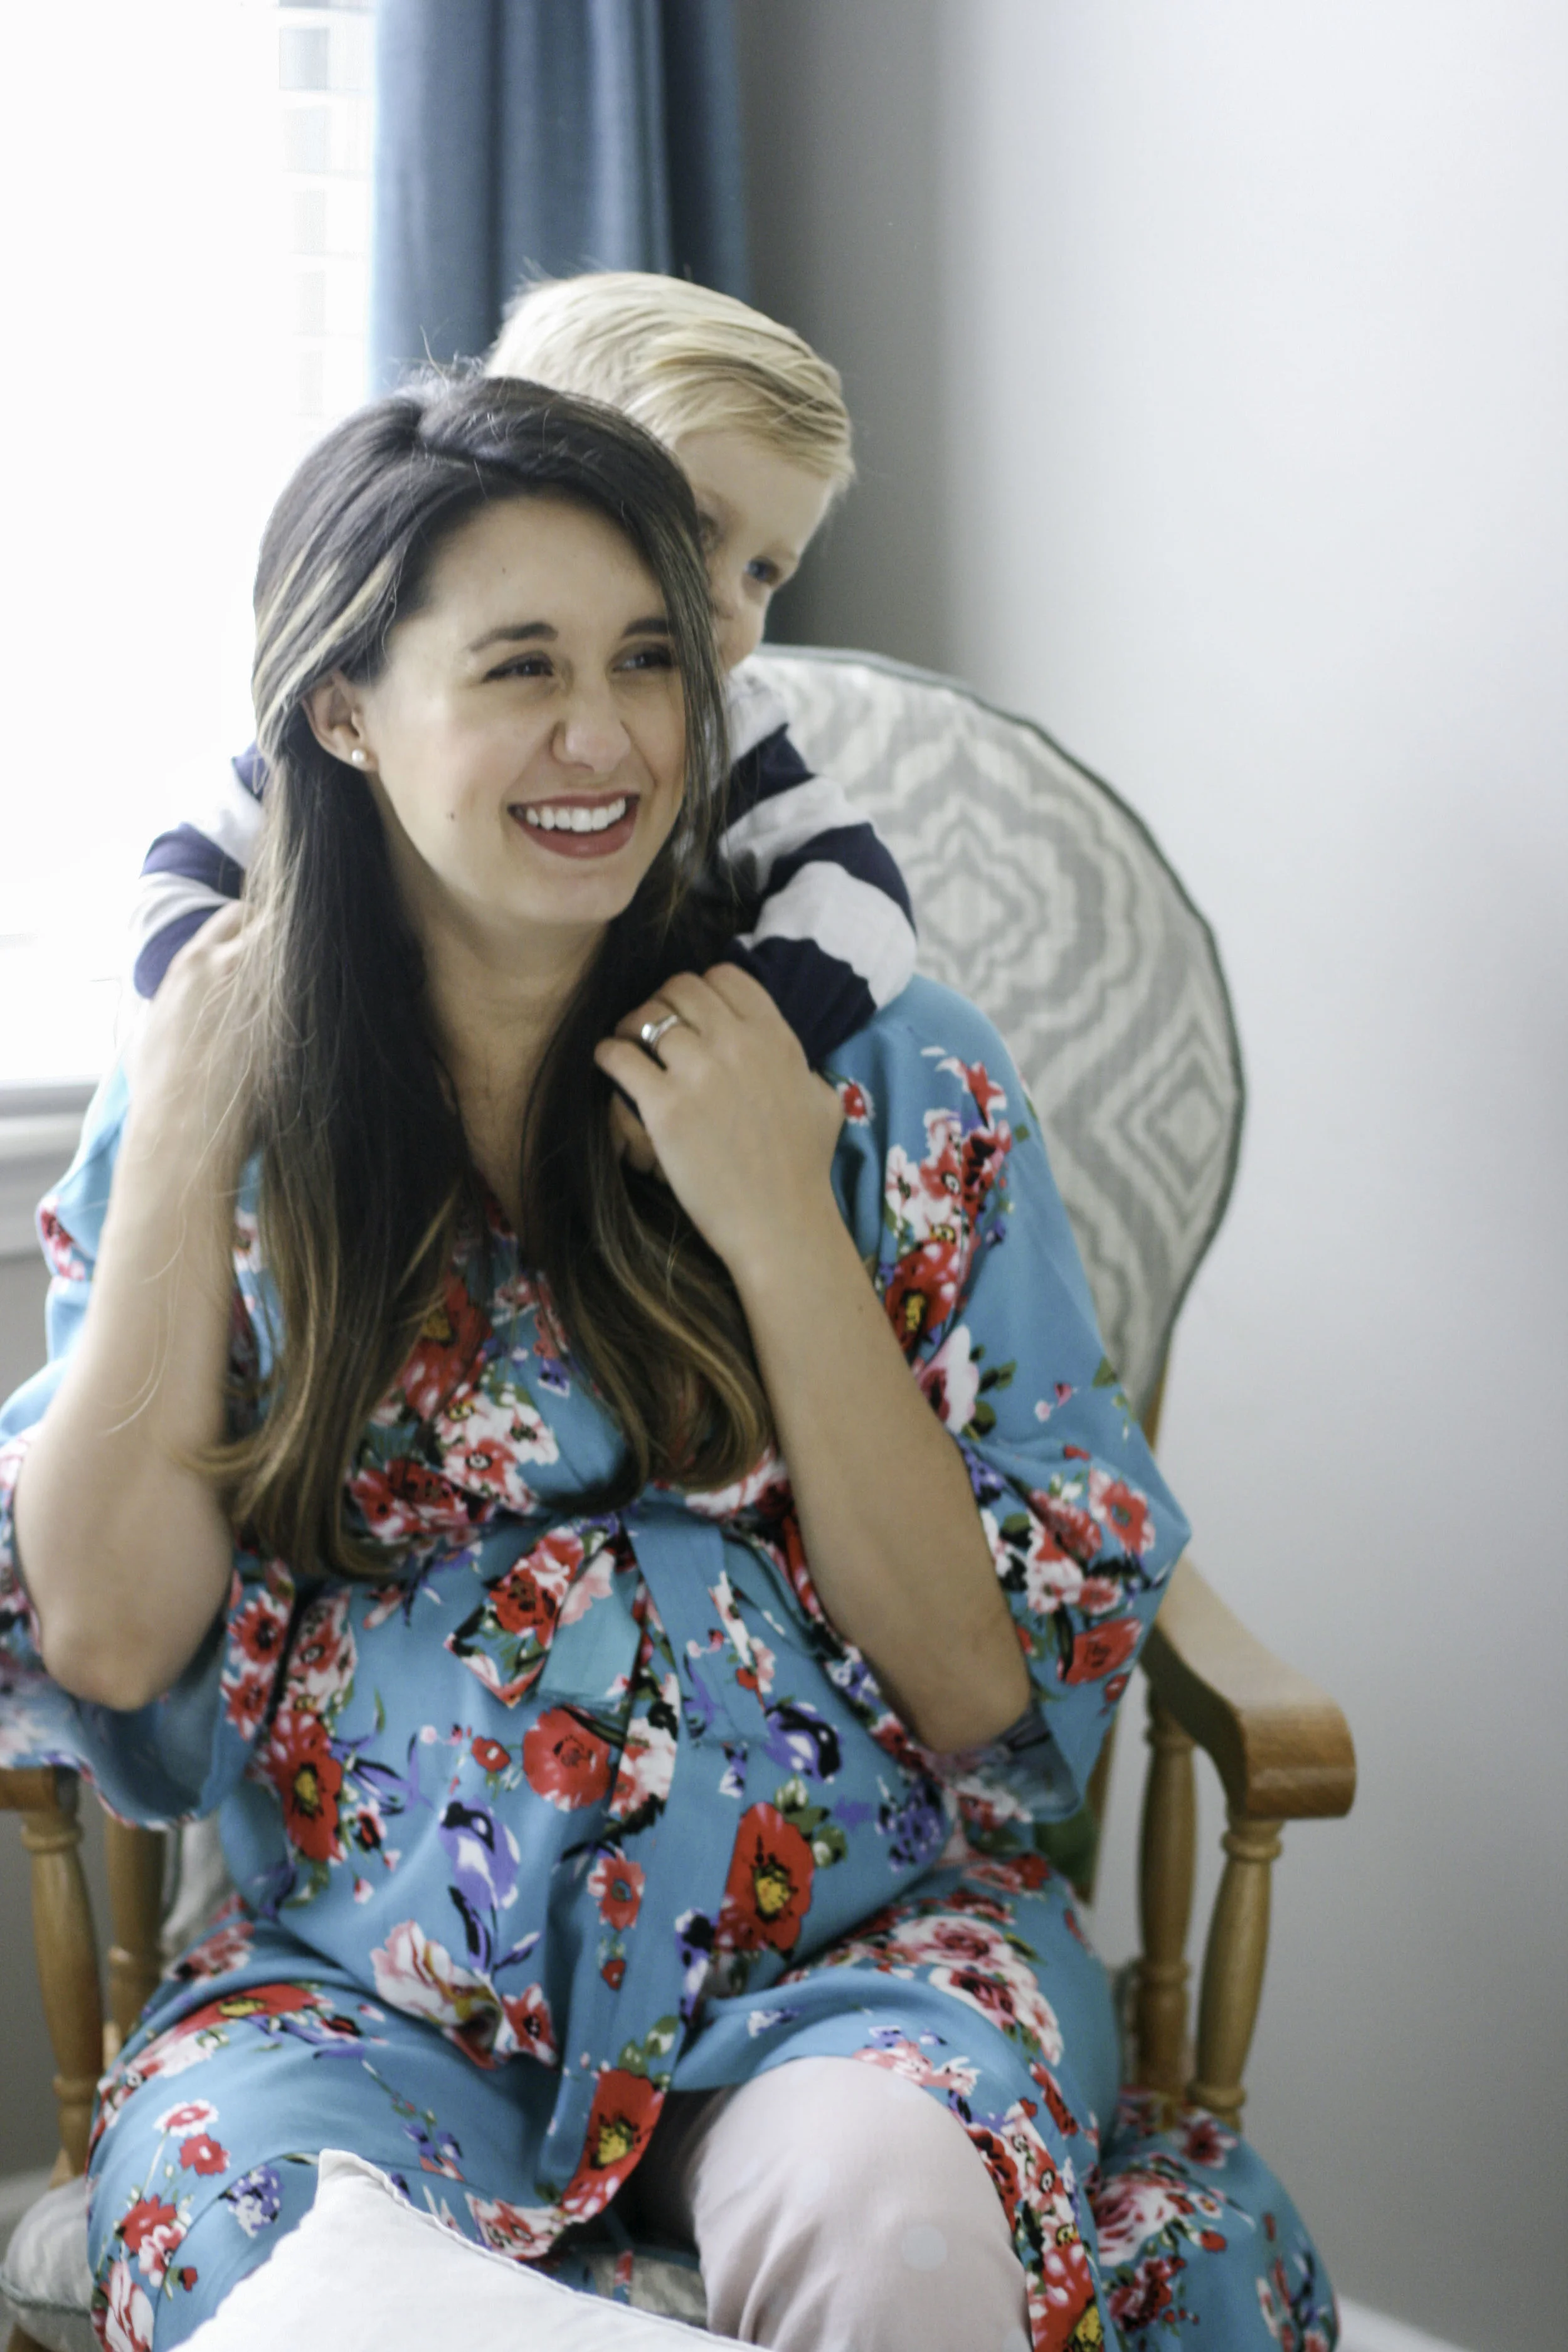
I've linked below to some sources we used to decorate this room, most of which we already had for Everett. I love how neutral and simple the space is. Some might call it boring but it's really peaceful to me, and that's what matters, since I will be spending a lot of time in there in the coming year! Pinkblush Maternity was kind enough to send me this delivery/nursing robe, which I have been living in as I prep this babylicious space. Although I admit, I finally packed it in my hospital bag over the weekend, for fear of forgetting it when we leave for the hospital. A robe is something you don't want to be without! In fact, my sister-in-law makes fun of me for how much I love bathrobes - but I think you can never have enough! They are so great for lounging in, and this one will be my Daxton robe, so it's going to remain close to me at all times during this next season of being in newborn land and nursing. Make sure to visit my instagram for your chance to win one of Pinkblush Maternity's gorgeous robes (you don't have to be pregnant or a mama to enjoy one of these!) The giveaway will run through 12/18 and the winner will be announced on 12/19 on my Insta account.

Nursery Decor Sources:
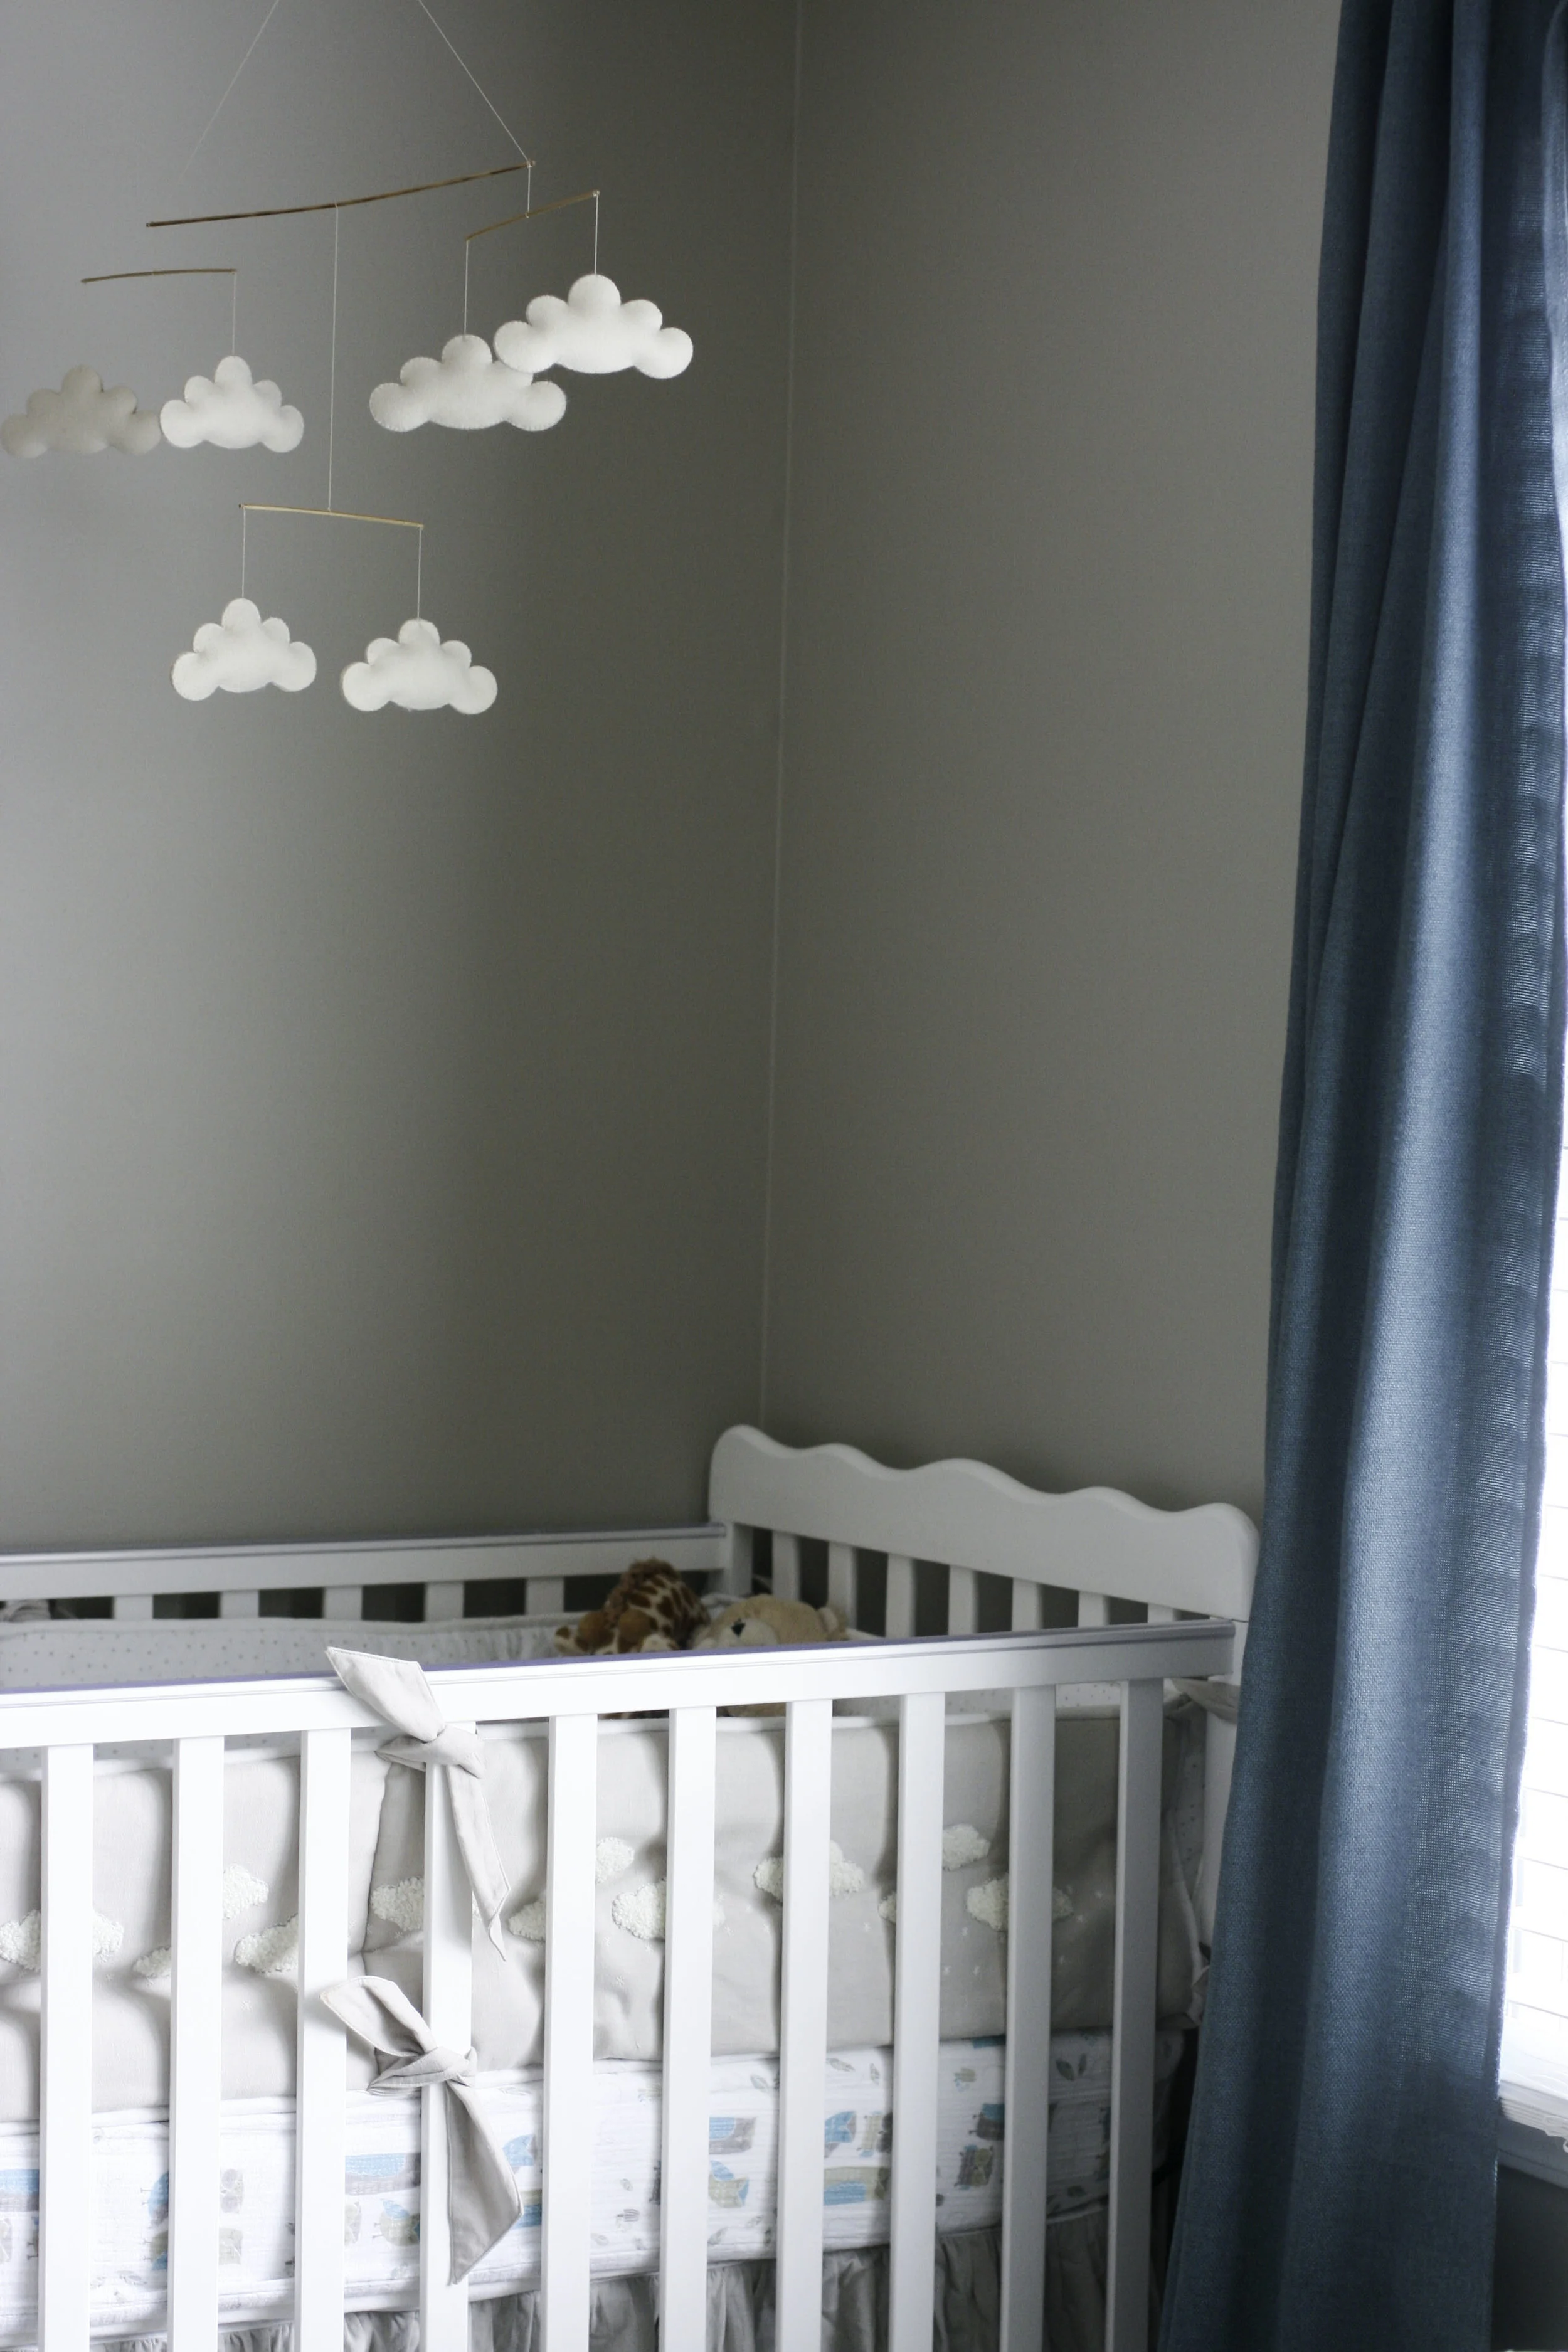
Restoration Hardware Boucle Cloud Crib Bedding in Mist
Restoration Hardware Wool Felt Cloud Mobile
Aden & Anais Crib Sheet & Changing Pad Cover
Restoration Hardware Canvas Storage Bins in Blue Cloud
Garage Sale Glider, recovered
Crib, gifted
IKEA SANELA Curtains
Target Floating Shelves
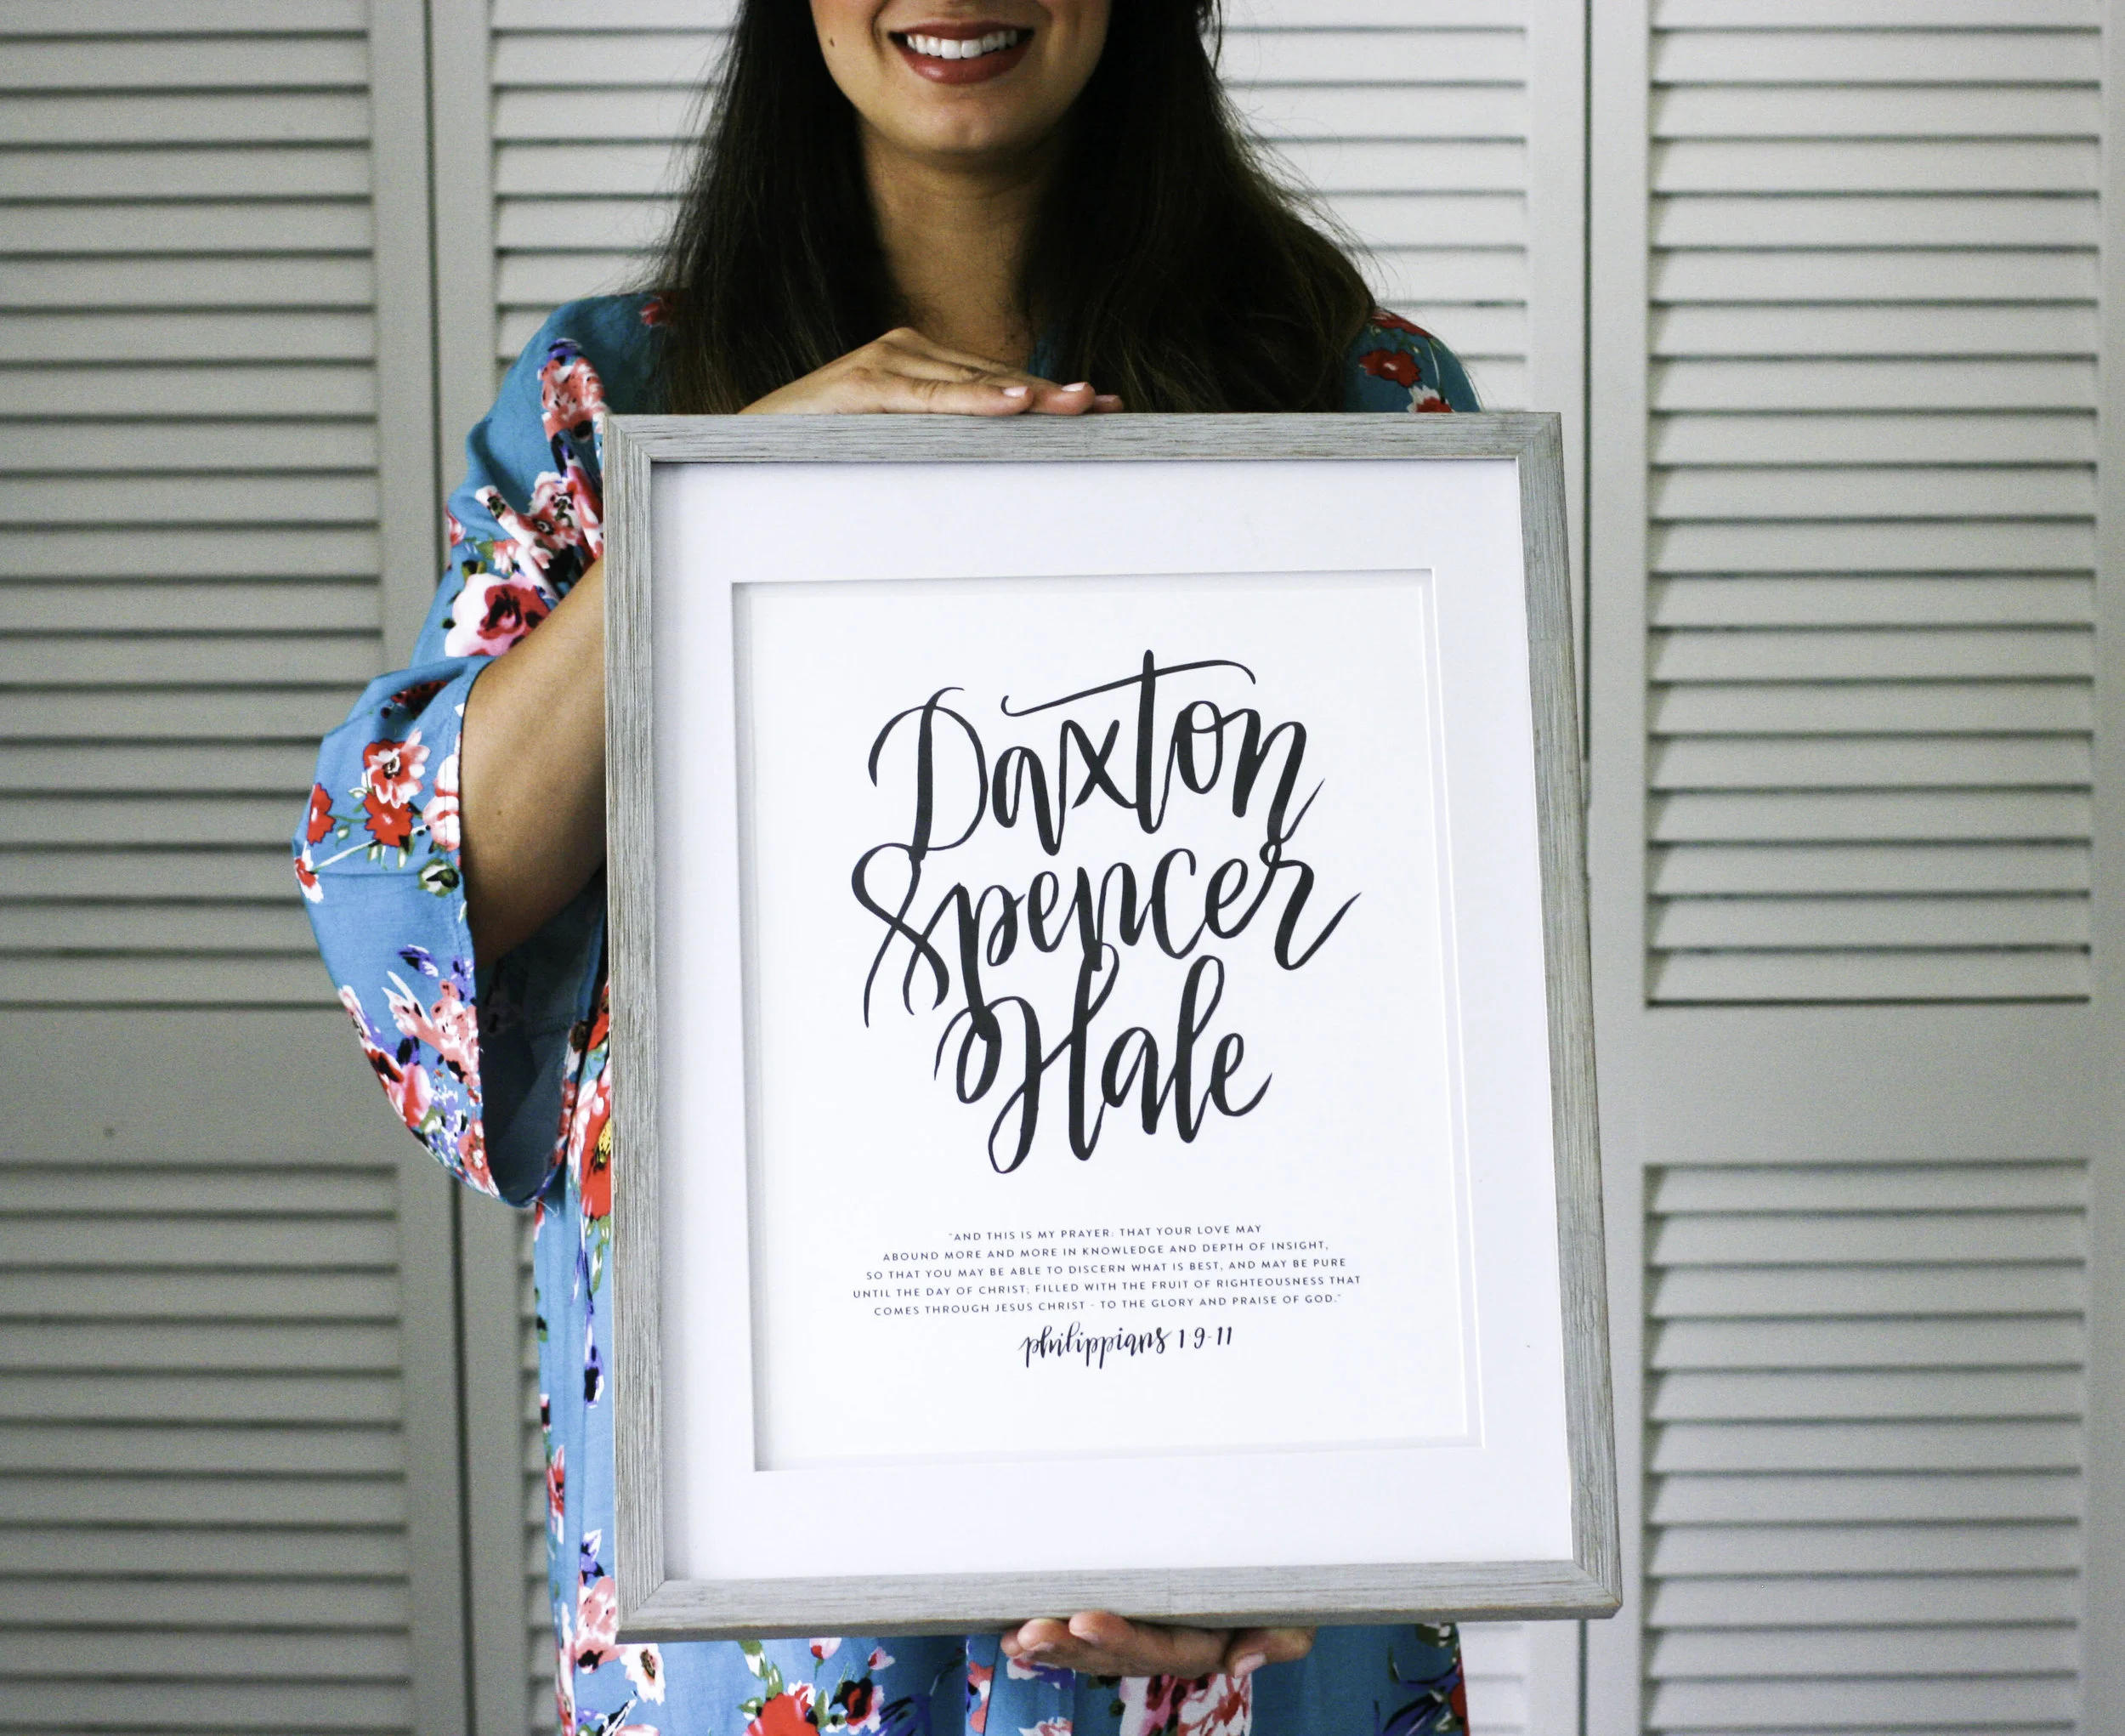
Custom Name Print by Jenny Highsmith
Target Ottoman (similar here)

Any tips from you mamas on how to naturally induce labor? I've done all the "standby" methods and we have no signs of action over here. I'm ready to meet my little boy, so I am aaaallllllll ears my friends! xox

P.S. - Choosing Daxton's name, a tour of Everett's Toddler Bedroom and another look with Pinkblush Maternity :)

DIY: Pretty Up Your Bathroom for $7

Easiest DIY Ever.

Want a weekend project? I've got the EASIEST ever DIY for you. Project "pretty-up-my-creepy-bathroom" has been enacted on all fronts since we moved in. NYC apartments just aren't the cleanest. Or remodeled. Or pretty. So little by little, my apartment is getting a facelift. The bathroom got voted first. Mostly because it's small and easiest to tackle and see semi-quick results!

Materials.

Ok, here's the deal. My bathroom mirror is an old-school medicine cabinet that opens in 3 panels. Behind each mirrored panel is some of the oldest, skeeziest particle board ever. I tried scrubbing it when we moved in, but to no sparkling avail. The next best thing? Covering it up. I bought this Green & Gold Tile paper at Paper Source down the street for approx. $7. And that is all you will spend on this marvelous project. Seriously.

// Sorry for the spooky lighting. Bathroom lighting is always a tough one for me. //

Method.

1. I pulled out all the toiletries in the medicine cabinet and wiped everything down again. I removed the shelves and then I tucked the paper behind the mirror. Some excess paper hung outside the cabinet. It's all good.

2. & 3. I folded the paper back when it needed to be trimmed. Using my husband's favorite tool, I cut along the edge of the paper. You can also use an x-acto knife.

4. Using tape (it doesn't have to be any specific kind), I carefully taped the back of the paper to the edges of the inside cabinet.

5. Voila. Open the cabinet, prettiness abounds. Thank goodness. It's the little things that can make you feel better about the space you live in, am I right?

6. This post was NOT endorsed by Tom's. Ha but I do love him.

Let me know if you decide to give this a try! I will be doing some more work on our apartment this weekend and will have more projects to share. Have the happiest of happy weekends.

Spotted: Cabin Decor

Cabin Chic.

Winter is the perfect time to shack up in cabin in the woods. I recently spent a week in Blue Ridge, Georgia and I was really taken with the quirky decor I found in the cabin. It set the tone for a cozy week of inside activities with the family, and I wanted to share a few of the decor takeaways.

1. Do You See What I See.

There was a common theme in the cabin: owls. In every room of the house, there were little owl eyes peeking out, watching. Okay, that sounds a bit creepy, but since I LOVE Owls (shout out to my Alma Mater, KSU!) I found their presence really fun. It was like a tiny little surprise in each corner. Here are just a few of the cuties I found around the house. It was like a scavenger hunt, trying to capture them all on camera.

2. Getting Rich: Color.

The colors in the home were dark and rich, mixing warm and cool elements. Golden cedar walls, warm plummy paint and robust brass accessories lent to the impressive, old-world feeling of the big airy home. The art hanging on the walls displayed sharp scenery in thickly-painted, slightly careless brushstrokes.

Delightfully dark. Kind of made me have a hankering for a snifter of brandy.

3. Pattern & Texture.

The detailing of the house was impeccable. The upholstery was deeply textured and antiquated. The furniture displayed carefully hand-painted fleur de lis. I wanted to photograph everything, from the books to pictures to the bowls we ate out of. It was all just so beautiful and unique, but different than my style. It wasn't feminine and anthropologie-esque, but it was more earthy and hearty. Strong stone, weathered cedar. Lived-in furniture. Yes, that chair has been sat in. A lot.

Recipe for Cozy.

Staying in this home in the woods for a week was like being transformed to another world. A world of books, fireside chats and coffee time. The cozy details only lent to the wonderfully warm charm of spending a week with family. All of these elements got my brain ticking about how to produce such a cozy and inspired effect in my own home. If you're not an interior designer, these few elements will create the desired, winter wonderland setting. Choosing a strong theme (in this case, owls) along with dark colors, warm textures, wooden and stone accents and aged furniture is just the ticket. Just remember to include blankets; it can produce a chilly effect!