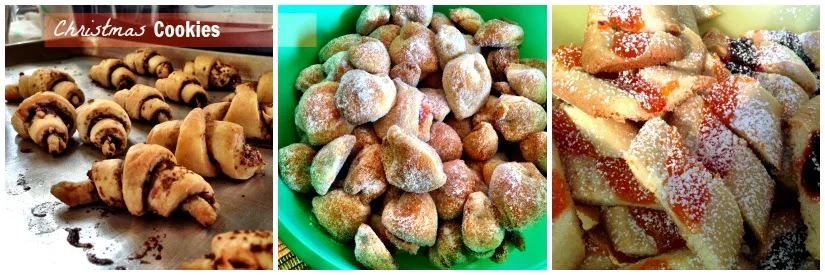
Noel: Mary the Cookie Lady
/
Mary the Cookie Lady.
When I was a little girl, my Aunt Shirley used to come into town on Christmas Day. She flew in from Connecticut, which always sounded to me just like the North Pole (all that snow!) And my Aunt Shirley, my dear dear Aunt Shirley, would always come armed with a tin full of extra special cookies. These were no run-of-the-mill chocolate chip types, nor boring sugar cookies either. The confections Aunt Shirley brought with her in that special tin were decadent, spectacular truffles of majesty. Swirled with cinnamon, powdered with sugar, fluffy and rich with apricot filling. Oh these cookies! They were the best in the WHOLE WORLD. And my wide eyed sisters and I would exchange equally meaningful and sneaky glances as we attempted to take two, three, four cookies at a time, all the while my mother would cluck her tongue at us, “Girls, these are a treat! You only need one!” But we couldn’t bear it. We couldn’t resist the magical cookies from the magical land of Connecticut, which was probably something like the magical North Pole.
I love how romantic childhood Christmas memories can be.
Now, let me tell you, my Aunt Shirley does not bake. She doesn’t cook. There are no spatulas in her kitchen. She has no need for such tools, since her fingers can swiftly dial and she can have takeout from all her favorite places in 20 minutes. She would tell you this herself. She has her doctorate in psychology, she is the most popular professor at Sacred Heart University (and has a bevy of awards to prove it!), she has contributed to a number of humanitarian and rehabilitation efforts over the past 35 years. She has been, understandably TIED UP for quite some time. So baking? Eh, not on her list of to-do’s. She’s been saving the world. Which means that these fine cookies… they weren’t by the work of her hands. These cookies were crafted by Mary the Cookie Lady. AKA Aunt Shirley’s bestie. Mary is the genius mastermind, the true craftswoman behind these works of tasty art. Turkish Delights are a woeful knockoff to her baked glories. Mrs. Fields? Please. Ain’t got nothin’ on Mary.
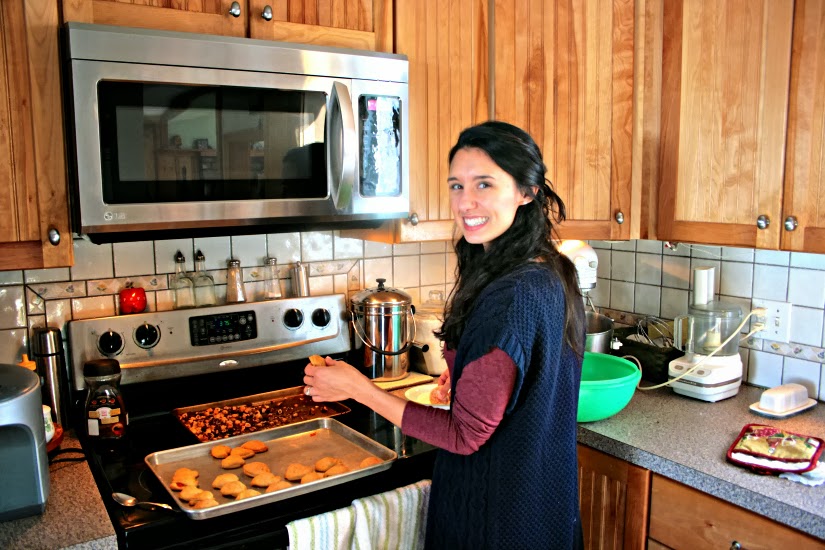
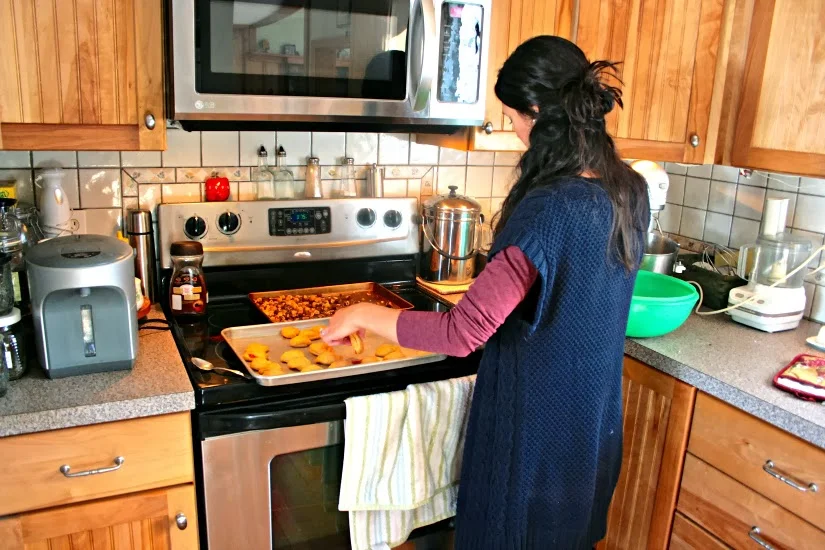
People. I invited myself to bake with her. I went to Mary’s house. I BAKED WITH THIS GODDESS. I could cry at how amazing the experience was. Um… actually, I did. I got in the car and wept like a foolhardy little girl. Because baking with Mary was like playing onstage with a rock star. She is a rock star. I don’t know how else to describe it.
I asked Mary if I could learn from her, be an apprentice of sorts. I hoped she would be willing to share her generations-old recipes with me, a mere outsider, a non-family member. Not only did she invite me into her home, she welcomed me with the warmth of a queen. When I arrived, she had the kitchen set and ready to learn 5 different cookie recipes. Her ingredients were stocked, her tools were ready and there was a gigantic wrapped present on the counter for me. Seriously, is this woman an angel or what? Apparently she got the memo that I am a total gift hog. She presented me with all sorts of wonderful baking contraptions and ingredients so that I could re-make the cookies when I got home. What a woman.
Photos by Shirley Pavone, AKA my hero
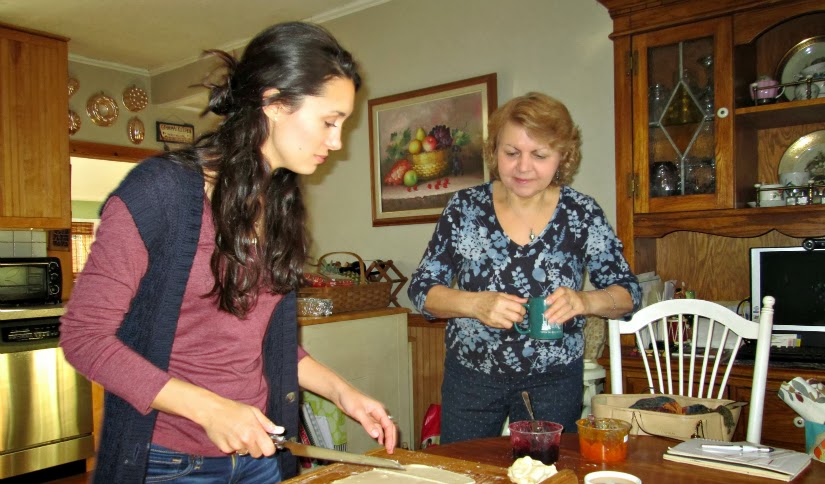
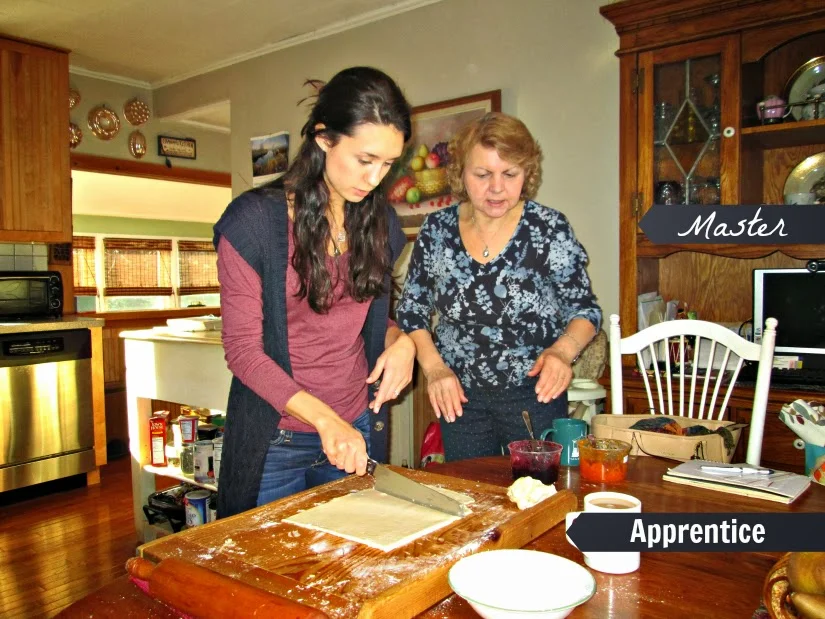
There is just something about Mary.
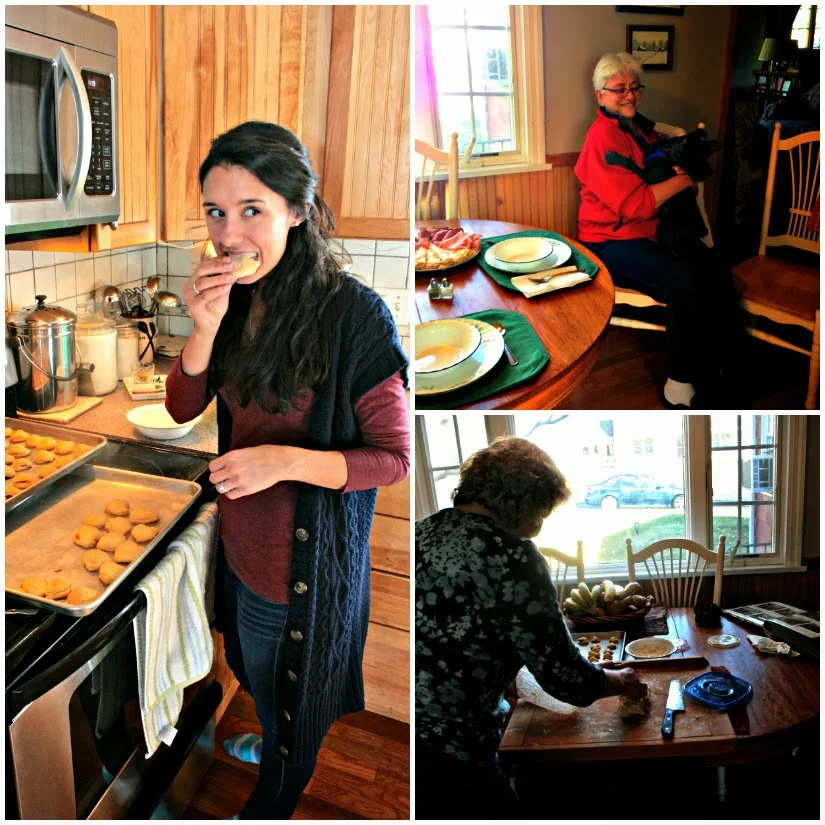
I'm sneaking bites, Aunt Shirley is playing with her pup, and Mary is busy working. A pretty accurate portrait of the day.
Herstory.
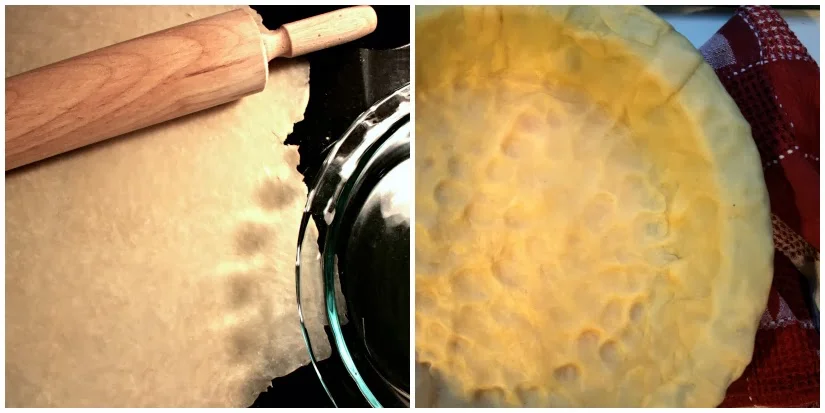
Mary was born in Croatia and grew up baking with her mother. On the day that we baked together, she pulled out a beautifully worn wooden pastry board that she inherited from her mother. Let me tell you, it was a beauty. You could see the markings of heritage, the imperfections in the grain, the evenly worn tone of the wood that could only be achieved over lots of time. I felt like I was stepping into her story as she unearthed the tools she had used for so many years to bake the magical cookies I had grown up, so tastefully admiring. This woman. She had baked her own legend into my life without even thinking twice.
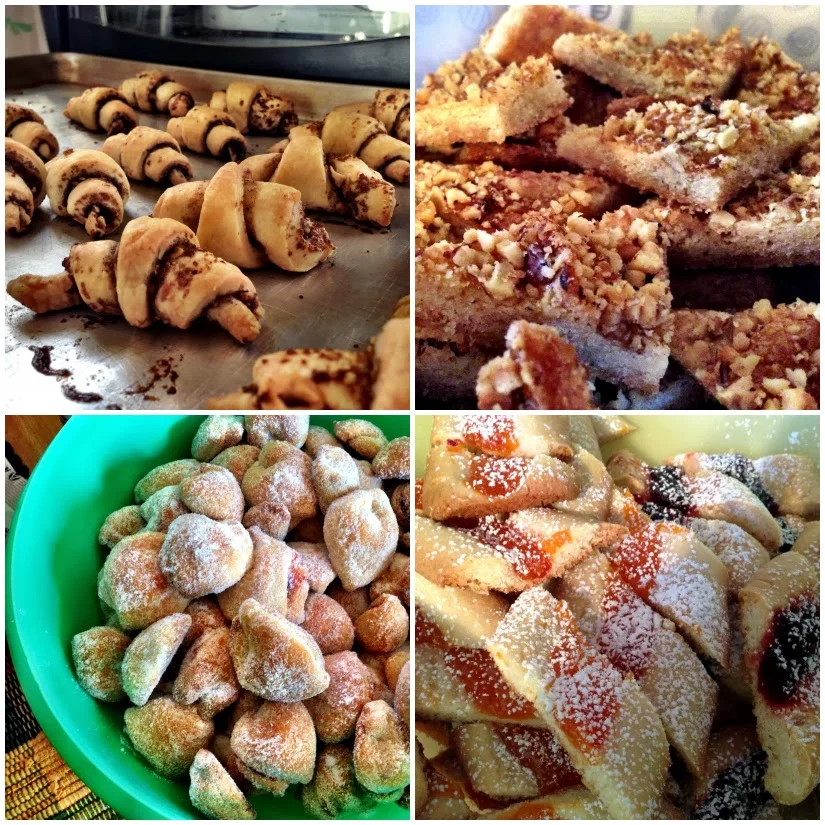
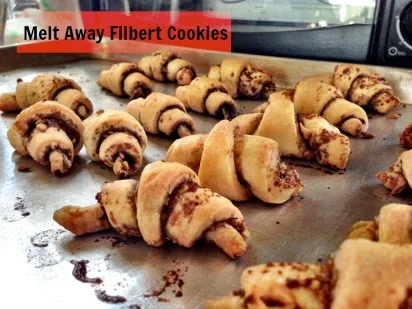
Our works of art!
The day was more than a success. We laughed (obviously, I cried), we drank a lot of wine and Aunt Shirley was our culinary judge. In fact, she gave us all 10's.
Want to make some of your own famous Mary cookies? I've included one of her recipes below:
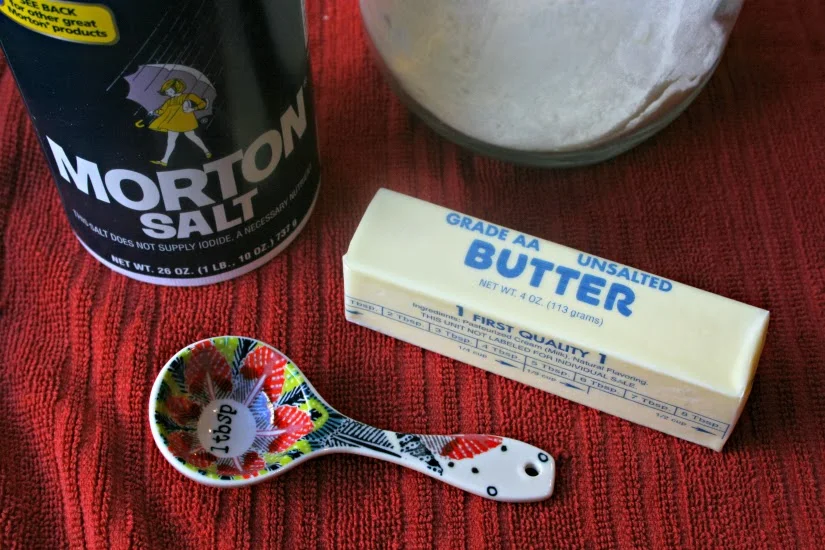
Ingredients:
- 8 oz. cream cheese
- 1 cup (2 sticks) sweet butter
- 1/4 cup butter, melted
- 2 cups sifted, all-purpose flour
- 3/4 cup brown sugar
- 1 tbsp. brown sugar
- 3/4 cup finely chopped hazelnuts
- 1 tbsp. water
Method:
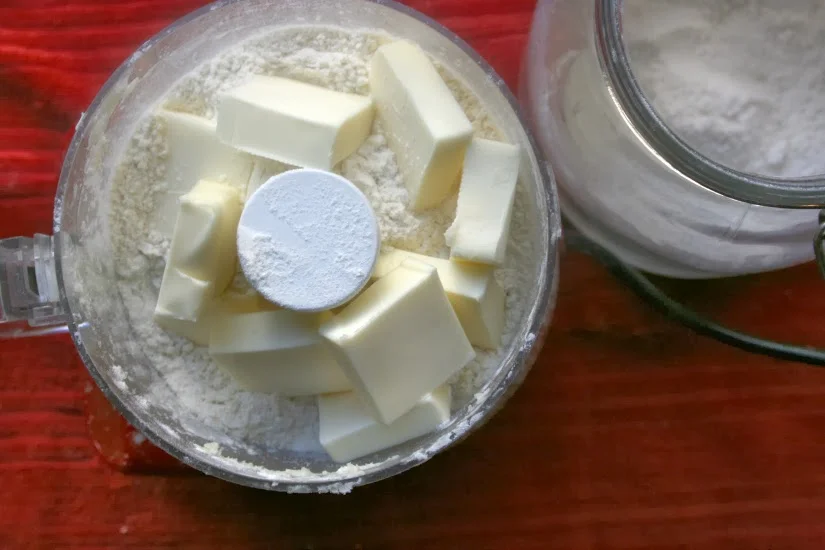
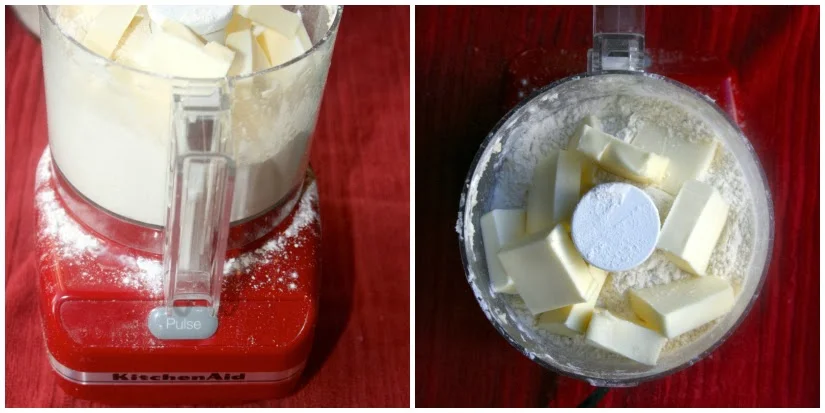
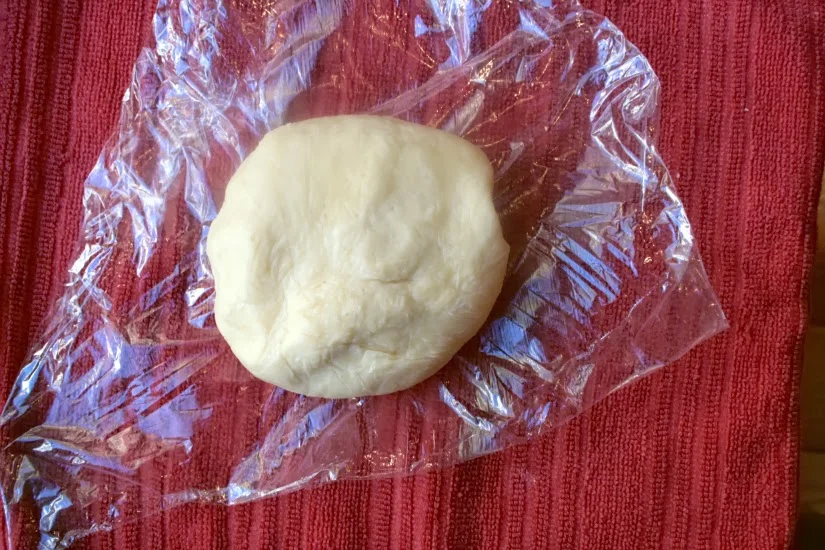
1. Blend cream cheese, butter and flour in a mixing bowl until dough ball forms.
2. Chill dough for 1 hour.
3. In the mean time, combine the brown sugar, chopped nuts and cinnamon until well mixed. Set aside.
4. Preheat the over to 400 degrees.
5. Grease cookie sheets.
6. Remove dough from the oven. Cut ball of dough into 4 parts.
7. On a floured pastry board, roll out each fourth into a 9-inch circle (as if you were rolling out a pizza pie.) Dough should be about 1/8-inch thick once rolled out.
8. Sprinkle dough with 1/4 the hazelnut-brown sugar-cinnamon mixture.
9. Cut dough like a pizza, into 10-12 "slices."
10. Roll up slices, starting from "crust end" and gently fold into half-moon wedges. Place on baking sheet.
11. Bake for 15-18 minutes. Remove and let cool on racks.
Thank you, Mary, for taking the time to teach me your way around the kitchen! You are a joy and a total inspiration. And to all of you Oysters, I hope you enjoy your very own special Mary Cookies as much as I do! It's a Merry Christmas, indeed!