Chicken Sausage, Mozzarella & Basil Chickpea Pasta (Easy Weeknight Meal!)

Thank you to al fresco for sponsoring this post.

Pasta1.jpg

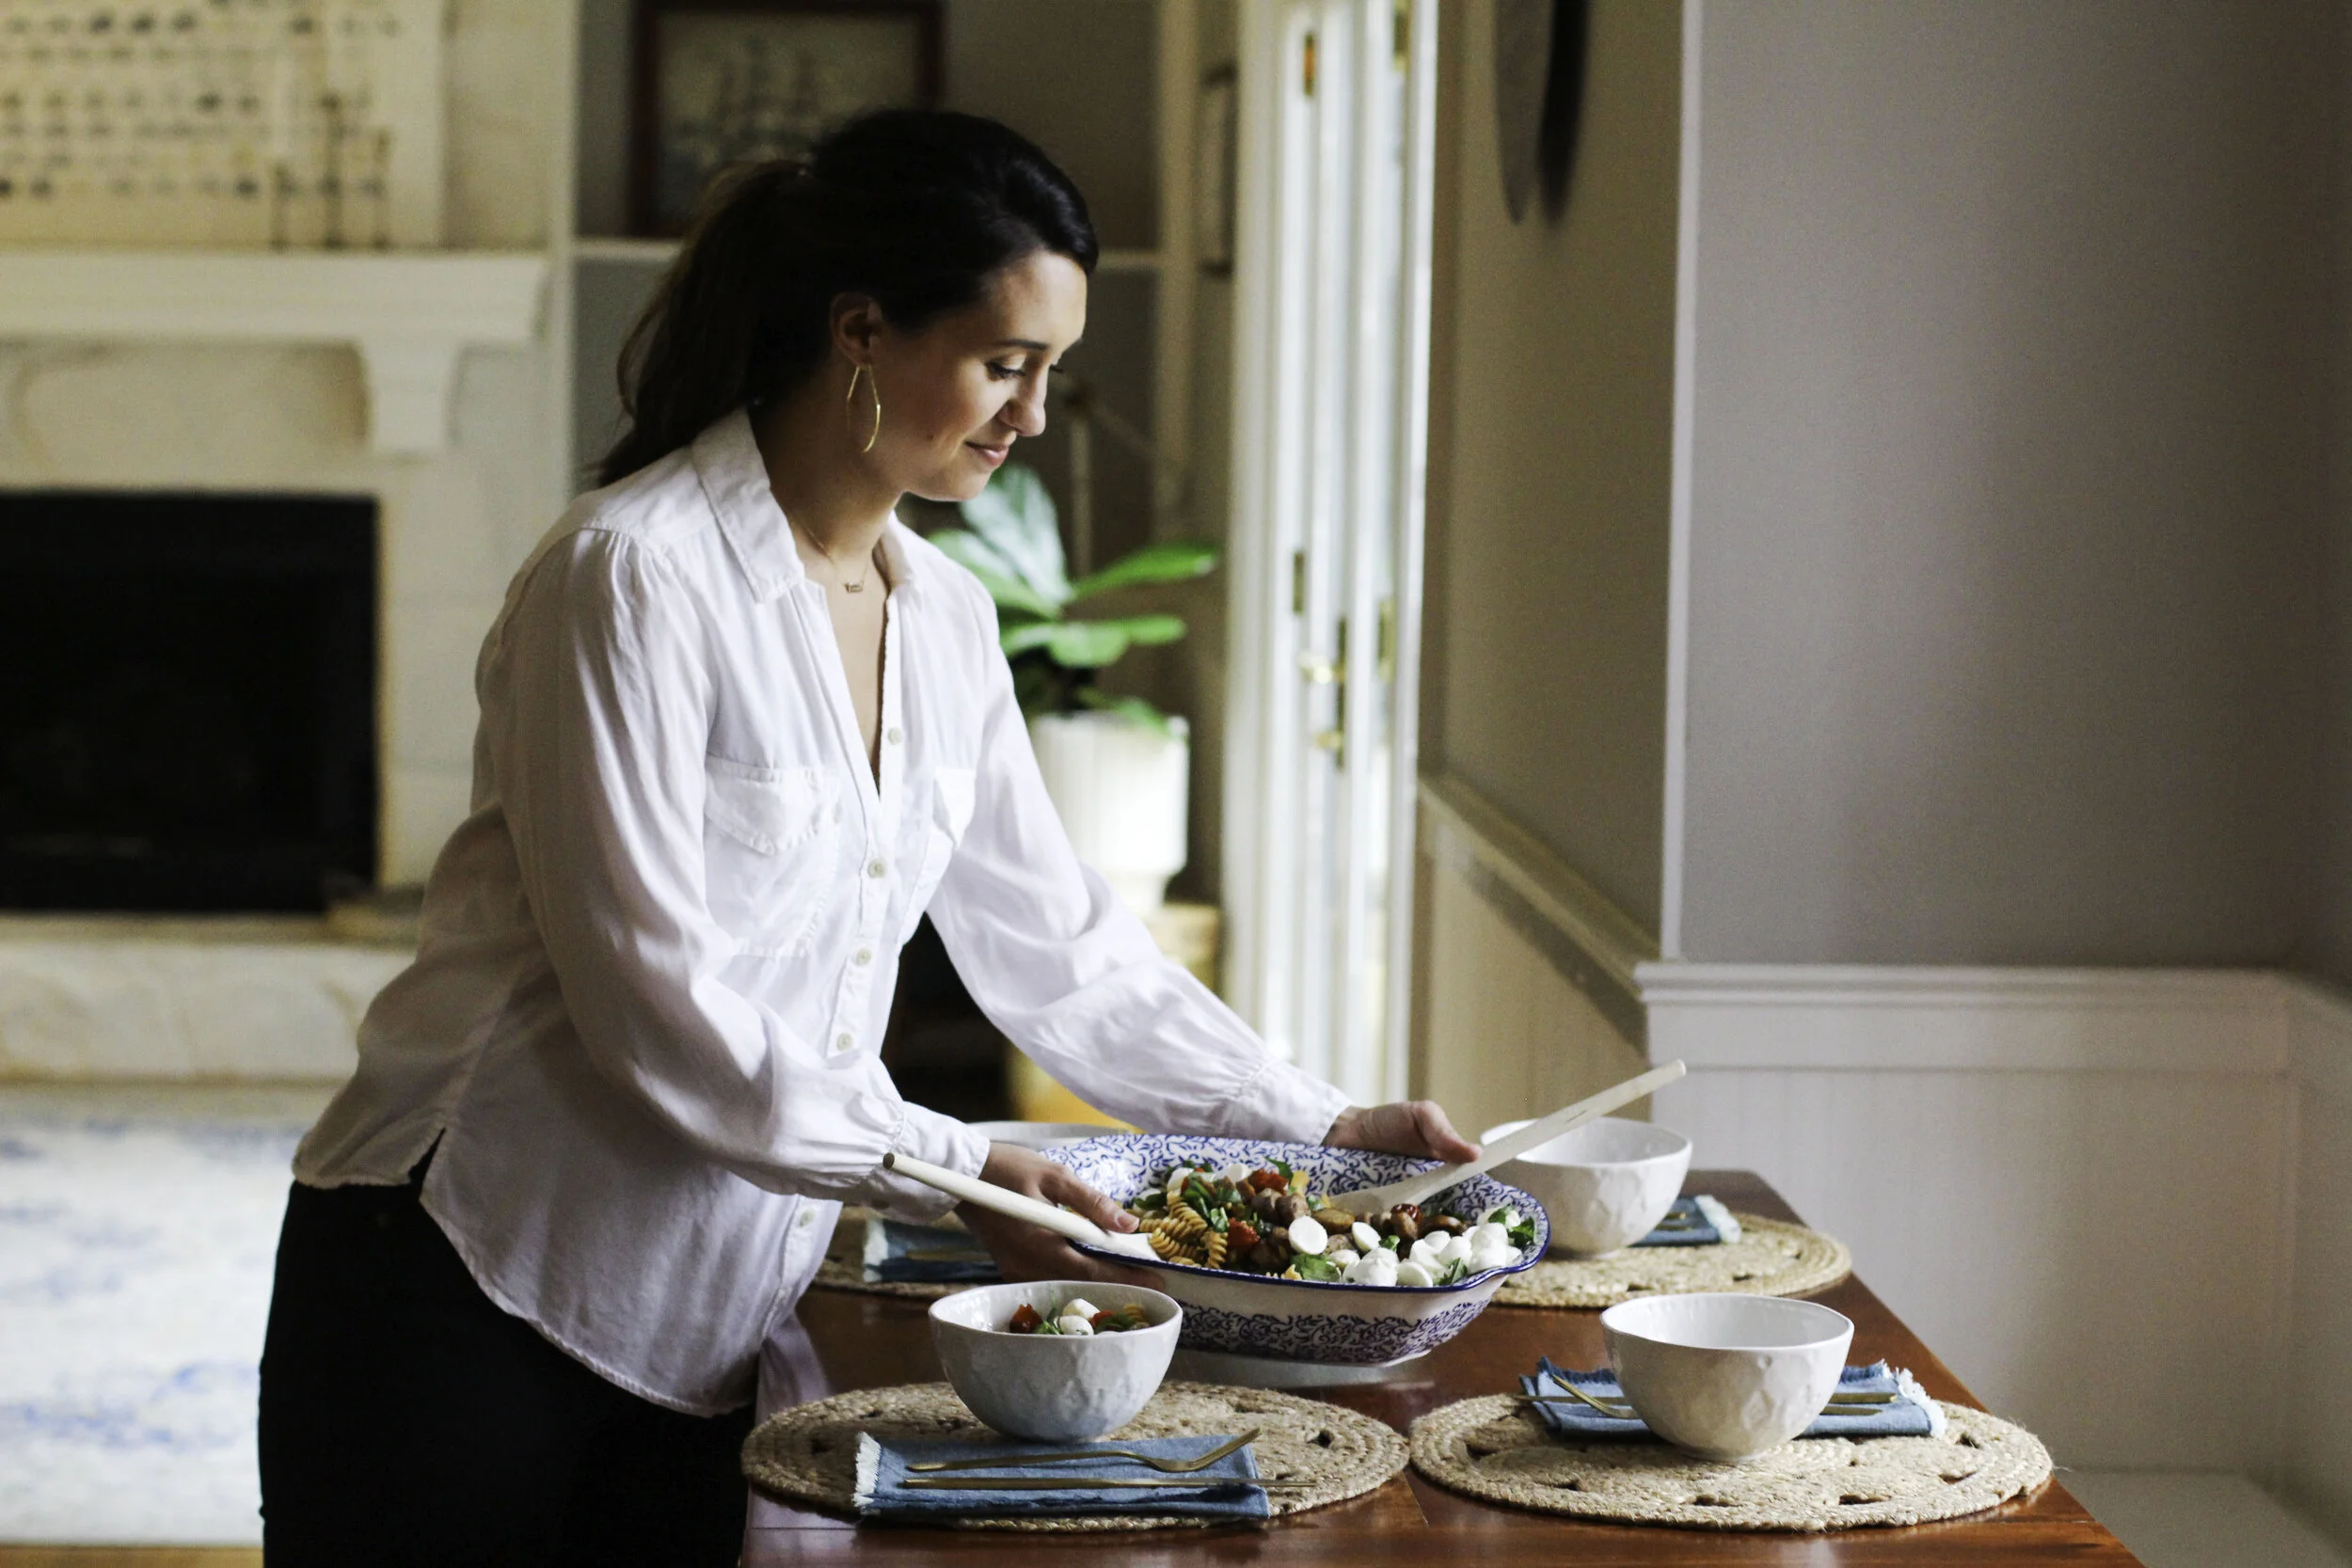
The new baby meal train ran out a while ago, so mama is back in the kitchen!

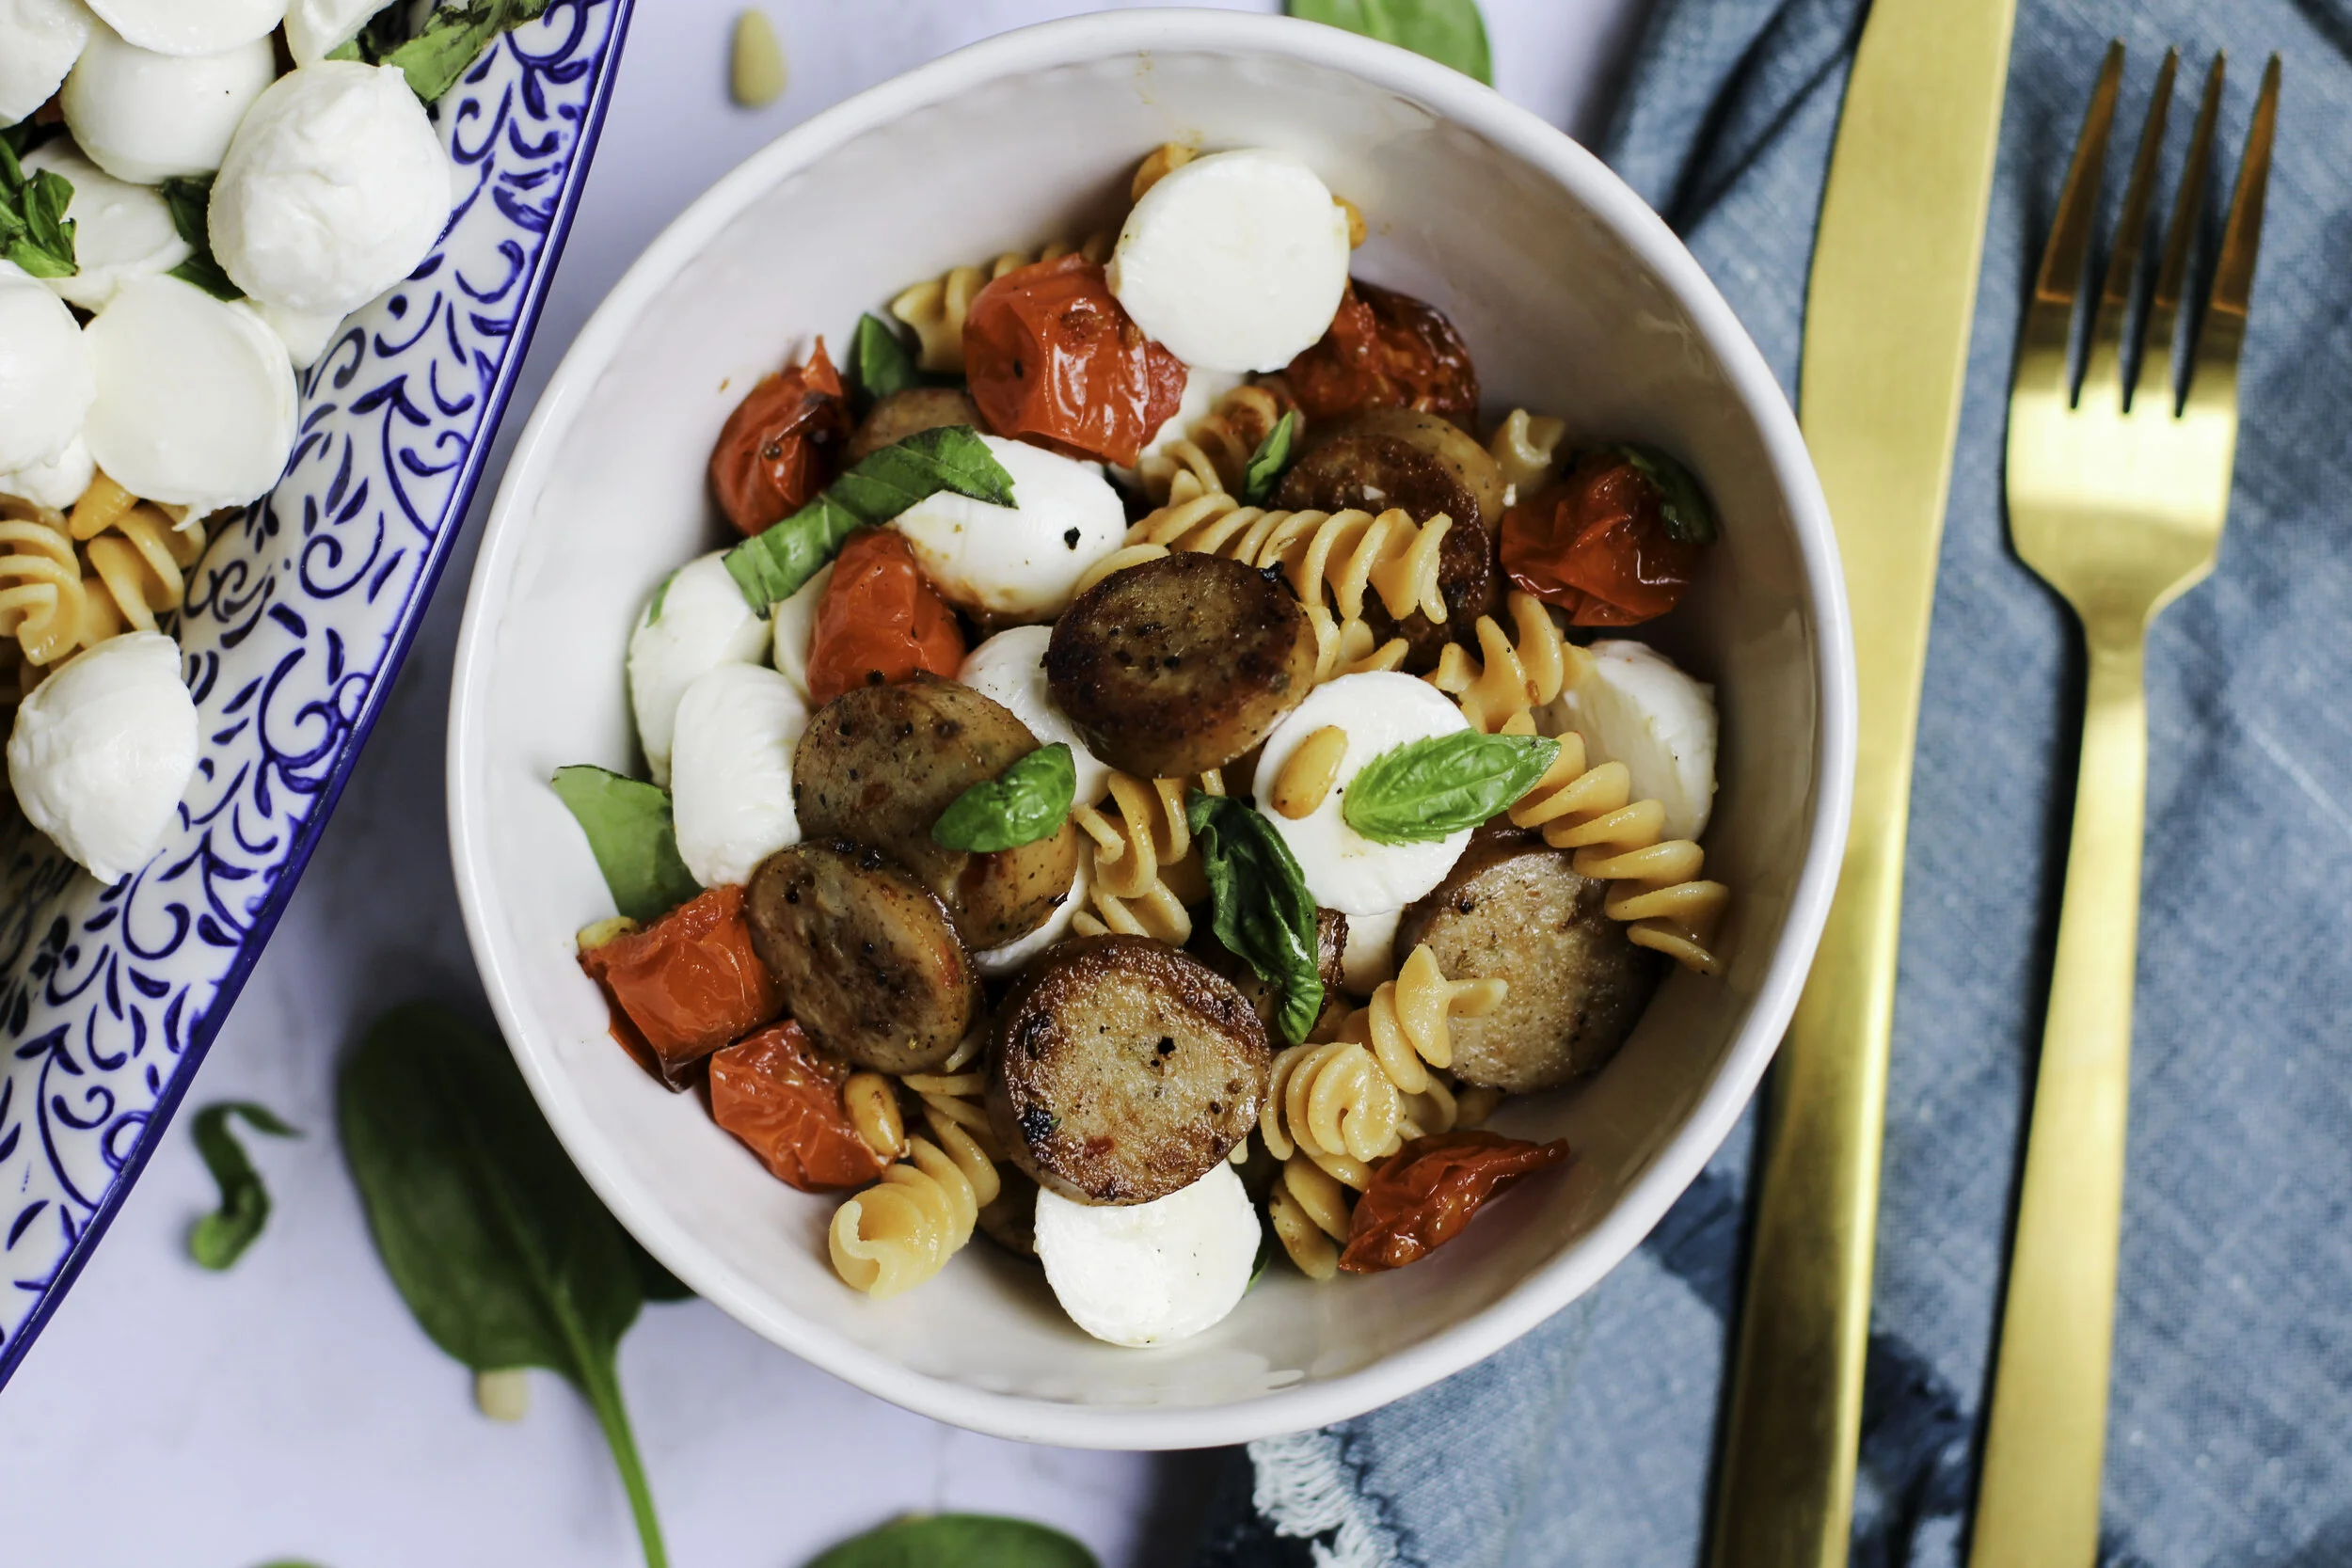
This chicken sausage, mozzarella & basil chickpea pasta is a new recipe I created for my family, and since its packed with so many vibrant ingredients, it has quickly become a team Hale favorite! For this recipe, I used al fresco's Pasta Night Mild Italian Style Chicken Sausage to make it an easy weeknight meal. This chicken sausage is a healthy time-saver, and since its crafted with Italian herbs and red & green peppers, it's a delicious addition to this pasta situation ;)

Mamas, give yourself 30 minutes to make this one, and you will also have leftovers for lunch the next day (my favorite kind of meal!)

Pasta3.jpg
Pasta5.jpg

Ingredients:

  • 12 oz. Al Fresco Pasta Night Mild Italian Style Chicken Sausage (1 package - 2 sausages total)

  • ο»Ώ8 oz. pasta of your choice (I used a chickpea rotini)

  • 10 ounces grape tomatoes, sliced in halves

  • 8 oz. fresh ciliegine mozzarella (round cherry size), sliced in halves

  • 1/4 cup fresh basil, roughly chopped

  • handful of baby spinach, roughly chopped

  • 1 tsp fresh minced garlic

  • 1/3 cup pine nuts (can omit for nut-free version)

  • ο»Ώ1-2 tbsp. olive oil

  • salt and pepper, to taste

Method:
1. Preheat the oven to 450. While waiting for the oven to pre-heat, go ahead and cook your choice of pasta al dente, according to package instructions (I chose to use chickpea rotini.) Drain pasta and set aside.

2. While the pasta is cooking, toss the grape tomatoes and pine nuts with 1 tbsp. olive oil and garlic. Spread mixture on a baking sheet and roast in the preheated oven for 10-14 minutes, until skins are browned and begin to split. Remove from oven and set aside to cool.

3. While pasta is cooking and the tomato/pine nuts are in the oven, heat a skillet over medium. Heat the sliced chicken sausage for approx. 5 minutes until lightly browned (I like to get a nice char here but you can do whatever you like!)

4. Combine all ingredients into a large mixing bowl, including the drained pasta, tomatoes and pine nuts, chicken sausage, mozzarella, chopped spinach and basil. Season with salt and pepper and drizzle a bit of extra olive oil to taste. Enjoy!

Pasta6.jpg
Pasta4.jpg
Pasta8.jpg
Pasta2.jpg
Pasta7.jpg
Pasta10.jpg
pasta14.jpg
pasta11.jpg

Notes:
- Even though the chicken sausage is fully cooked in the package, I like to heat it up on the stove top (although you can easily do the grill or even the microwave) to get a little crispy texture.
- If you are saving some leftovers for the next day, drizzle a bit of olive oil on top right before serving.
- With a few simple swaps, this would make an excellent Greek pasta as well! Adding kalamata olives and swapping the mozzarella for fresh goat cheese!

Pasta13.jpg
Pasta12.jpg

Freezable Breakfast Burritos.

I haven't really cooked in 6 months.

This pregnancy really did me in. I spent the first three months sick, and the following three months busy. And annoyed with cooking. The desire to nourish my family absolutely vanished. And that's really abnormal for me, because I usually find that a simple waltz through Williams Sonoma can cure me of any culinary-related boredom or ailment. But not this time, friends.

Well, since returning home after our month-long stint in New York, I was suddenly struck with the eagerness to bake muffins. And soup. And stew. And then I saw my friend Liz's instagram post about making her family breakfast burritos in bulk and freezing them and I was re-bitten by the cooking bug. I should make everything in bulk AND FREEZE IT.

I know that's not, like, a new idea. But the idea came at just the right time. And let me just say, my boys are really really happy that I'm back in the kitchen.

We played around with this recipe and came up with our own preferred ingredients. And it's so easy and wonderful to have a delicious, nourishing breakfast that is ready as early as you are. Because I don't know about you, but over here we are up at 6 and I wake up voraciously famished. The recipe + method are below!

Ingredients:
- 1 package Aidell's Chicken + Apple Sausage, diced
- 12 eggs
- 1 onion, diced
- 1 package frozen hash browns
- 12 flour tortillas
- Shredded cheese
- Salt + pepper to taste
- Olive oil
* wax or parchment paper
* large, freezer-safe zip-top bags

Method:
1. Heat up diced sausage and diced onion in a medium skillet, over medium heat. Add a bit of olive oil to the pan, just to keep things from sticking. Cook until everything is heated through and the onion is translucent, about 5 minutes. Transfer to a mixing bowl, set aside. Keep the skillet heated over medium, add a bit more olive oil.

2. Crack and whisk the 12 eggs in a large mixing bowl, adding salt and pepper to your preference. Add the eggs to the heated skillet and stir until cooked. Transfer to a clean mixing bowl, set aside.

3.  Heat the hash browns in the same skillet, according to the instructions on the package. Set aside into a third mixing bowl.

4. Heat the tortillas on a dampened paper towel for 10-15 seconds, or until warm and malleable.

5. To compile the burritos, create an assembly line with the ingredients. Take one tortilla and add 1/3 cup size of scrambled eggs, followed by the sausage/onion mixture, the hash browns and finally sprinkle with cheese. Tuck the outer edges in first, then roll the tortilla (it will fold over in thirds). Place the tortilla seam-side down on wax paper, and completely roll and wrap the burrito with the paper.

6. Repeat this method until you run out of ingredients!

7. Place the wrapped burritos in large, freezer-safe zip-top bags. Store in the freezer and remove as needed. This recipe should make you about 12 burritos.

A few notes on these burritos:
- It helps to have a buddy with the assembly line. Stevie and I compiled these in about 15-20 minutes after all the ingredients were cooked, and it really helped to have him wrap and roll the burritos after I added all the ingredients.

- When you're ready to eat, you can throw the burrito in the microwave (take off the wax paper first!) and heat for 1-3 minutes. It helps to use the "defrost" setting on your microwave, if you have one.

- If can you remember to remove the burritos from your freezer the night before you want to eat them, they will defrost beautifully in the refrigerator and heat more evenly when you do microwave them in the morning. So if you can remember, make sure to pull them out of the freezer the night before!

- You can serve these with salsa if you like, although I find that I like them just the way the are.

- I doubled this recipe and we had breakfast for a few weeks that I didn't have to think about preparing. It was simply bliss.

Let me know if you try these out, friends! Happy cooking + freezing + and eating a blissful breakfast!