

3 Tips for Brunettes Going Ombre.
/
Tips for Brunettes Going Ombre:
I was so ready for a change. But when I went in to see my hair stylist and threw out the option of chopping my hair off, she quickly talked me down off that ledge.
"You're a new mom, right?"
I nodded to her.
"Yeahhh, no. Let's do something slightly less drastic."
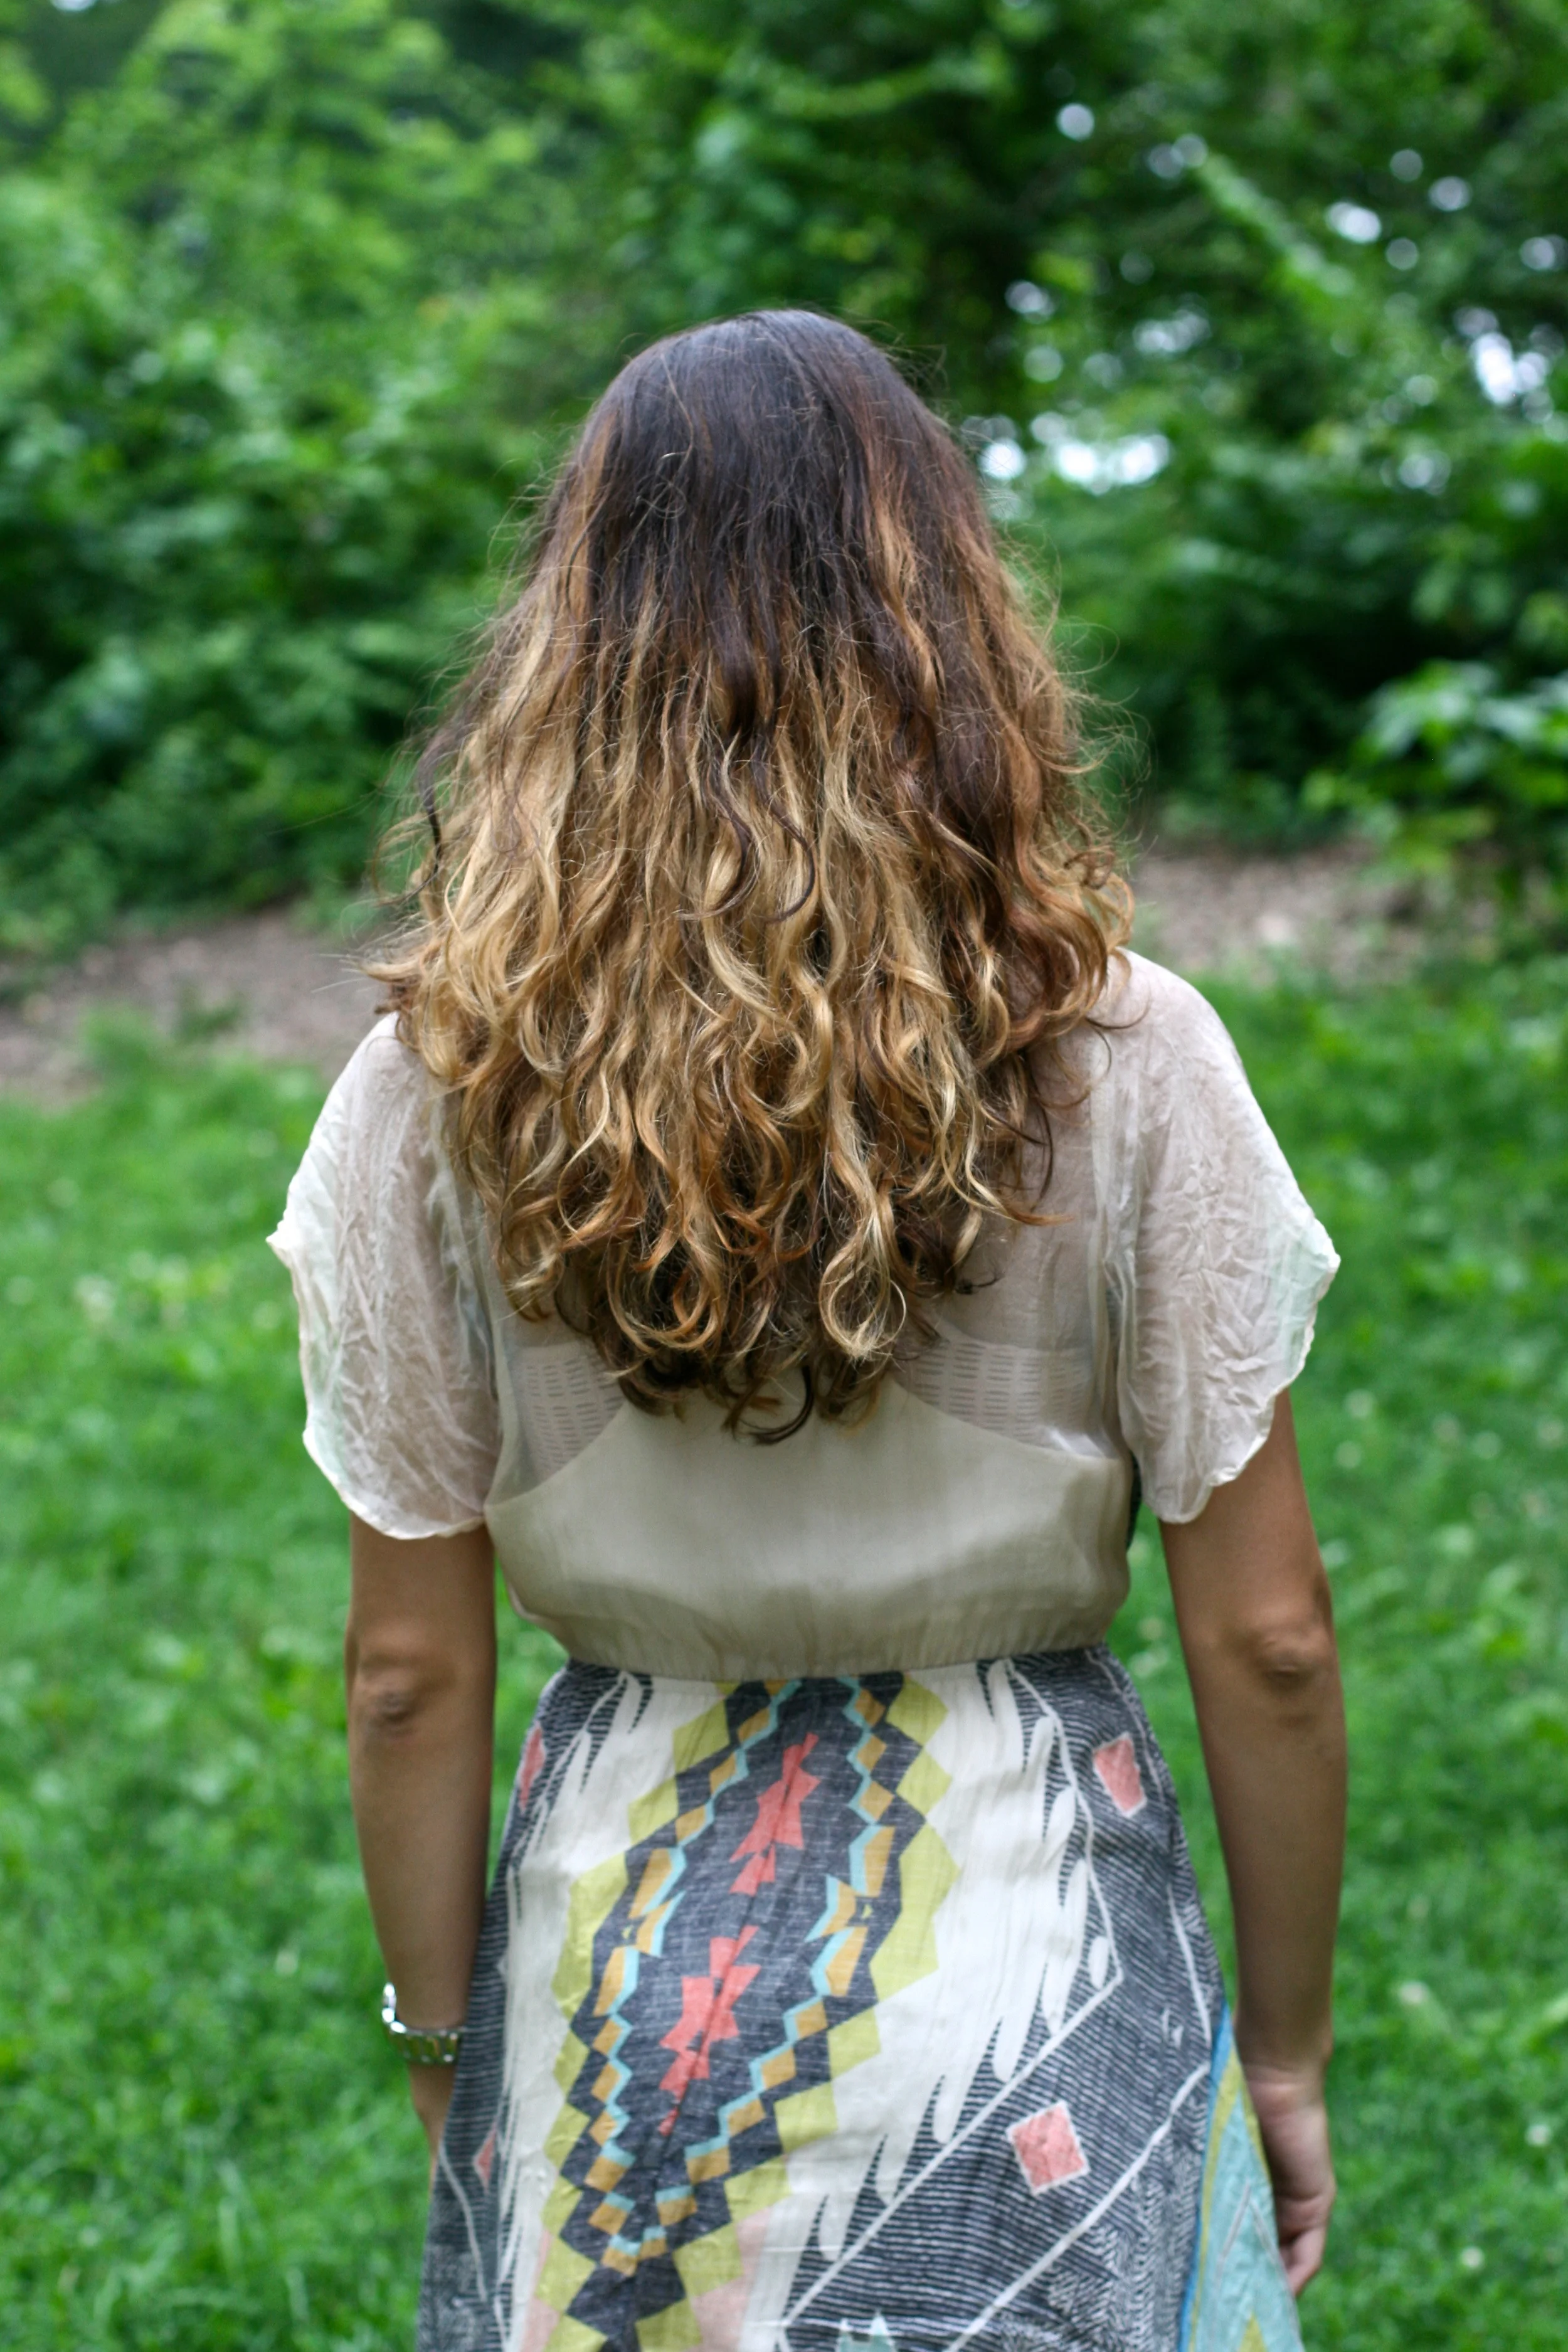
She was probably right to steer me away from something that might make me cry later. We settled on going for an ombre-esque color job. I didn't want something stark and uber-trendy, but something that felt fresh and fun. Oh, and something that required literally no "fixing". I don't fix my hair. Like ever. My kid uses my hair brush exponentially more often than I do. I feel your sweeping gasp of surprise. No really, I know you're not surprised, because my hair looks like a hive everyday. I don't mind. I like the weird kinky waves and I got excited that the new color might actually make those pop a bit more. Meaning maybe I don't need to fix it ever...?
It's been a bit of a journey, this whole dying-my-hair thing. I have really really dark hair. So lifting the color many many shades lighter has been a process, and it's been different than I expected. Blondes, you people have it so easy. Even light-brownie girls, it's a breeze for you. But us chocolate-heads? Well, if you want to go bright, it takes a bit more time/effort/frying than you might think. Here are a few things I learned along the way.
1. Bring in Inspiration Photos. A LOT of Photos.
First things first. You need to explain in detail to your stylist exactly what you want. The kind of ombre you're looking for - subtle? Stark? Natural-looking? Trendy? Now I know that showing the hairdresser photos of Victoria Secret models isn't really fair. "I really like her hair. Can you make me look like her??" That's a tall order. I mean, she's a stylist, not a wizard. But I have to be honest, I really DO like those angels' hair. It looks natural and messy and pretty. And the gradation of color is exactly what I like. So when I showed my stylist photos of Lily Aldridge and her gorgeous, yet subtle chocolate to creamy butter shades, she and I agreed on this look as our goal. You can see the Pinterest board I used for inspiration here.
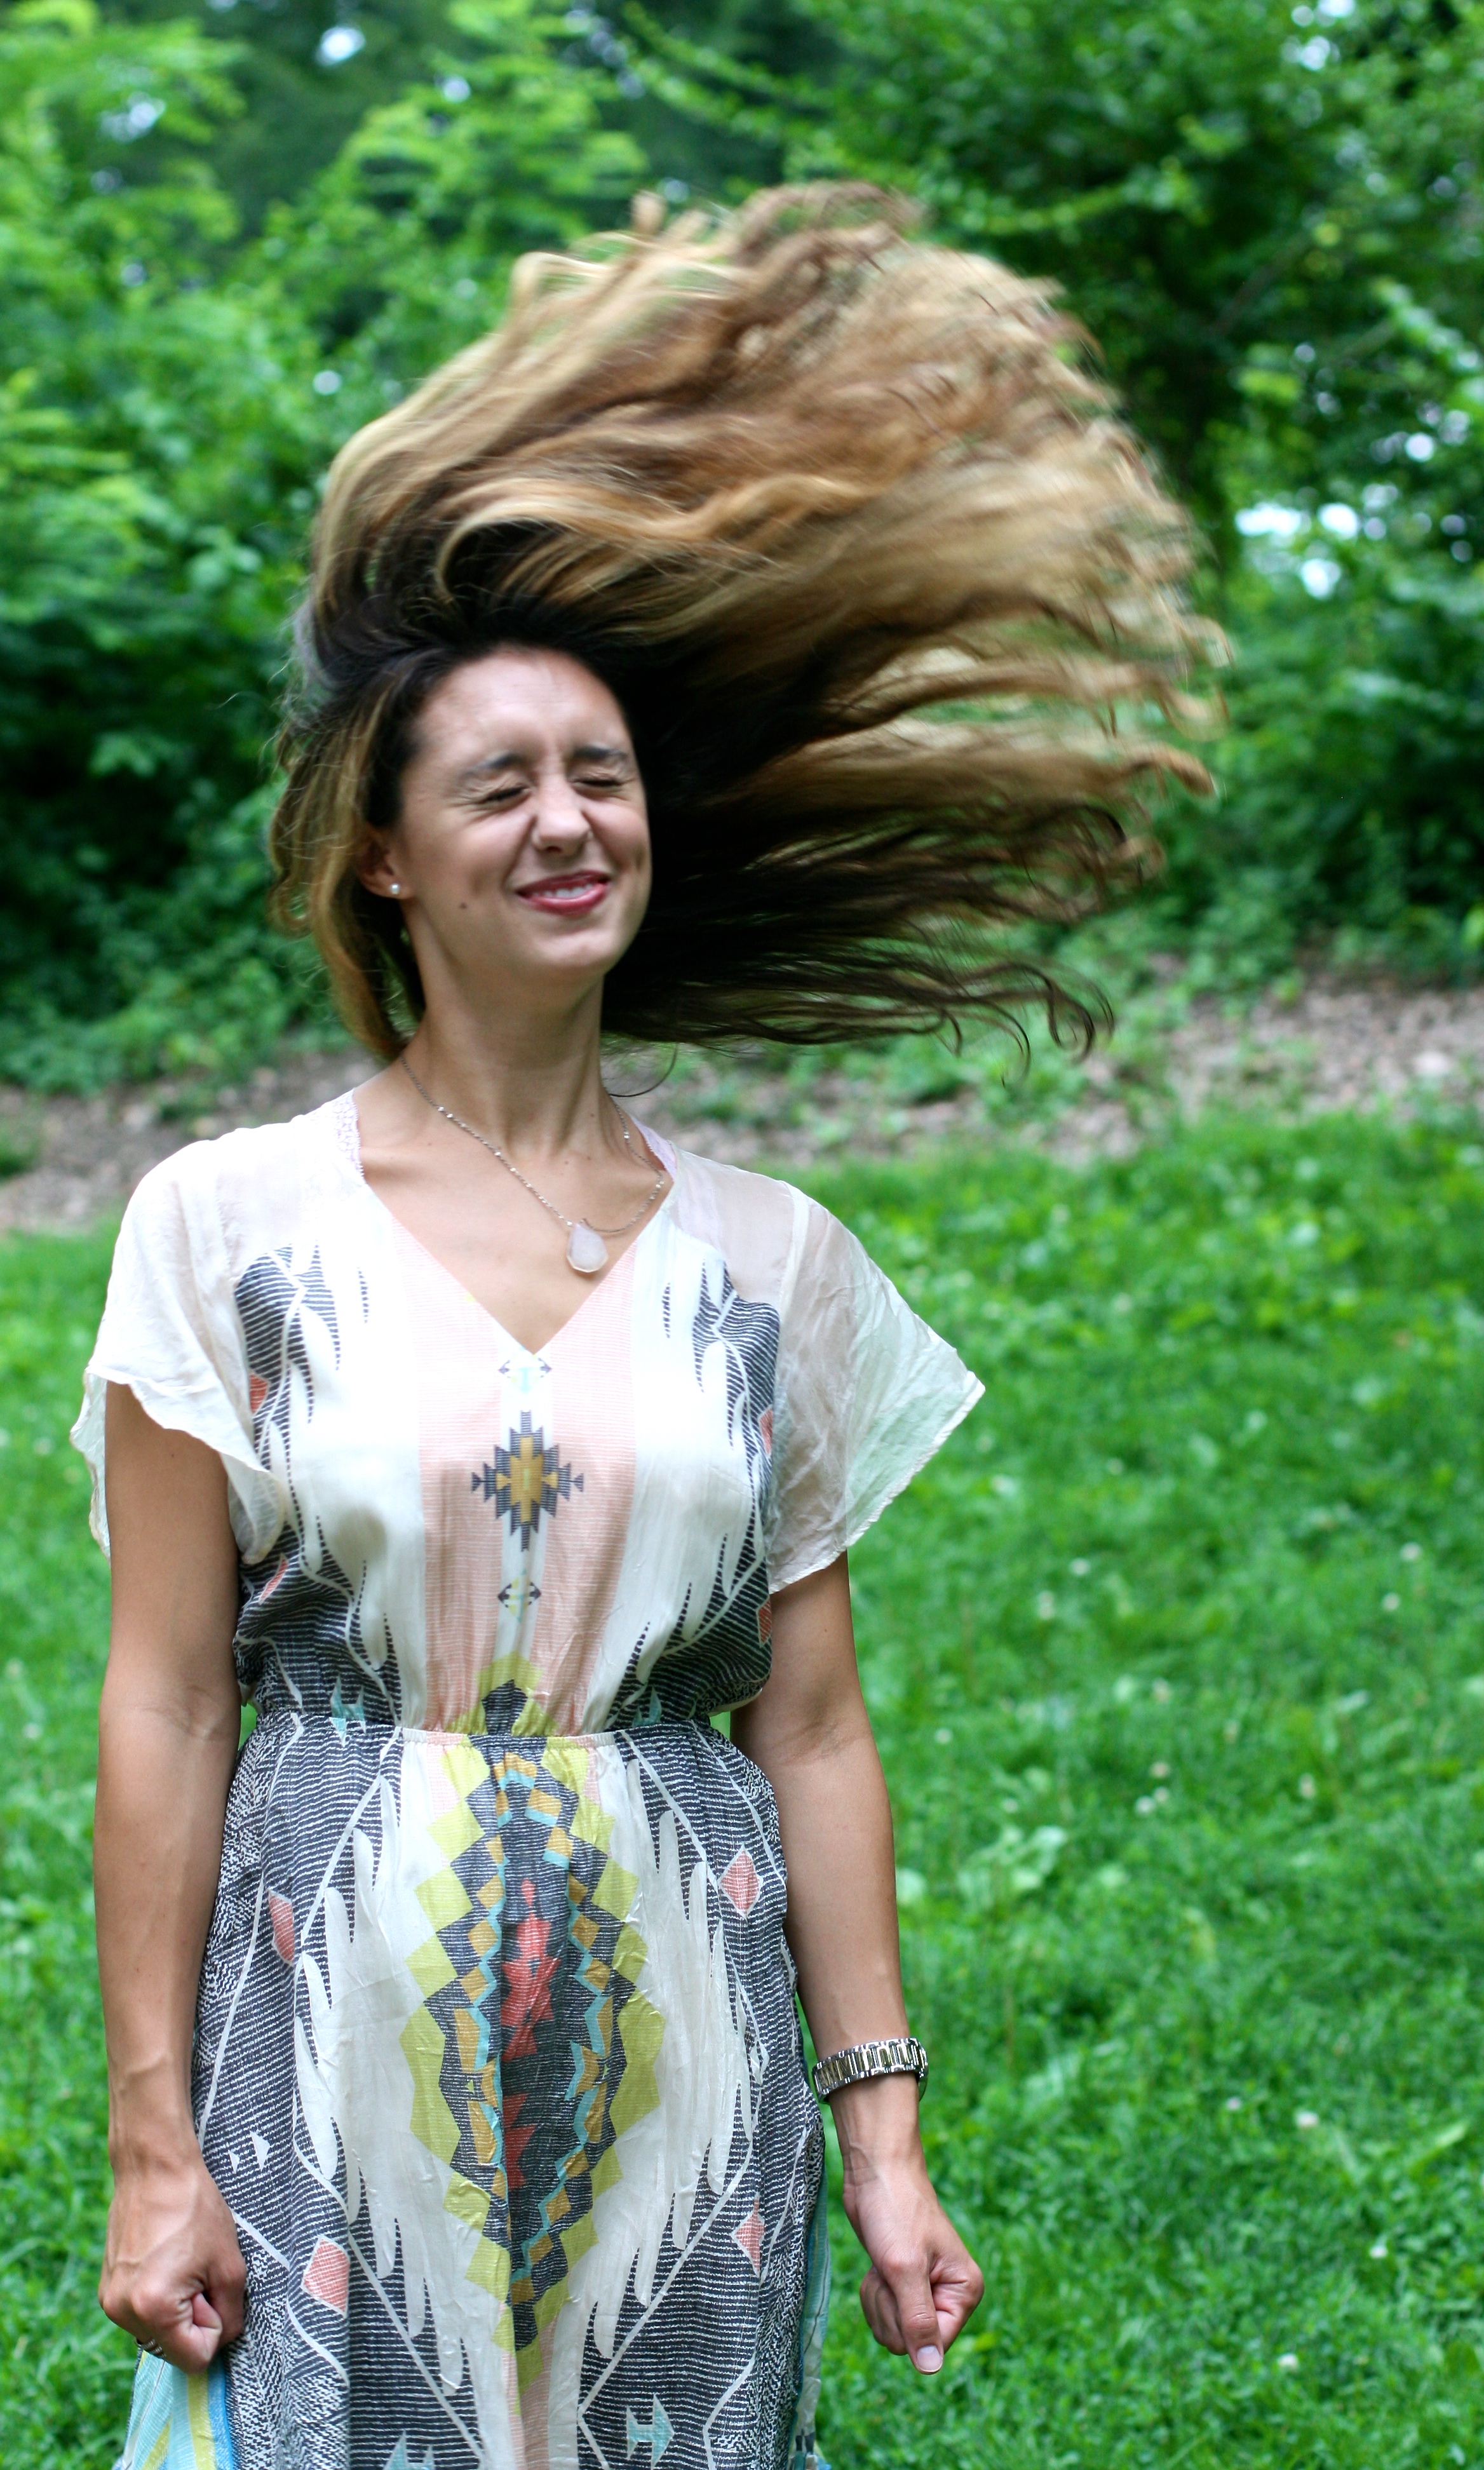
Clearly I can't pose.
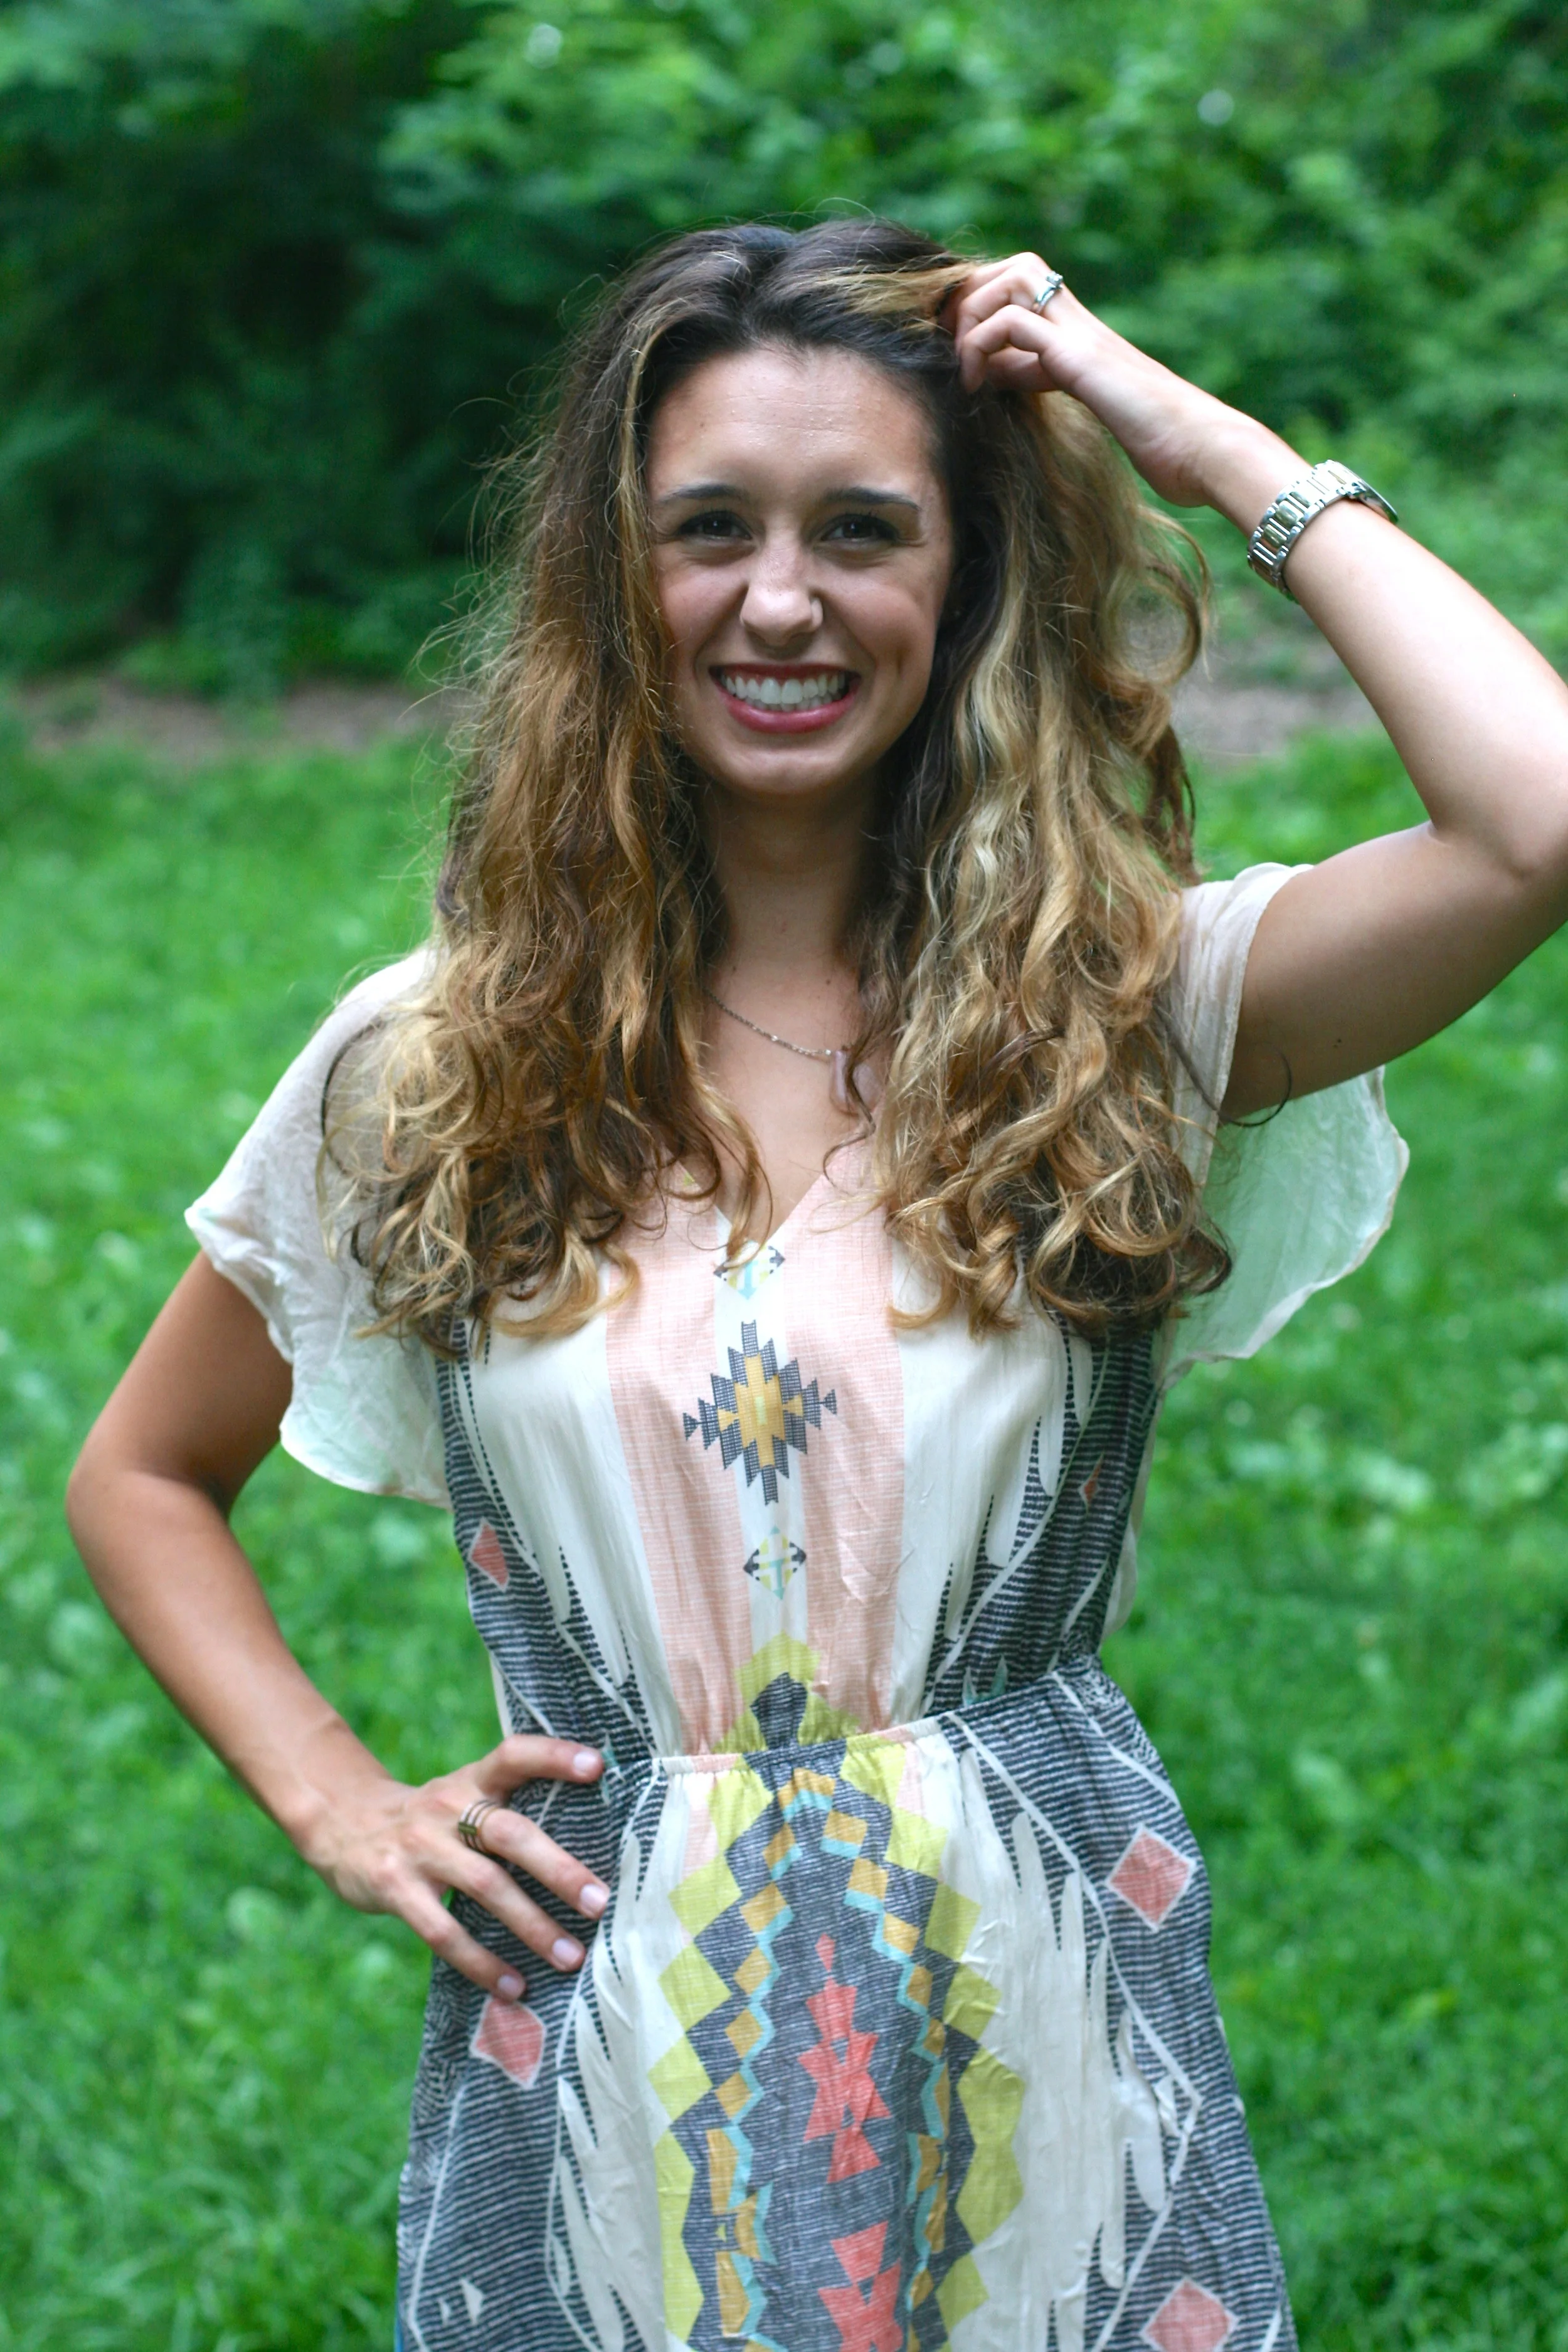
2. Go For Some Face-Framers.
Adding some face-framing pieces creates a bit more pizazz to the front of the face. Also, if you're going for a strong contrast between your natural color and the new color, adding a bit of warmth around the face seems to help "haze" the effect a bit.
3. Adjust Your Expectations.
I'll be honest. It took me three times of sitting in that salon chair to finally achieve the color that I wanted. The first time, there wasn't enough of a contrast and I wanted the color "pop" to be brighter. The second time, things went frighteningly orange. Which can happen to my dark-kind of hair. Copper is like my melatonin's go-to. Grrrr copper. The third time, I finally got that creamy, buttery tone I craved. But this happened over the course of three appointments and 6 weeks of time. So it wasn't an in-and-out, super easy kind of thing.
As a dark brown brunette, it takes a lot of time to process your hair in a healthy way that won't make it snap off. It can be frustrating to wait so long, but being patient is really the only key to getting what you want. Pacing the color appointments in two-week increments helped break up some of the damage so that it had a bit of time to repair in between. And I got to see how the color would react to the sun, to my hair products, and then I could come back in and explain all of that to my stylist.
I'm really happy with the color we landed on here. Although this Georgia humidity is making me feel like I always always have wet curls, the color is super fun and warm and it's exactly what I wanted. For now at least! (We girls have reserved the right to change our minds a lot :)
Post-Dyed Hair Care:
There are a few products that I've been using since I colored my hair, and they have worked out really well. I've alternated this Alba Color Shampoo, this Aveda Co Wash Shampoo and this hilarious blue tint shampoo (it smells a little elderly and perfume-y) but it gets the job done! Also, to protect the color in all this crazy heat and sunshine, I've been using this Aveda Heat Protector Hair Veil before I jump in the pool or spend a long amount of time outside. I use this Honest Company Leave-In Conditioner and this 12 Benefits Hair Treatment everyday when I get out of the shower... and now you know my entire hair routine. I don't really heat style or anything of that sort. Unless I have an extra thirty minutes of time and somewhere fancy to go, which these days, you know... I just don't!
I hope this helps if you're planning on making a big change to your hair! Let me know how it goes!


