Turkey & Poblano Pepper Summer Stew

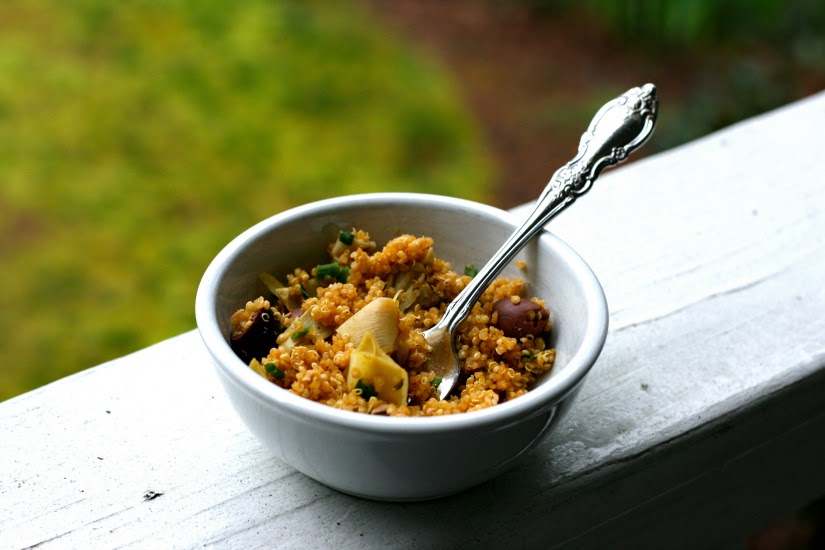
Summer Turkey & Poblano Pepper Stew.

You might think I'm a little crazy to make a hot dish in this steamy summer weather. But actually, this is a perfectly refreshing, fun, easy meal to make, especially on a summer day when you are really craving a good dinner. Once the sun goes down, and you're vibing tacos, but don't want to eat tacos AGAIN, this is a grrrrrreat option to enjoy those kinds of flavors with a twist. The poblano peppers give the stew a little kick, while the Chinese 5-spice, cinnamon and cloves amplify the rich undertones of the flavor. It's definitely a lively meal created with fresh, light ingredients, yet you finish your bowl feeling super satisfied. Oh yum. I'm drooling a little.

Ingredients:

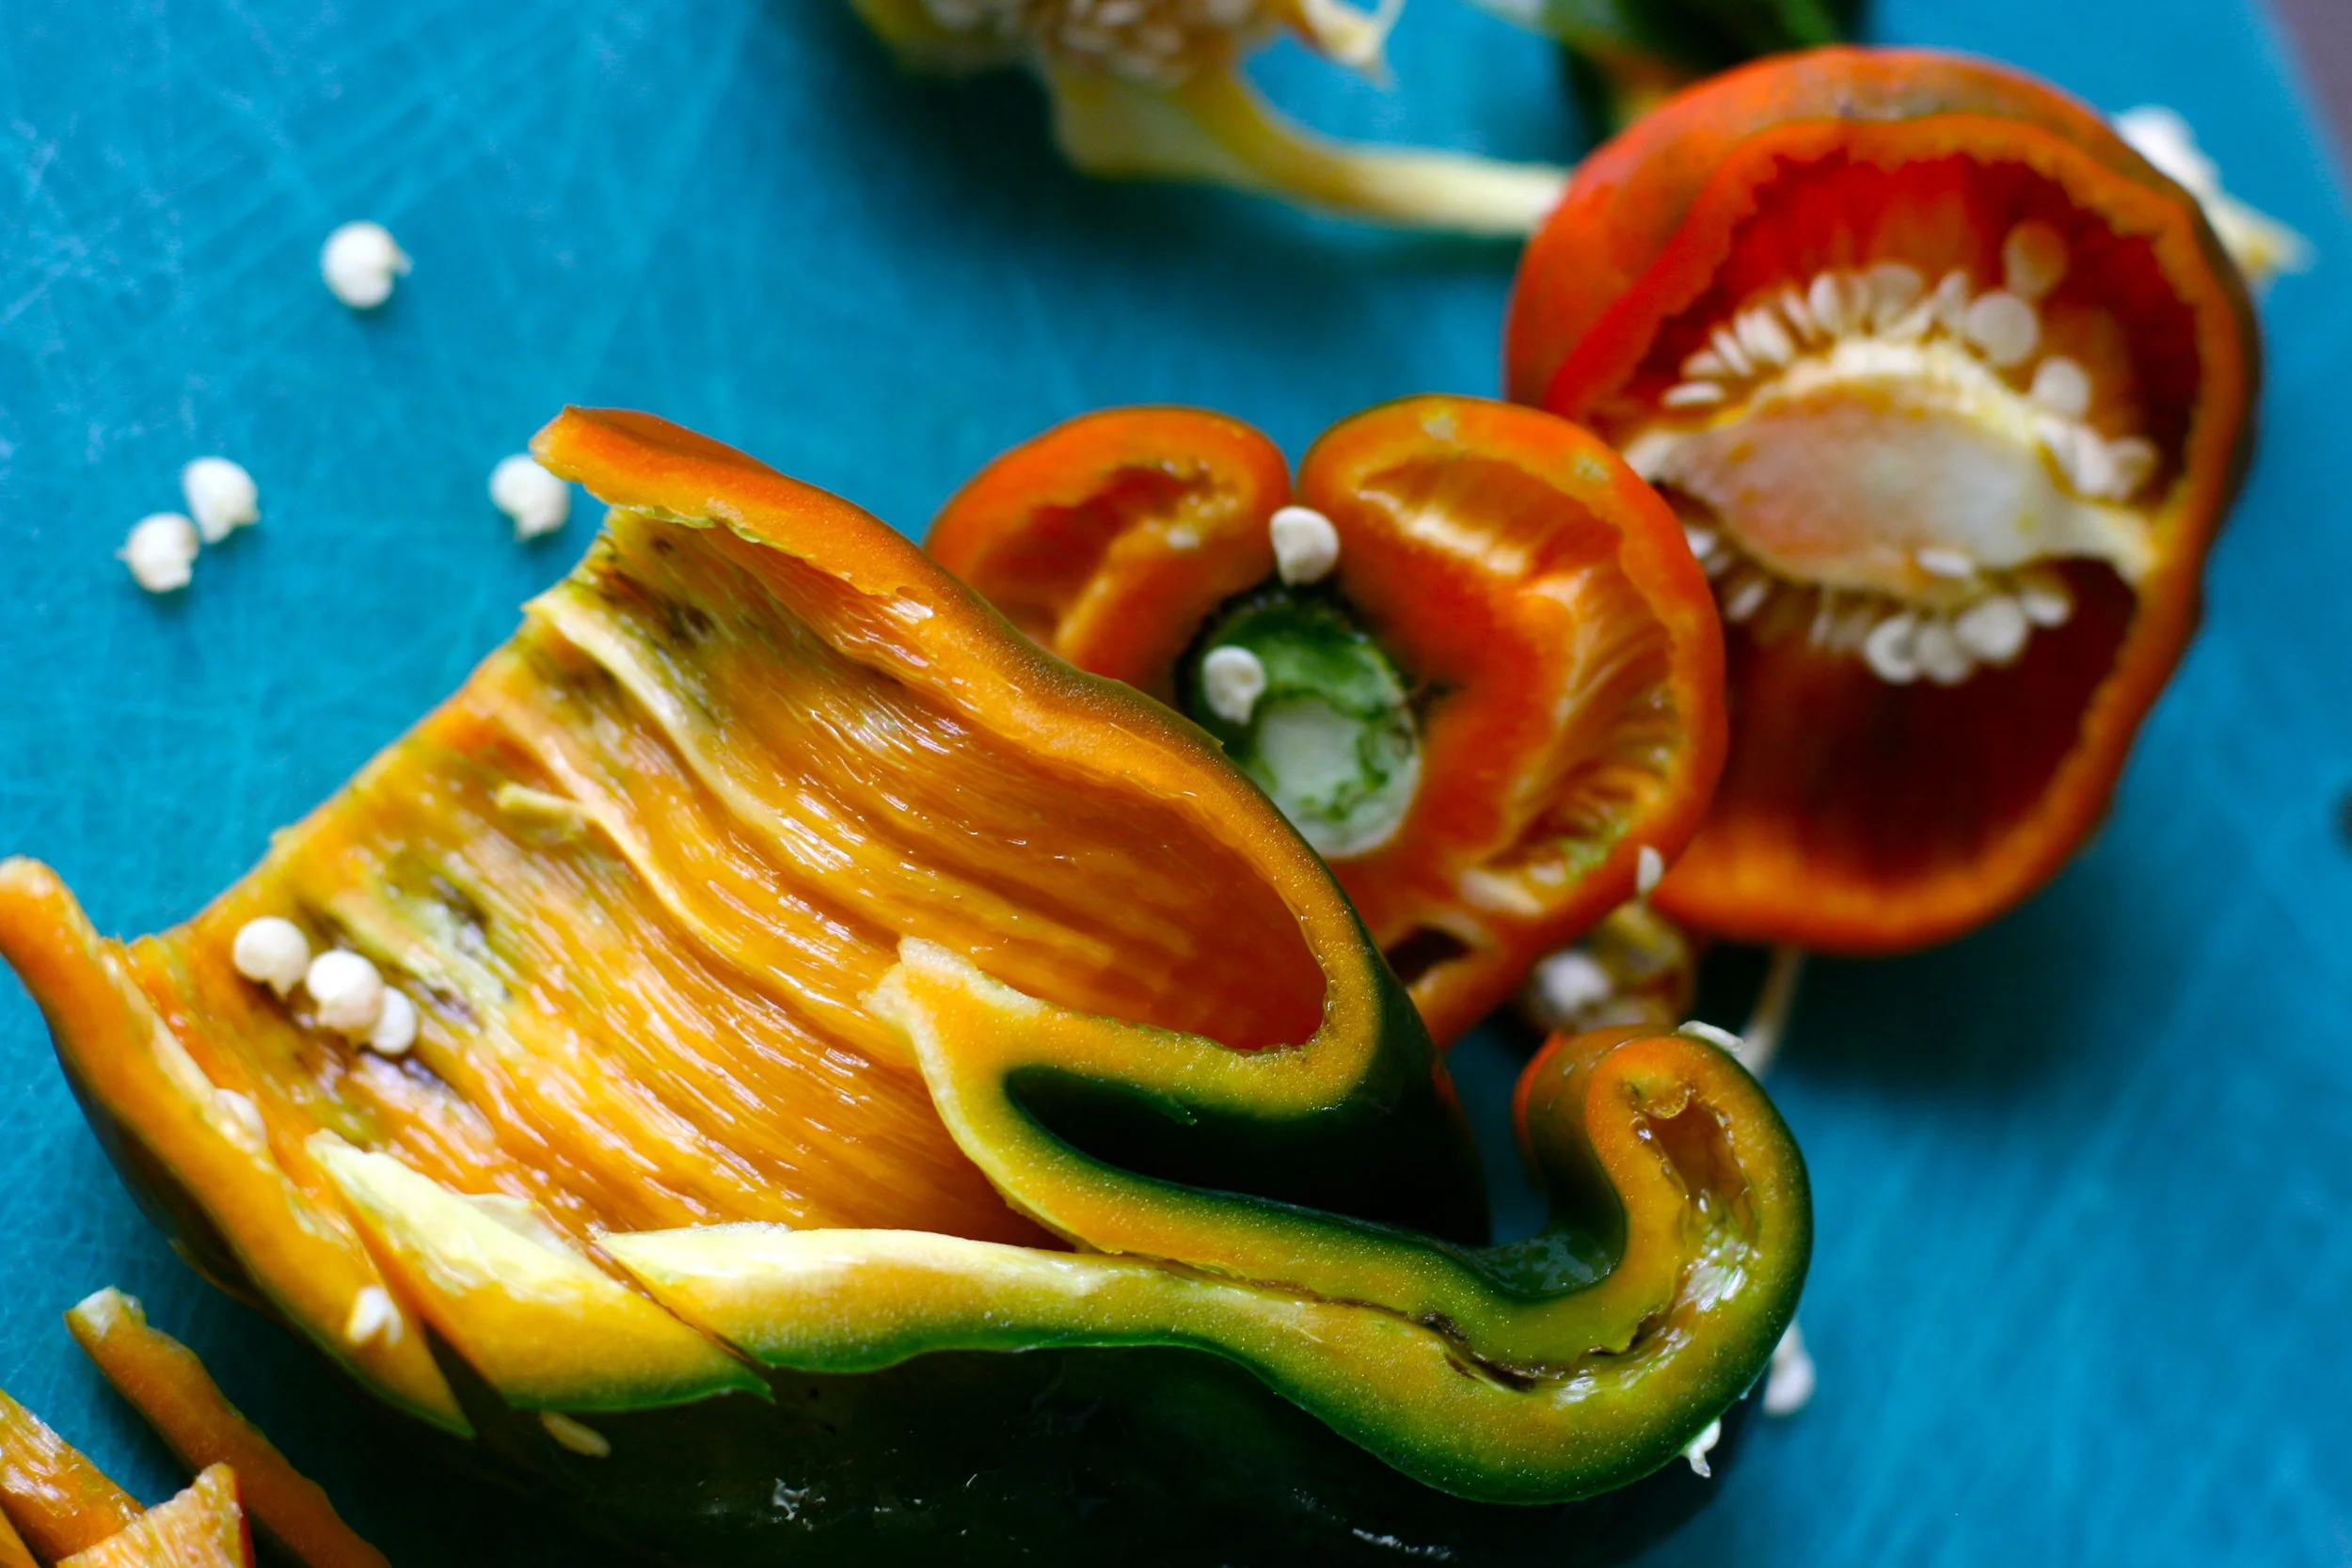
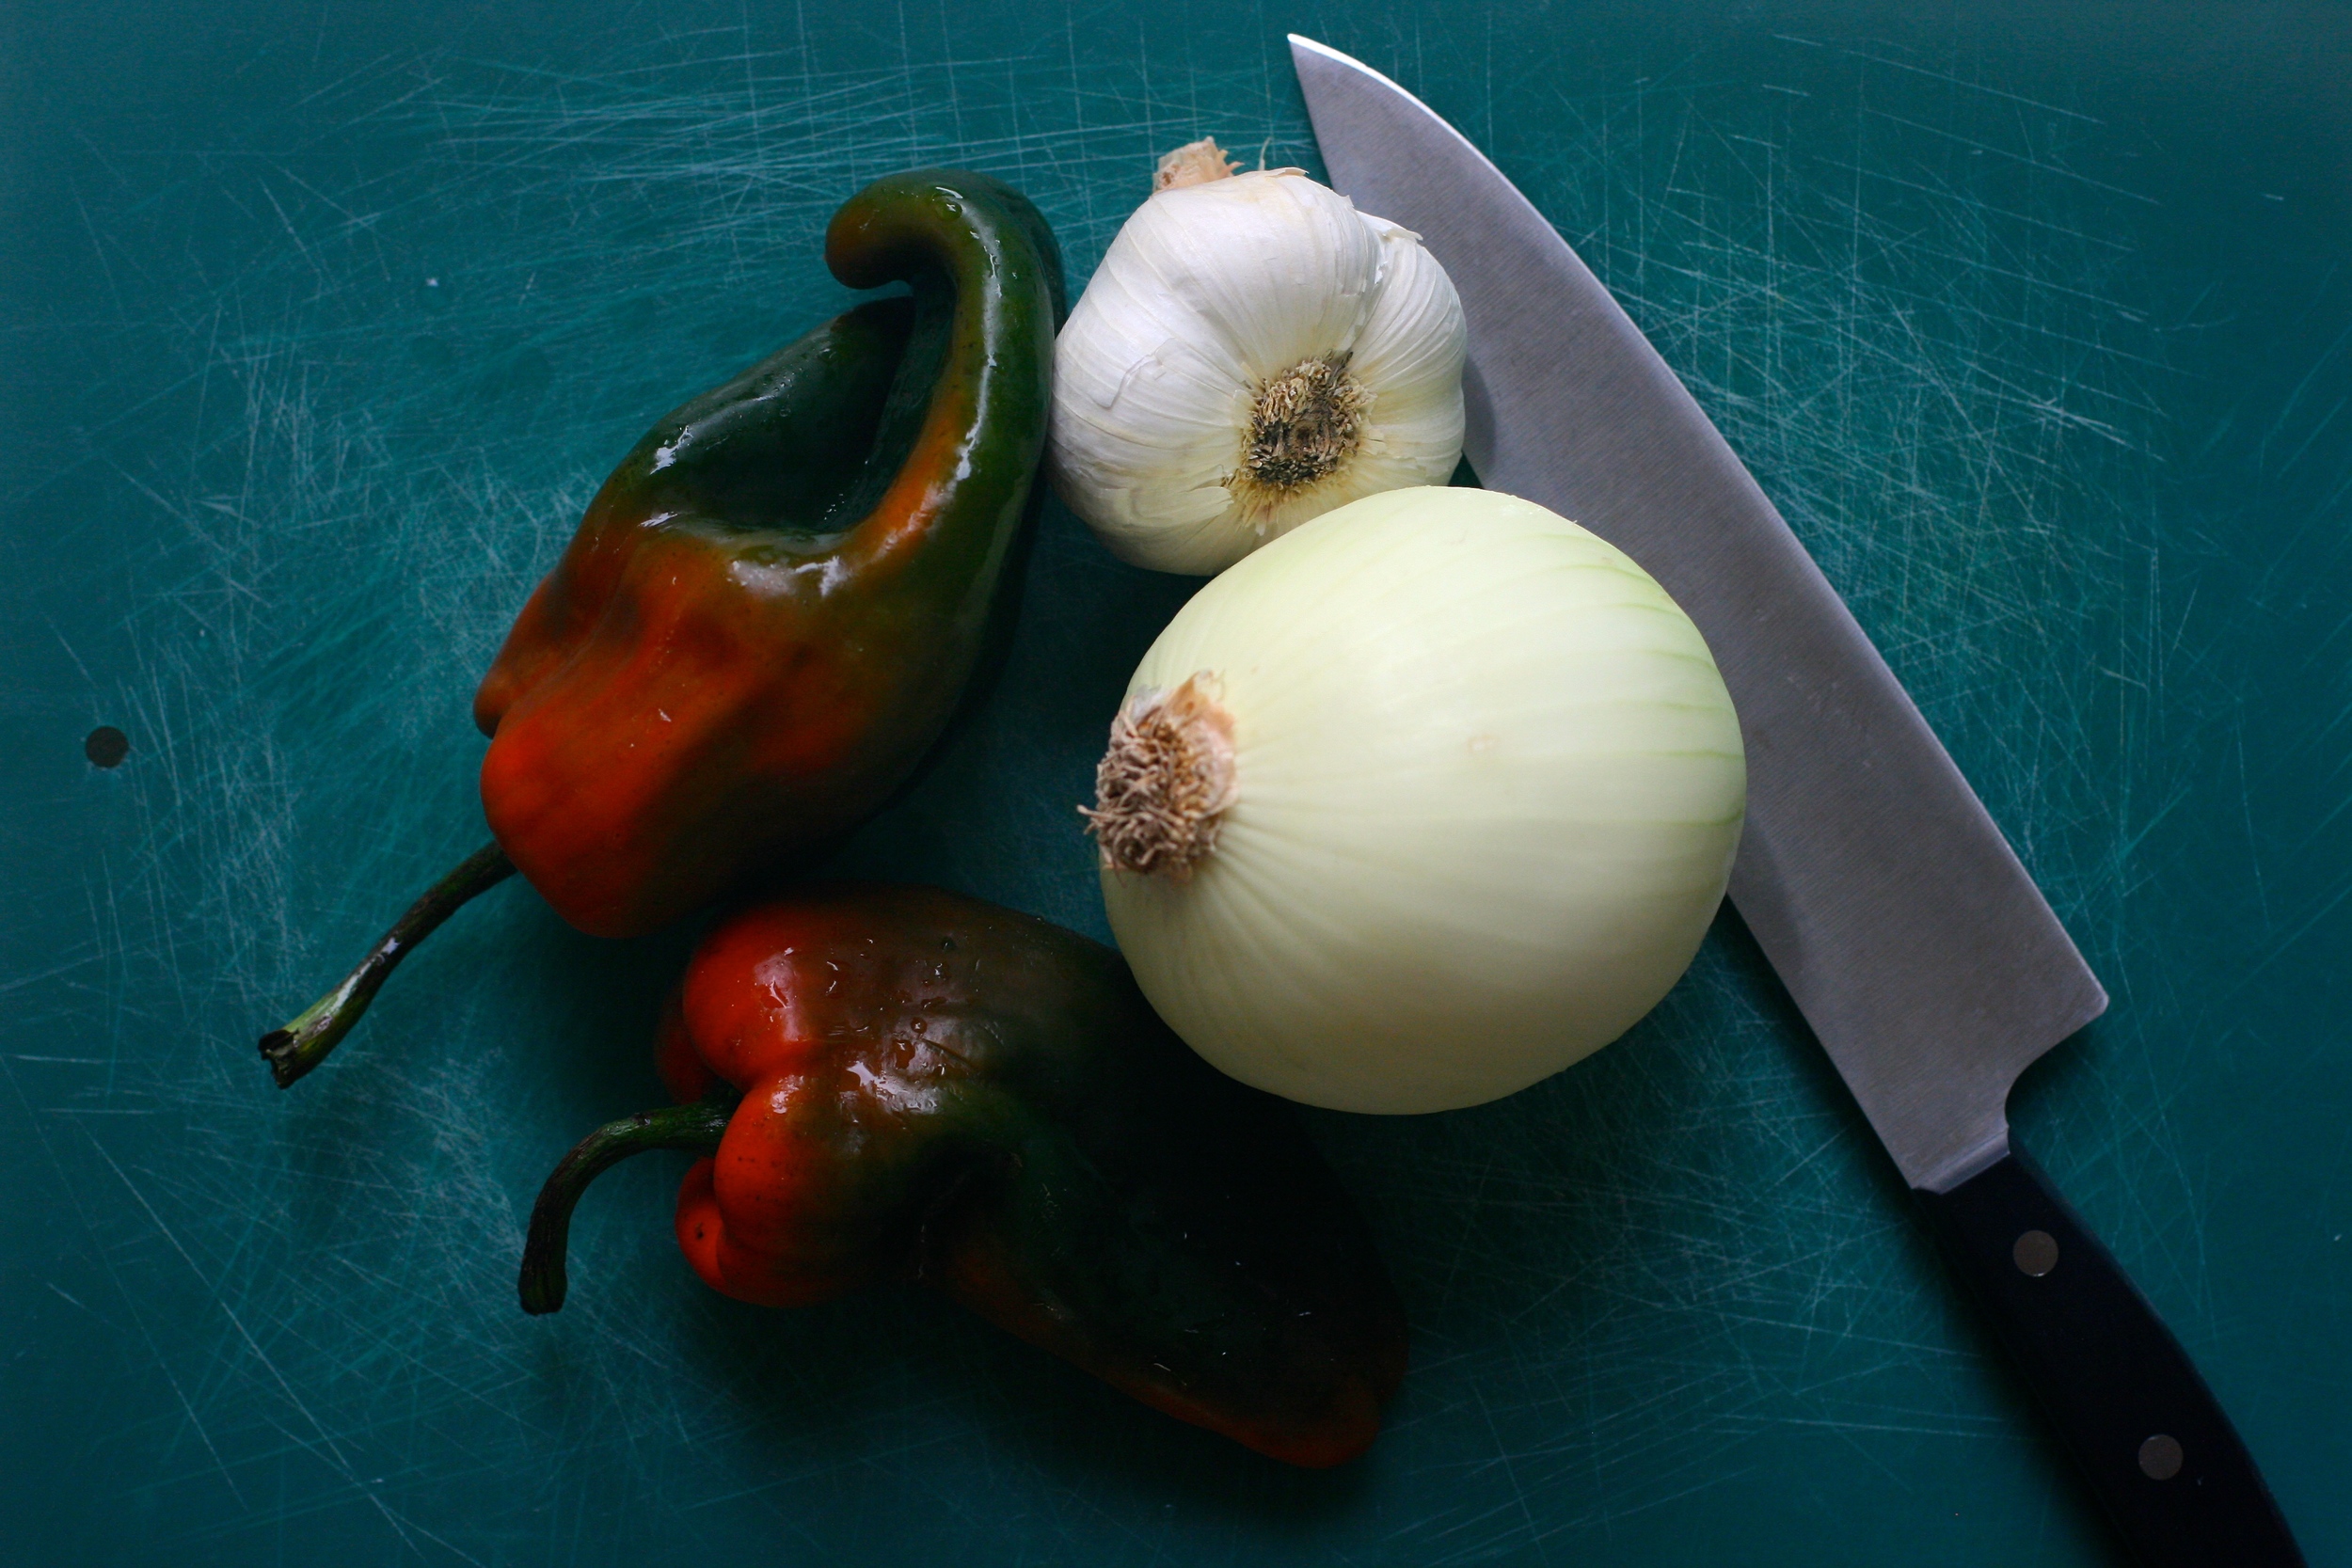
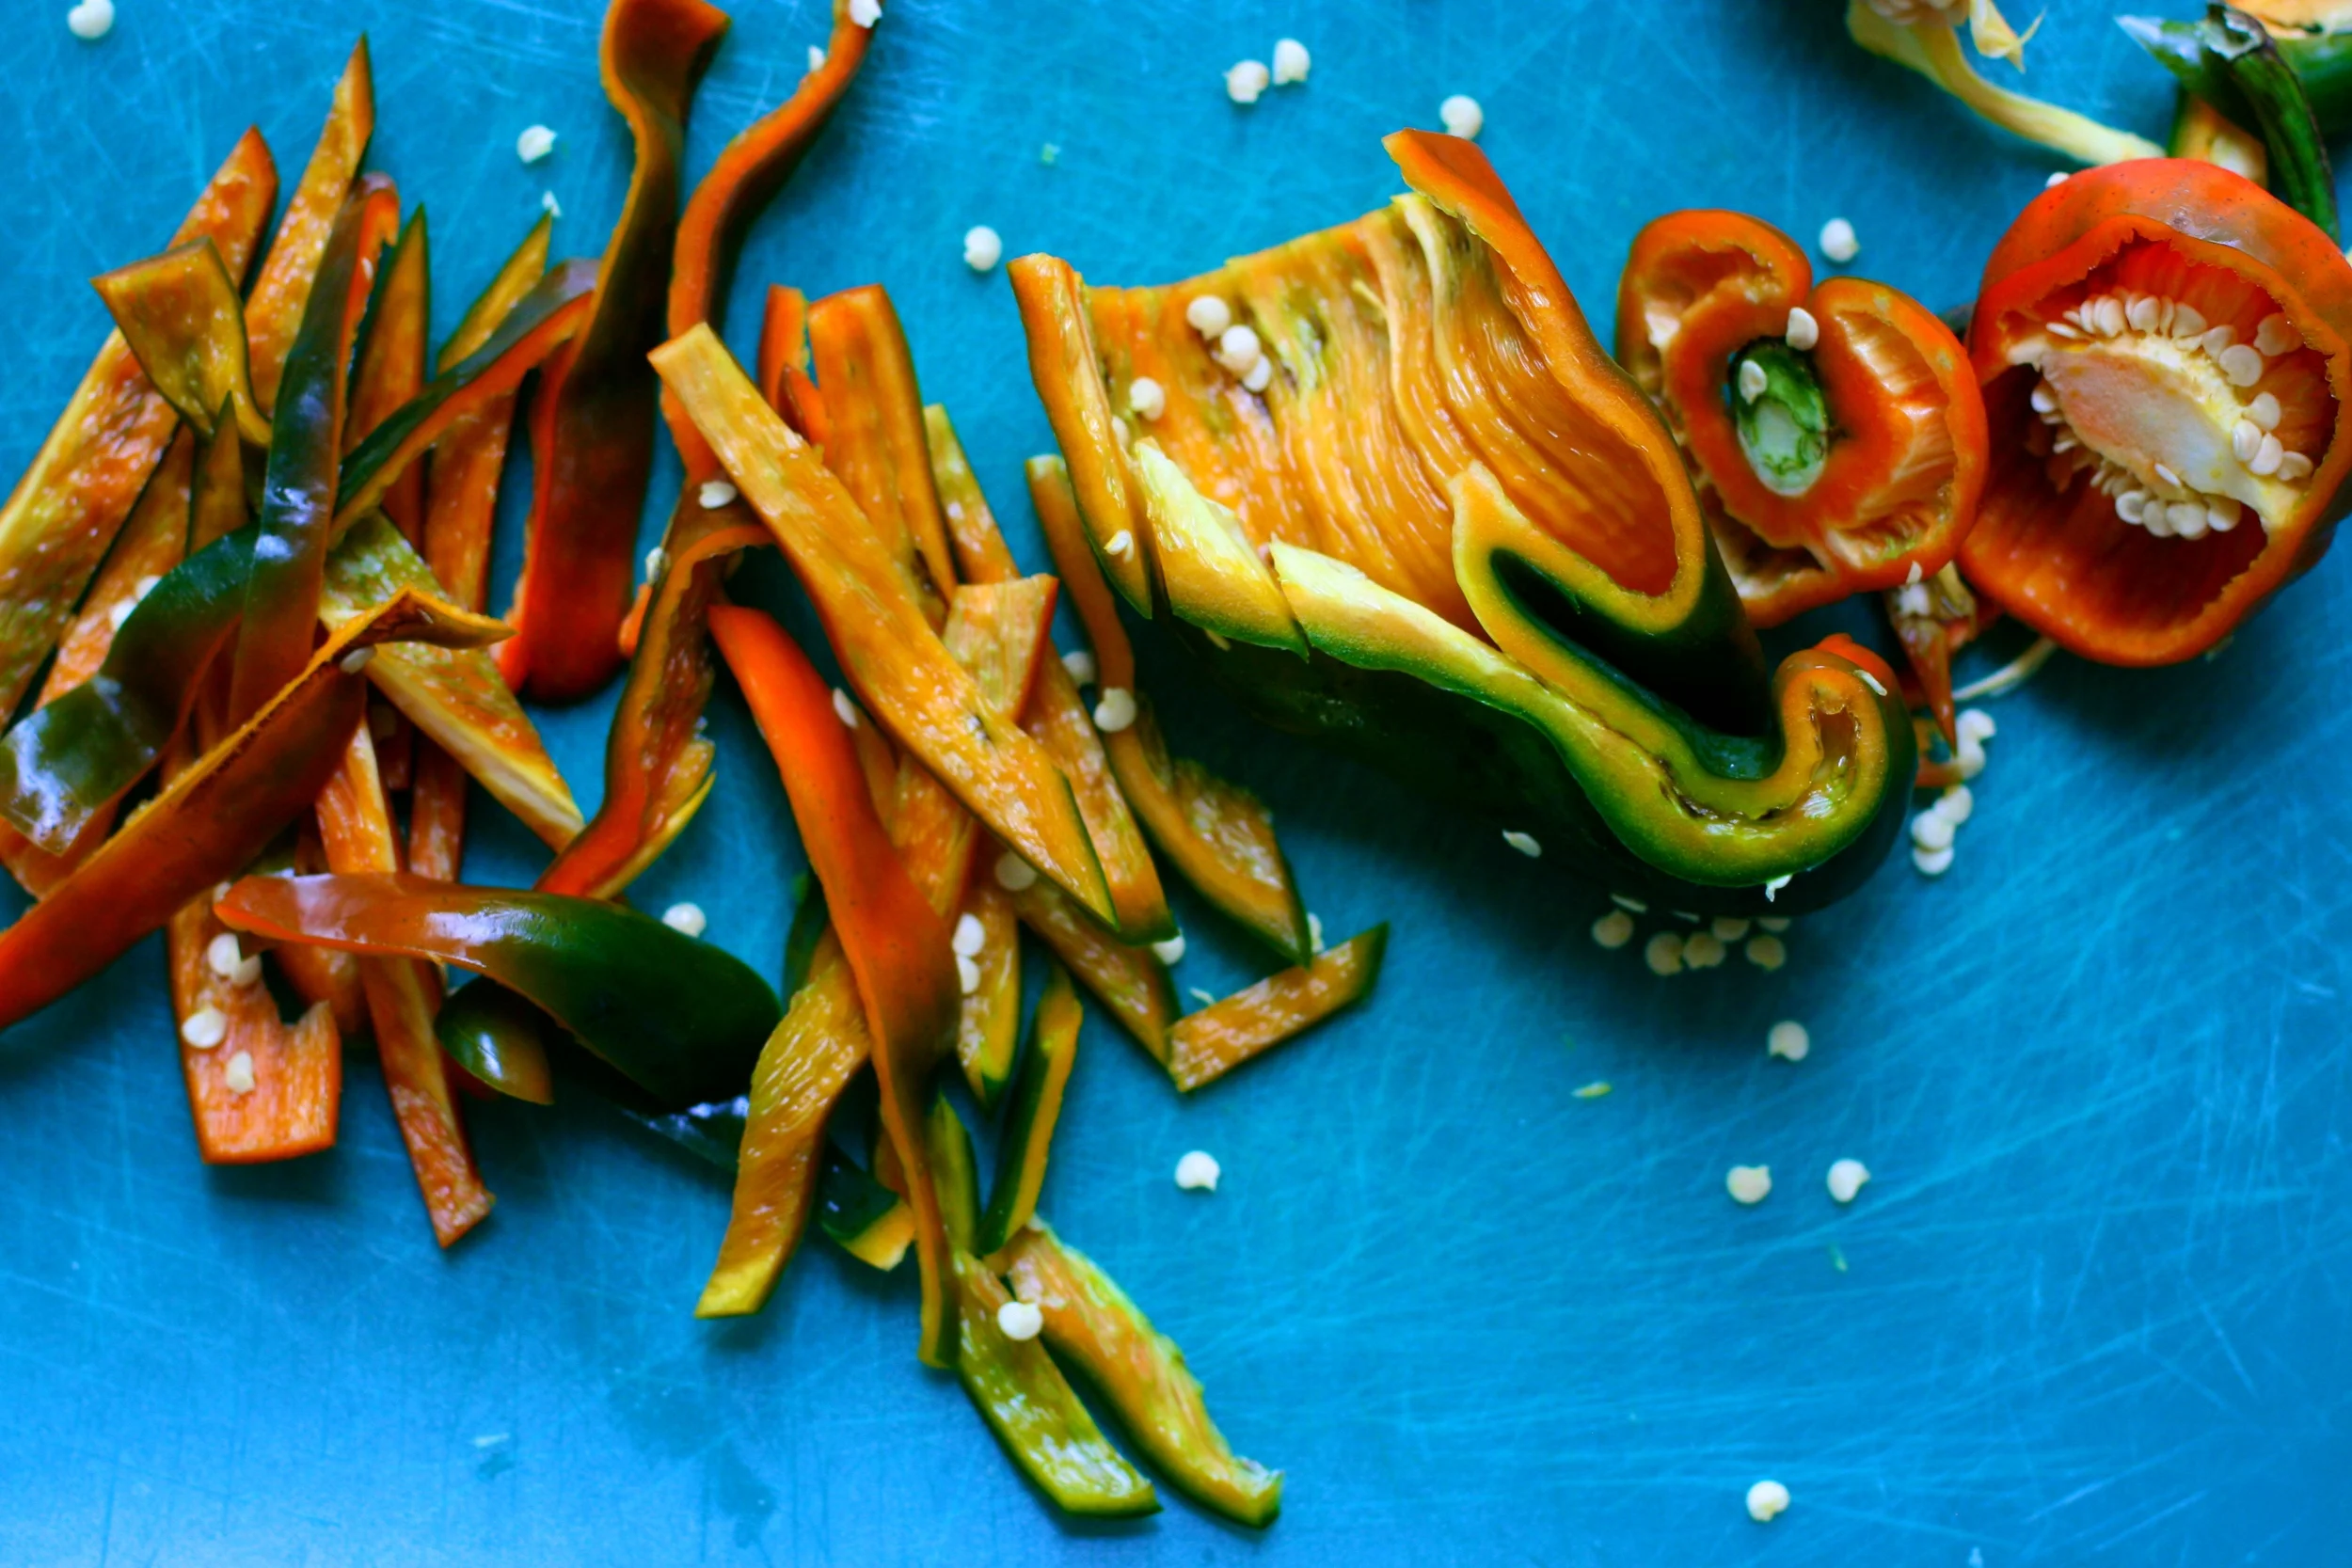
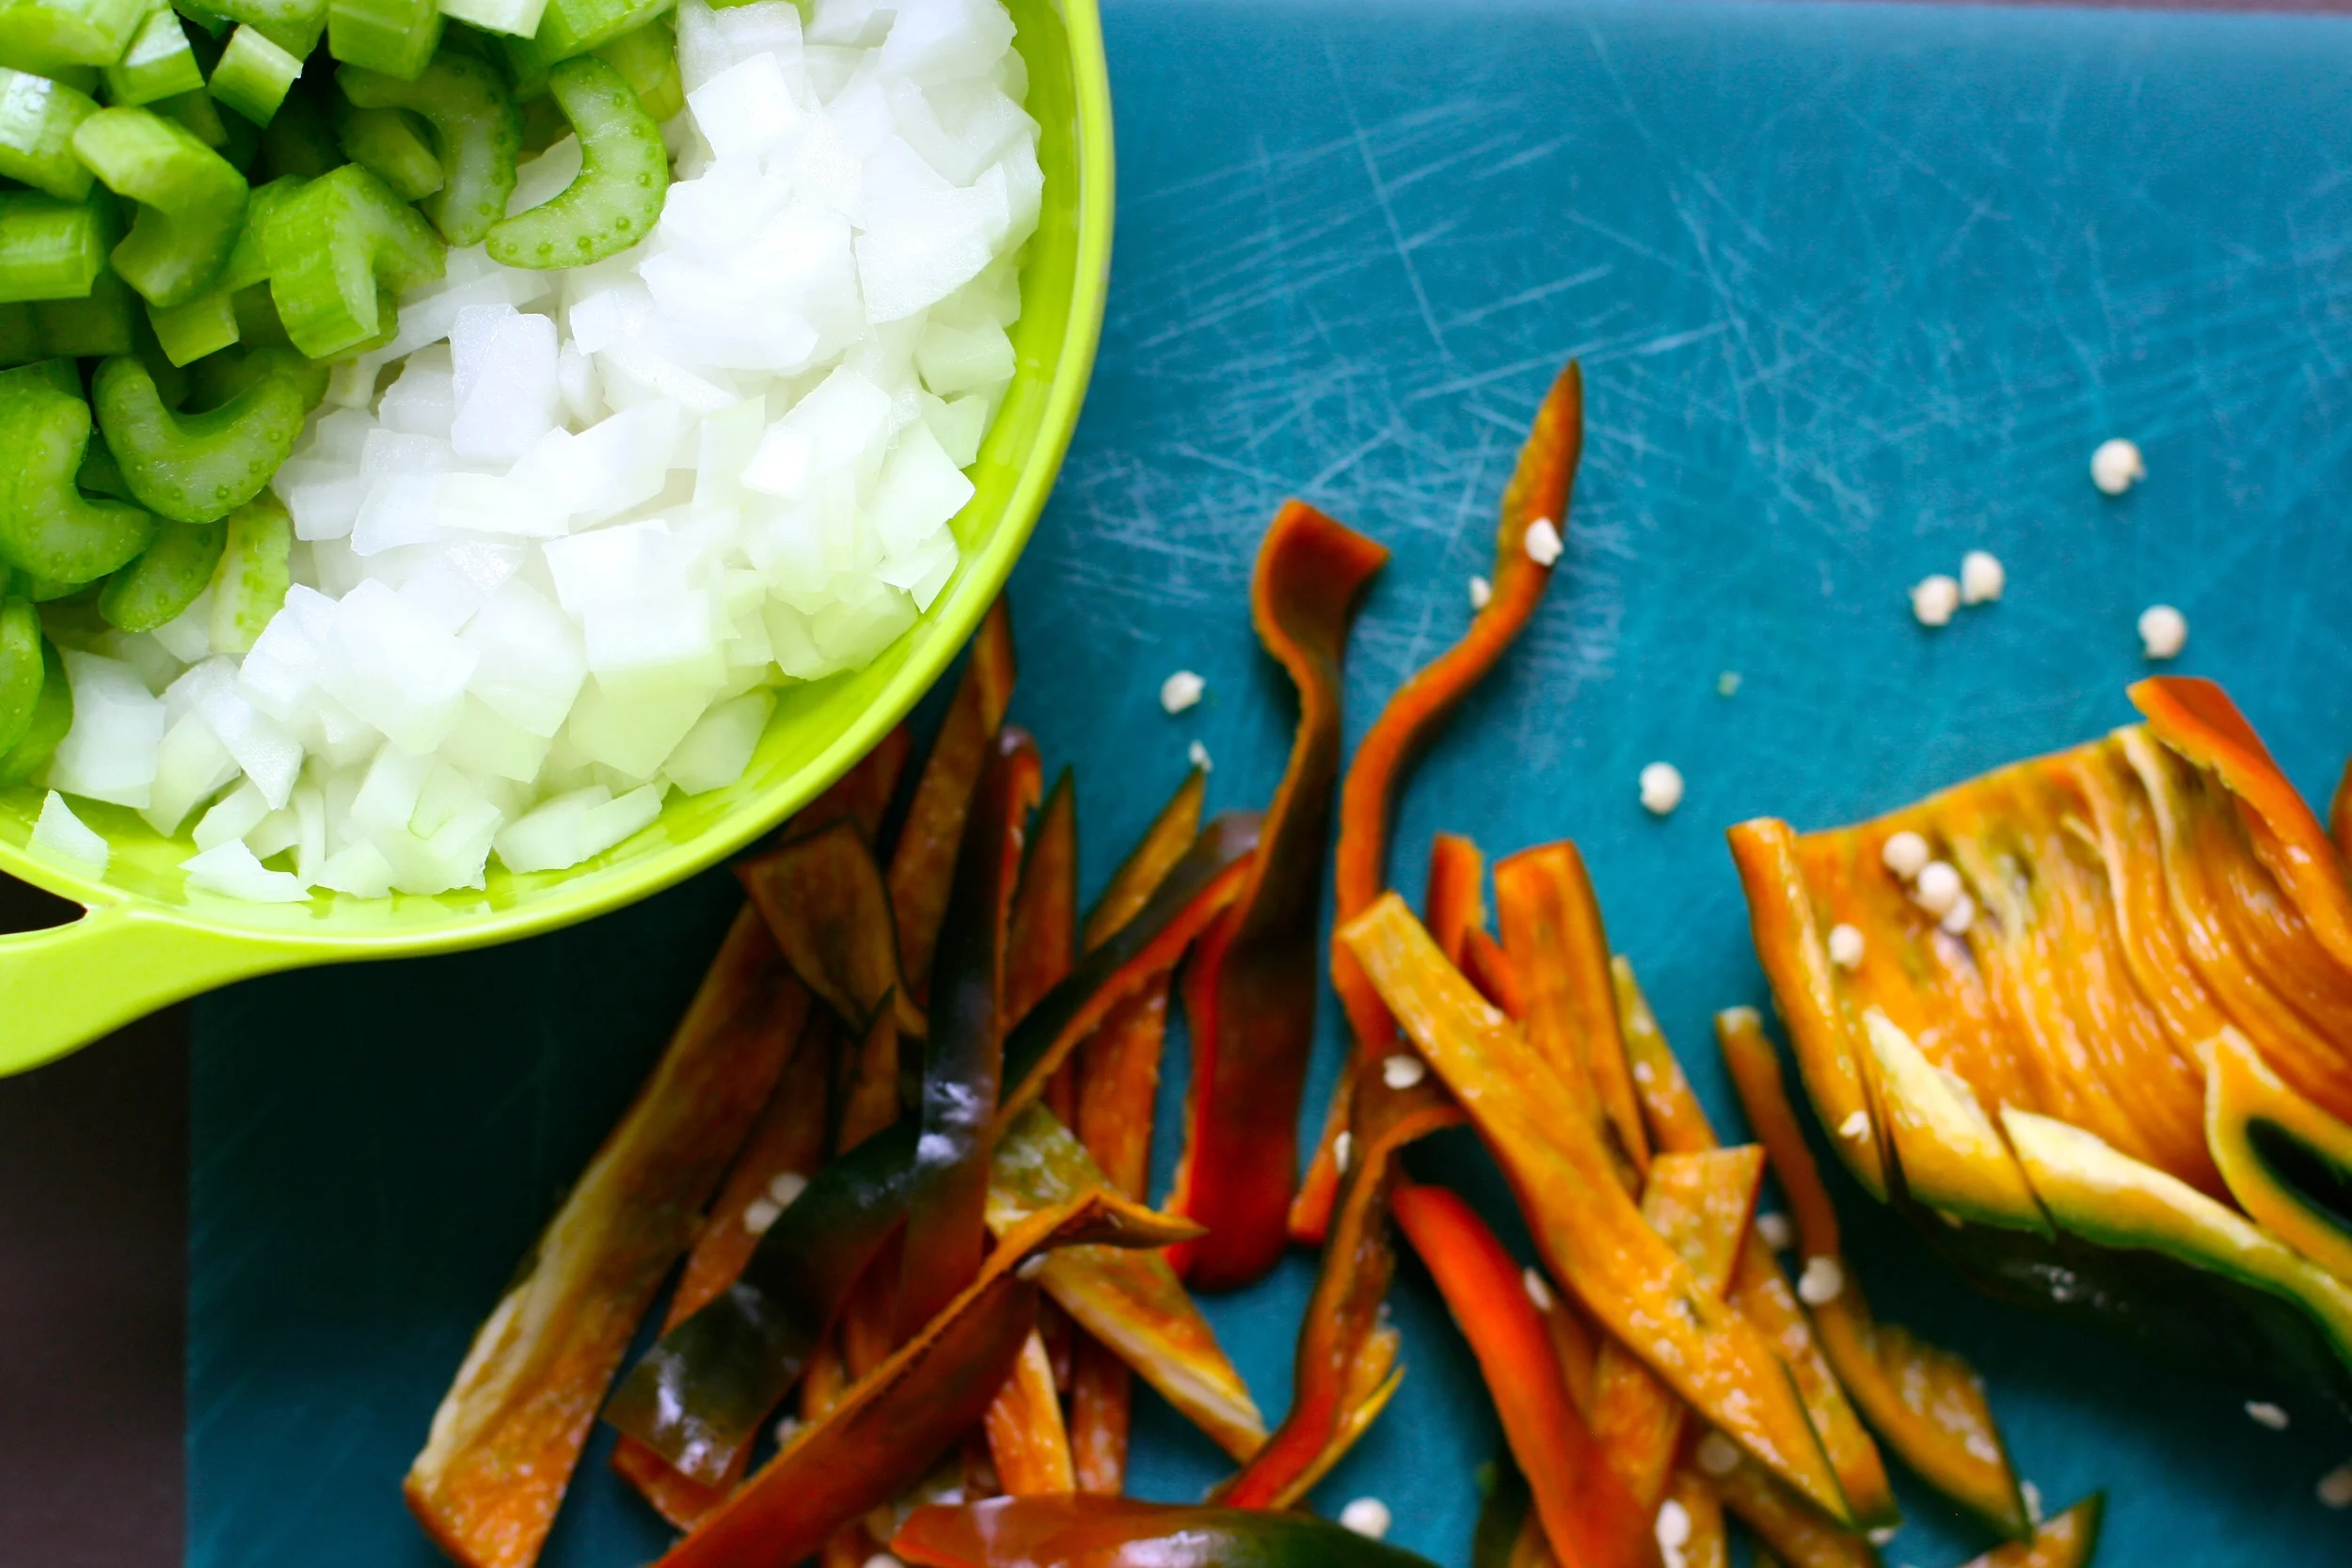
- 2 large Poblano Peppers
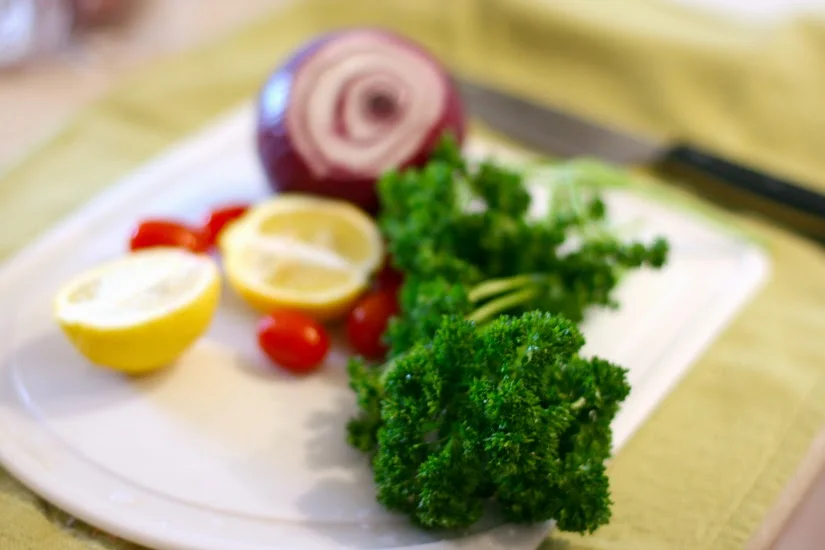
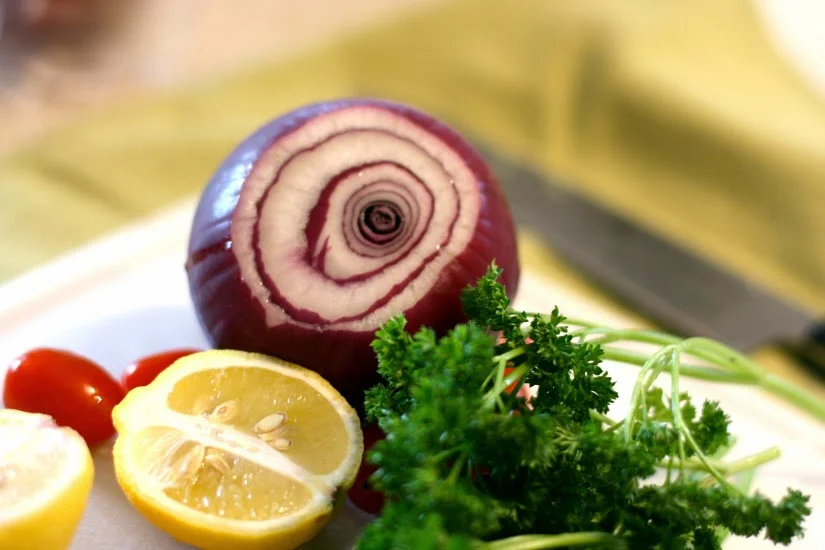
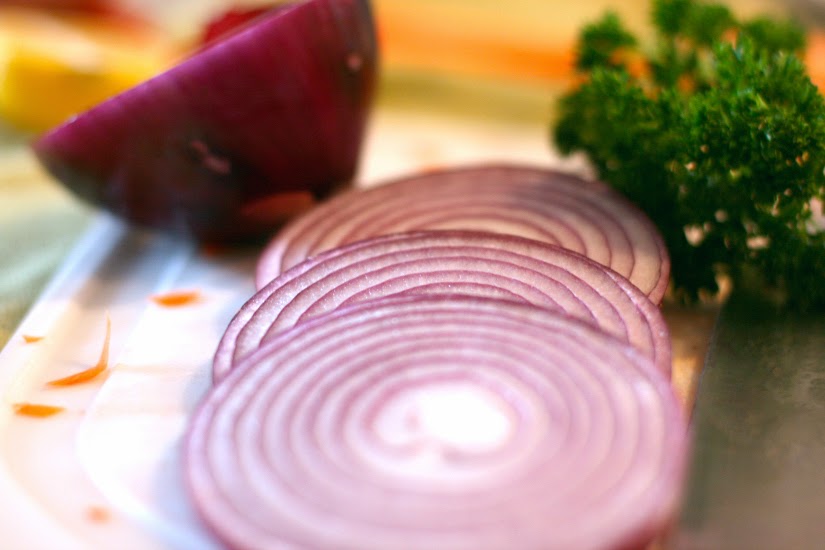
- 1/2 Onion, chopped

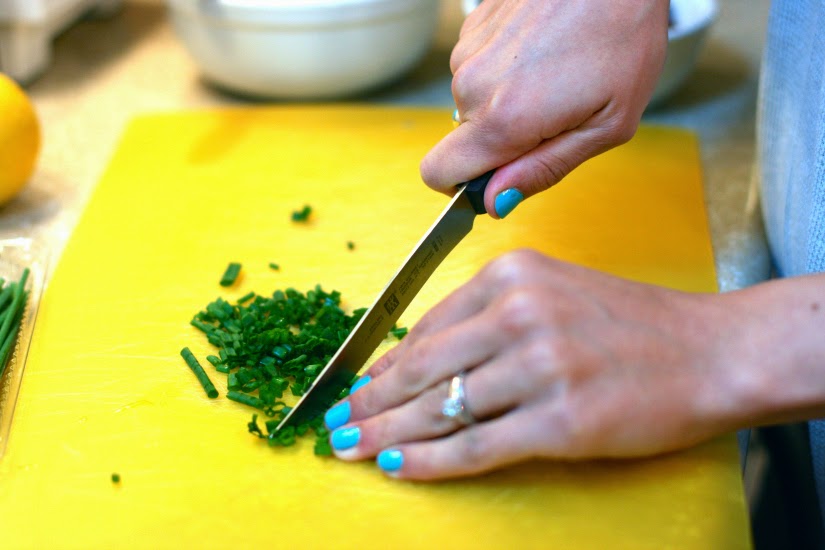
- 6-8 Celery stalks, chopped

- 4 Garlic cloves, smashed

- 1 lb. Ground Turkey

- 1 can Tomato Paste

- 4 Cups Chicken Stock

- 1 15-oz. can Cannenllini Beans, rinsed and drained

- 3 tbsp. Chili Powder

- 2 tbsp. Brown Sugar

- 1 tbsp. Cumin

- 1 tbsp. Chinese 5-Spice

- 1 tsp. Salt

- 1 tsp. Pepper

- 1 tsp. Oregeno

- 1/2 tsp. Cinnamon

- 1/4 tsp. Cloves

- 1/8 Avocado, chopped

- Shredded Cheddar Cheese, to taste

- Sour Cream (optional)

- Tortilla Chips (optional)

Method:

1. Heat a bit of olive oil over medium heat in a large dutch oven (I love using my handy dandy Le Creuset, a gift from my overly-generous in-laws). Add the chopped peppers, onion, celery and garlic. Sprinkle with a bit of salt and pepper, and saute until soft, about 5 minutes.

2. Transfer the vegetables from the dutch oven to a plate, letting them rest for a few minutes. Add the ground turkey to the dutch oven, breaking up the meat and stirring until no longer pink, about 7 minutes.

3. Add the vegetables back into the turkey mixture. Add in the tomato paste, chili powder, chinese 5-spice, cumin, oregano, cinnamon, cloves, brown sugar, salt and pepper. Continue to stir until mixture is blended, about 2-3 minutes.

4. Add in the chicken stock and cannellini beans. Bring mixture to a simmer, then reduce heat to medium. Continue to stir every few minutes for 20-30 minutes, until the mixture is hot, bubbly and thick.

5. To serve, dish into bowls and top with avocado, shredded cheese, sour cream, and tortilla chips. And slip into a summery, stew-induced slumber.

Enjoy your little Ole moment!


TASTE: Artichoke & Olive Quinoa

Artichoke & Olive Quinoa

You deserve a healthy lunch. But it can be hard to eat healthy when you're busy in the middle of the day! This month I am going to share with you a few easy make-ahead lunches that are easy to pack in a bag and eat on the go. I've started meal-prepping my lunches at the beginning of the week to make sure that I stick to my goals and eat healthy, even when I'm being pulled in many directions throughout my day. It's so easy to give in and chow down on whatever is accessible. For me, this often means chocolate-chip Kind bars and popcorn. Not exactly a balanced meal. And I need lots of energy, so I have to make sure I fuel up properly.

I came up with this little meal, which is super easy to prep, and some of the ingredients can even be swapped out for other options. This way, you can make it a few weeks in a row and slightly modify the mix-ins to change it up for your taste buds.

Ingredients:

- 1.5 cups Quinoa, rinsed and drained

- 3 cups Chicken Stock

- 1/2 jar Kalamata Olives

- 1 jar Artichokes

- 1 bunch Chives, finely chopped

- 1 lemon

- Salt and Pepper, to taste

- Optional swaps: green olives in place of Greek olives, parsley in place of chives, cherry tomatoes in place of artichokes - the possibilities are endless!

- Optional Add-ons for extra protein: tuna, shredded chicken or salmon

Method:

1. Rinse the quinoa thoroughly and set aside.

2. Bring the chicken stock to a boil in a medium-sized saucepan. Add quinoa and lower the heat. Cover the pot. Stir frequently until the liquid is completely dissolved.

3. Add in the artichokes, olives, chives. Season with salt and pepper and drizzle with lemon juice.

4. Add in your preferred protein, if you choose. I like it with tuna!

Lunch is Served.

I hope you get a small moment for yourself to enjoy this delicious bowl of health! Let me know what you think about this super easy make-ahead meal :) Happy Monday to you, friends!

TASTE: (My) Lentil Tabbouleh

TASTE: (My) Lentil Tabbouleh

I had no idea how delicious tabbouleh truly is. What a healthy, fresh way to take in some lunch! This is a twist on the classic recipe, using lentils (how Christ-like, right?!) which means it's super packed with protein. I have really been getting into mixing grains in with my salad at lunch - it makes them much more filling, and honestly, just way more fun. I am so bored with salad, but in an attempt to clean up my diet and eat super healthy during the week, salads are making more of a presence in my life lately. This one still counts as a salad because of all the awesome raw veggies. The mustard in the dressing gives the whole dish a bright fresh finish.

Try it! You will be surprised at how super easy this is to make this ahead of time and have stocked in the fridge for mid-week lunches. Also, the colors are so pretty I kind of want to wear it AND eat it. 

Ingredients:

- 2 cups cooked, drained lentils (I used the dark green variety)

- 2 large bunches parsley, roughly chopped

- 2 cups shredded carrots

- 1 small red onion, finely diced

- 1 cup cherry tomatoes, halved

- 1/2 cup olive oil

- 1 tablespoon course, seeded mustard (I prefer whole-grain mustard)

- 1 tablespoon dijon mustard

- 2 tablespoons red wine vinegar

- juice from 1 lemon

- 3 garlic cloves, minced

- 1 tablespoon salt

- Pepper to taste

Method:

1. Prepare lentils according to package. Drain and set them aside in a large mixing bowl.

2. In another bowl, whisk together the olive oil, mustards, vinegar, lemon juice, garlic, salt and pepper.

3. Add the dressing to the lentil mixture. Stir in the onions, tomatoes and parsley. Add a pinch more of salt and pepper, if you'd like.

Party in your mouth. Yes.

TASTE: Grandma Soup

Grandma Soup. 

My wish came true. Spring has finally decided to grace New York with her presence. YES! However, if you are anything like me, spring is a smidge-bit bittersweet. Only because this particular season comes with some unsavory baggage: POLLEN. If any of you have allergies, I'm sure that you completely love all the budding trees, but are probably popping Claritin around the clock, as well. I have a better solution for you. THIS SOUP.

This soup is my winter go-to, always brimming atop the stove in the icy cold winter season. However, this is also a great springtime chicken noodle and vegetable soup, because it has insane healing properties that combat the woes of pollen. So if you're like me and battle those allergies, I encourage you to try this hearty, homey soup that will make you want to pull out your crochet and call your grandma for life advice.

Why is this called Grandma Soup? This recipe was passed down from my mom's grandma (my great-great grandma!) She used to cook it on Sundays after Catholic mass, and my mom remembers being a tiny little girl in her shiny, church-day mary janes, eating this exact soup. I love that visual image of my sweet mom, a little girl with Shirley Temple curls, slurping down the same recipe I've been eating my whole life. I didn't ever know my grandma, let alone my great-grandma, so I feel especially grateful to have one small token of that family history: this recipe. And I've learned that the best thing to do with something that you love is to give it away! So I'm sharing this very precious recipe with all of you today :) Over the years, I have jazzed up the soup a bit, added ginger and a few fresh herbs to pep up the flavor. Somehow, I think my great-grandma would be proud.

Ingredients:

- 1-2 bone-in skin-on chicken breasts (sometimes called chicken ribs)

- 1 can stewed or diced tomatoes

- 1 yellow onion, chopped

- 7-8 celery stalks, chopped

- 3-4 large carrots, chopped OR 1 bag baby carrots

- Noodles of your choice (my mom always used ABC noodles, but I can't find them in many stores these days, so I experiment with anything fun and fancy looking)

- 3-4 Chicken bullion cubes (I love the Knorr brand) OR 2-3 32-oz. boxes of chicken stock (Whole Foods 365 is my favorite)

- 1 Bay Leaf

- Oregano & Basil (fresh chopped is best, but you can use dried, too)

- 2-3 cloves fresh garlic, peeled and pressed

- 1-inch piece of fresh ginger, peeled and chopped

- Salt & Pepper (I like to use Maldon Sea Salt Flakes)

Method:

1. In a large stockpot, place the chicken breasts, the stewed tomatoes, the chopped onion, the chopped celery and the baby carrots. Generously go to town with the salt and pepper. I mean it. Get furious. We need to get some flavor going.

2. If Using Bullion: Place three large cubes in the stockpot and fill with water, leaving about 1.5-2 inches from the top empty. If Using Chicken Stock: Pour 2 boxes (64 oz.) of stock over the ingredients in the stockpot. Add a few cups of water to the mixture, leaving about 1.5-2 inches from the top of the pot empty.

3. Heat stockpot on stove over low heat. Cover.

4. While that begins slowly heating up, begin chopping up the herbs. Chop the garlic, ginger, basil oregano, and any other delicious green herbs you happen to have in your fridge (parsley, rosemary and thyme are great additions, too!) I just like to throw a medley of herbs in, because they're so good for you and they make the flavor soooo intoxicating. Add all the herbs to the pot and recover.

5. Simmer this mixture on low for 5-7 hours. You want to, very slowly, boil the chicken and give the vegetables time to soften. If the mixture starts to boil, stir it a bit and turn the temperature even lower. If you find that some of the broth has burned off (as mine always does), you can add more chicken stock to the mixture. If you used bullion cubes, add a few more cups of water and another cube. Just keep that soup savory! After a few hours you can uncover the mixture and continue on with low heat.

6. Once the chicken is fully cooked through, you want to remove the breasts from the pot. This takes a little finagle-ing, so use a large slotted spoon and do your best to remove the chicken without removing anything else. Place chicken on a large plate and cut all the white breast meat off, placing back into the soup. You want to make sure you're removing all the skin, bones and fat from the meat so that you can just eat the chicken. Sidenote - this part always grosses me out a bit, but its SO worth the 5 minutes it takes. Place all the good meat back in the pot and stir it around. Add a little bit more salt and pepper.

7. Continue on low heat for another 30 minutes.

8. During the last 30 minutes of heating the soup, follow the recipe on the package to prepare the noodles. It should take between 15-20 minutes to prep/cook the entire package, depending on the kind you choose, then drain and set aside. You can combine the noodles, once they're cooked, into the soup, but I never do. I don't really know why, its just not the way my mom did it. I'm a follower.

9. To serve, we spoon the noodles up first, then pour the broth/vegetable/chicken mixture over top.

Voila! Slurp Away!

Mmmm its so delicious, I melt every time. I like to serve this with buttery Ritz Crackers. On a crazy winter day, we might make a grilled cheese to go along with it. But this is seriously the BEST feel-better soup in the world, and it's been tried-and-true in my family for over 50 years. Go ahead.

Those allergies haven't bested you yet. Happy souping!

*This post is entirely dedicated to my sweet mother, who has probably made hundreds of batches of Grandma Soup in my lifetime. We share the same laugh, the same cheeks, the same regretful woes of allergy season, but we also share the delight of this familiar, favored family recipe. Thank you for passing on the tradition of being a happy cook in the kitchen. Everything I know is because of you :)

Taste: Green Apple & Bacon Grilled Cheese

Mmm. Bacon.

I've got another recipe for you this week! Since it's FREEZING outside (literally, its well below freezing temperatures today), I've been inside a lot, cooking and baking up a storm in my mini-kitchen. This is SUCH a great recipe, and so stinkin' easy. I don't claim that it's the healthiest, but we all like to veg out a bit when it's arctic outdoor, right? This is rich and comforting and indulgent, and isn't that a little bit necessary during the howling-cold month of January? Pair this with a nice tomato soup and an evening all to your Netflix, and you could battle me for the hibernation crown of glory. I invite you to try it.

Ingredients:

- 2 slices of whole-wheat bread

- 2 slices of cooked bacon

- 2 slices of mozzarella cheese (although I suspect gruyere or Vermont cheddar would be to die for, too)

- 1/2 green apple, sliced thinly

- 1 tbsp. butter

Don't love the idea of apple on your grilled cheese? Sub in one of these additions in its place:

- Avocado (to die for!)

-  Portabello Mushrooms

- Roasted Eggplant

- Mustard

- Prosciutto (my mouth is watering here)

- Sliced Tomato

- Artichoke Hearts

Method:

1. You've made grilled cheese before, right? For those of you too healthy to make this on a weekly monthly basis, I'll give you a quick refresher. Drizzle a tiny bit of olive oil in a skillet, and turn heat to medium-low. The lower the temp, the slower it cooks, but this is how you achieve the coveted oozing-cheese situation.

2. As the pan heats up, butter one side of each slice of the wheat bread.

3. Thinly slice half of your green apple (my husband likes this with a red apple, too, so pick your fave and go for it!)

4. Once the pan is heated, place the first slice of bread, butter-side down, into the pan. Place a slice of cheese on top of the bread, then layer the slices of bacon (broken in half), and then the slices of apple. Finish with another slice of cheese and then top the layers with the other side of the bread (butter side up).

5. Let the sandwich cook for 2-4 minutes per side, or until the bottom is golden-brown (just watch to make sure you don't burn it.)

6. Flip it. Repeat. Stop drooling.

7. Inhale sandwich. The end.

Cheesy Delicious.

If you would pay for it at Panera, then it is worth attempting to re-create, right?

Stay warm, friends!