Getting Busy with Essential Oils.

This is a mature blog post so if you are young go ahead and skip over this one - I am not responsible for apologizing to your parents. And if you’re my parents, mayyyyybe don’t read this either.

This is a mature blog post so if you are young go ahead and skip over this one - I am not responsible for apologizing to your parents. And if you’re my parents, mayyyyybe don’t read this either.

There’s no need to be shy about it. It’s Valentines Day tomorrow and I feel like I would be doing a disservice by NOT sharing a few playful DIYs with you. You have an arsenal of essential oils at your fingertips, so why not incorporate them in a new way? Ain’t nothing wrong with it, people! Let’s put these plant powers to work for us!

For those of you who don’t know, EOs have been used throughout history to support libido, balance hormones and increase passion and desire. These oils can help create ambiance, relieve stress and promote whole-body relaxation (yes please, YES.) I have been on a journey over the past several years, getting educated on the maaany ways to incorporate essential oils in different parts of my life. From mom brain to allergies, boosting the immune system to alleviating stress, I have found so much solace in these precious oils. So naturally, using them to create an atmosphere of intimacy was kind of inevitable. And no one over here is mad about it soooo. Let’s talk about how you can do that, too, shall we?

Actually let’s not talk (because one of us is blushing here and I actually don’t think it’s me), let’s just get down to business (that’s what she said! I know I know - I’m awful.) Here are some DIYs for helping you create an aphrodisiac atmosphere of love, acceptance and passion. Just consider this the crunchy granola version of “that” scene from Friends (“7, 7… 7!” anyone??) ;)

Get Busy Bedroom Spray2.jpg

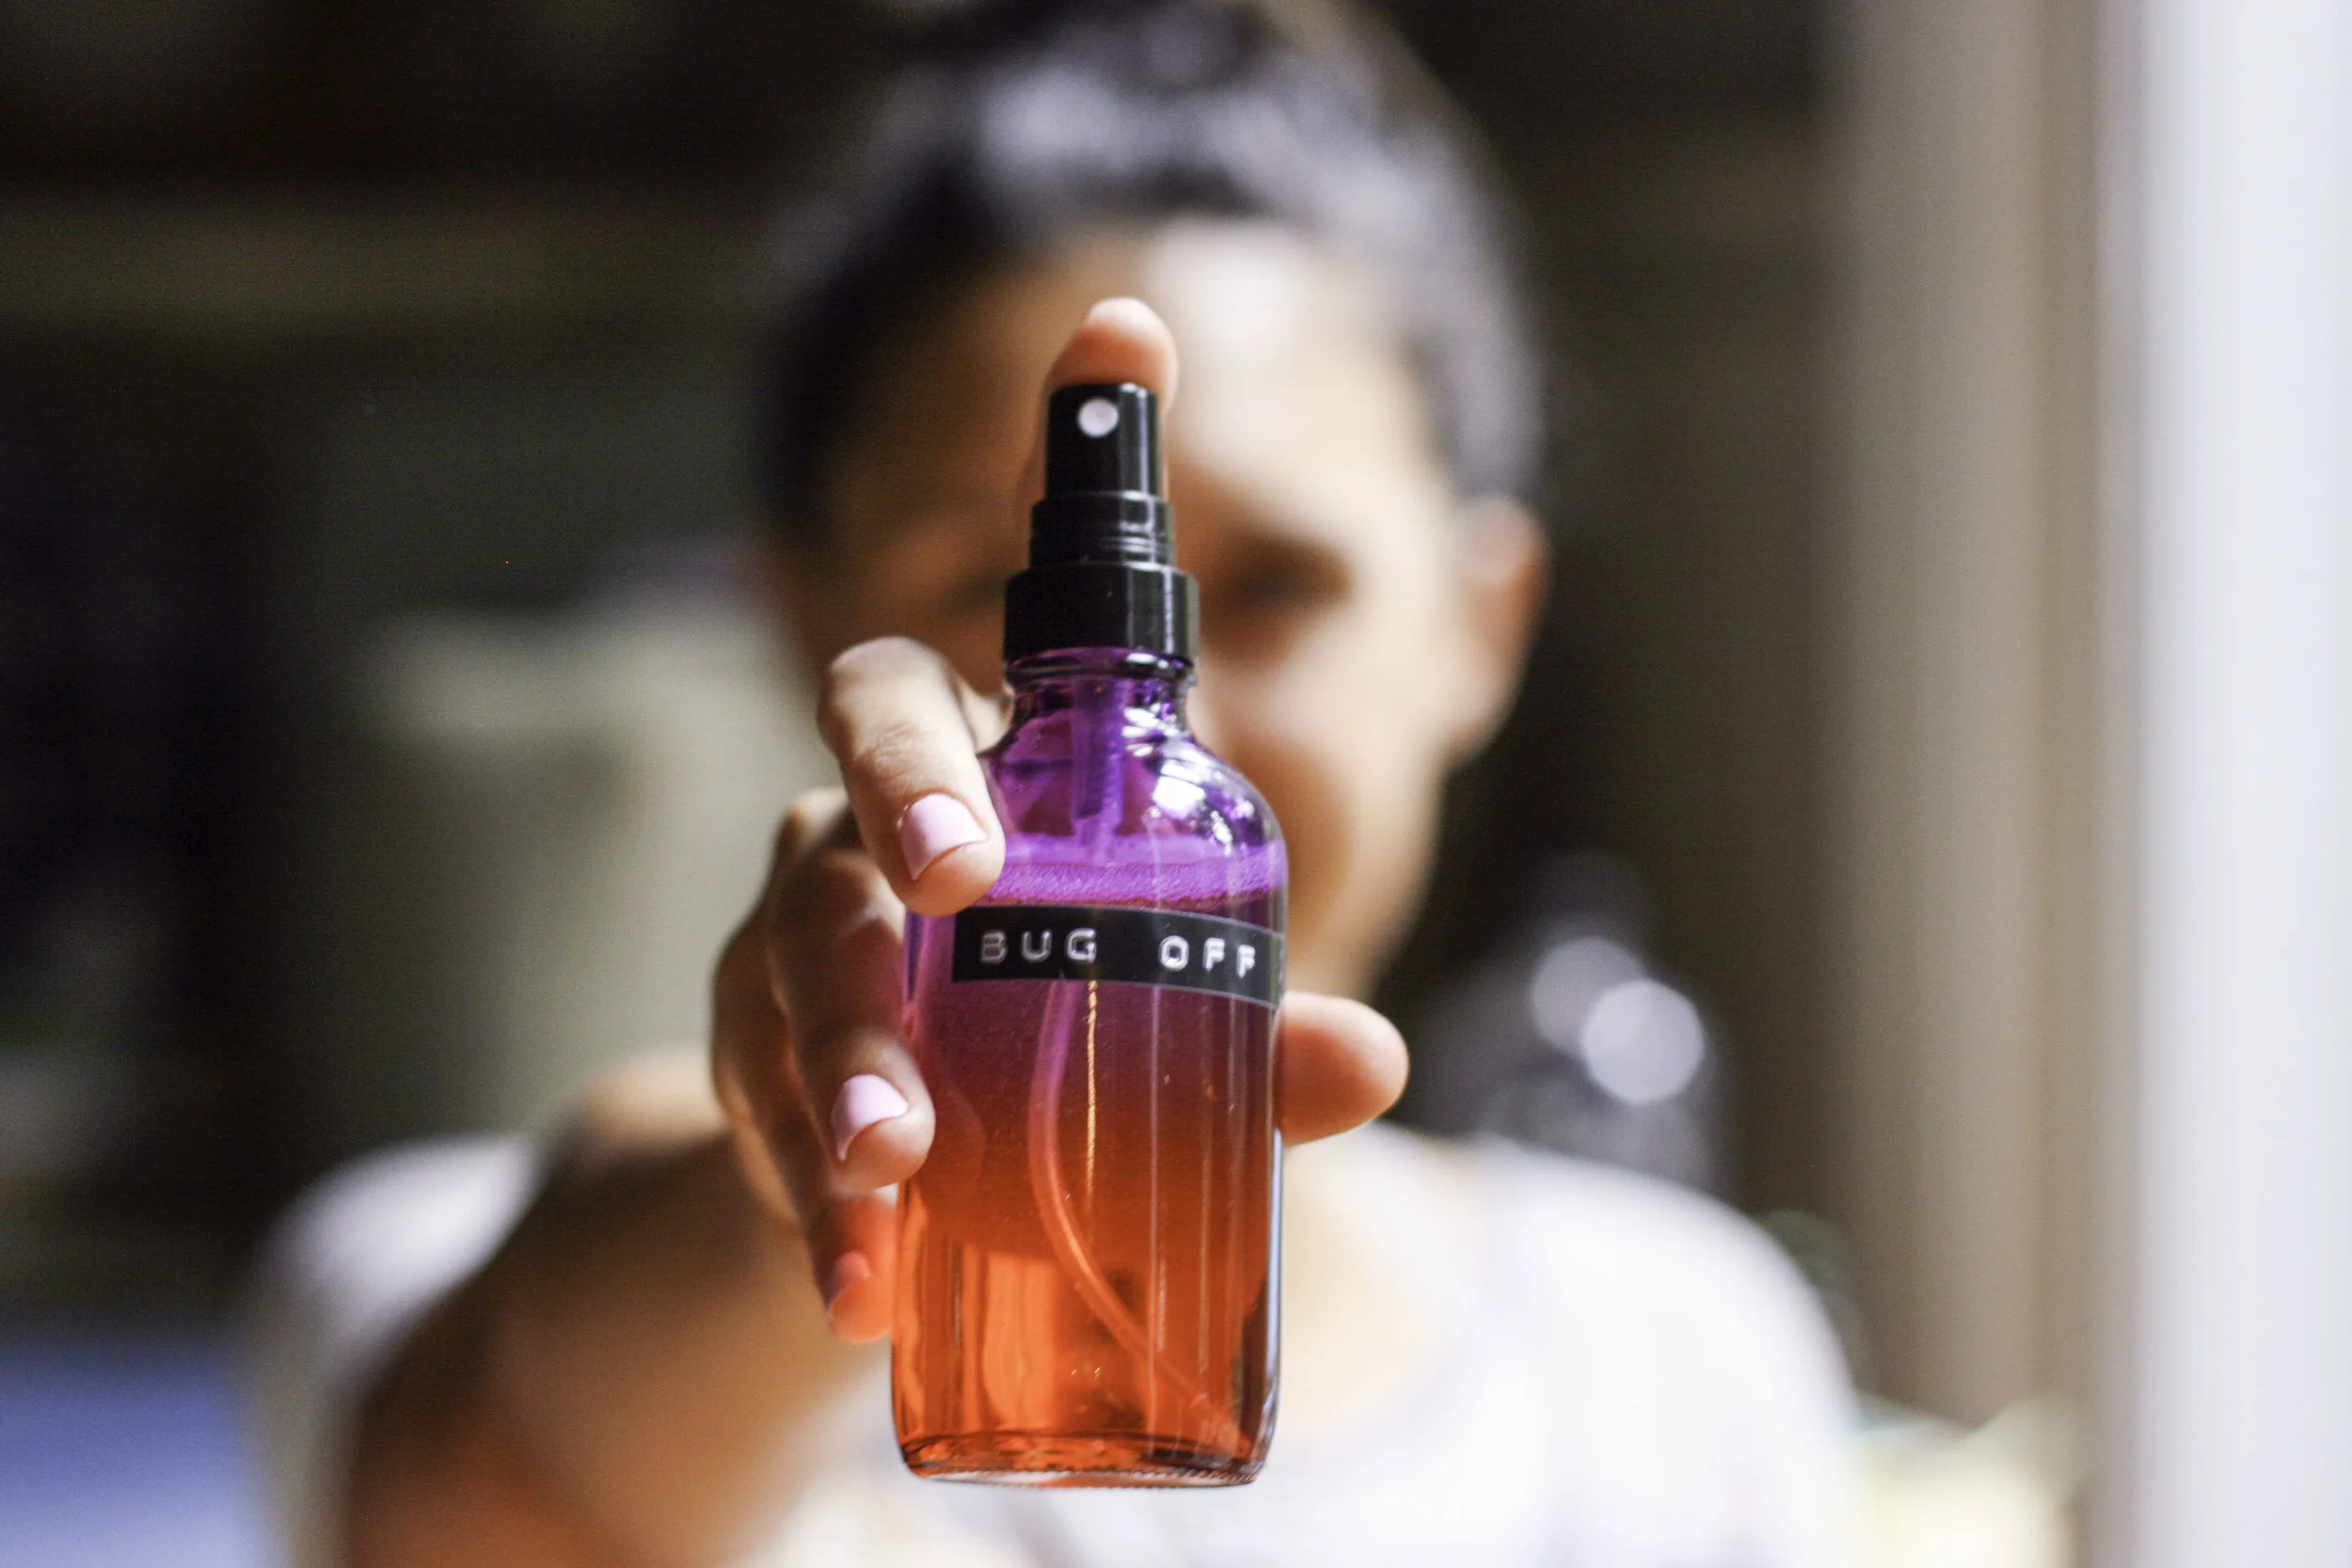
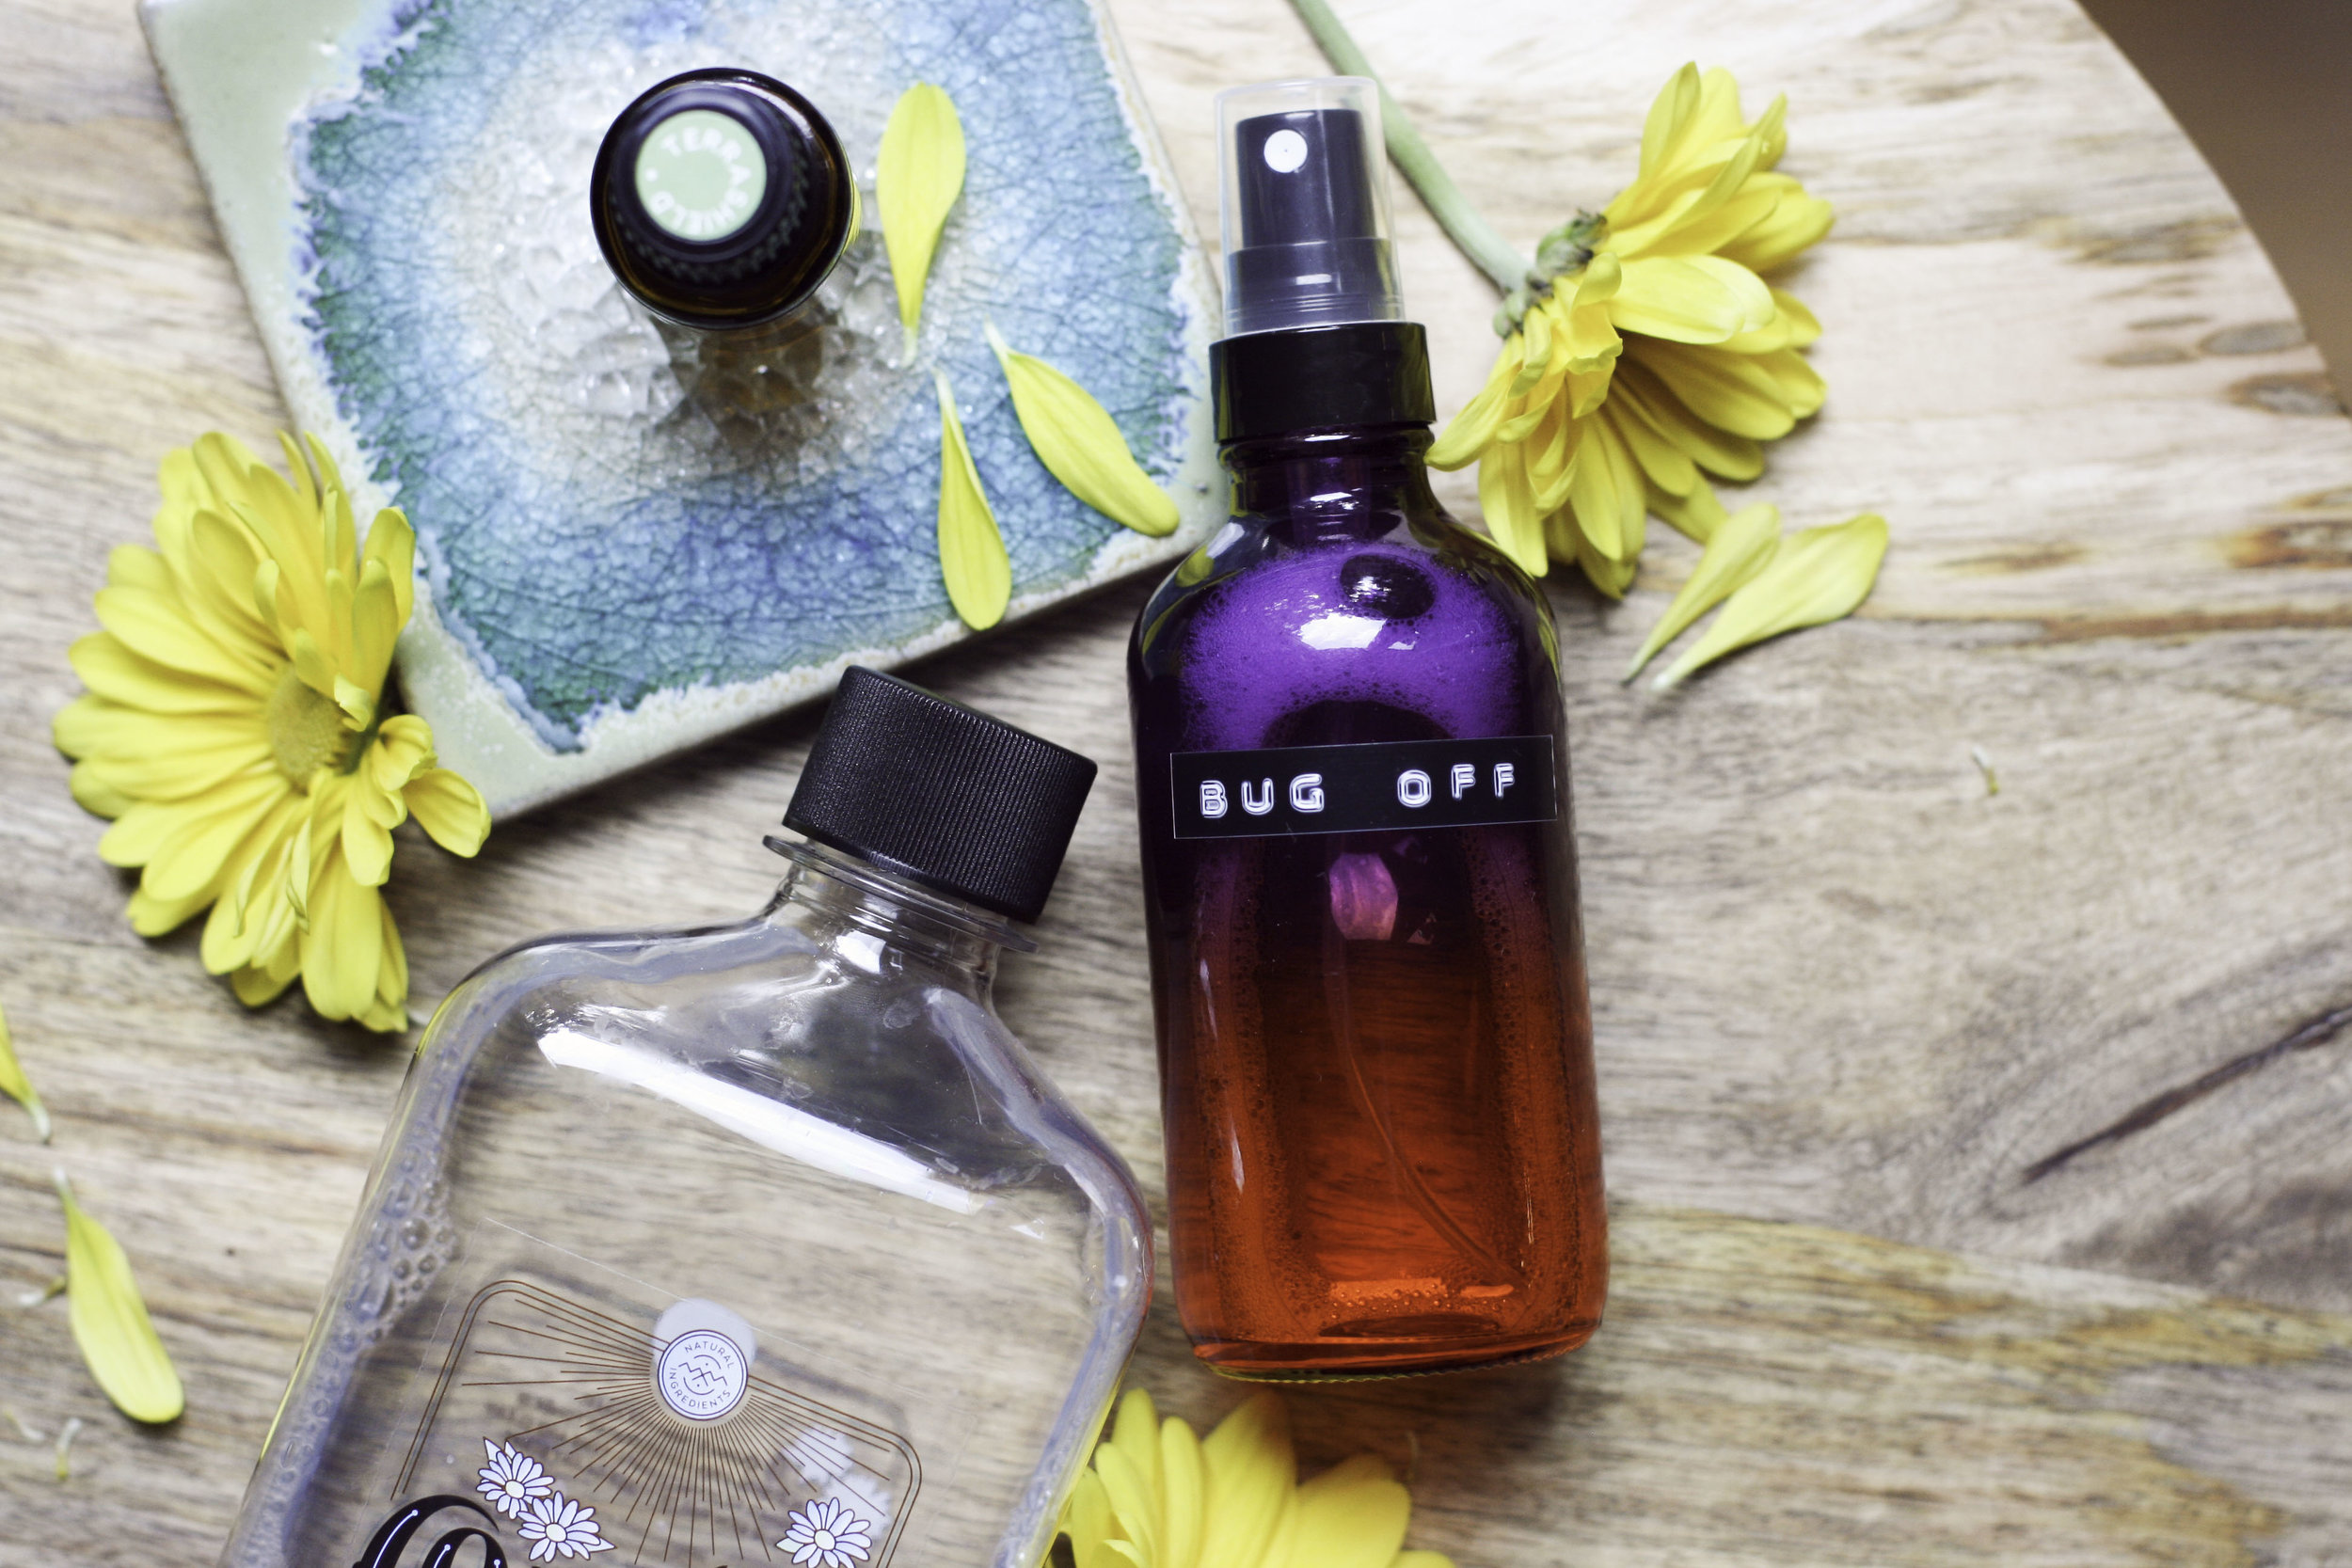
“Get Busy” Bedroom Mist:
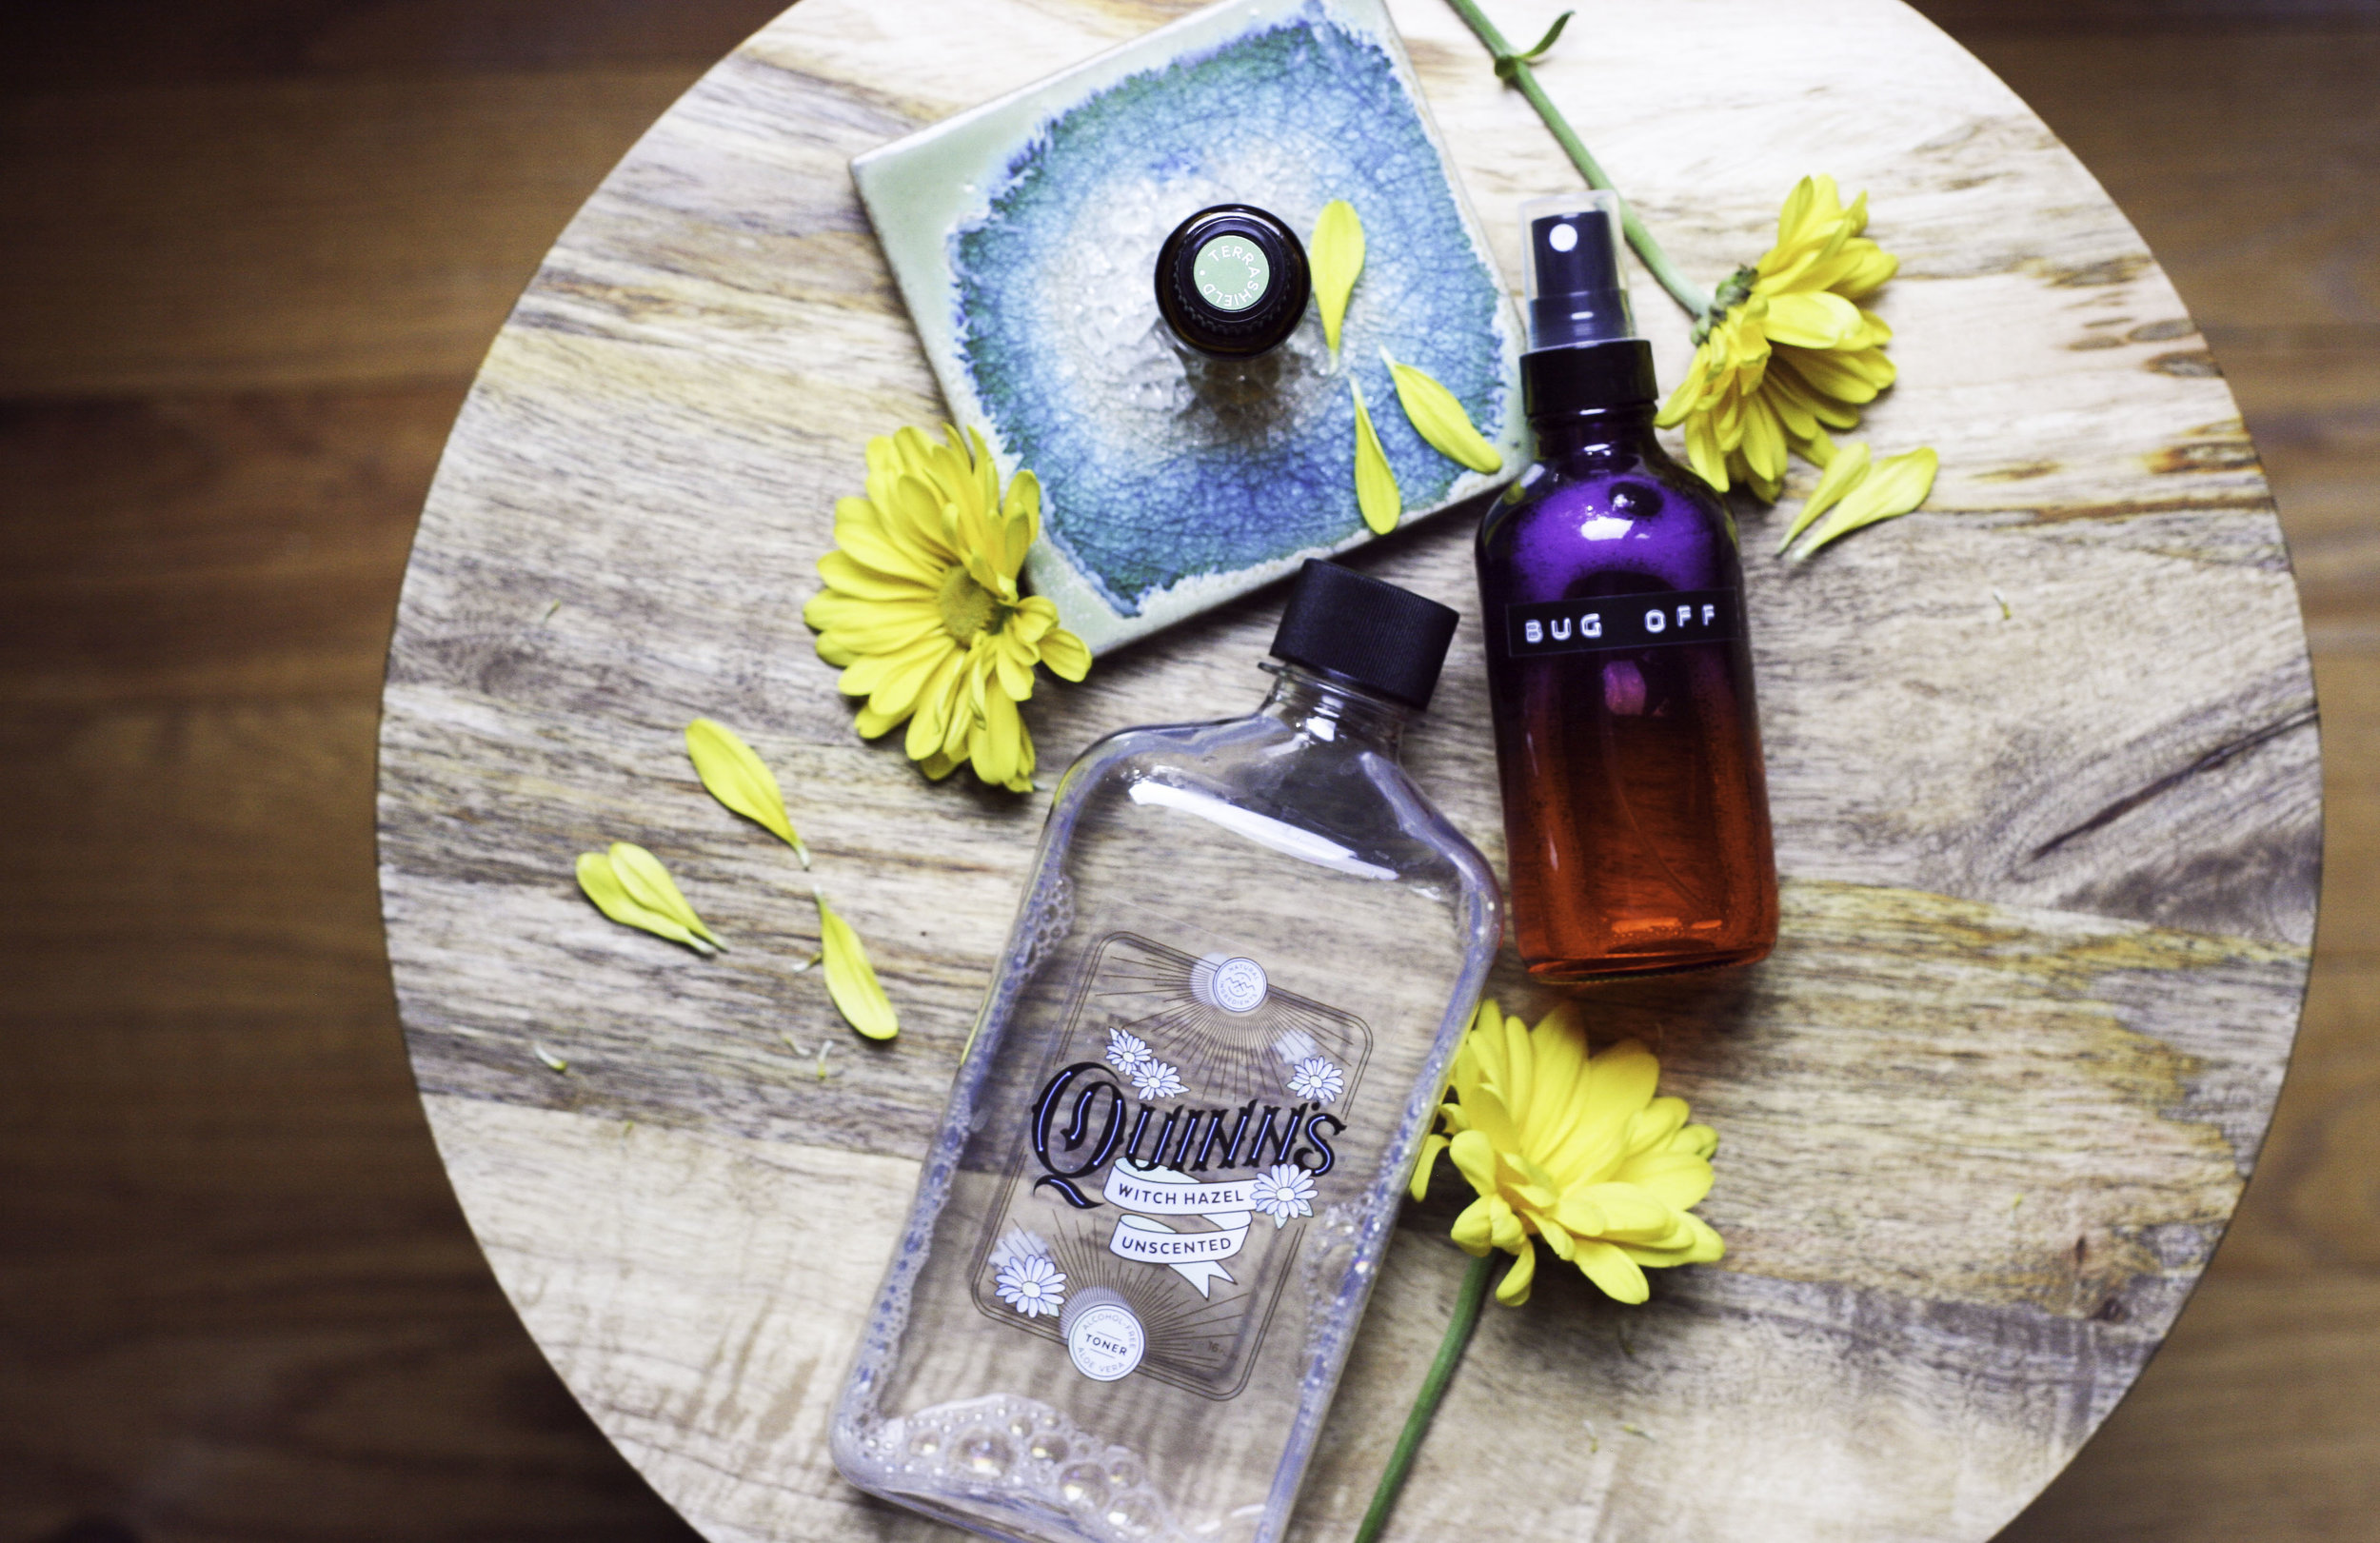
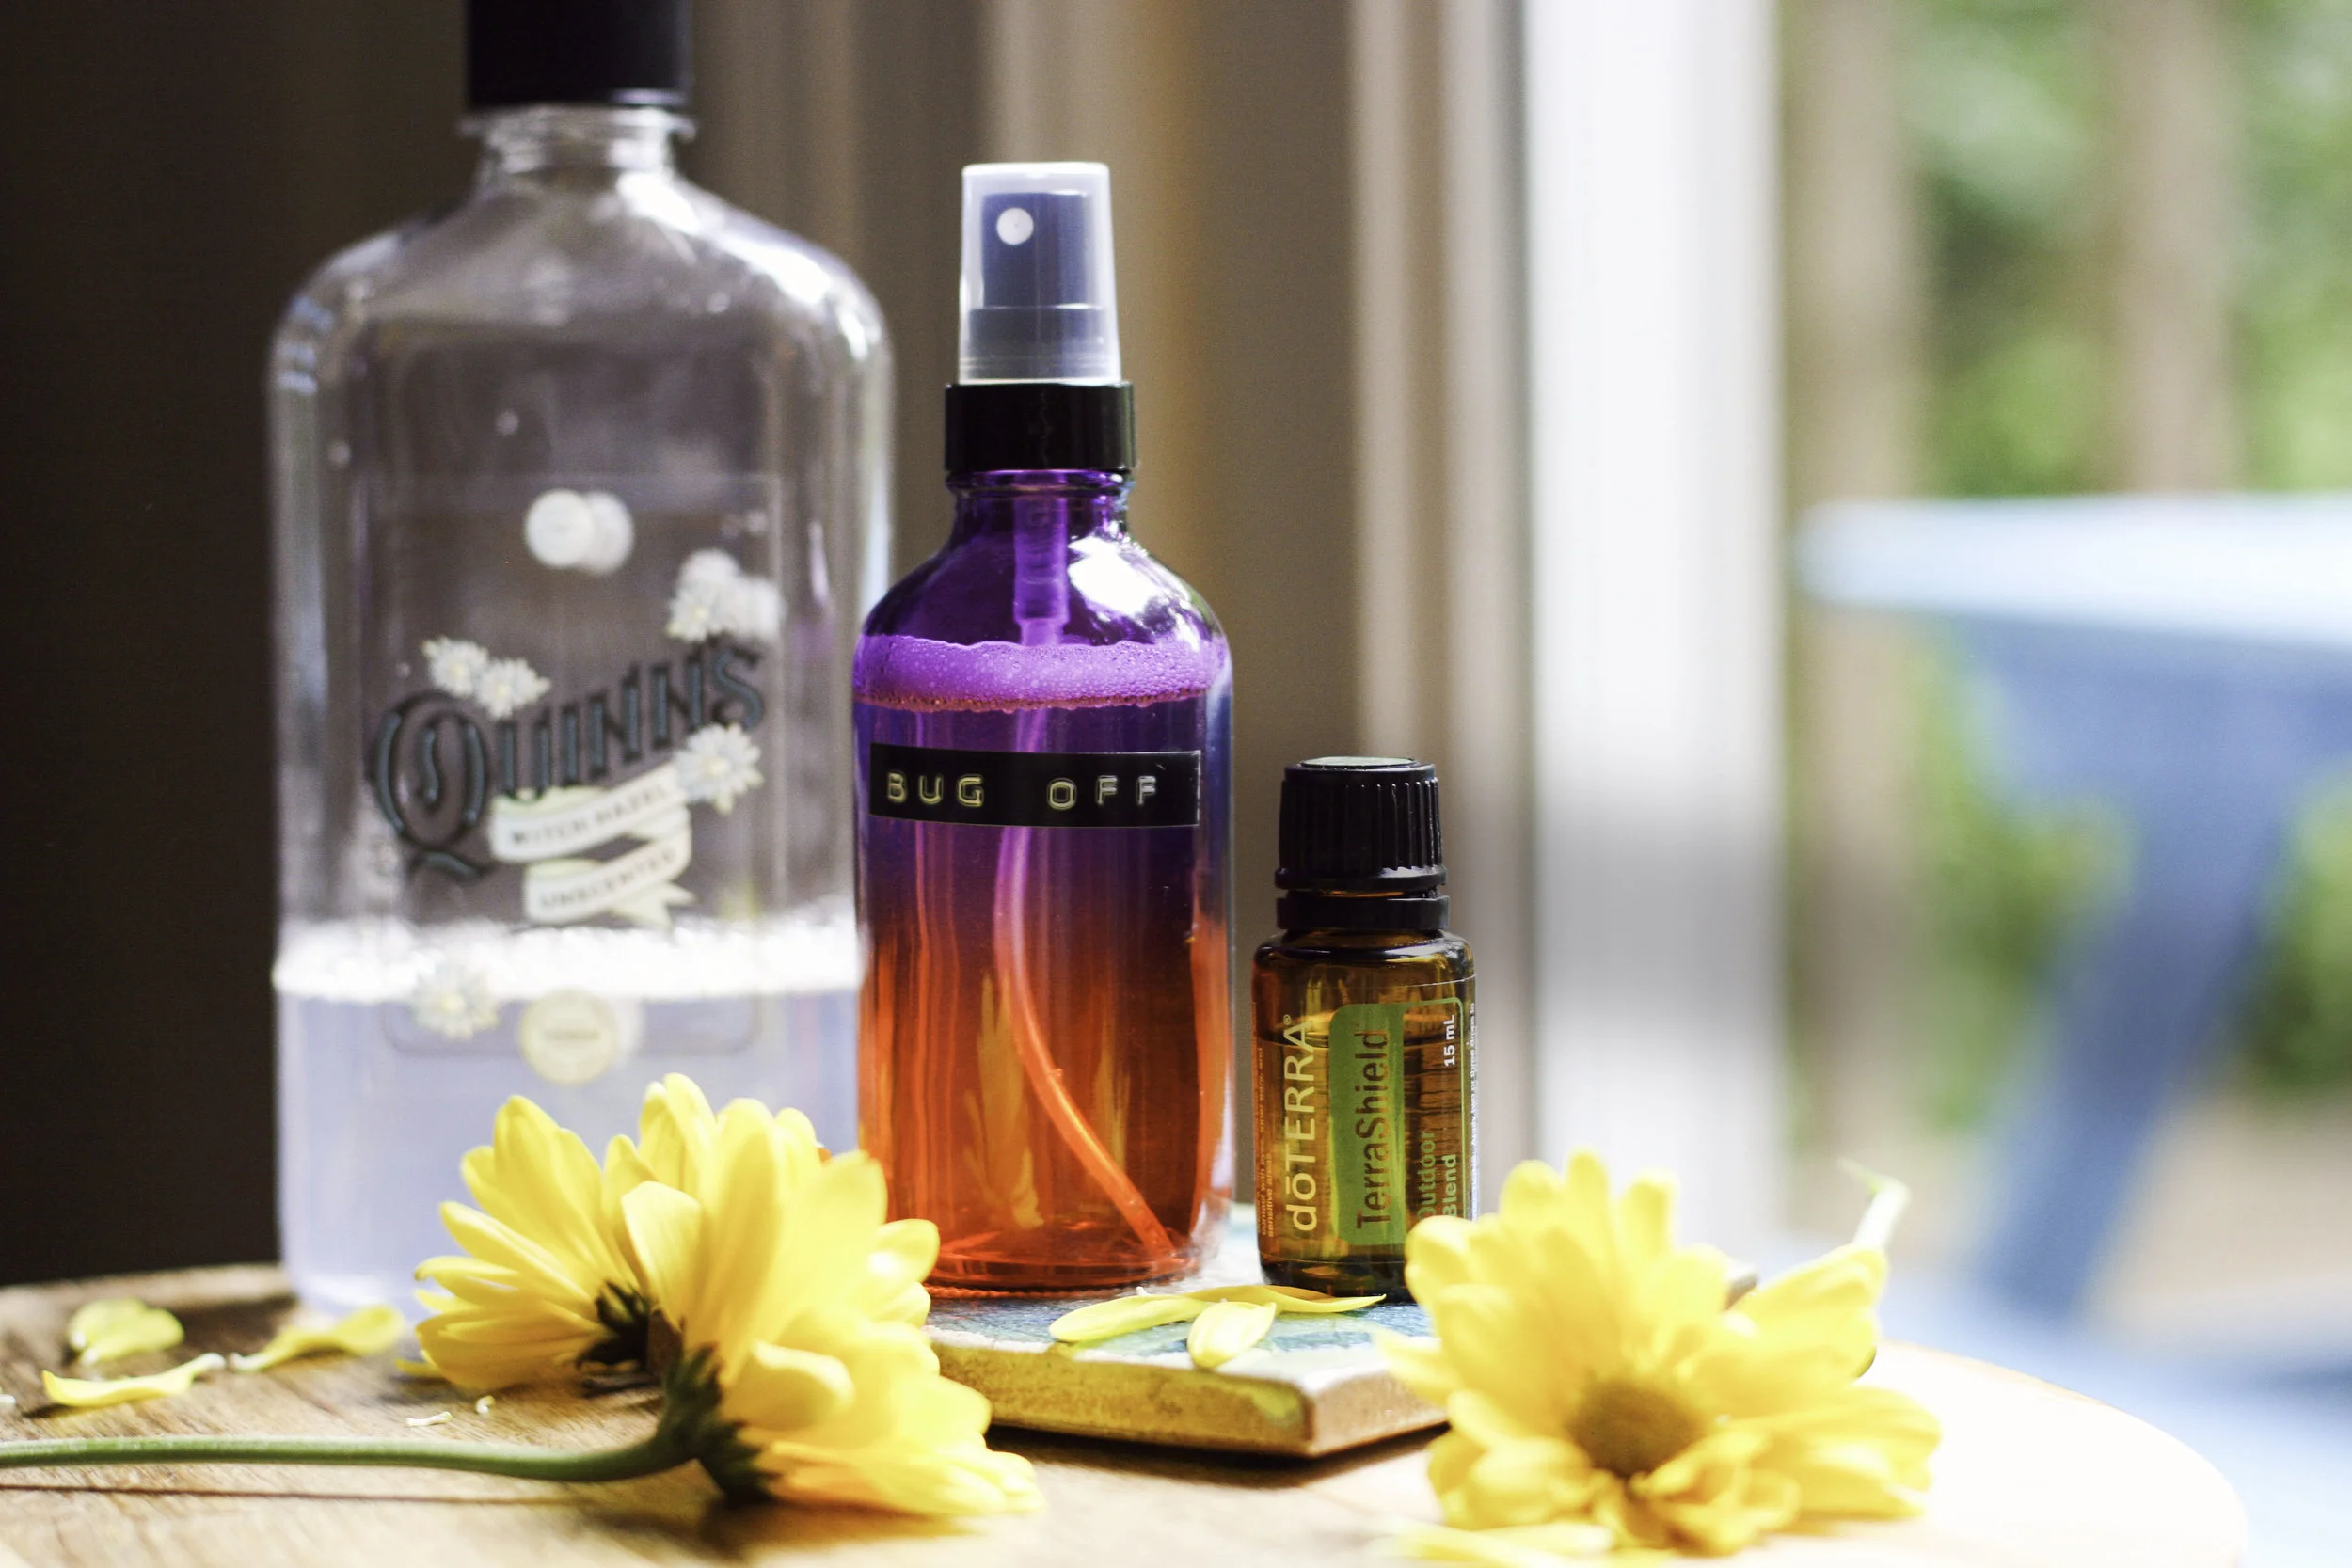
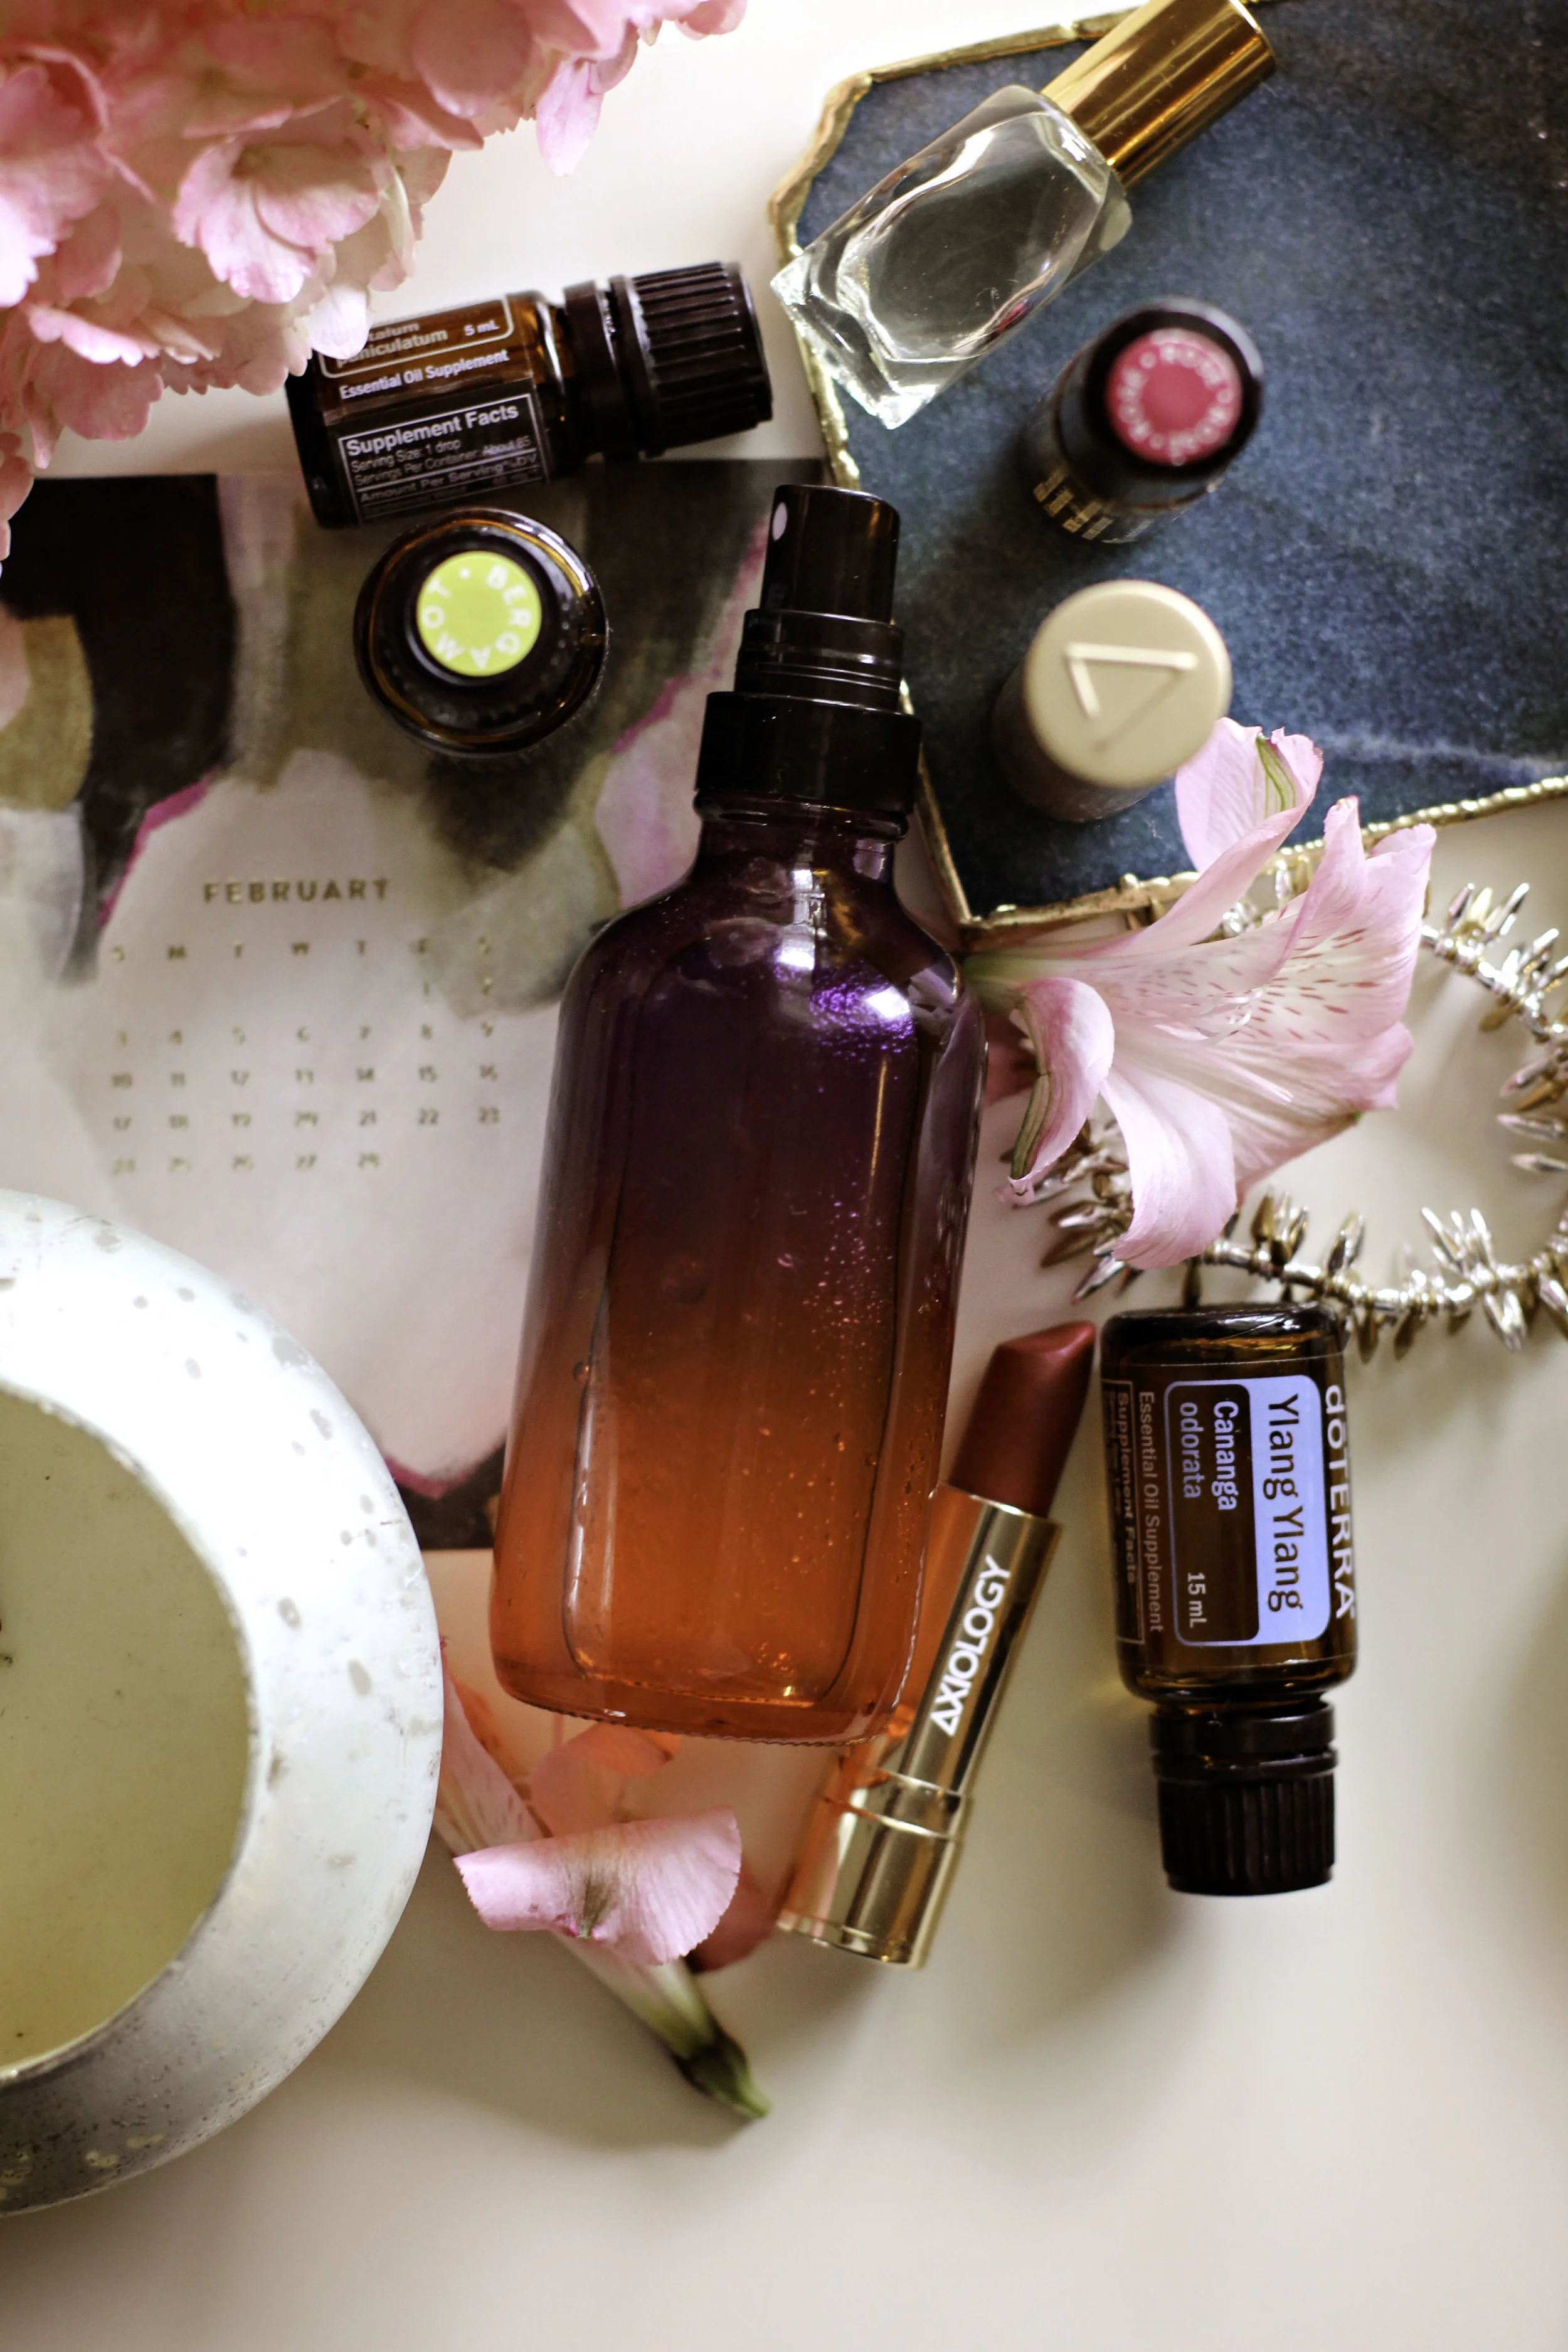
Combine the following essential oils in a 2-ounce glass spray bottle:

- 15 drops Sandalwood
- 15 drops Bergamot
- 7 drops Ginger
- 7 drops Lime
- 5 drops Ylang Ylang
- 3 drops Frankincense

Fill up the rest of the bottle with distilled water. Add dried florals if you’re feeling like it. Shake bottle and spray throughout bedroom and onto sheets to freshen aroma. This smells SO good and sets the tone for a romantic environment.

*Shop these oils here, glass bottles here


Get Busy Spray3.jpg

“Baby, Lemme Light Your Fire” Massage Blend:
Combine the following essential oils in 1/4 cup fractionated coconut oil or unscented lotion and massage onto skin:

- 1 drop Rose
- 1 drop Jasmine
- 1 drop Neroli
- 3 drops Sandalwood
- 2 drops Ylang Ylang

*Shop these oils here
**My fave Fractionated Coconut Oil and Unscented Lotion here.

Note 1: Fractionated Coconut Oil is simply coconut oil that stays in liquid form and doesn’t have that coconut-y scent. It’s a great carrier oil to use with essential oils to dilute them for sensitive skin, but you can also use sweet almond oil or even olive oil.

Note 2: When making essential oil DIYs, it’s important to always use glass or stainless steel containers. The essential oils will cause anything plastic to break down and leach.


Diffuser blend3.jpg

“Crash Into You” Diffuser Blend:
Combine the following oils in an ultrasonic diffuser and diffuse in the bedroom:

- 2 Siberian Fir
- 2 Patchouli
- 2 Sandalwood
- 2 Clary Sage
- 2 Wild Orange

”You’re My Fantasy” Diffuser Blend:
Combine the following oils in an ultrasonic diffuser and diffuse in the bedroom:

- 2 drops Ylang Ylang
- 2 drops Sandalwood
- 2 drops Tangerine

Motivate2.jpg


Bonus Tips:

  • For fresh breath, apply 1-2 drops of Peppermint essential oil on the tongue before your inevitable makeout sesh. Fresh breath goes a long way, people!

  • For a personal fragrance for her, I highly recommend DoTERRA’s Whisper blend - it’s full of incredibly romantic essential oils and creates a unique aroma on each person because of the way it interacts with your personal body chemistry. The scent ranges from sweet & spicy to powdery & sexy.

  • Dry Brush using 1 drop Black Pepper + 1 drop Grapefruit before taking a shower or bath. Brush the skin lightly in the direction of your heart - this will cleanse the lymphatic system and stimulate blood flow.

  • Add 1-2 drops of 1 of these oils to a romantic bath (do this while the water is running in the stream coming from the faucet to ensure even dilution): Frankincense, Rose, Sandalwood or Ylang Ylang

  • Other oils blends that do the right job accompanying sexy time: Motivate, Clary Calm and Passion. Apply to pulse points and if you’re feeling like a QUEEN, to the inner thighs.

  • Apply Ylang Ylang to your belly about 10 minutes before business time.

  • For “His & Hers” (libido-boosting) rollerball blends, check out my friend Savannah’s post here.

Clary Calm.jpg

Okay now you have a head full of ideas. Let me know if you have any questions! The most important part of this is for you to be completely comfortable and have fun trying something a little new! Wishing you a memorable Valentines Day, friends!

Want to chat with me about how to get these oils in your life for 25% off? Girl, send a message at oykristen@gmail.com and we can get you set UP.


P.S. - Coming from a Christian background, the topic of intimacy isn’t often addressed in an effort to promote purity. However, I believe sex is a gift from God, and we Christians shouldn’t be on the boring side of the narrative - we should really enjoy it and be the ones having euphoric, ah-mazing sex. So this post is my way of talking about it in a way that I hope is received as tasteful and helpful! xx

Potato Print Art DIY.

Art DIY5.jpg
Art DIY8.jpg
Art DIY4.jpg
Art DIY10.jpg
Art DIY7.jpg

Art DIY12.jpg
Art DIY13.jpg
Art DIY14.jpg

I found this Rebecca Atwood DIY on Emily Henderson's site over a year ago. I think Rebecca's work is phenomenal and was blown away with how Emily styled it just so magnificently. The more I thought about it, the more enamored I became with the way that you could tailor this kind of art to however you like - it's really so simple! Potato printing has been around a long time, and there are infinite ways that you can express yourself using potatoes as your stamp!

Supplies Needed:
- a canvas (I grabbed a massive one on sale at Michael's!)
- 3 kinds of paint (or more!) I used Annie Sloan Chalk Paint in Pure White and Old Ochre, along with a simple black acrylic paint simply for mixing and adding depth
* I used the chalk paint because I wanted the crackled texture/effect when the paint dried, but if you are look for more of a smooth texture, definitely stick to an acrylic ;)
- 1 potato (I used a sweet potato!), to be used as the stamp, cut into half-moon shapes (I made about 6-7 stamps)
- a few paper plates for mixing the paint

Method:
It's really a matter of touch with a piece like this. I used the 3 paint colors and mixed them in 6-7 different ways, then I assigned a different potato "half moon" stamp to each of the paints I mixed up. I am kind of a touch artist, so I don't do a lot of measuring when it comes to something like this, I just feel out the dimensions (this drives my husband crazy but its MY ART). So I eyed the width and length of the canvas and knew that I wanted to keep a thick white border around the paint, and started pressing the stamps (dipped in the paint) a few inches in. I just began pressing the stamps into the canvas, mixing up with paint and shapes with every few presses. I didn't dip each stamp into the paint every single time, because I wanted the effect of some being more bold and some being lighter for contrast.

I continued this process, standing up a lot to make sure my lines were straight (I actually like the bit of wiggle!), and making sure I was mixing up the shape of the half moons consistently.

I also decided to add a pure white "border" on the bottom of the piece, gently working my way up until fading it out at about half way. It's extremely subtle and hard to see in the photos, but I love the effect and it made it feel like "mine" this way.

The Result.
This piece was extremely therapeutic for me to make. It was something that was in my heart for a long time, so actually doing it was kind of emotional. Don't laugh, but I actually cried through some of the process. I love how art (and using your hands to create it) can be so helpful in processing what is happening in your life. I personally have had a lot of up and down emotional experiences this summer, and this painting really helped me with some of my coping. And I didn't expect that! So this piece is extra special to me.

I planned for the piece to look more black and white, but the black ended up adding a blueish effect to the white paint. The ochre shade added a sandy tone, and along with the slight movement in the piece, the end work reminds me of the ocean. I love it! And this ended up looking more like the example then I expected! But I absolutely love the result and I am super proud with the uniqueness of this. I've been inspired to do it again, perhaps on a smaller canvas with a yellow/orange vertical style. And maybe using a different medium for the stamp!


Art DIY9.jpg
Art DIY11.jpg

I'd love to hear your thoughts on this DIY! Is this something you would be up for trying? What kind of DIYs are you interested in learning more about? Let me know in the comments below!

DIY Essential Oil Bug Spray.

Bug Off2.jpg
Bug Off5.jpg
Bug Off3.jpg

It's that time of year - when the mosquitoes love to FEAST in the sunset glow. I love spending time outside with my boys, but we do seem to have some enemies out there with us, especially right around twilight. My poor little Daxton boy seems to be anointed with my blood type and we get especially bitten up in the summer months if we forget to apply bug spray. I really hate conventional bug spray because most are loaded with toxic ingredients and with our skin being like a sponge, I just can't in good conscience put that garbage on my children. But I have a great, easy bug spray DIY that I've been using since last summer which is completely natural, non-toxic and safe for kiddos - and it works! My boys have gotten used to having this sprayed on as soon as we get outside, and I do re-spray if we've been outside for more than an hour. This DIY is based on DoTERRA's pest-repellent oil blend, TerraShield which is so awesome and smells much, much better than regular bug spray. So it's a win-win! So without further adieu, enjoy this essential oil DIY!

Supplies:
- 2 oz. glass bottle (I got my ombre bottle here)
- Quinn's Witch Hazel
- DoTERRA TerraShield oil blend

Method:
1. Measure out 1/3 cup of water and pour it into the 2 oz. bottle.
2. Add 25 drops of Terrashield essential oil to the glass bottle.
3. Top off the bottle with Quinn's unscented witch hazel (this should be between 1/3 - 1/2 cup).
4. Shake bottle to distribute and voila, you're ready to say, "Shoo mosquitoes!"

Notes:
-  I prefer to use unscented Witch Hazel so that the only scent is from the oil itself.
- When making any kind of blend with essential oils, you want to make sure that you are using a glass contained. Plastic or other material can "pull" on the essential oils and release toxins, etc. into the mixture, whereas glass, aluminum and stainless steel don't have that effect with the EO's.
- I like to make several of these bug spray mixtures and keep on in the car, one in the stroller, one at home, and anywhere else you would find yourself reaching for bug spray! Like the Boy Scouts say, always be prepared!

bug off6.jpg
Bug OFF4.jpg

Interested in learning more about DoTERRA essential oils? I would love to share more about why I love them, how I use them, and how you can get some in your home, too! You can shop for them here, or leave a comment and I can invite you to one of my online classes where you can learn more! xx

DIY Cousin Relay Races!

This post is sponsored by Taste Nirvana. All opinions are my own.

TN3.jpg

The weather has finally turned warm for good here in Georgia! We decided to celebrate this happy occasion in a big way by throwing together a little relay race for my boys and all their cousins. Or at least, the ones that live nearby! It was so much fun getting these kids together and introducing Everett to the concept of relays! Daxton, too, except he mostly toddled around and stared in awe at all his big cousins. It was hilarious and chaotic and exhilarating and all the kids went home exhausted (#momwin). And as a result, now I fear I've introduced the notion of competitive play that cannot be undone. Everett keeps asking how fast he is, over and over again...

I found a few relays online and I thought it would be fun to share! A series of relay races could make such a stupendous playtime activity, birthday party, or even summer holiday celebration! And the best part is that you probably have most of the supplies you need in your garage. A big shout out goes out to my sis-in-law Lauren - she came up with the idea to host a relay race and I just took the baton and ran with it ( ohhh see what I did there? I might be a mom but I can rock some Dad jokes.)

You probably know how to put on a relay race (anyone else having middle school flashbacks or is that just me...?), but in case you need a refresher, the premise is that you have at least two teams with an even number of players working together to complete a series of circuits. The team to finish first wins! I picked up some practice jerseys for the kids to wear and used cones to mark the starting and finish line for each team, but you could get away without using them! The fun of these relays is you can really use your imagination - the sillier the better in my book!


Relays:

TN15.jpg
TN17.jpg

1. Egg Walk

Place a hard boiled egg on a spoon and walk (or run!) as quickly as possible to the finish line cone, walk around it and head back to your team as quickly as you came! *We actually used some wooden eggs that were leftover from an Easter project and they required no clean up!
Supplies Used: These wooden eggs and spoons

TN24.jpg
TN18.jpg

2. Golf Ball Waiter

Place a golf ball on a frisbee (flipped over, so the golf ball stays within the lip but moves freely). Using only one hand, balance the frisbee like a waiter and run to the end of the relay and back again. Then tag the next person on your team - the race is finished when each person on your team has gone!
Supplies: Golf balls, frisbees

TN22.jpg
TN28.jpg

3. Bat Spin

Position a bat at the end of the relay (I mark this spot with a cone). Run to the bat, put your forehead on the top, and spin around three times. Leaving the bat, run back to your team and tag the next person in!
Supplies Used: Bat (any kind will work, but shorter ones will work best for children - we also used a child-sized golf club which worked just fine.)

TN16.jpg
tn30.jpg
TN20.jpg
TN19.jpg
tn31.jpg
TN21.jpg

Other Relays:

4. Kangaroo Hop
Place a bouncy ball in between your legs and hop to the finish line cone, and then hop back to your team mates!
Supplies: Bouncy Ball x2
 

5. Zig Zag Race
Place 10 cones in a zig zag formation. Run in between the cones until the end, then run back through the cones on the way back to the team.
Supplies: 20 cones, like these
 

6. 3-Legged Race
The classic relay! Tie the leg of one team member to the leg of another and work together to get to the end of the relay and back again.
Supplies: 2 bandanas (or other tying apparatus!)
 

7. Wheelbarrow Race
This two-person race requires one person to "walk" with their hands on the ground while the other person directs the human wheelbarrow by steering their legs (example here)
Supplies: none! (Other than brute strength)

TN23.jpg
TN11.jpg

After the relay race, the kids refreshed and re-hydrated with coconut water, care of Taste Nirvana. Since I've partnered up with them this month, Taste Nirvana sent us some petite 10 oz. cans of the premium Coco Real coconut water beverage for the kids to enjoy as a post-relay treat. I'm a big fan of coconut water because it is loaded with potassium and electrolytes, making it the ideal post-workout recovery drink. This goes for everyone - adults and children! (Don't worry - there was enough coconut water for all the moms and dads to stay hydrated, too.) While I've been a coconut water drinker for years, I can truly say that Taste Nirvana tastes fresher than anything I've tried off of the grocery store shelf (I shared more about the yummy taste here.) All the cousins loved having such a special "grown-up" treat when they were finished with all that hard work, and after they devoured their coconut water they took to blowing bubbles and playing on the play ground.

Is it just me, or is this summer already shaping up to be the best ever?!

TN12.jpg

My sweet god-daughter with two handfuls! One for now, one for later - gIrl after my own heart. ;)

TN13.jpg

I can't get over Everett's genuinely precious smile. And of course, there is his brother, trailing just behind him and watching every move! Watching these two as siblings makes my mama heart soar.

TN14.jpg
TN10.jpg

Lauren!!! She is full of all the good ideas, you guys.

TN1.jpg
TN2.jpg
TN26.jpg
TN4.jpg
TN5.jpg

He's like, "I know how to blow bubbles mom."

TN7.jpg

Aren't they the cutest in their little jerseys?

TN8.jpg

My niece blowing her bubbles with that darling bow! I sent everyone home with bubbles because it just felt like the right way to welcome the season. Summer, you can come on over and stay a lonnnnng while!

TN25.jpg
TN9.jpg

Sweet Daxton. His hands fumbled to hold his own can by himself, and although most of his coconut water ended up hydrating the grass, he was still super proud of being one of the big kids. I just love him to pieces.


Taste for Yourself!

Taste Nirvana is offering $6 off an Amazon order of the Original Real Coco coconut water, the Coco Pulp coconut water and the Coco Aloe coconut water using the coupon found here (the promo is automatically applied at check out). This code is good through 6/30 so make sure to snag some at this discount while you can! Even though I love the Aloe version and the Pulp version, my favorite is still the Original Real Coco because I honestly can't get past the fresh, honey taste. This is a stellar beverage to have on-hand to keep hydrated for all the outdoor activities that are looming on our summer calendar! Many thanks to Taste Nirvana for sponsoring this post; you can shop their yummy beverages here.

Happy Friday to you, friends! xx


The 3 DIY Essential Oils Roller Balls I Use on My Kids During the Winter.

050F2966-2FFF-44BD-8FA1-740F36C9A9F2-1.JPG
5937DDD7-BCA1-41E8-99D2-895B720DFDF5.JPG
D6BC1B0D-A176-4B84-B50F-6A3129BDFFBE.JPG

This winter has been a doozy for sickness, and unfortunately, our family hasn't been able to avoid the fray. We've dealt with our fair share of the gunk, and because of that, I've created a few specific essential oil roller ball recipes to use on my kids while they haven't been feeling 100%. I hope they are helpful to you and your little ones!

Also, I want to mention that I love and use DoTERRA essential oils - they are 100% pure and safe to use on children when properly diluted. In fact, they are safer, cheaper and more effective than most regular solutions I've found. If you would like to learn more about why I believe these essential oils are THE BEST, please feel free to reach out!

Okay, on to the DIYs! Here are 3 blends I use on my kids during the winter season:

Bye Fever Recipe:
- 3 Peppermint
- 3 Eucalyptus
- 3 Frankincense
- 1 Bergamot
* Top off with fractionated coconut oil.

I use this on my kids when they are running a fever and I want to break it. I apply this to the back of the neck, up and down the spine and on the bottoms of feet (put socks on quickly after!) I apply this every 2-4 hours as needed and especially before nap time! We also like to roll it on while saying, "Bye fever!"

OnGuard Recipe:
- 10 drops OnGuard oil blend
* Top off with fractionated coconut oil.

OnGuard is an immune-boosting blend, and while DoTERRA sells this in a pre-diluted roller ball, I like to use my own to keep at home as well! I use this on my kids when they are showing signs of feeling under the weather - sneezing, coughing, runny nose, etc. I apply this on the back of the neck, up and down the spine and on the bottoms of their feet.

Teething Recipe:
- 5 Lavender
- 5 Roman Chamomile
* Top off with fractionated coconut oil.

This has been my go-to for Daxton's teething relief. That sweet boy - he's been cutting teeth for months and has been miserable! I roll this blend under his ear lobes, along his jaw line and on the back of his neck. He loves it! In fact, he tries to put it on himself (which is really, really cute), even though I won't let him ;)

All of these recipes are formulated for 10ml roller balls.

I hope you enjoy making some of your own for your kiddos! xx